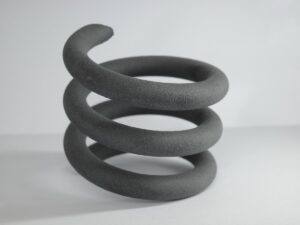
- SLS 3D Printed Nylon Chandelier Lighting Prototype
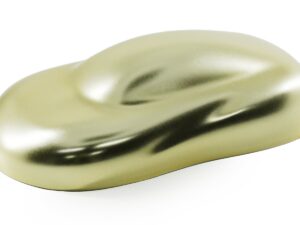
- SLA 3D Printed Clear Resin C-shaped Rings Dyed Colors
Material Resin, Metal
Quantity 2 pcs
Price Range $1-100
Lead Time 5 workdays
Gallery
About Project
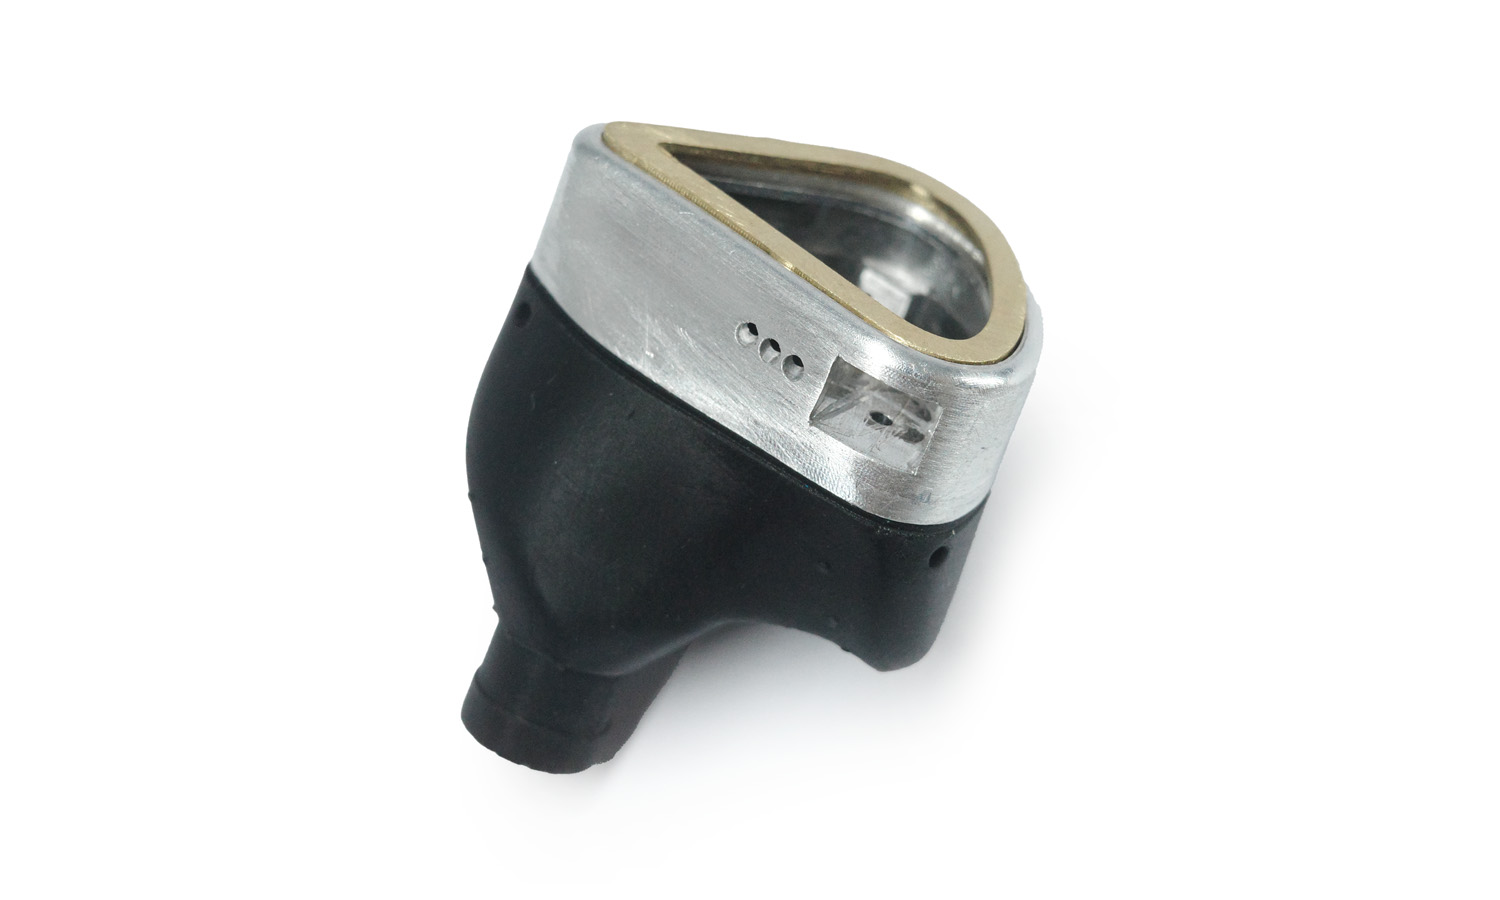
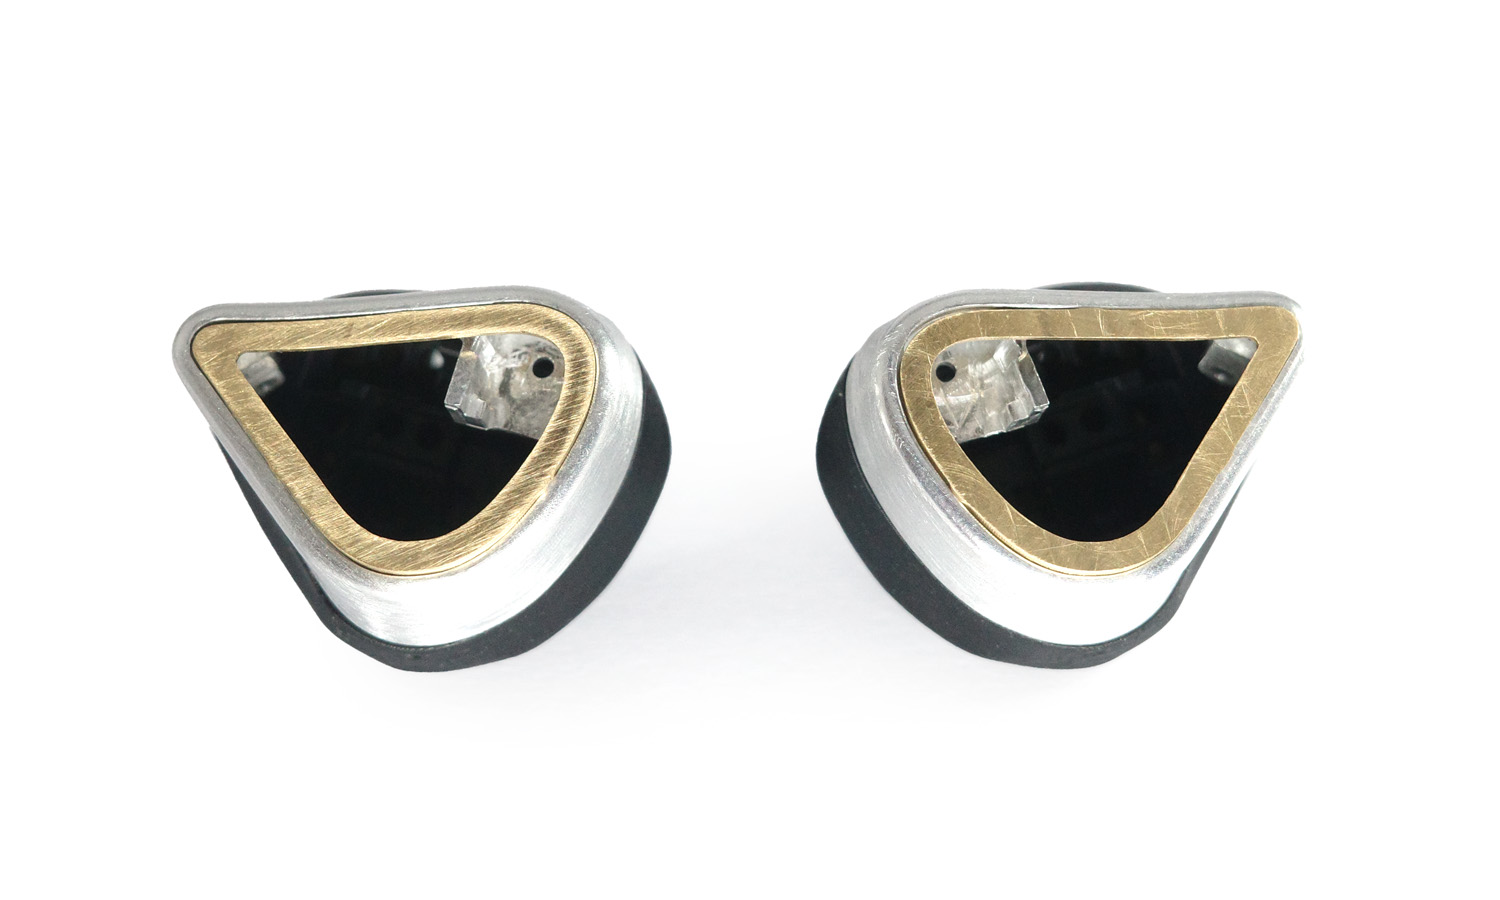
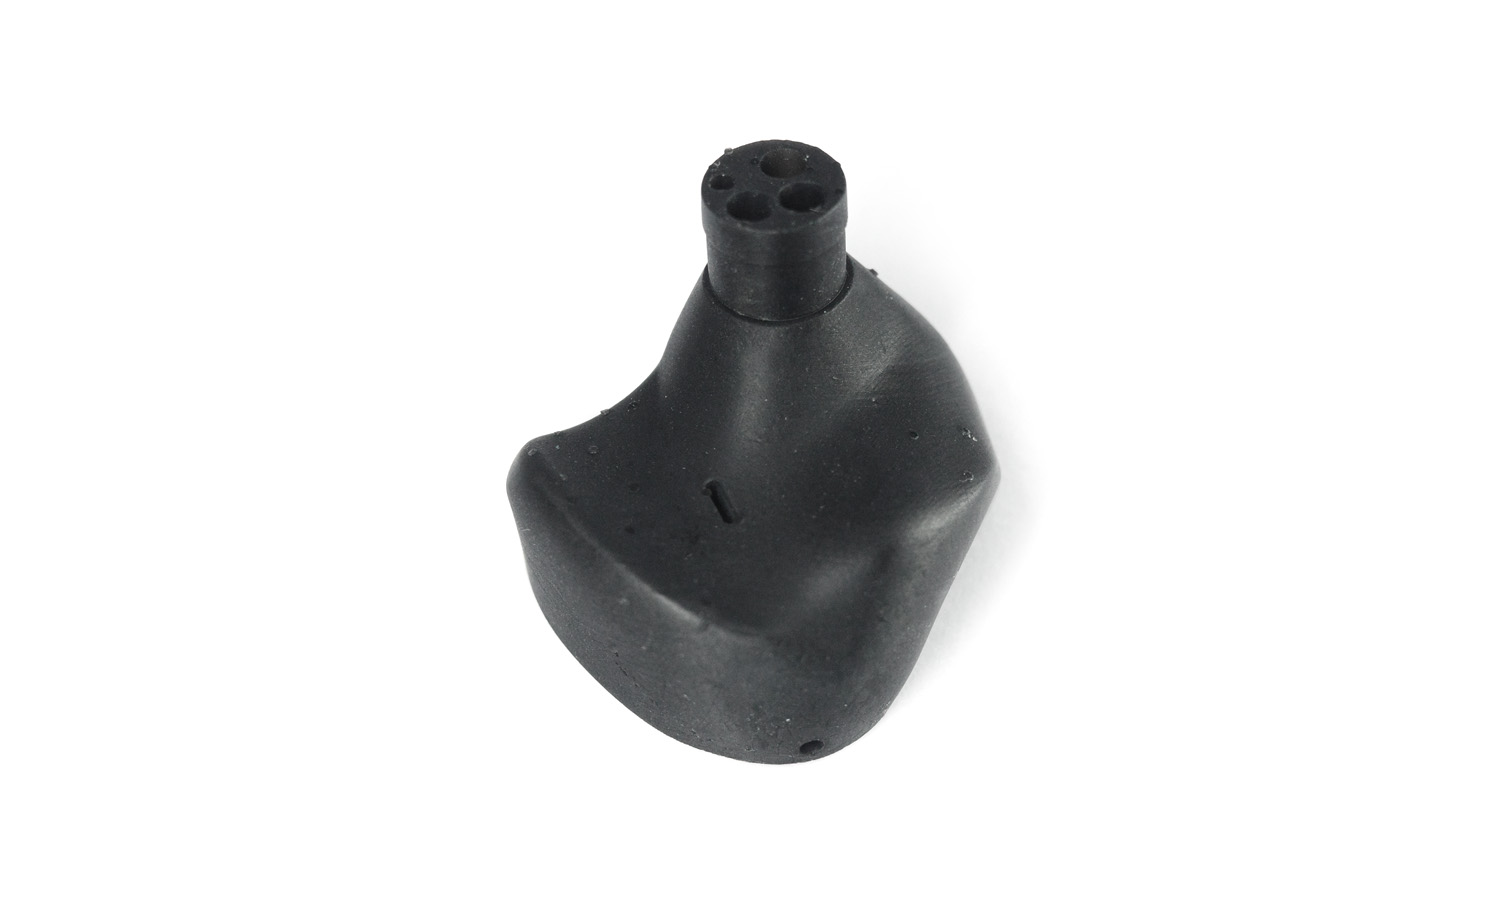
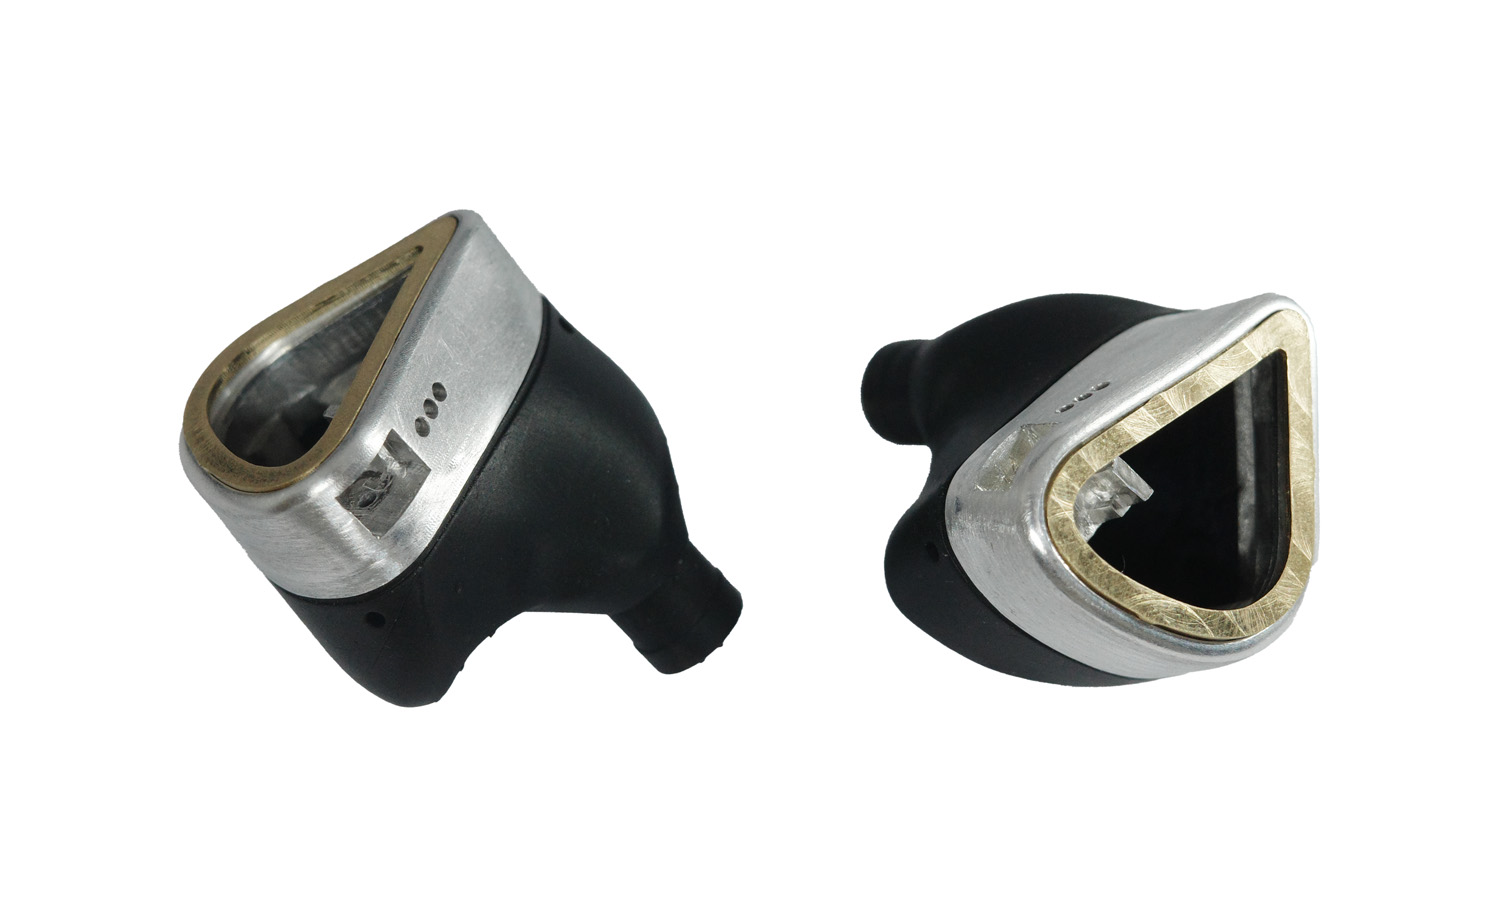
Looking to push the boundaries of wireless earbud design? FacFox is here to help! This prototype showcases the power of combining CNC milling and 3D printing.
Premium Meets Precision
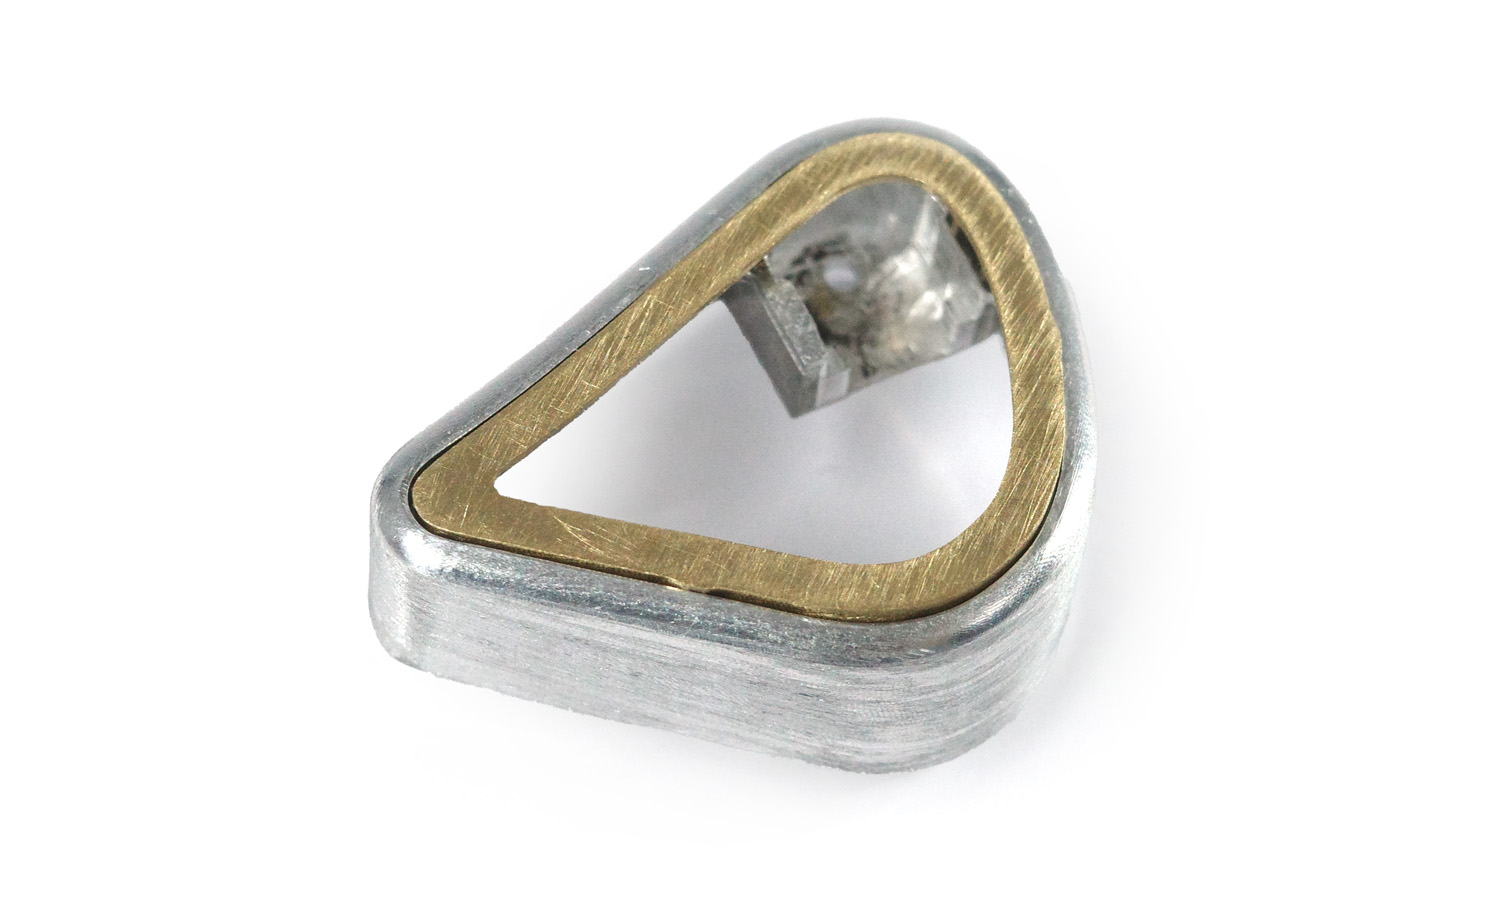
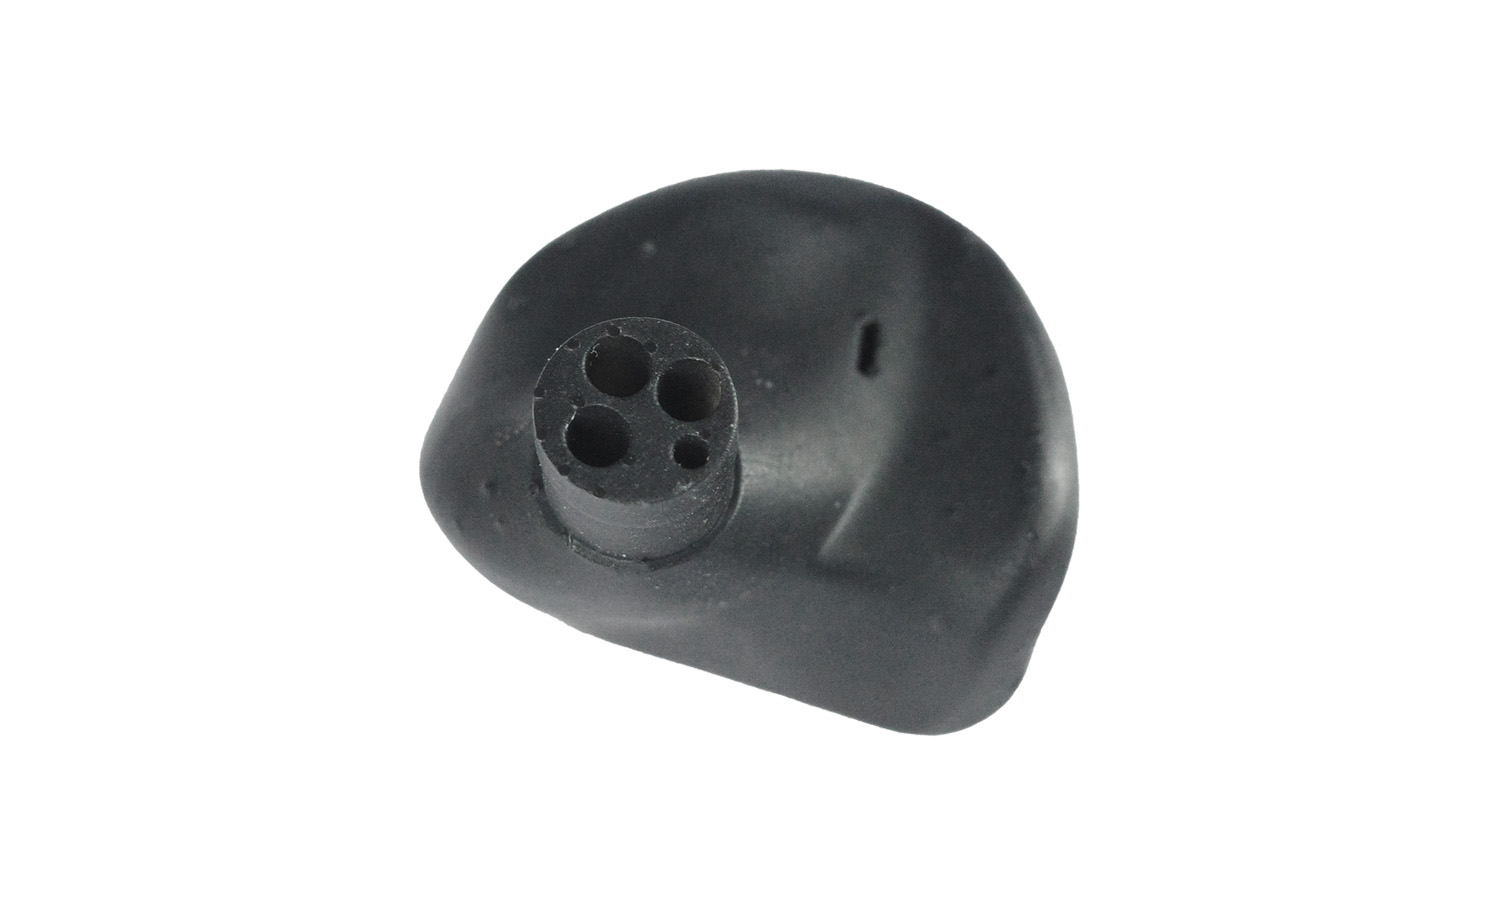
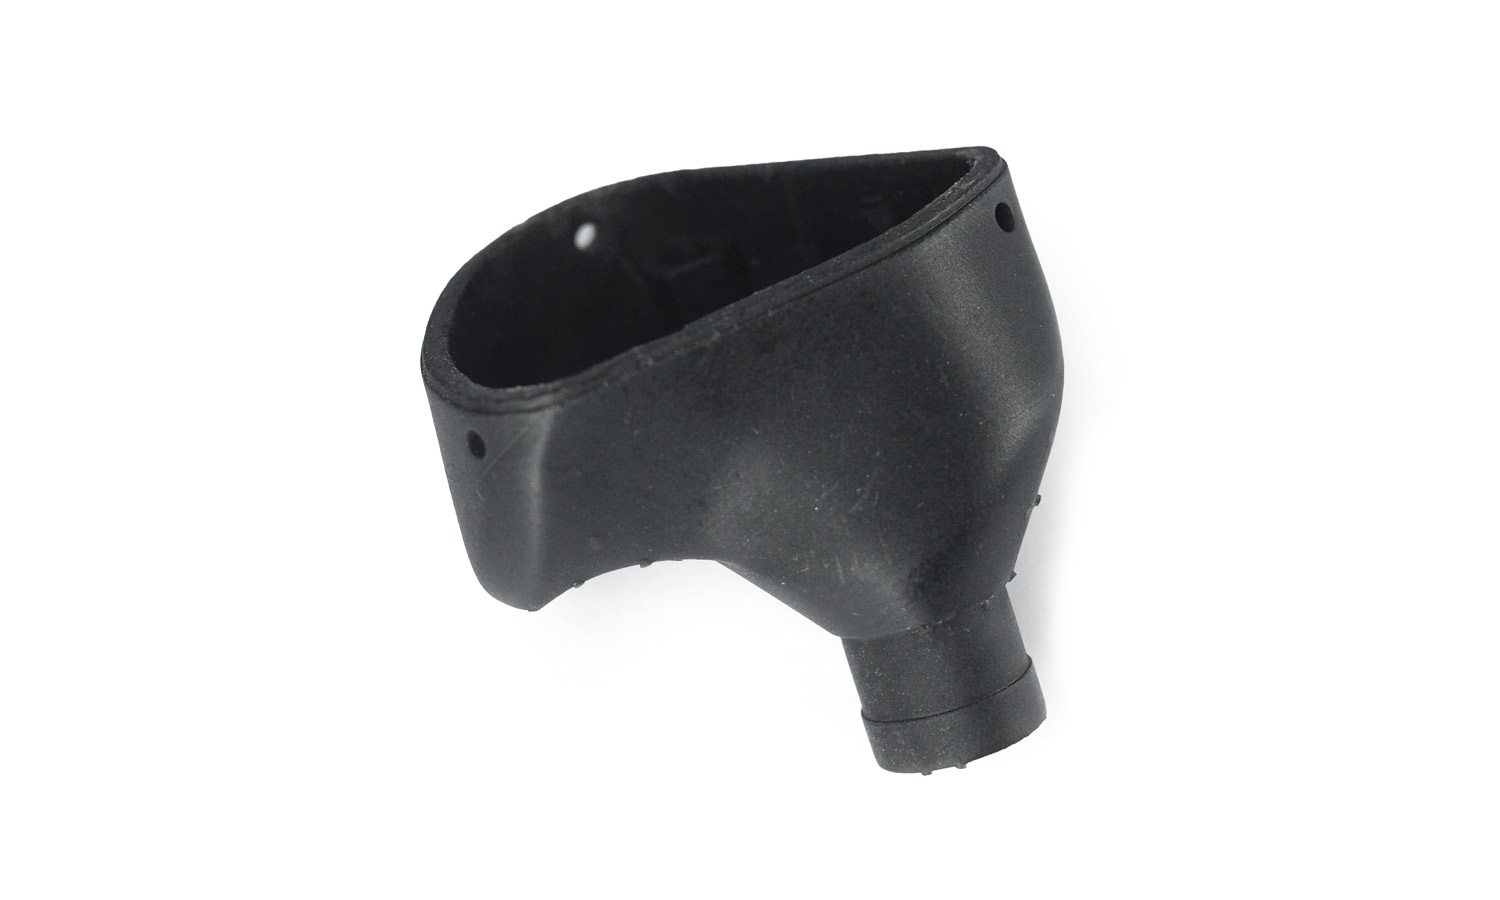
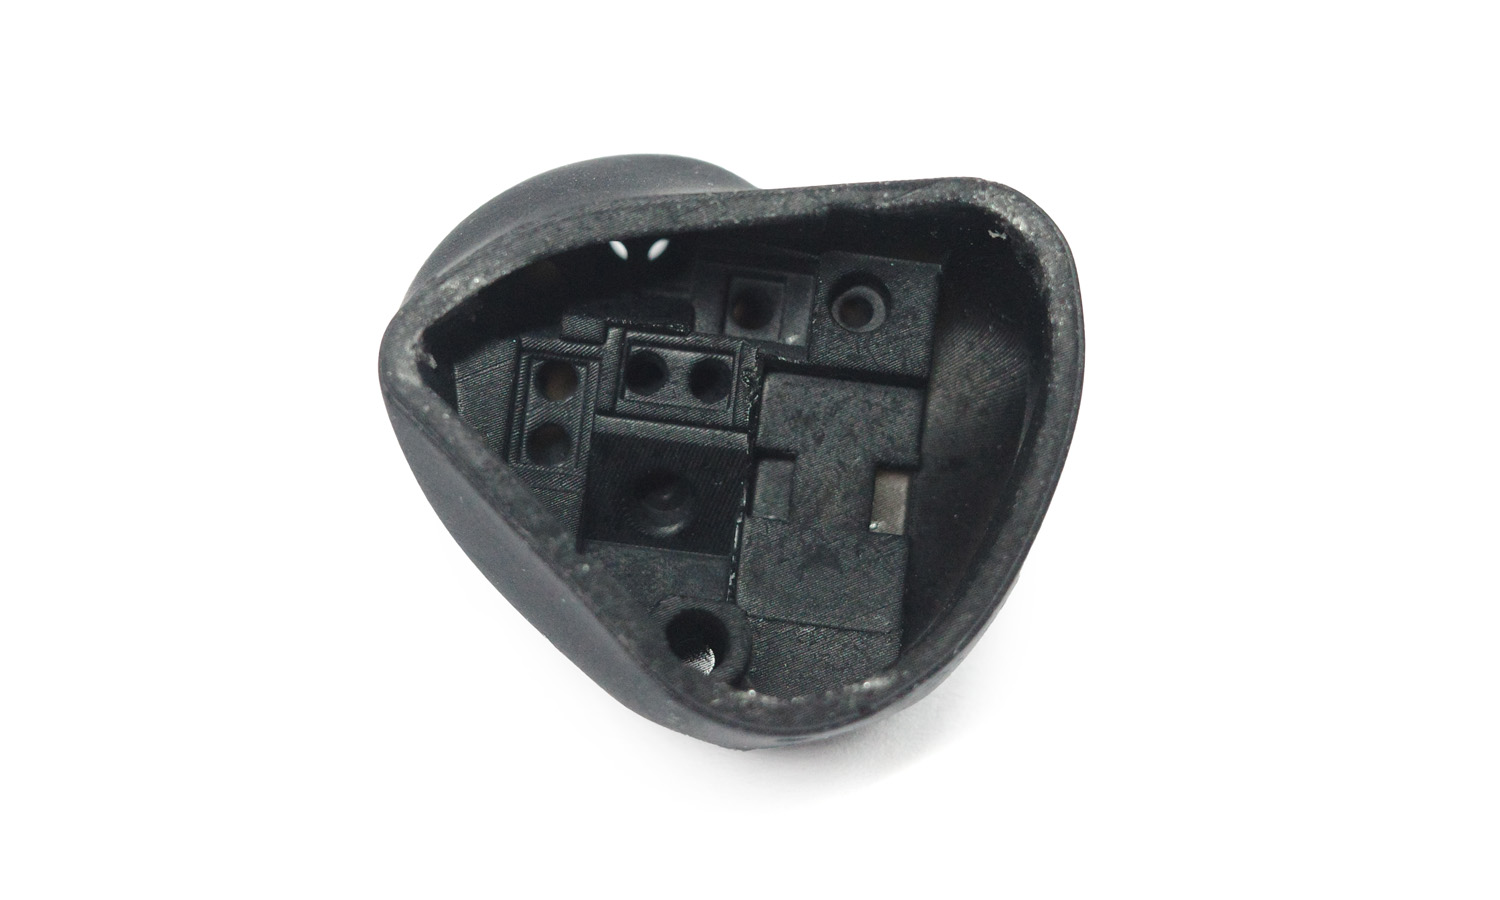
The earbuds themselves are CNC milled from aluminum alloy, offering a luxurious feel and lightweight construction. Internal components are housed within a precisely 3D-printed casing, crafted from black resin for a sleek aesthetic. Even with visible machining marks, these functional prototypes demonstrate a seamless fit and exceptional quality.
Unmatched Versatility for Your Vision
CNC milling and 3D printing offer the perfect blend of precision and flexibility. CNC machining meticulously sculpts intricate maetal details, while 3D printing brings complex shapes from your digital design to life.
FacFox: Your Partner in Innovation
Our expert team collaborates with you to choose the ideal methods and materials for your project. Explore a vast array of options to create prototypes that closely resemble the final product in both form and function.
Key Benefits:
- Unmatched Precision: Tolerances as low as ┬▒0.005 mm for exceptional detail.
- Material Versatility: Explore weight, durability, and aesthetics with various materials.
- Rapid Prototyping: Get prototypes quickly to keep your project moving.
- Cost-Effective Solutions: Budget-friendly options to bring your vision to life.
Contact us today and unlock the potential of CNC milling and 3D printing for your next wireless earbud project!
Solution
- Step 1: Design & CAD Modeling.┬аBegin with a detailed design of the earbuds enclosure, specifying dimensions, tolerances, and aesthetics. Use CAD software to create precise 3D models of each component.
- Step 2: Material Selection. Choose suitable materials and techniques for each part. Bottom housing: Black resin for LCD 3D printing. PCB holder: Aluminum alloy for CNC milling. Seal ring: Copper for CNC milling.
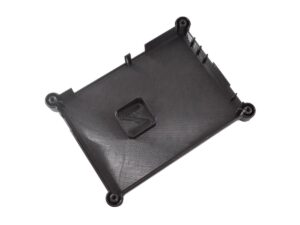
- Step 3: LCD 3D Printing of Bottom Housing. Prepare the 3D printer with black resin. Print the bottom housing using LCD technology, ensuring high precision to maintain the integrity of the design. Remove the part from the printer and clean off any excess resin.
- Step 4: CNC Milling of PCB Holder and Seal Ring.┬а Set up the CNC machine with the appropriate milling tools for aluminum and copper. Load the aluminum alloy and copper blocks into the machine. Mill the PCB holder from aluminum alloy and the seal ring from copper, following the CAD design closely.
- Step 5: Post-Processing. Inspect the 3D-printed bottom housing for any supporting structure marks that need to be addressed. Check the CNC milled parts for sanding marks and ensure they meet the design specifications. Assemble the parts to verify fit and precision.
