Material Metal
Quantity 1 pcs
Price Range $100-1,000
Lead Time 3 workdays
Gallery

About Project
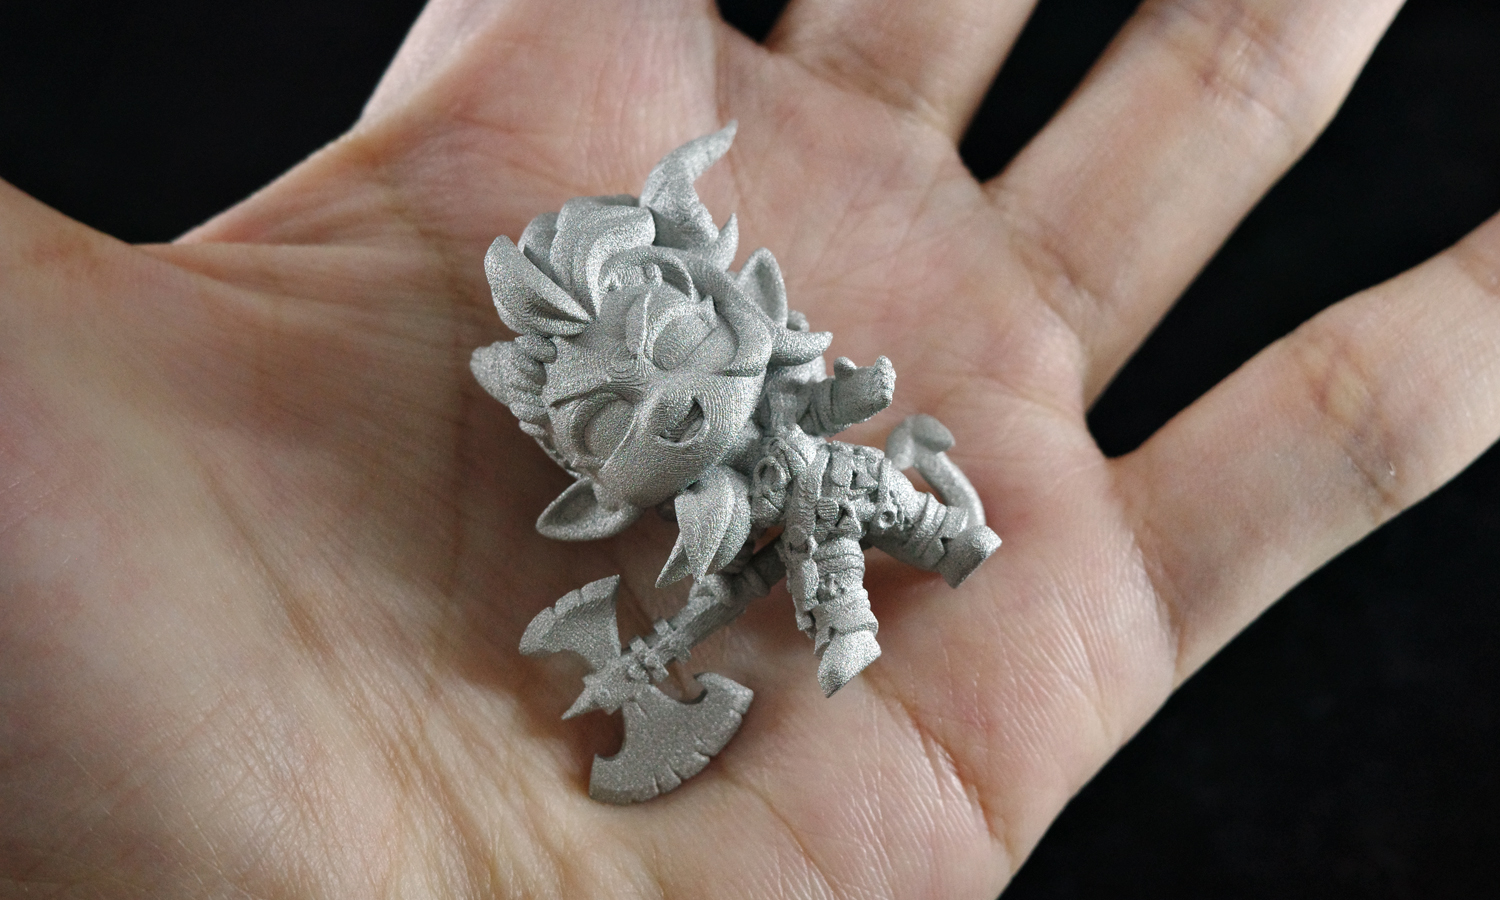
Calling all miniature enthusiasts and fantasy fanatics! FacFox is proud to present a duel unlike any other, featuring the fiercest warriors miniaturized into adorable chibi form Б─⌠ and forged not from plastic, but from the fires of metal 3D printing!
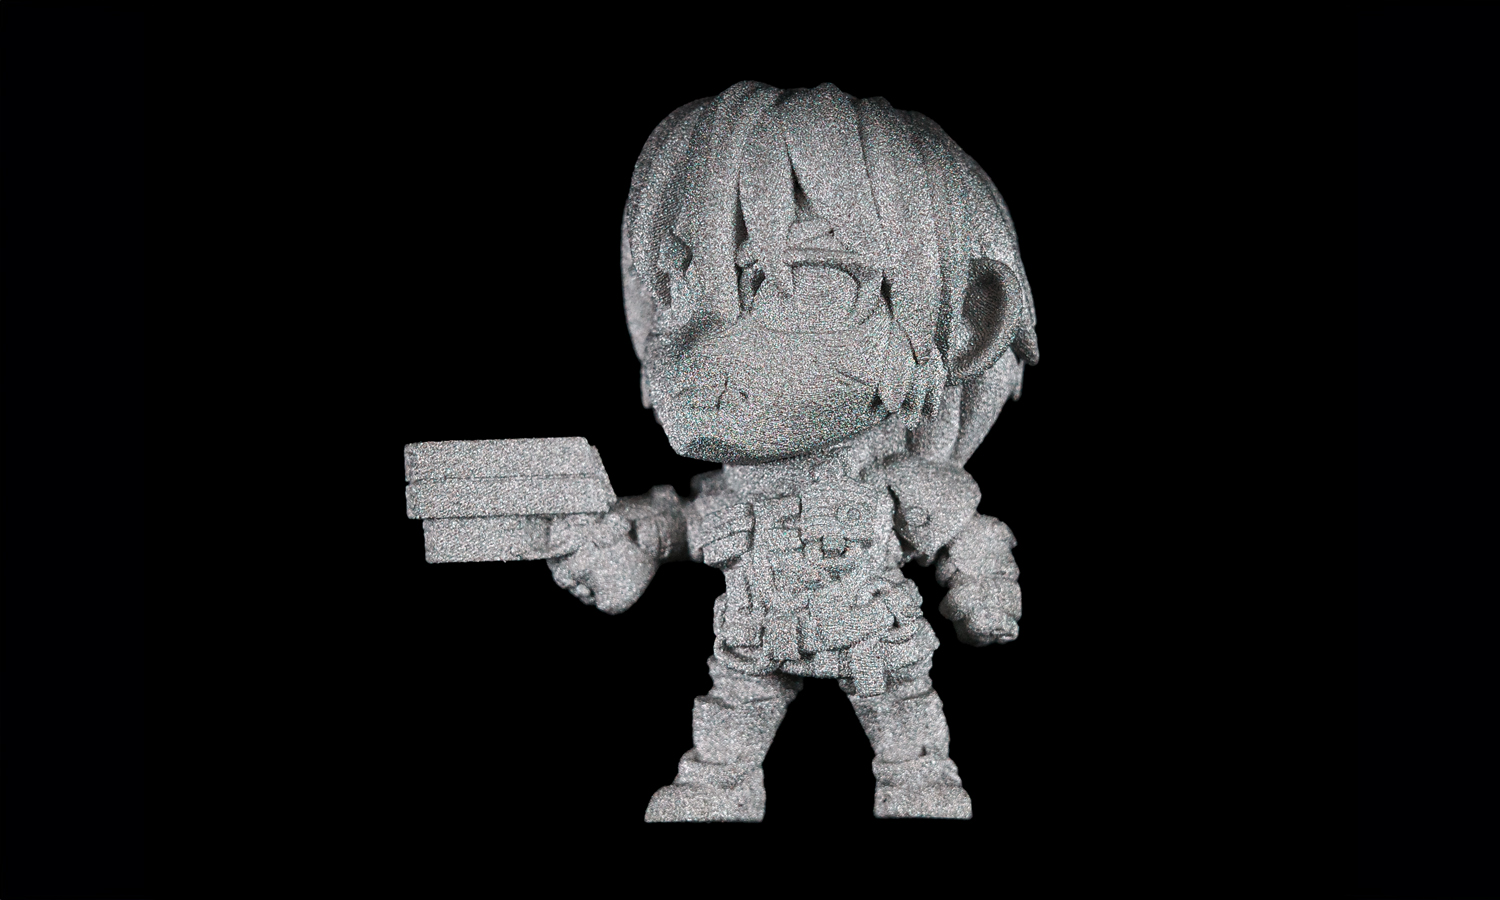
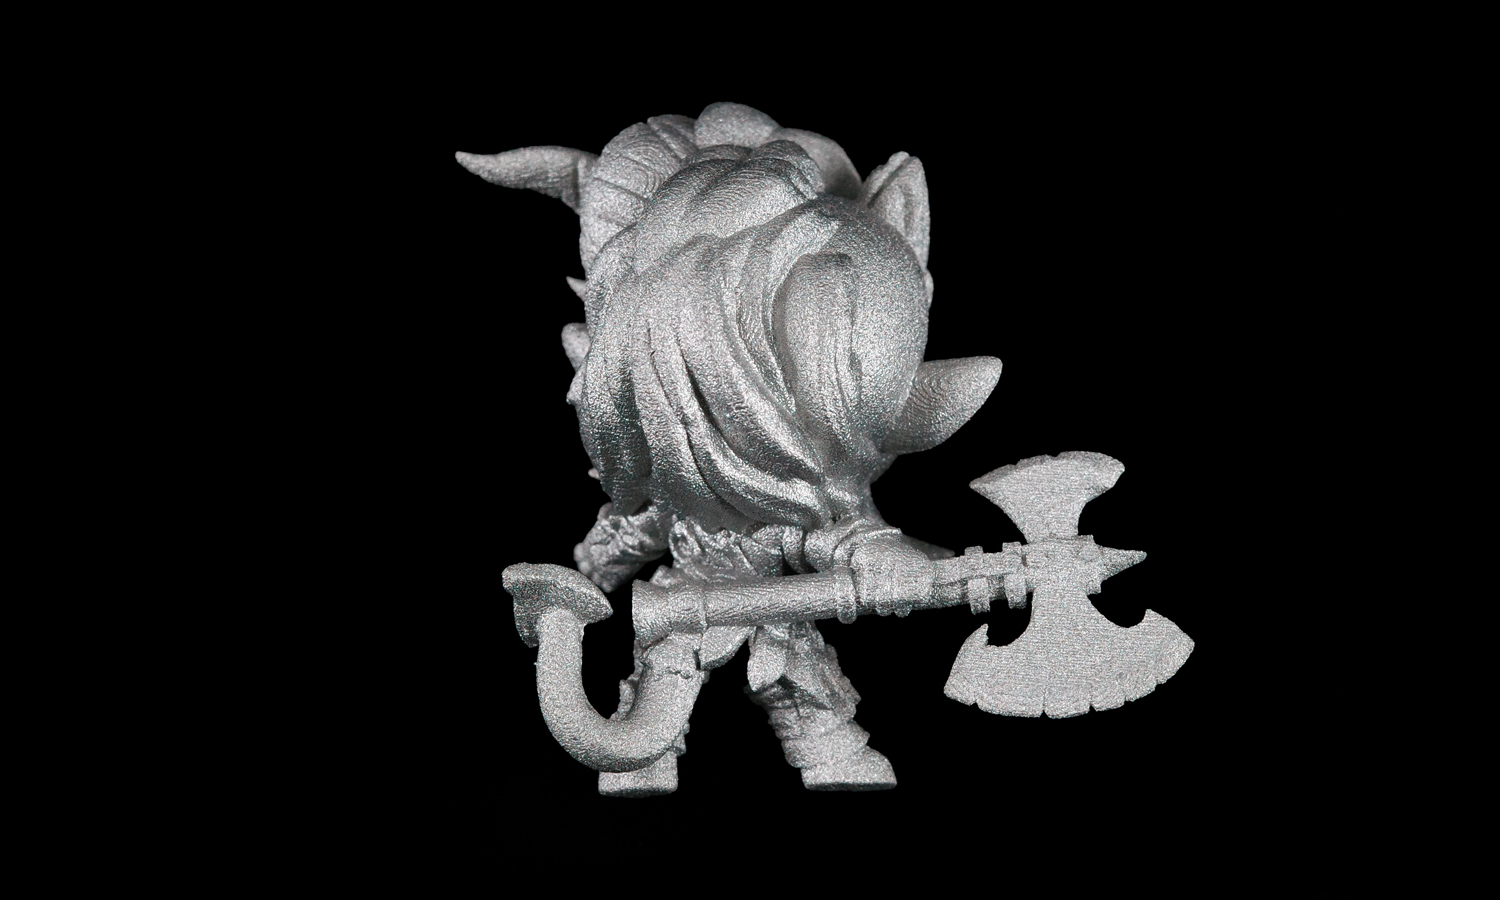
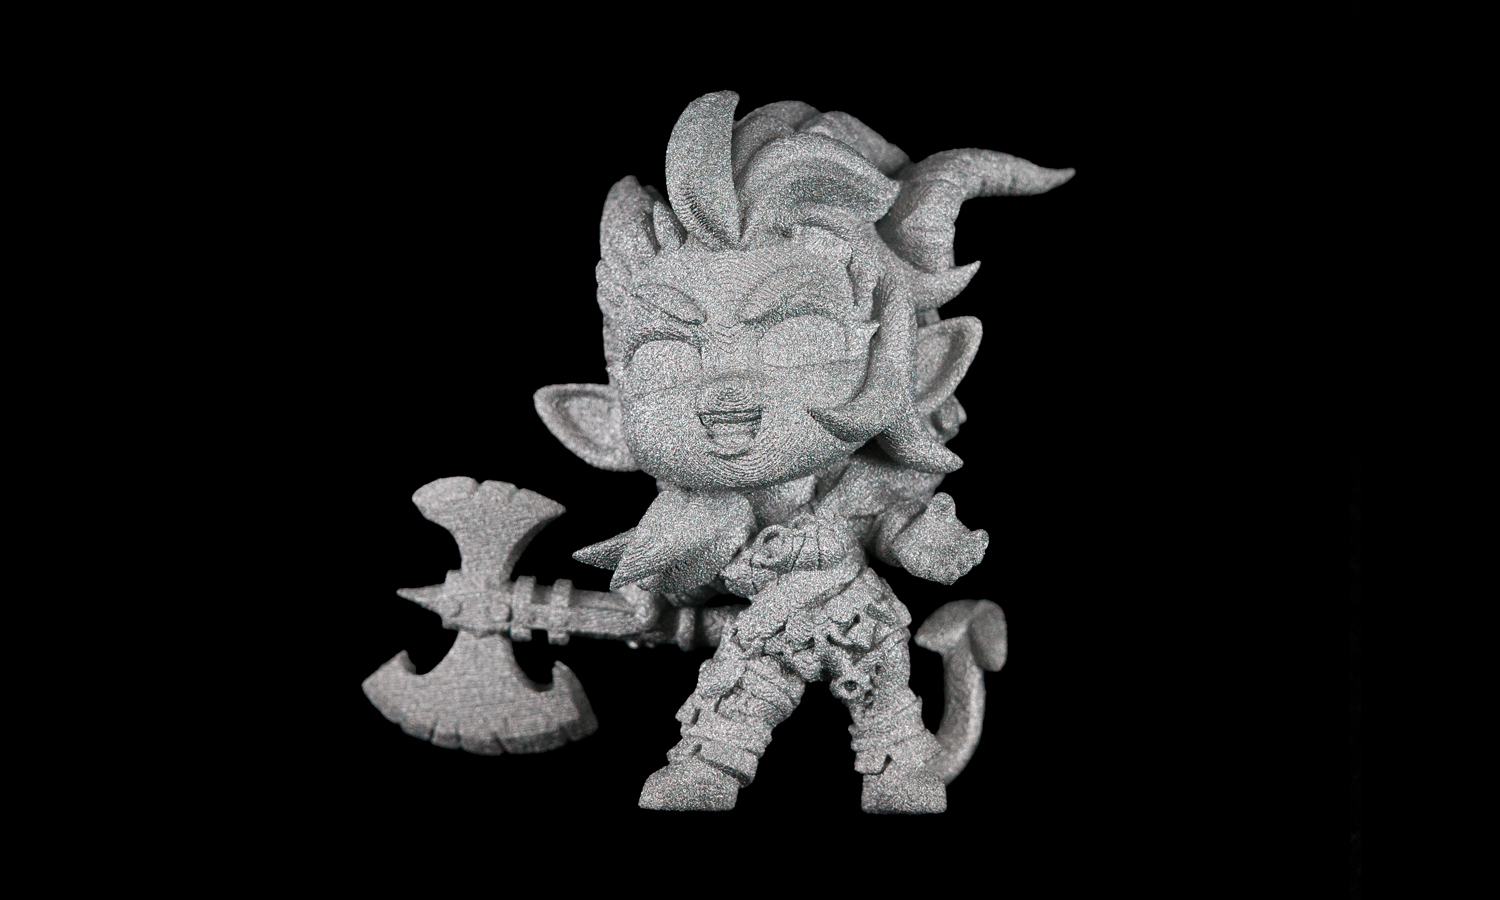
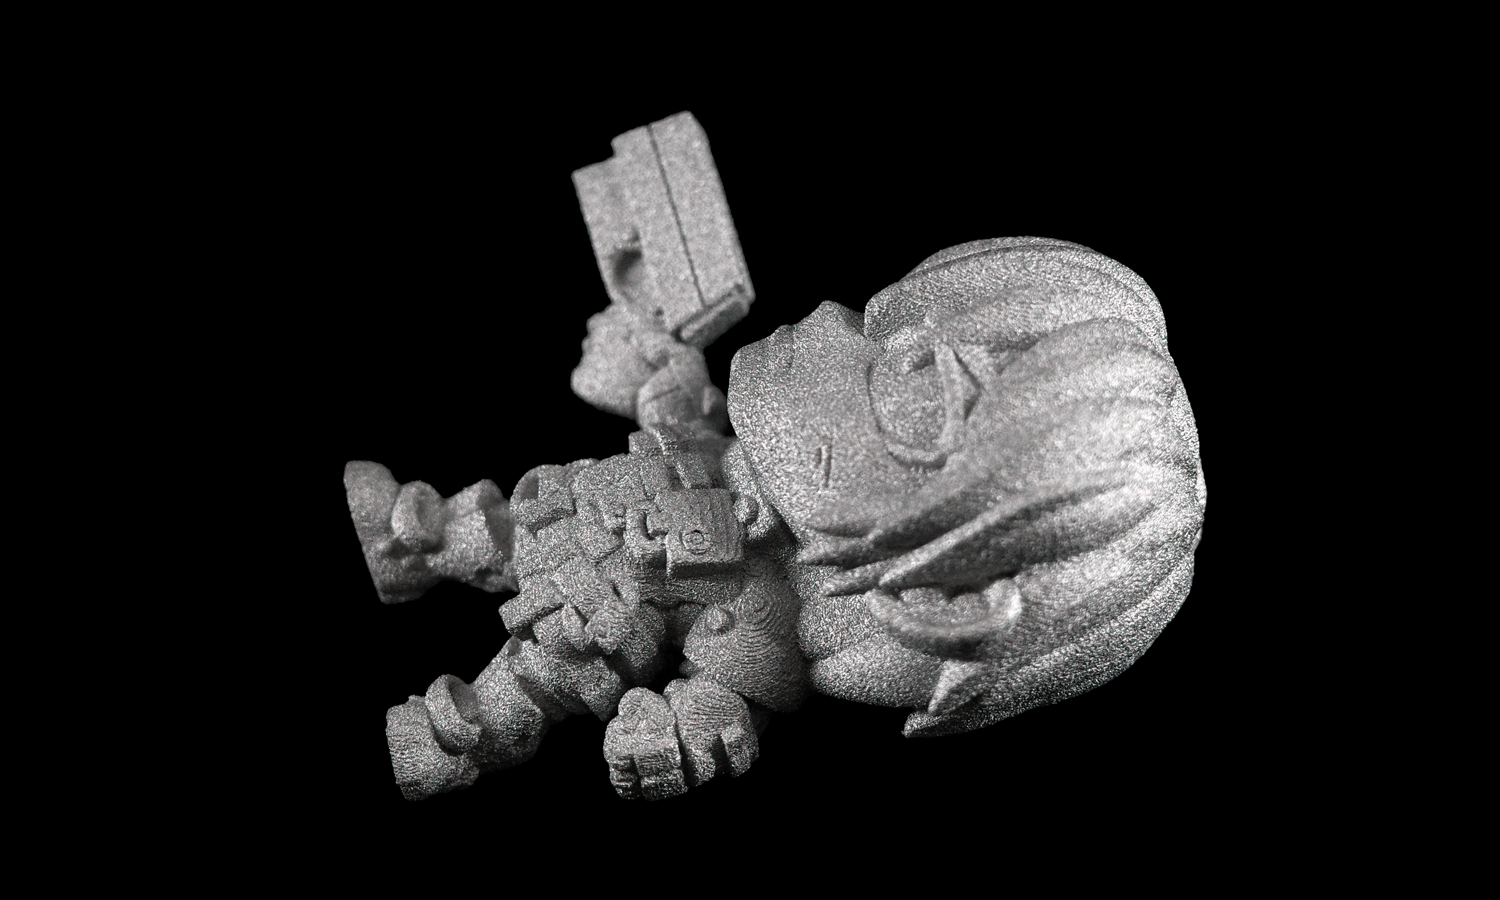
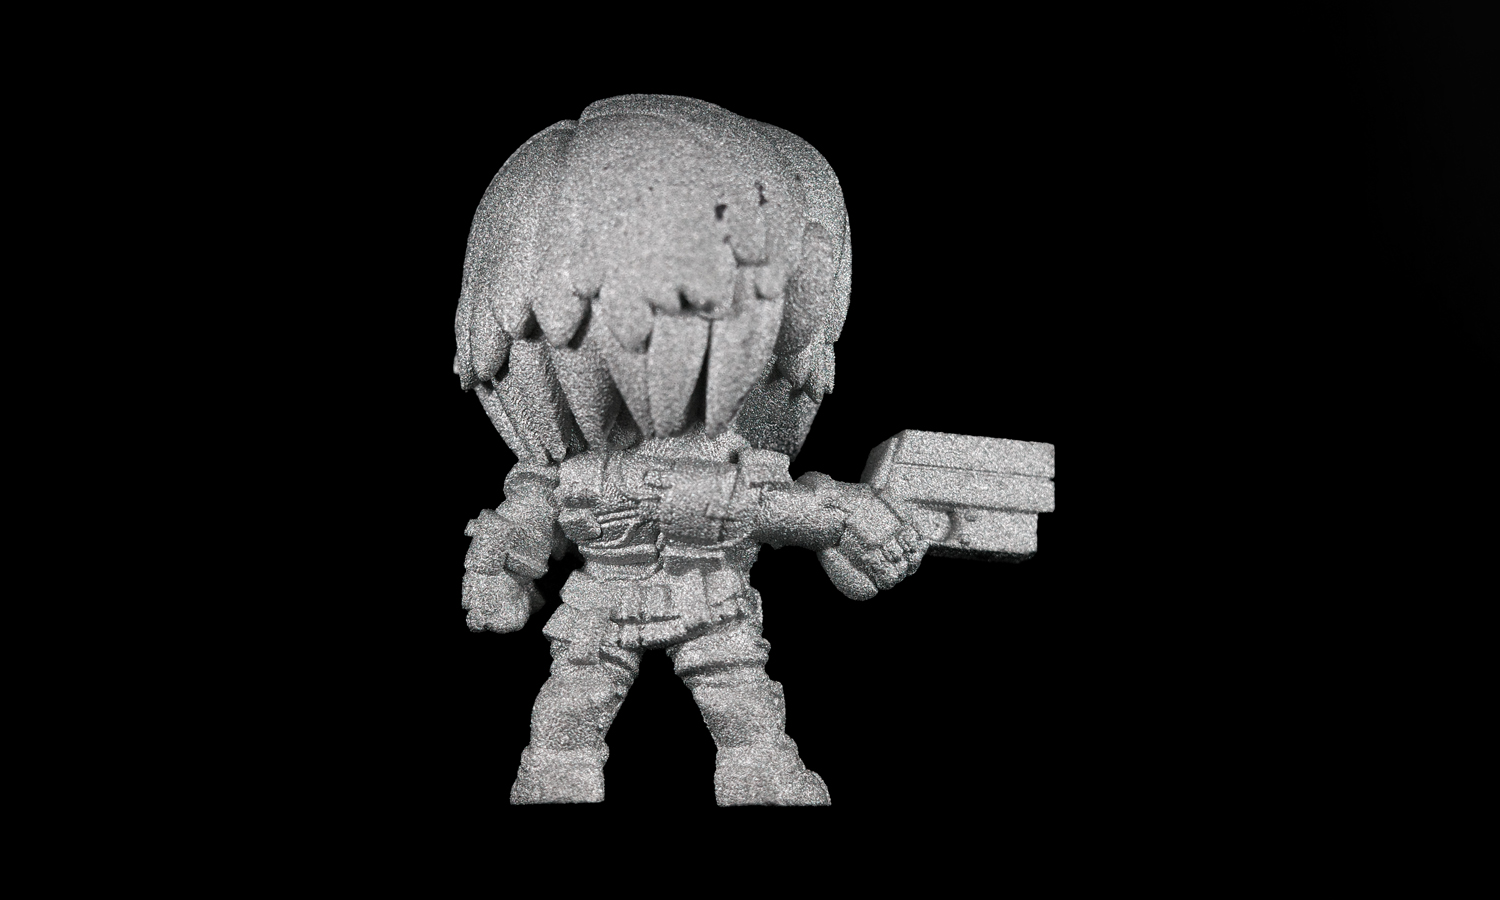
That's right, say hello to our latest project: a pair of chibi fighters, one a gun-toting soldier in combat fatigues, the other a mischievous demon with oversized ears, horns, and a devilish grin, axe in hand. These pint-sized titans weren't born from your average 3D printer, though. They emerged from the cutting-edge realm of Binder Jet printing, a technology that brings meticulous detail and surprising affordability to the world of metal miniatures.
Binder Jet printing might sound like some sort of magical ink-slinging, but it's actually a surprisingly straightforward process. Imagine a high-tech sandcastle builder meticulously layering fine metal powder, then binding it together with a special liquid, layer by layer, until your chibi warrior takes shape. This method allows for intricate details and impressive accuracy, all at a cost that won't leave your wallet singing the dwarven blues.
Of course, no battle is without its drawbacks. While Binder Jet printing excels in detail and affordability, it's important to remember that, like any warrior training, it comes with a slight learning curve. The process can have a bit more shrinkage compared to other metal 3D printing techniques like DMLS. But fear not, intrepid adventurers! FacFox's team of seasoned craftsmen are here to guide you through the process, ensuring your chibi heroes emerge victorious, ready to conquer any tabletop battlefield or display shelf.
So, whether you're a seasoned miniature warlord or just starting your quest for the perfect fantasy figurine, FacFox's Binder Jet 3D printing is your secret weapon. Let us breathe life (or undeath) into your wildest creations, crafting metal miniatures that are as tough as they are adorable. Contact us today and unleash your inner artist Б─⌠ the ultimate chibi showdown awaits!
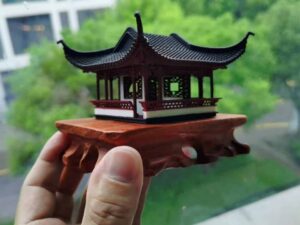
P.S. Don't forget to check out our gallery for more examples of FacFox's metal 3D printing prowess. You might just find your next chibi champion there!
Solution
- Step 1: Design and Slicing. A 3D model of the chibi troll was meticulously crafted in Blender software. This model was then sliced into thin, horizontal layers, each representing the thickness of a single powder layer in the printing process.
- Step 2: Powder Bed Preparation. A layer of fine SS316L stainless steel powder was evenly spread across the build platform of the binder jetting printer.
- Step 3: Selective Binder Jetting. The printer’s inkjet head traversed across the powder bed, precisely depositing a liquid binder onto specific areas according to the sliced 3D model data. This binder selectively bonded the powder particles together, forming the first layer of the chibi figure.
- Step 4: Recoating and Printing. After each layer of binder was deposited, a fresh layer of SS316L powder was spread over the top, completely burying the previous layer and creating a new printing surface. This cycle of binder jetting and recoating repeated hundreds of times, gradually building up the chibi figure layer by layer.
- Step 5: Curing. Once the entire printing process was complete, the remaining loose powder surrounding the chibi figure was carefully removed. The printed figure, still bonded by the binder, underwent a curing process to solidify and strengthen the binder, improving its stability for handling.
- Step 6: Sintering. The cured figure was then placed in a high-temperature furnace for sintering. During sintering, the SS316L powder particles fused together through a process of heat and diffusion, transforming the figure from a fragile, binder-held form into a solid, metallic object.
- Step 7: Post-Processing. The sintered chibi figure was cooled down and removed from the furnace. Any excess powder clinging to the figure’s surface was further blasted away using compressed air or other cleaning methods. Depending on the desired finish, the figure might undergo additional polishing or sandblasting for a smoother or more textured appearance.
- Step 8: Final Touches. The final step involved any finishing touches, such as applying a protective coating or adding any desired paint details to bring the chibi troll to life.

