Material Resin
Quantity 1 pcs
Price Range $100-1,000
Lead Time 5 workdays
Gallery
About Project
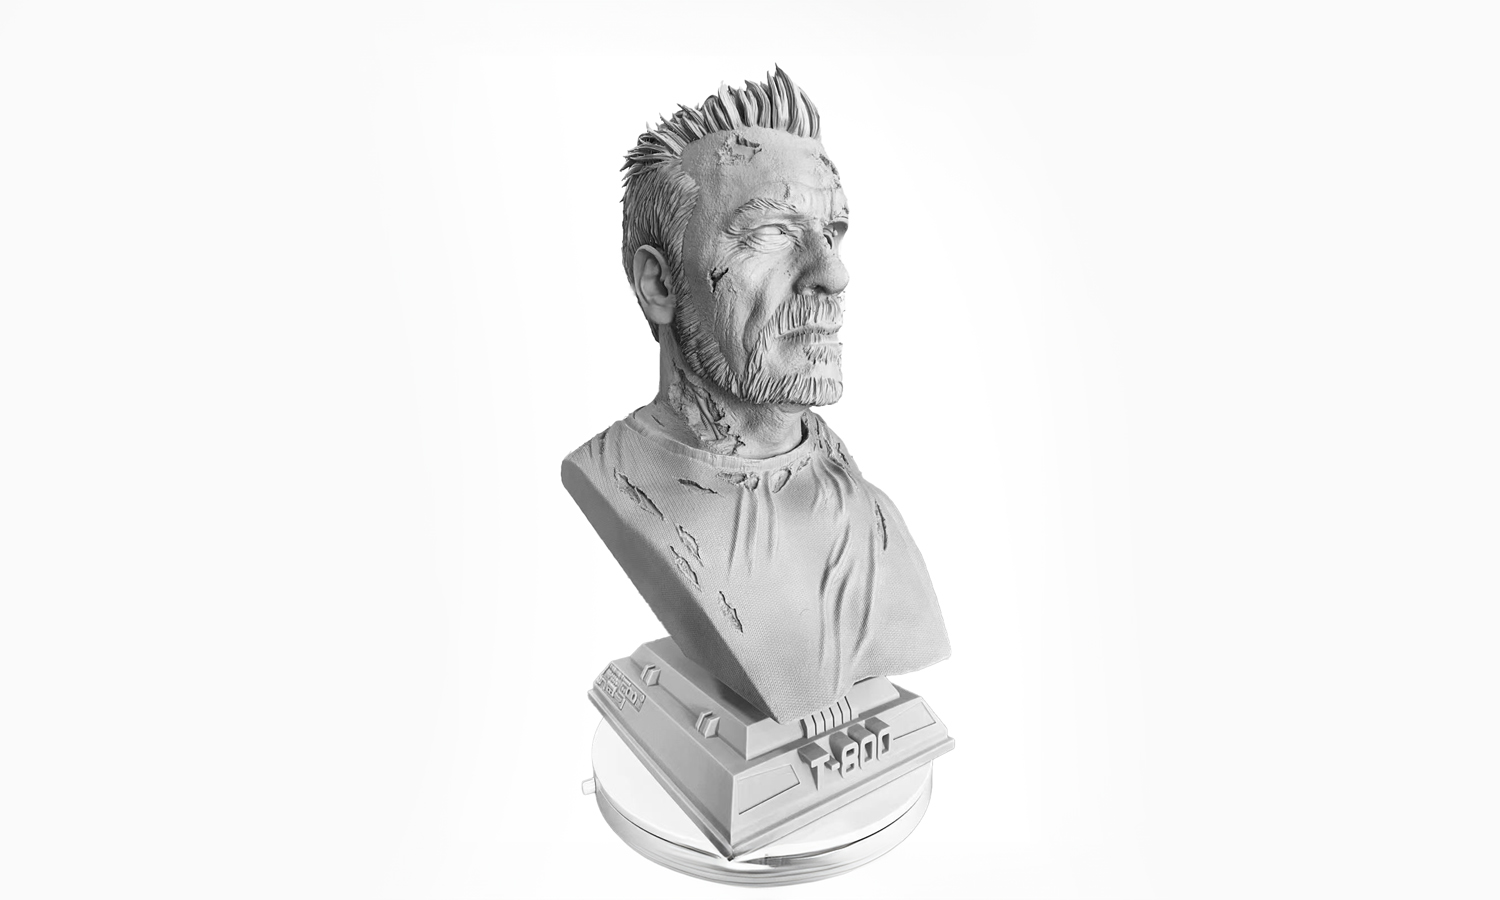
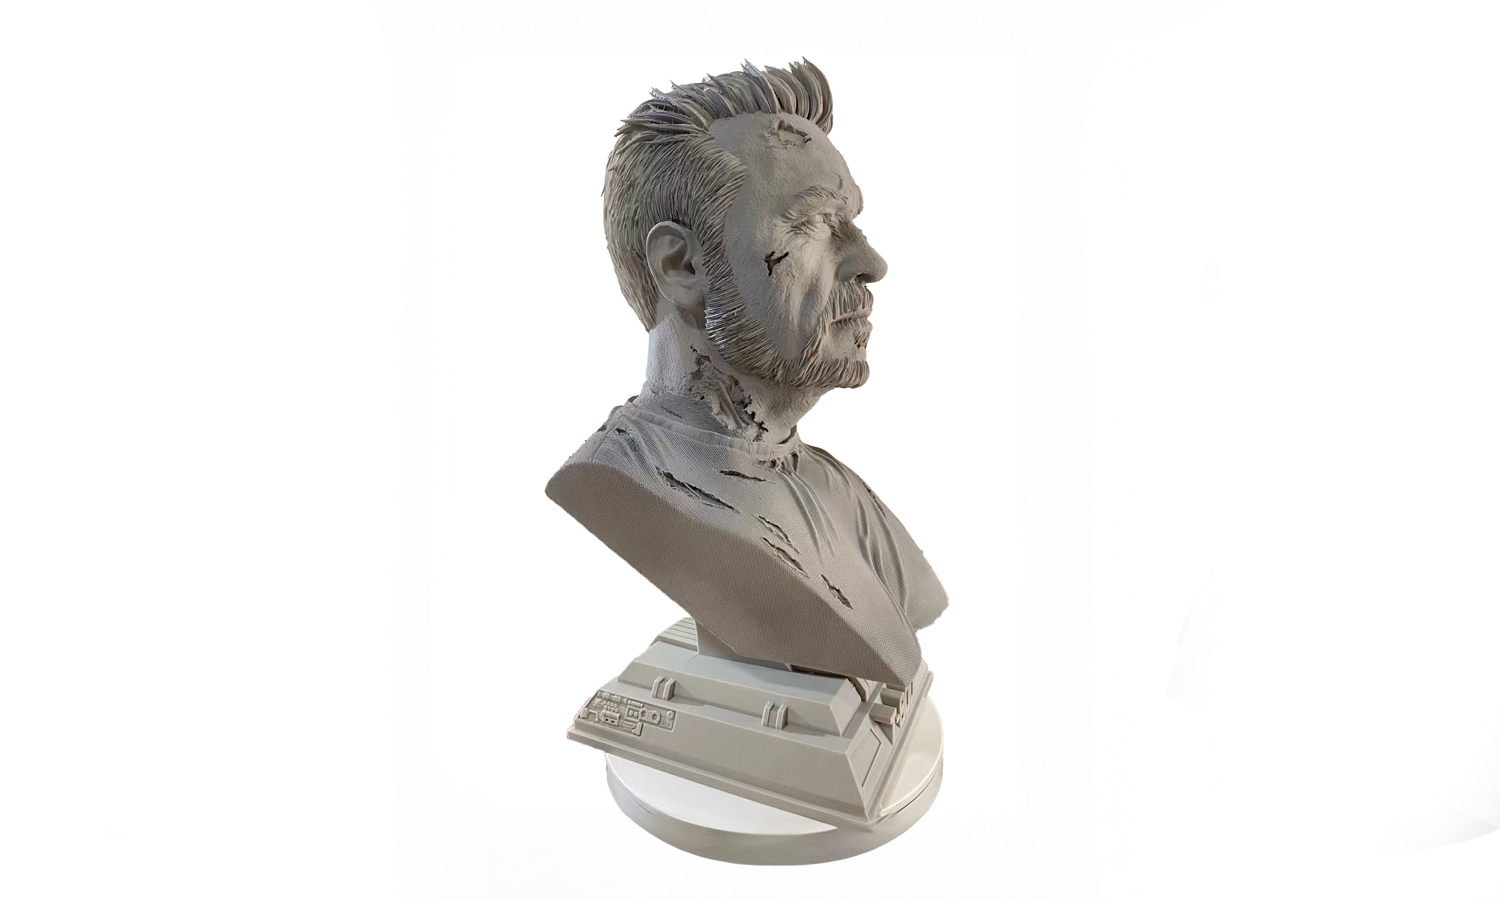
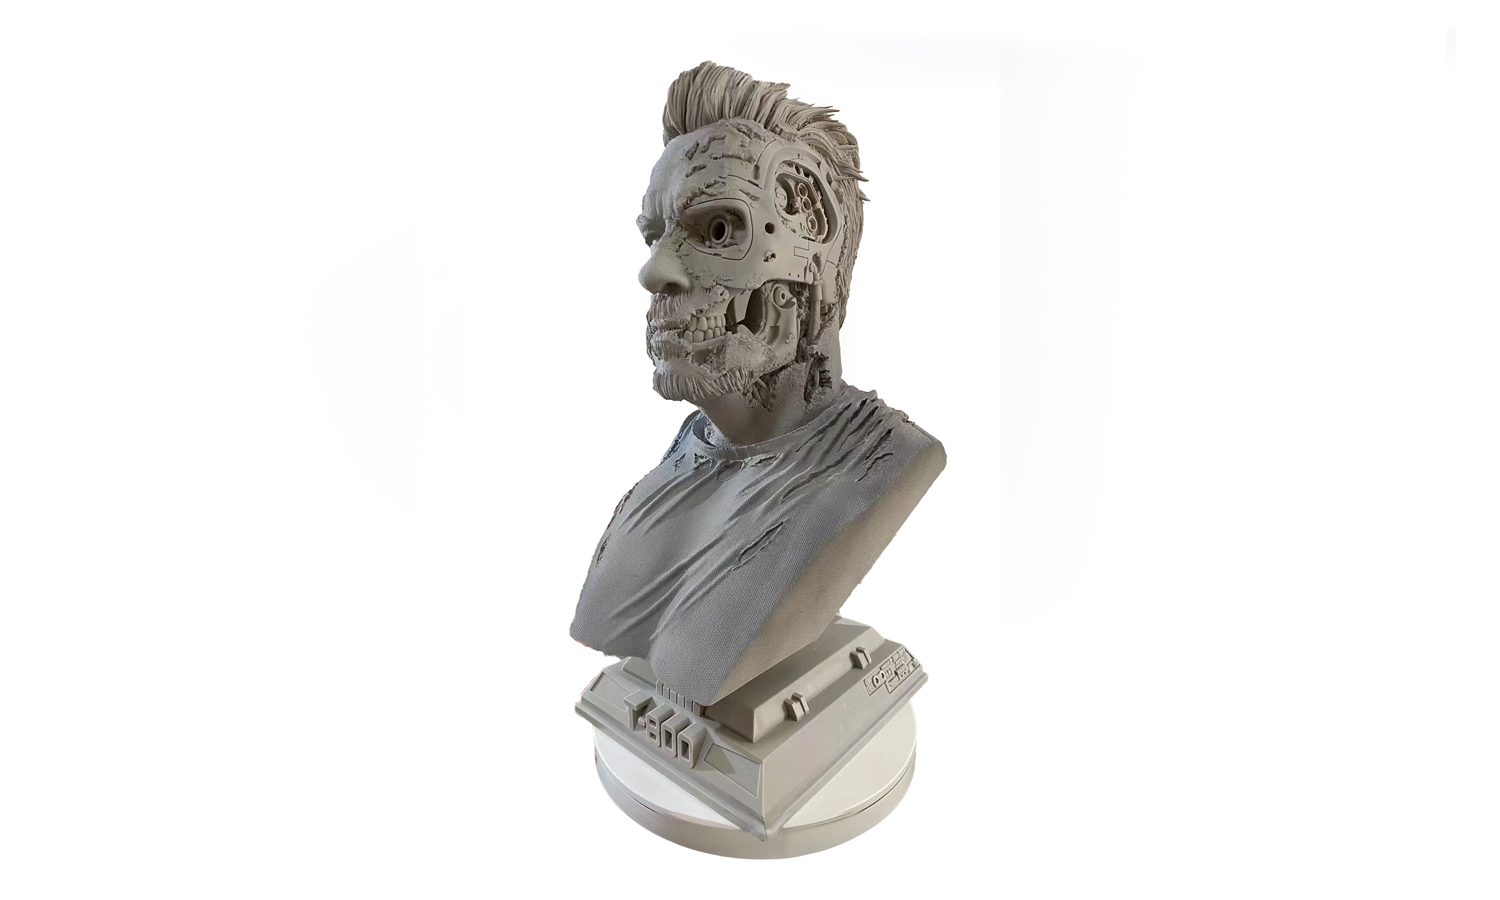
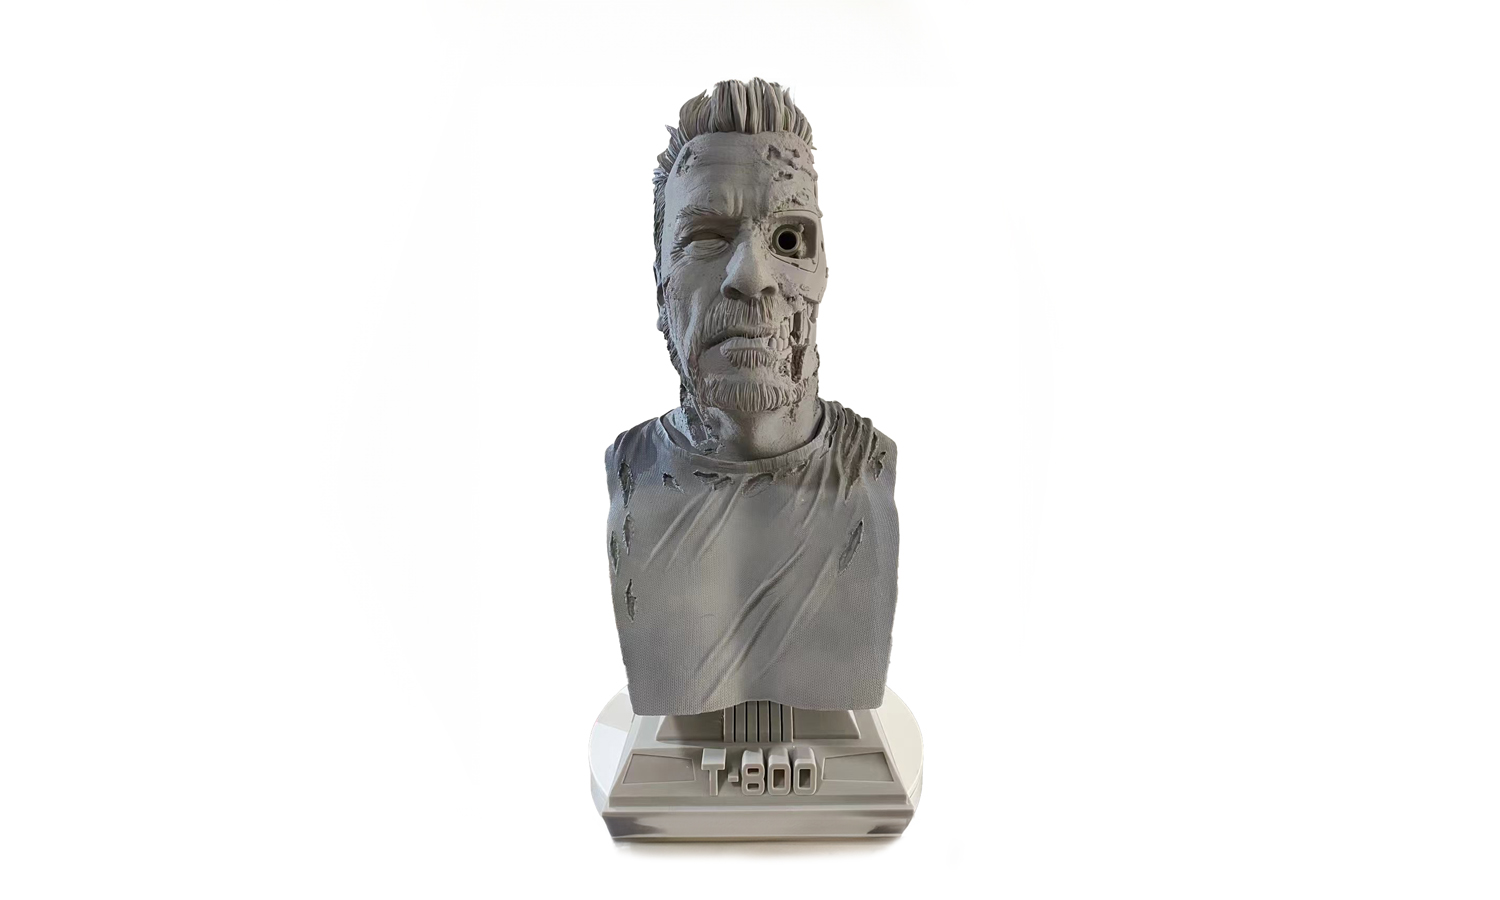
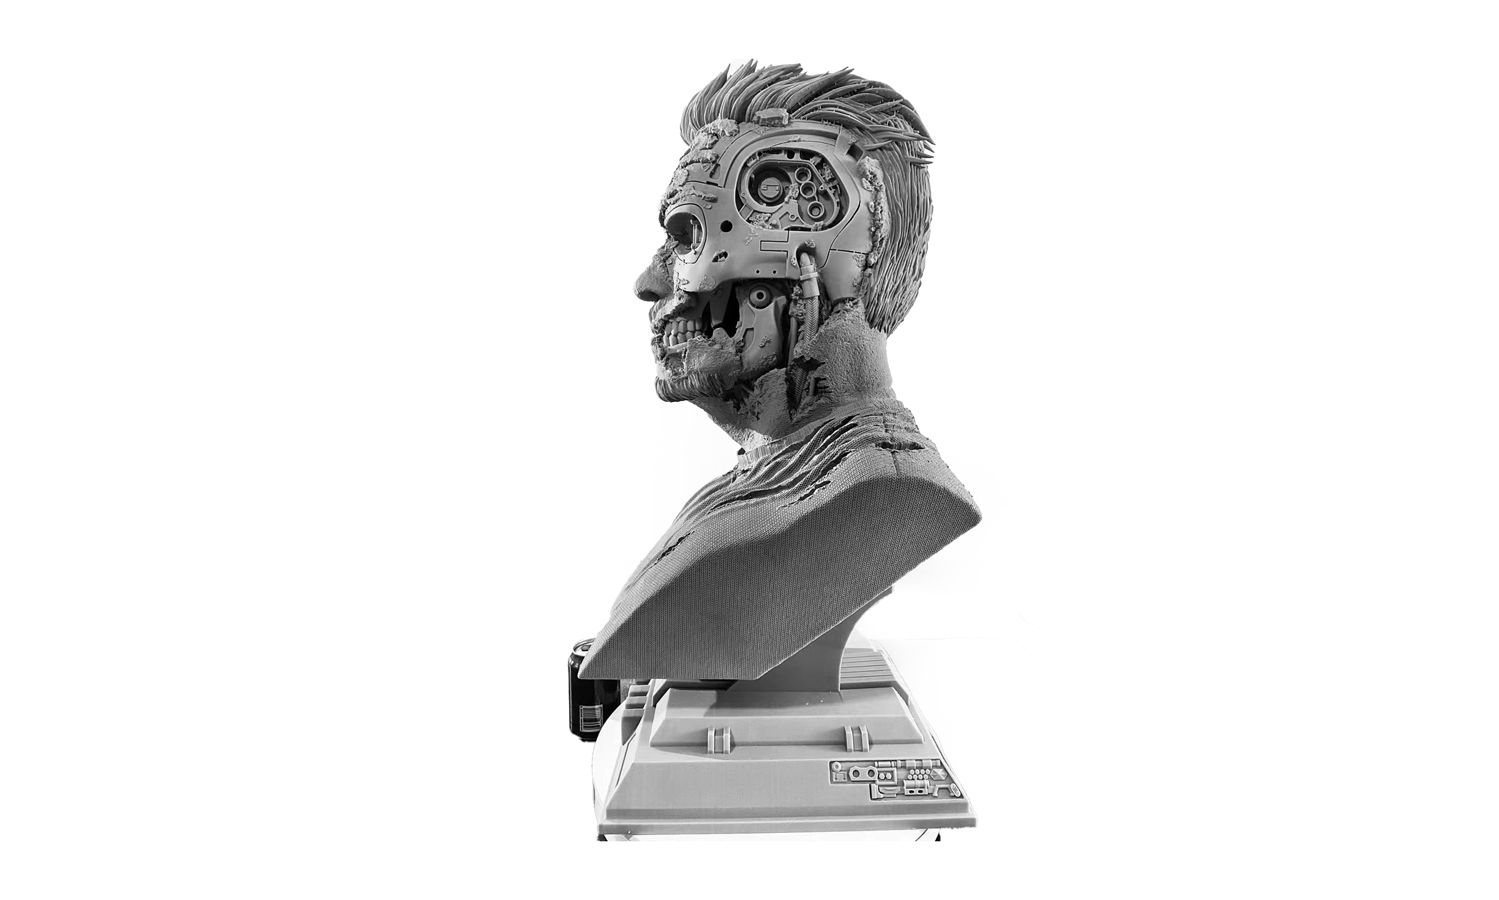
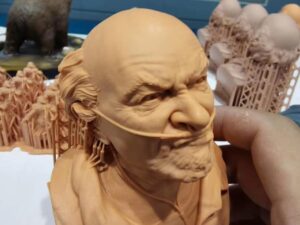
Are you a fan of the Terminator franchise? Do you want to own a realistic and detailed bust of your favorite cyborg? If so, you might be interested in the 3D-printed T800 resin bust sculpture, a stunning piece of art that captures the essence of the iconic character.
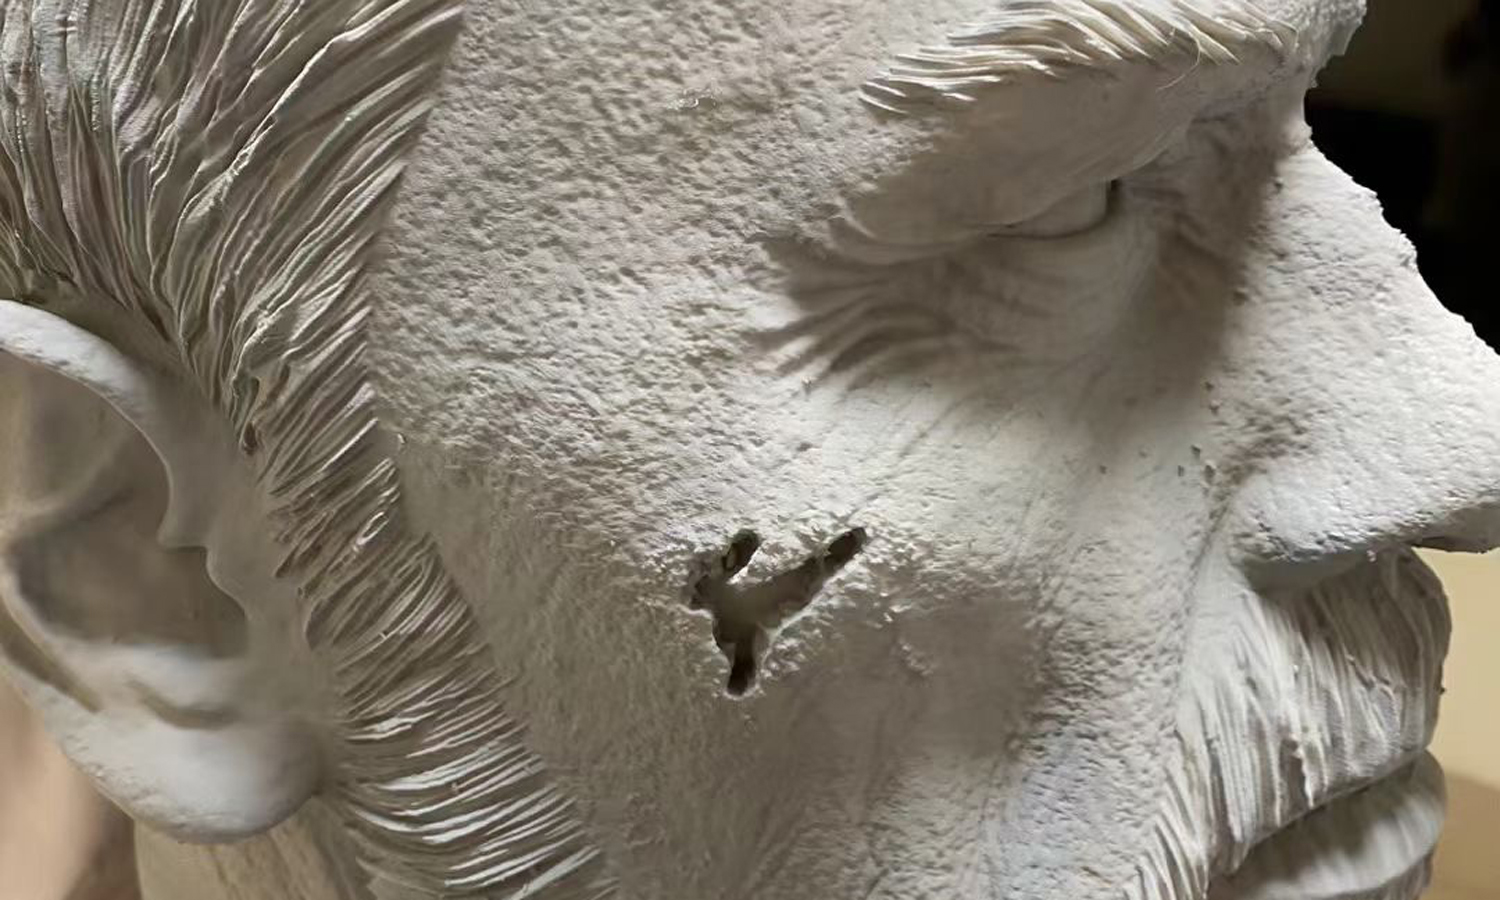
This bust is made by FacFox, a company that specializes in creating high-quality resin sculptures based on popular movies, comics, and games. The bust is printed in 3D using Stereolithography (SLA) technology, which produces smooth and detailed surfaces with fine details. The bust features a battle-damaged face that shows the scars and cracks from the war against Skynet. The eyes are glowing red, giving it a menacing look. The bust is about 30 cm tall and weighs about 2 kg.
The T800 bust sculpture is a perfect gift for yourself or any Terminator fan. It will add a touch of realism and nostalgia to your home or office. You can display it on your shelf, desk, or mantel, or use it as a collectible item. It will surely impress your friends and family with its amazing quality and design.
If you want to get your own T800 bust sculpture, you can custom one from FacFox. We offer worldwide shipping and fast delivery. You can also check out our other products or custom services. DonŌĆÖt miss this opportunity to own this awesome piece of art!
Solution
- Step 1: The design of the bust was created using any CAD software or 3D scan data, and exported in a 3D printable file format (STL or OBJ). It could be downloaded from Pixup.
- Step 2: The resin tank was filled with the appropriate resin material, which was a light-reactive thermoset that cured when exposed to certain wavelengths of light.
- Step 3: The light source, which could be either a laser or a projector, was positioned above the resin tank and aimed at the model.
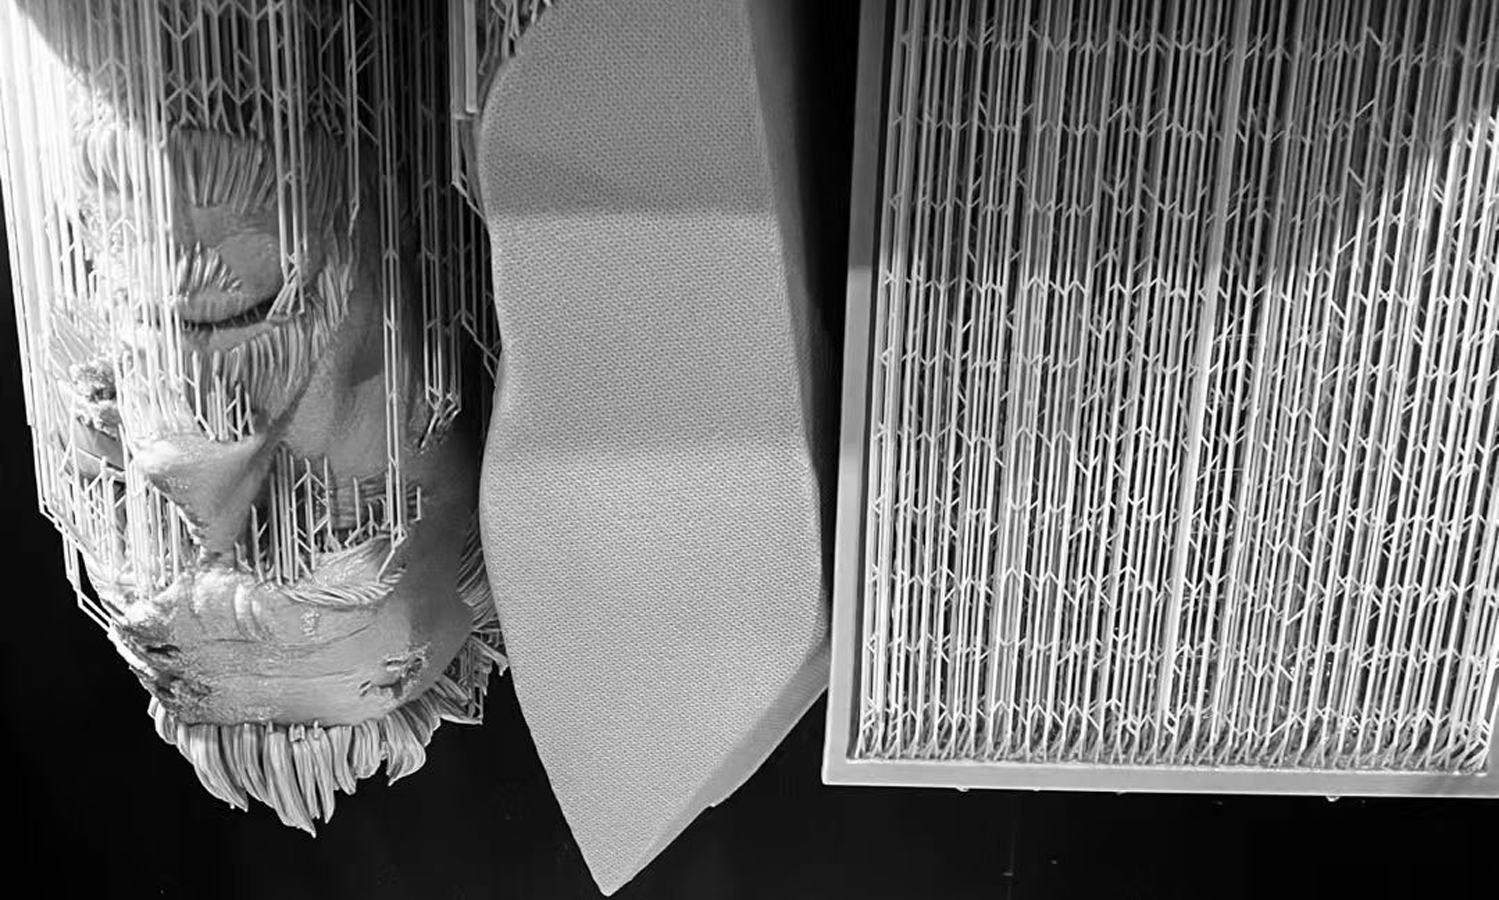
- Step 4: The machine started the printing process and moved the model layer by layer through the resin vat, where it cured each layer with light.
- Step 5: The machine also controlled the temperature, pressure, and flow rate of the resin to ensure optimal curing and quality.
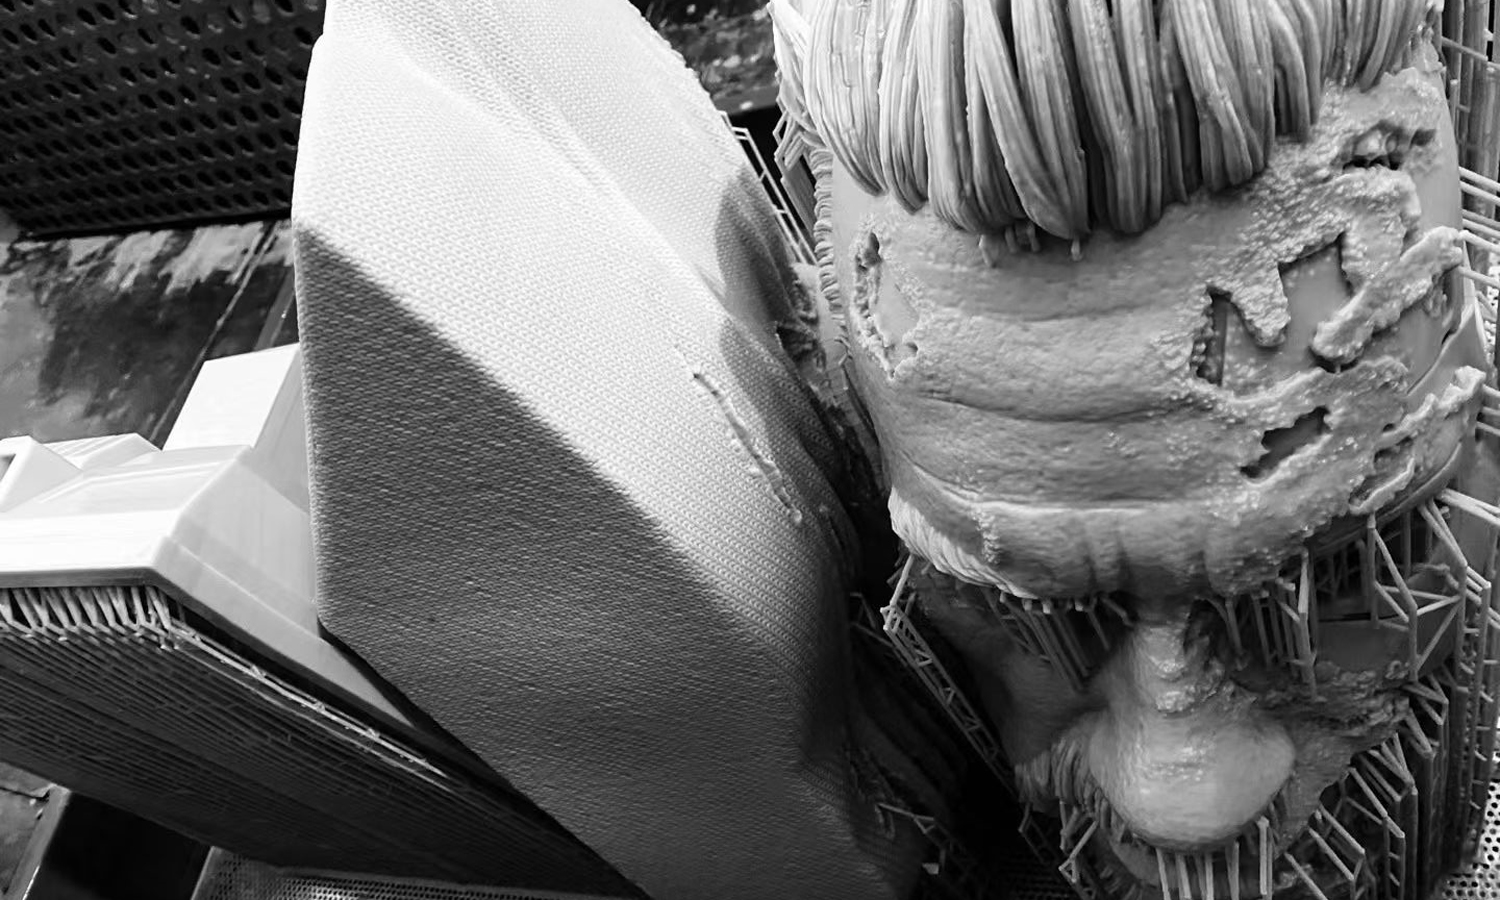
- Step 6: The machine stopped when the model was fully printed and removed it from the resin vat.
- Step 7: The model was then cleaned of any excess resin and post-processed to remove support structures and smooth out any rough edges.
- Step 8: The model was then polished and finished to achieve a realistic and detailed appearance.

