Gallery
About Project
Are you looking for a unique and meaningful gift for yourself or your loved ones? Do you want to enhance your home or office with the power of Fengshui? If so, you might be interested in our 3D-printed resin Bagua compass.
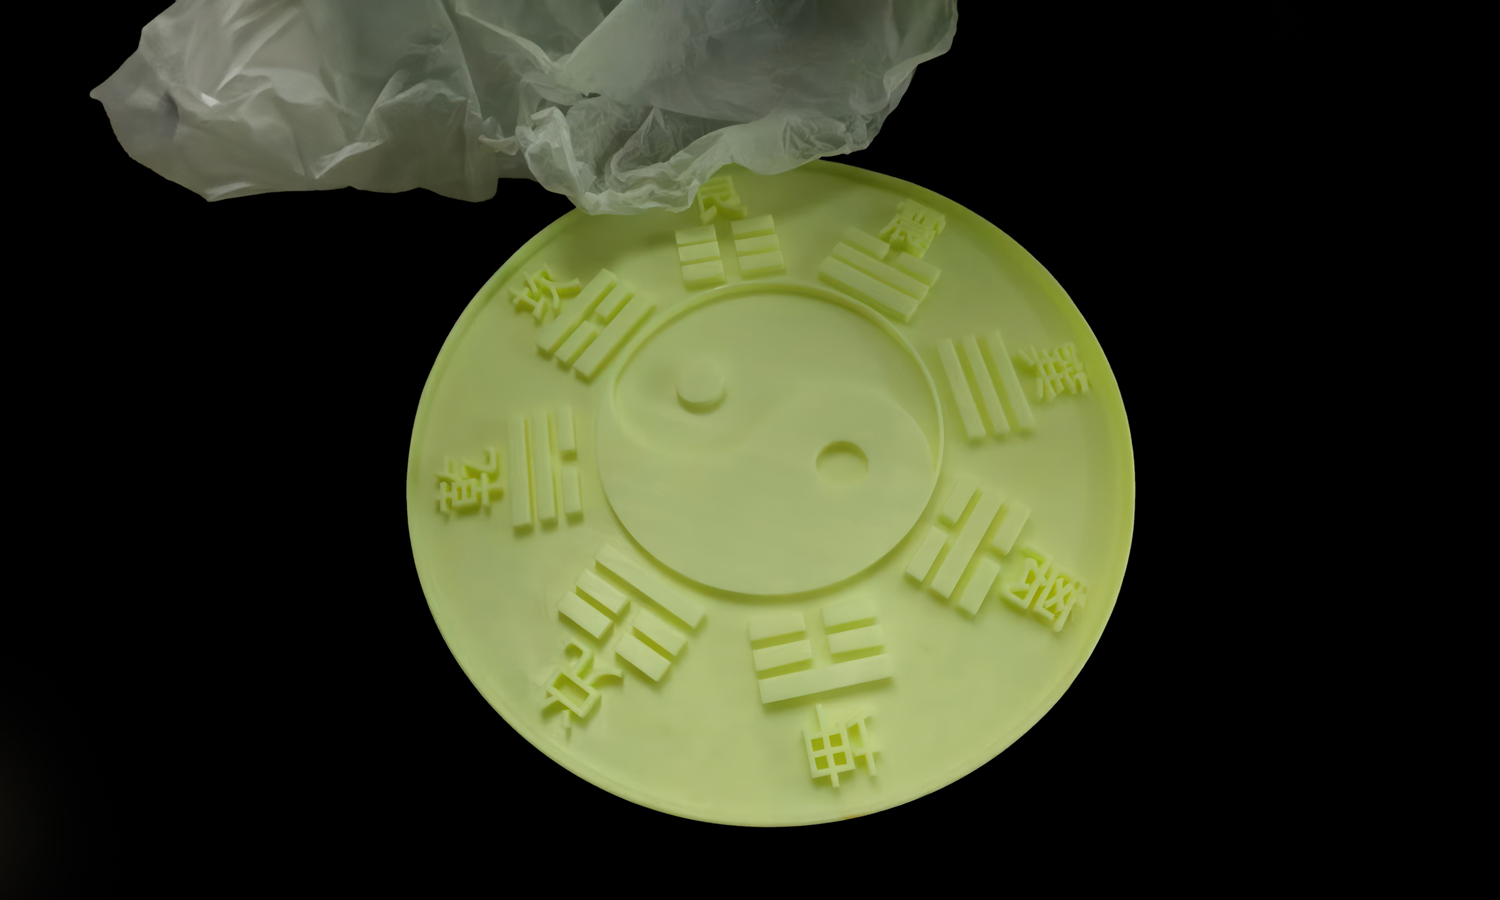
This is a beautiful and practical product that combines the ancient wisdom of the Bagua with the modern technology of 3D printing. The Bagua is a symbol of the eight trigrams, which represent the eight possible combinations of Yin and Yang energies in nature. The Bagua can help you balance your life, improve your health, and attract good luck.
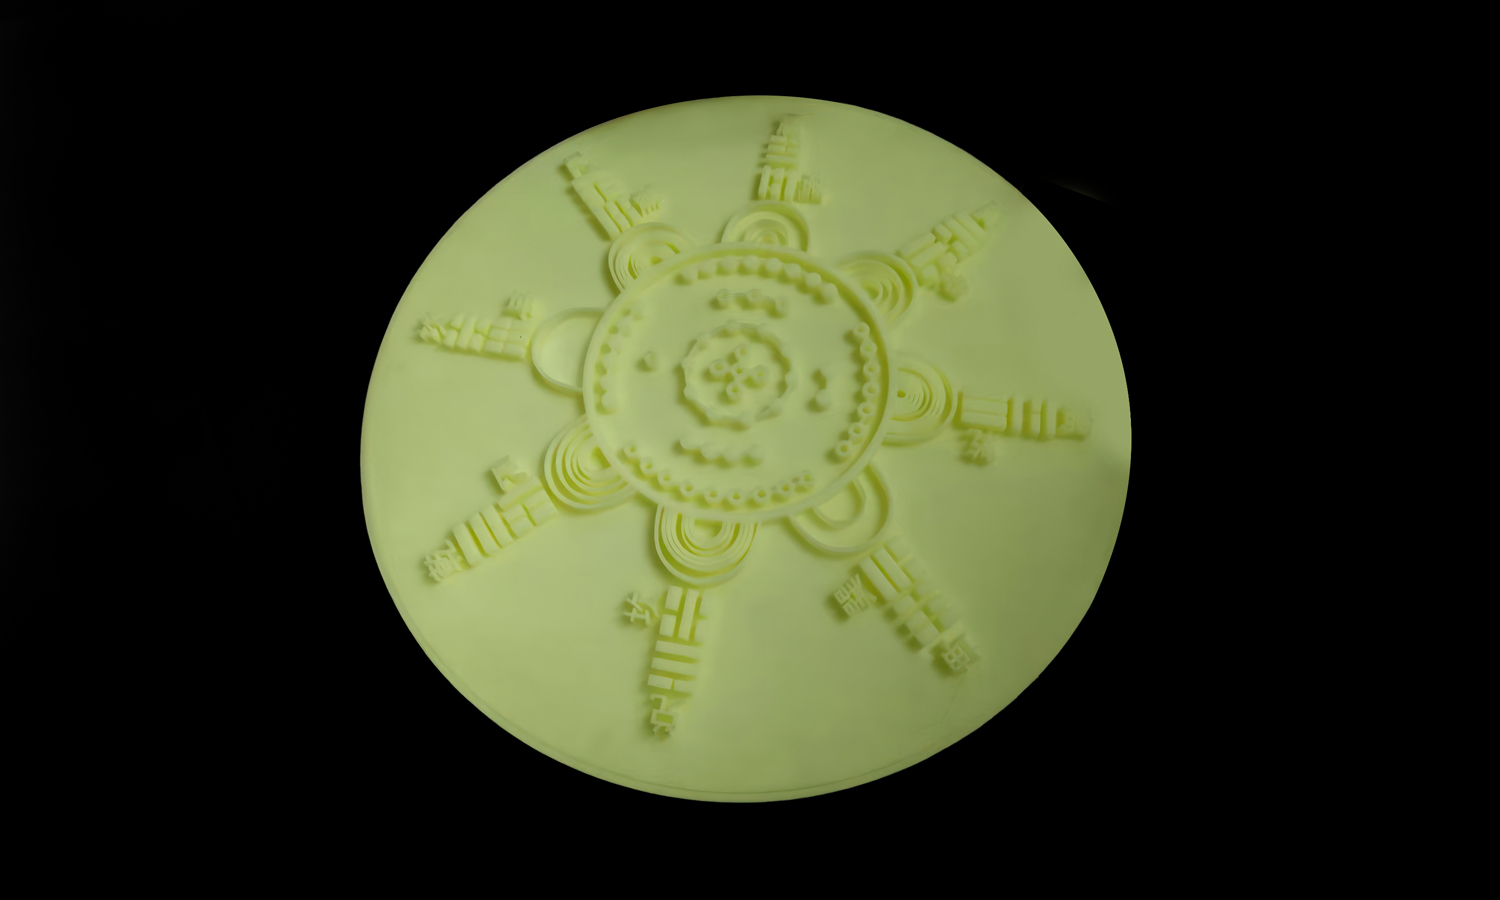
Our Bagua compass with eight trigrams is made of high-quality resin that has excellent mechanical properties and durability. It has a diameter of 30 cm and features a Taiji icon in the center, surrounded by eight trigrams and their Chinese names. The extruding characters are all printed clearly with this resin, giving it a stunning appearance.
The compass needle can be rotated to point to any direction, according to your preference or situation. You can use it to align yourself with the natural flow of energy, or to find directions in your environment. The compass also has a metal base that can be attached to any surface.
This product is not only a decorative item, but also a functional tool that can help you achieve harmony and prosperity in your life. It is suitable for any space, whether it is your bedroom, living room, office, or study. It can also be used as a teaching tool for children or students who want to learn about Fengshui.
Solution
- Step 1: The model was designed using any CAD software or 3D scan data. The model was exported in a 3D printable file format (STL or OBJ) and sent to the printer for printing.
- Step 2: The model was printed using an SLA resin 3D printer. A light source (a laser or projector) was used by the printer to cure liquid resin into hardened plastic layer by layer. The SLA Tough Resin was mixed with a photoinitiator that reacted with light and initiated the polymerization of monomers and oligomers. The exposure time, power, and speed were automatically adjusted by the printer according to the resin type and layer thickness.
- Step 3: The printed model was post-processed using various techniques to improve its quality and appearance. Some of these techniques included removing support structures, sanding, polishing, painting, or coating. Support structures were temporary supports that held up parts of the model during printing that were not fully solidified yet. They were removed carefully after printing to avoid damaging or warping the model.
- Step 4: The model could be finished by adding any finishing touches or decorations that made it more attractive and functional. The print in the shown photos was not finished yet. Our experienced staffs could paint the model with spray guns and brushes.


