Material Resin, Other
Quantity 2 pcs
Price Range $100-1,000
Lead Time 7 workdays
Gallery

About Project
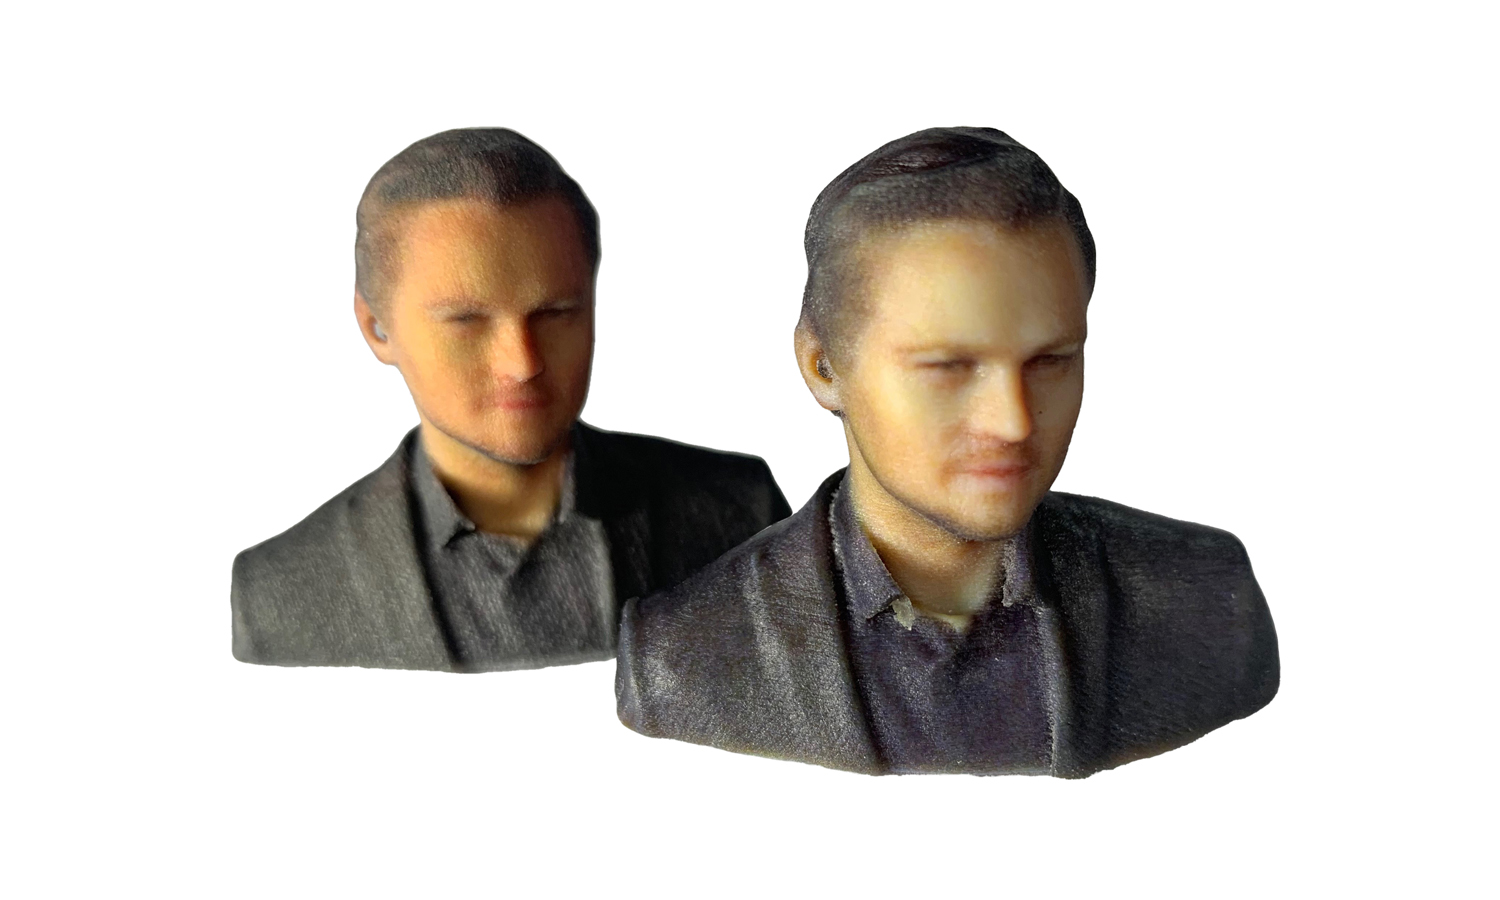
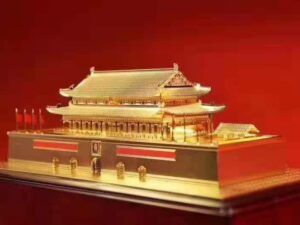
Looking for a unique and eye-catching way to showcase your love for Leonardo DiCaprio? Look no further than FacFoxŌĆÖs 3D printed head sculptures! Our PolyJet 3D printing technology and PolyJet Multi-Color Resin material create a smooth, light-colored sculpture with clear details. If youŌĆÖre looking for a more affordable option, our Binder Jetting 3D printing technology and CJP Fullcolor Sandstone material is perfect for those who prefer a tanned skin color. Both options are colorful and require no extra painting. At FacFox, we can custom make statues of people, pets, houses, and more. Contact us today to get started! ¤Ä©¤¢©’ĖÅ
Solution
The process of Binder Jetting 3D printing full-color sandstone sculpture:
- Step 1: As the default layer thickness is 0.1mm and sandstone prints have medium tolerance, the thickness of all the modeling details was examined to ensure they can all be printed out.
- Step 2: A rolling batch left a uniform layer of sandstone-like powder. From there two printing heads passed over the batch, coloring and adhering to the object at the same time. The batch of powder then made another pass, until the object was completed.
- Step 3: After printing, the statue was then coated with cyanoacrylate (super glue) or a different infiltrant to improve part strength and enhance the vibrancy of the colors. A secondary epoxy layer could then also be added to further improve strength and color appearance.
The process of PolyJet 3D printing full-color resin sculpture:
- Step 1: The CAD file was imported into the slicer software. Its positioning was arranged and necessary supporting structures were added. Soluble PolyJet supports could help create complex models with no restrictions on geometry.
- Step 2: A inkjet-type head deposited multiple droplets of Vero (white) and Agilus (black) onto the build plate, which was then cured by a UV light. After a thin layer was created, the process repeated itself by jetting additional layers until the part was fully formed.
- Step 3: The supporting structure was removed by rinsing the model with water and isopropanol (IPA). The parts would need post-cure under UV light for optimal properties.

