Material Resin
Quantity 1 pcs
Price Range $100-1,000
Lead Time 6 workdays
Gallery

About Project
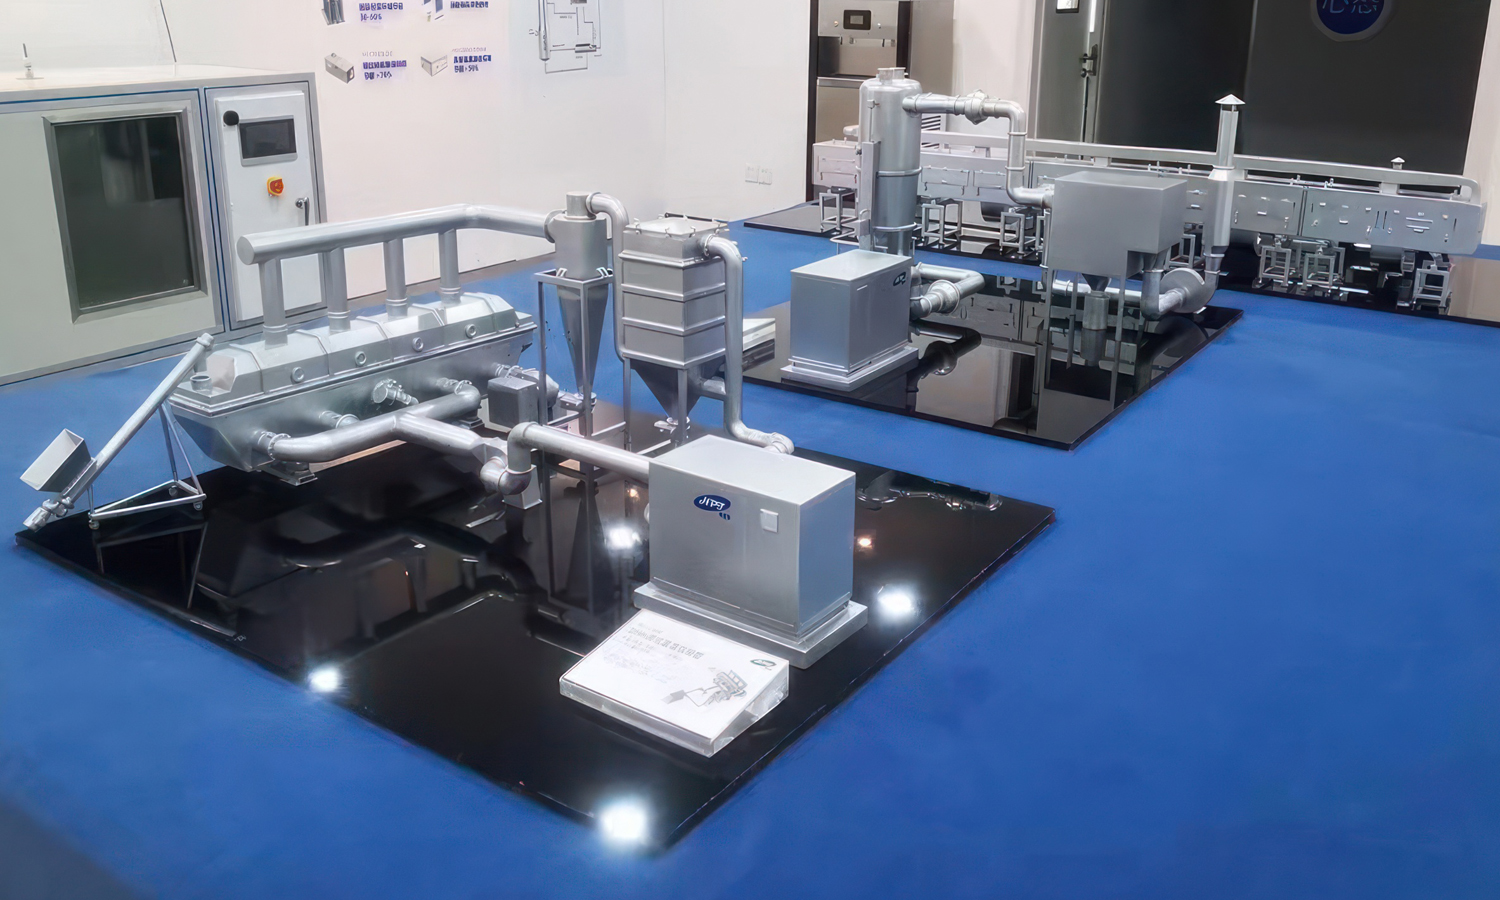
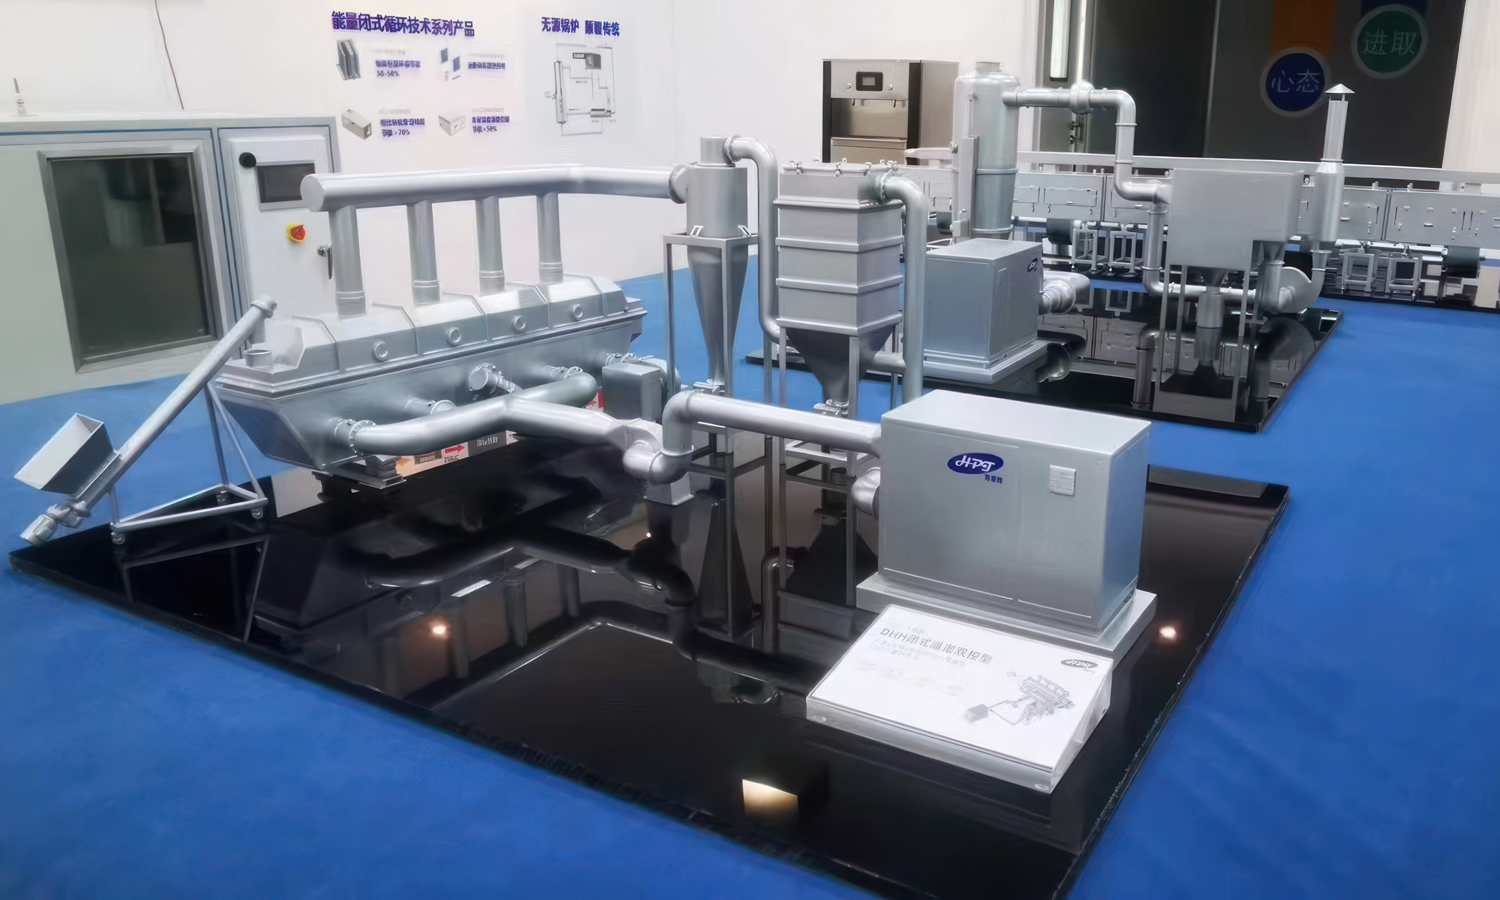
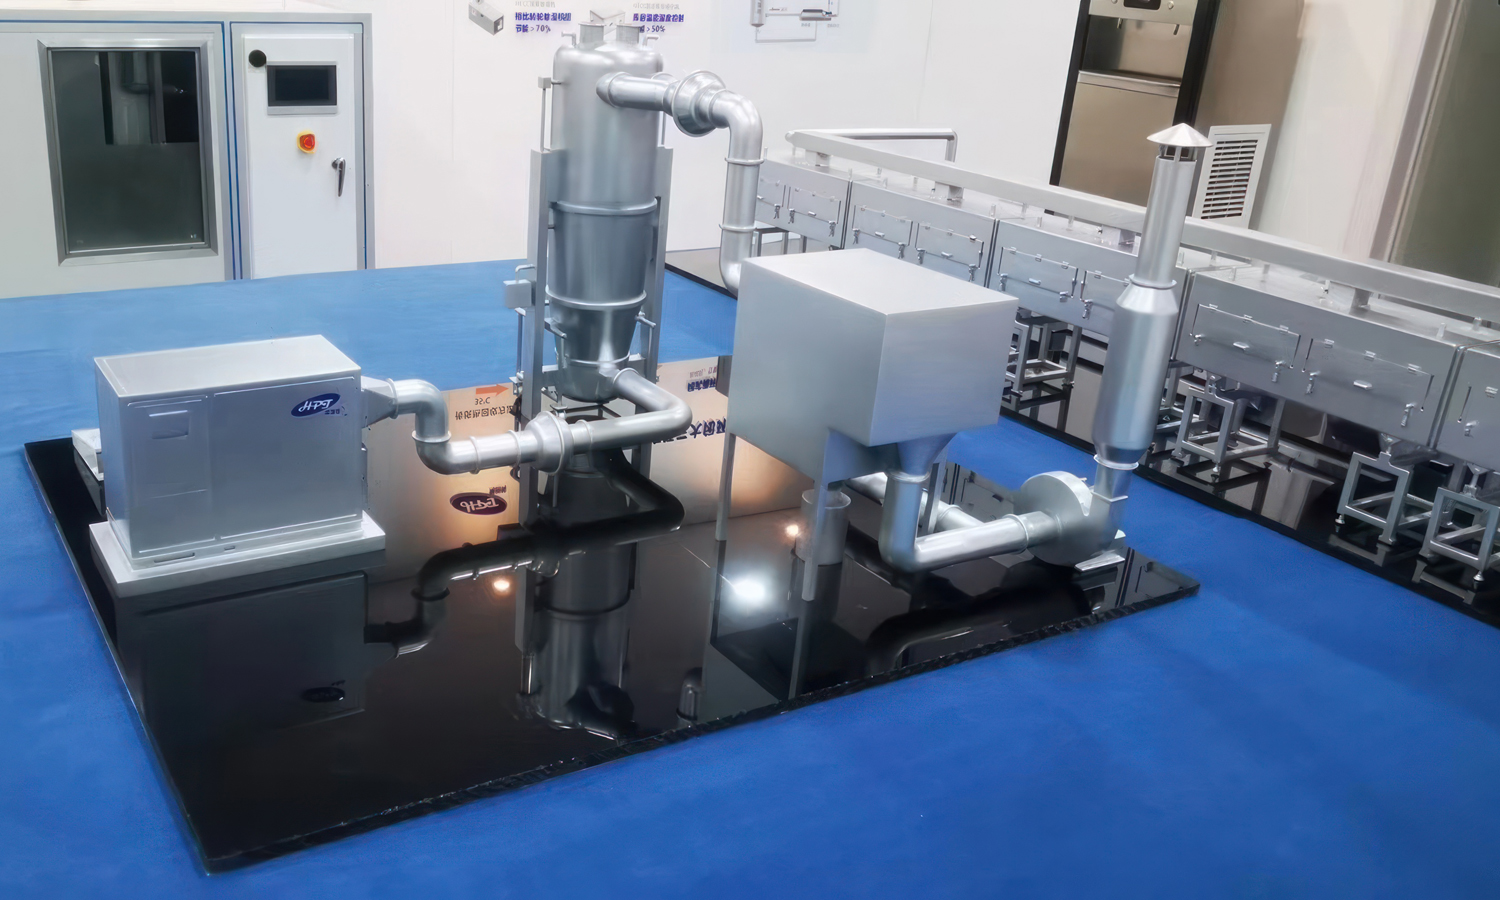
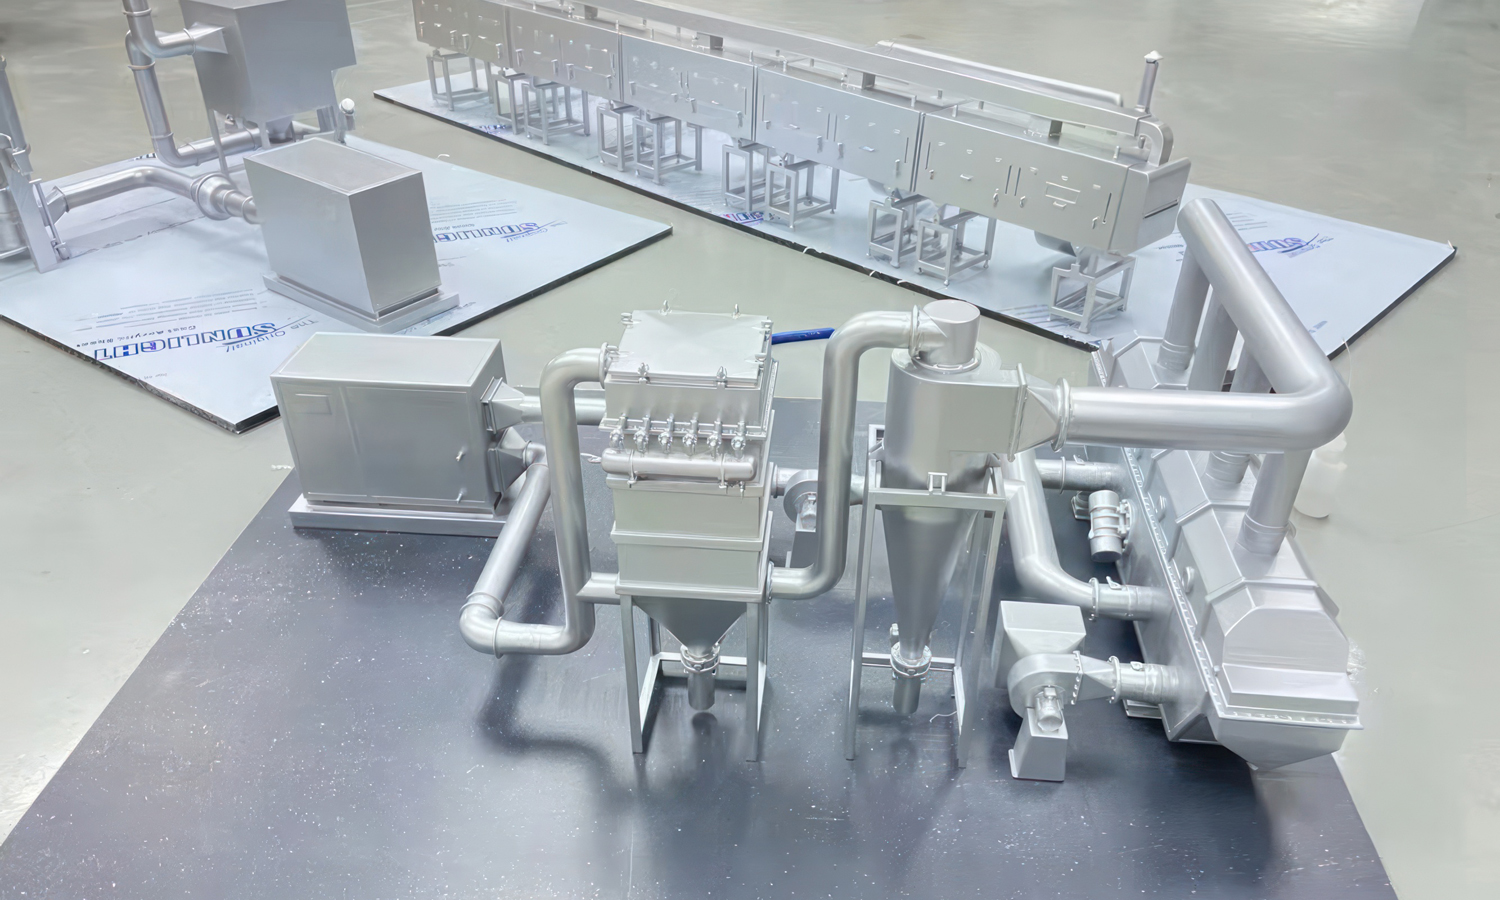
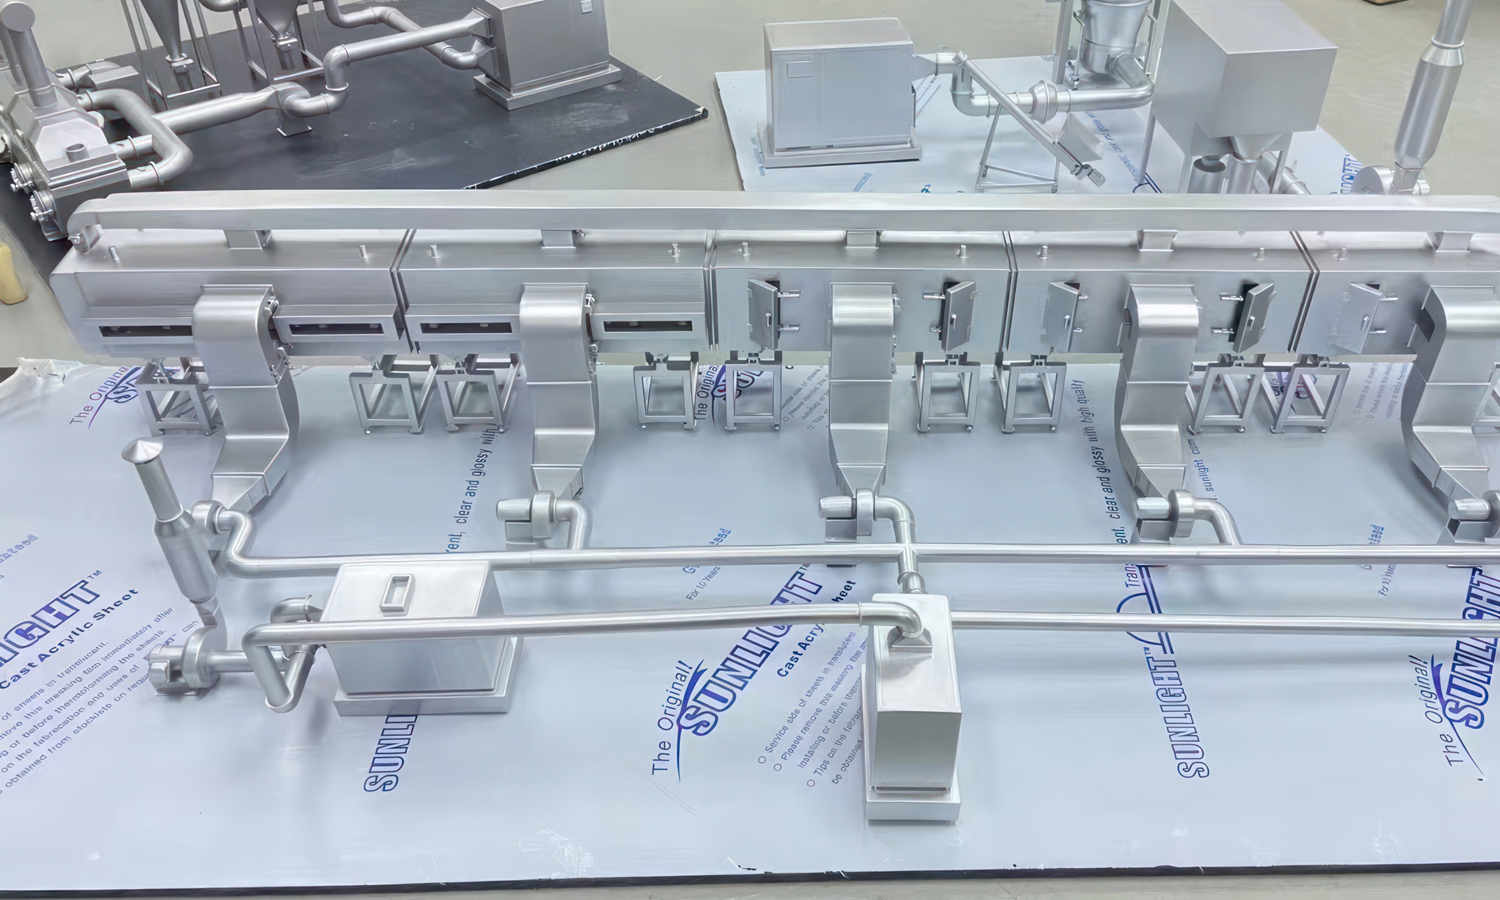
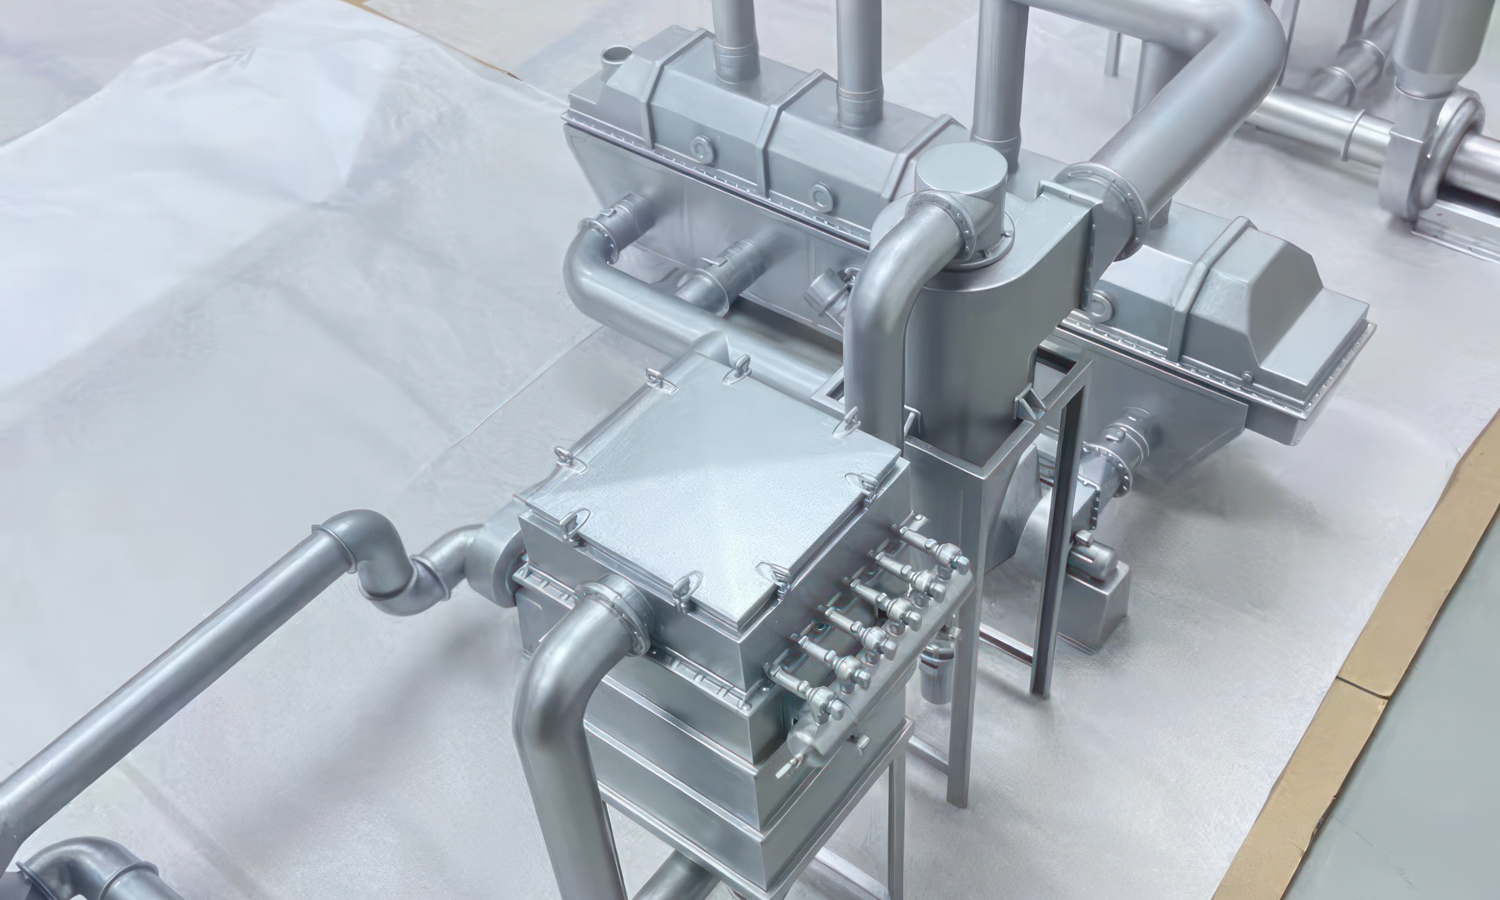
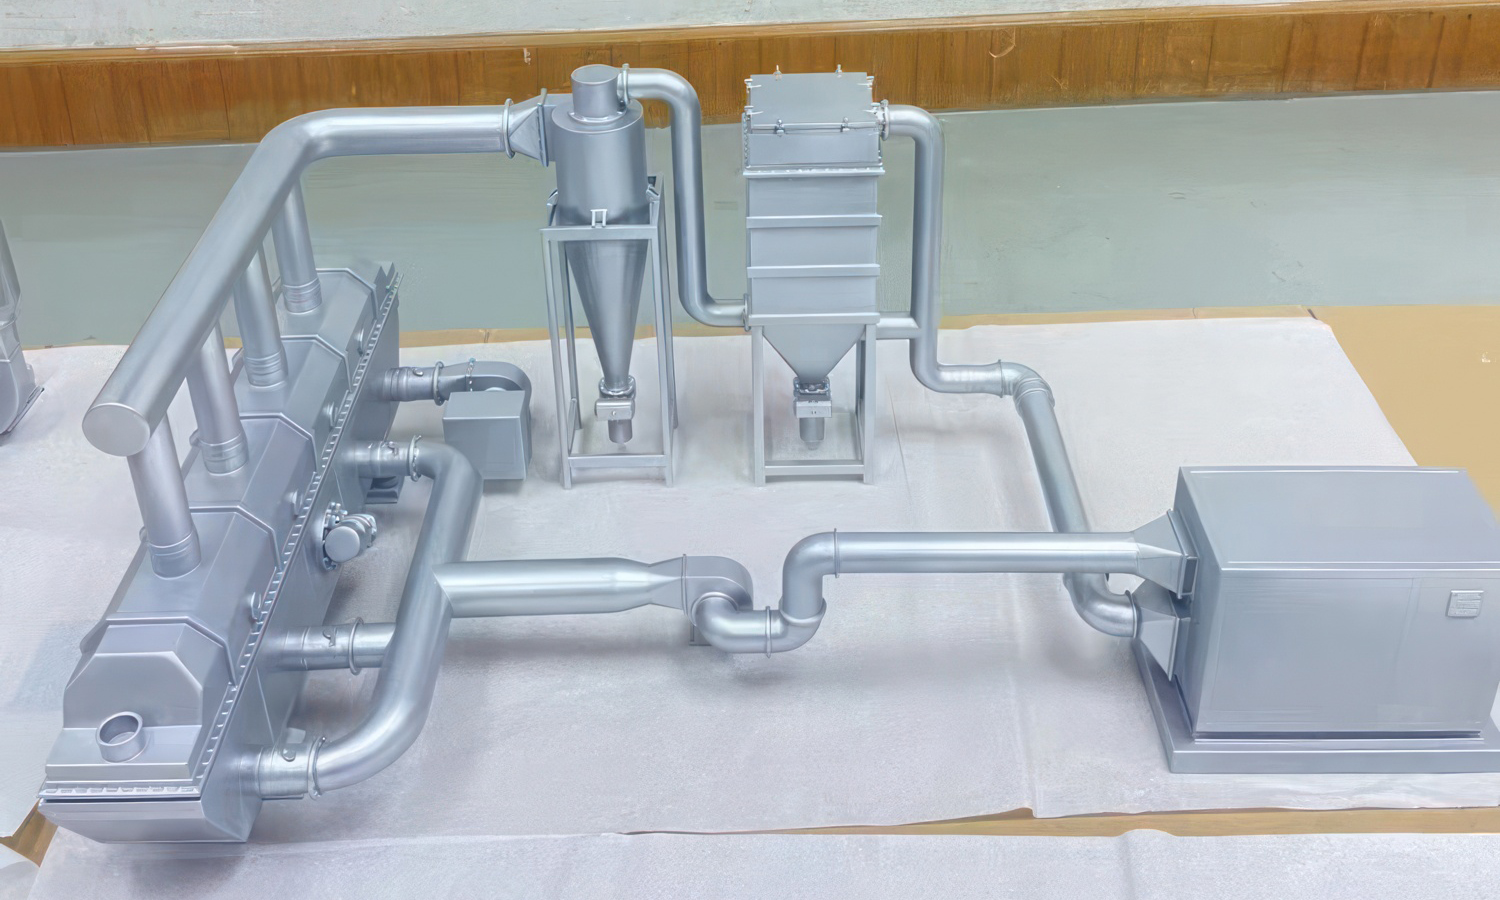
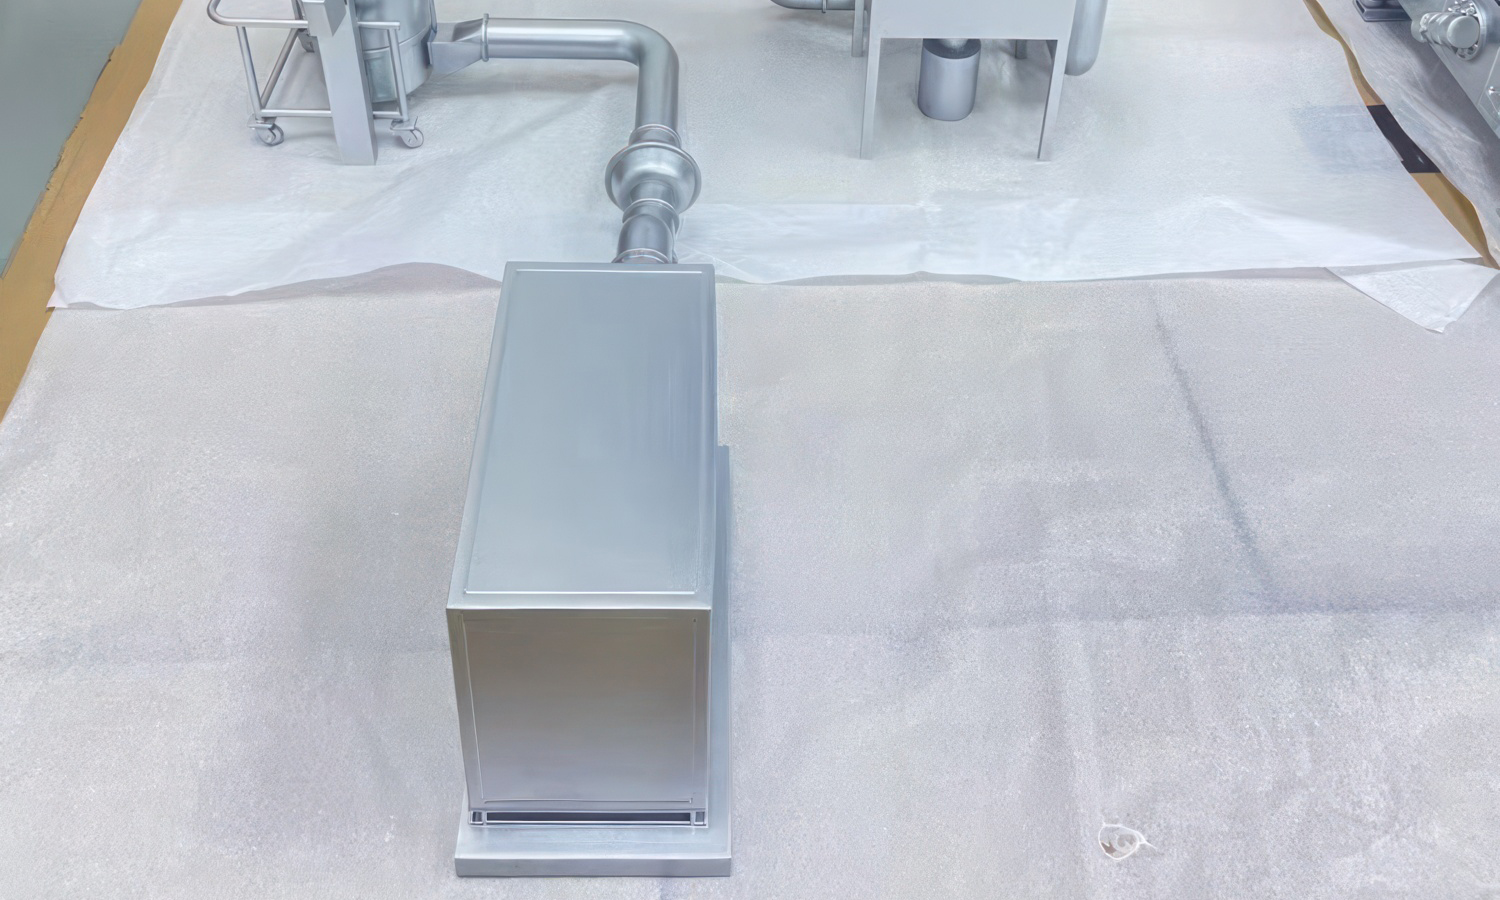
Check this miniature chemical plant, intricate and detailed, capturing the essence of an industrial giant on a tabletop. This is the magic of SLA 3D printing, brought to life by FacFox. Our latest project showcases a scaled-down prototype of a chemical plant, meticulously crafted to showcase the design with stunning precision.
The model, displayed on a sleek blue table, boasts a silver paint finish that gleams under the light. Its intricate network of pipes, containers, and buildings is a marvel of 3D printing technology. Each element, precisely rendered in SLA resin, captures the complexity of a real chemical plant in miniature form.
To achieve this level of detail, FacFox employed a meticulous process. The 3D model was first split into printable sections, ensuring optimal printing quality and minimizing the need for support structures. After printing, the pieces were expertly glued together, forming the complete chemical plant prototype. A coat of silver paint applied with a spray gun further enhanced the model’s realism, and finally, it was secured onto a black glossy acrylic board, creating a museum-worthy presentation.
This SLA 3D printed chemical plant prototype is a testament to FacFox’s expertise in creating high-fidelity, functional prototypes. Our advanced 3D printing technology and meticulous post-processing techniques allow us to bring your design visions to life, no matter how intricate.
Looking to create a stunning prototype for your next project? Contact FacFox today and see the difference SLA 3D printing can make!
Solution
- Step 1: Designing. The prototype was designed using specialized software, where a detailed model of the chemical plant was created, including a network of pipes, containers, and buildings.
- Step 2: Splitting. The model was then split into printable sections to accommodate the build volume of the SLA 3D printer.
- Step 3: Printing. Each section was printed separately using Stereolithography (SLA) technology, where a laser was used to cure liquid SLA Tough Resin into solid parts layer by layer.
- Step 4: Cleaning. After printing, the parts were removed from the printer and washed with isopropyl alcohol to remove any uncured resin.
- Step 5: Post-Curing. The parts were then exposed to UV light to ensure complete curing and to enhance the material properties.
- Step 6: Assembly. Once fully cured, the sections were assembled by being glued together to form the complete prototype.
- Step 7: Painting. The assembled model was painted with a spray gun, where a silver coating was applied to mimic the metallic surfaces of a real chemical plant.
- Step 8: Mounting. Finally, the painted prototype was mounted onto a black glossy acrylic board for display and placed on a blue table to highlight its intricate details.


