Material Resin
Quantity 1 pcs
Price Range $100-1,000
Lead Time 3 workdays
Gallery
About Project
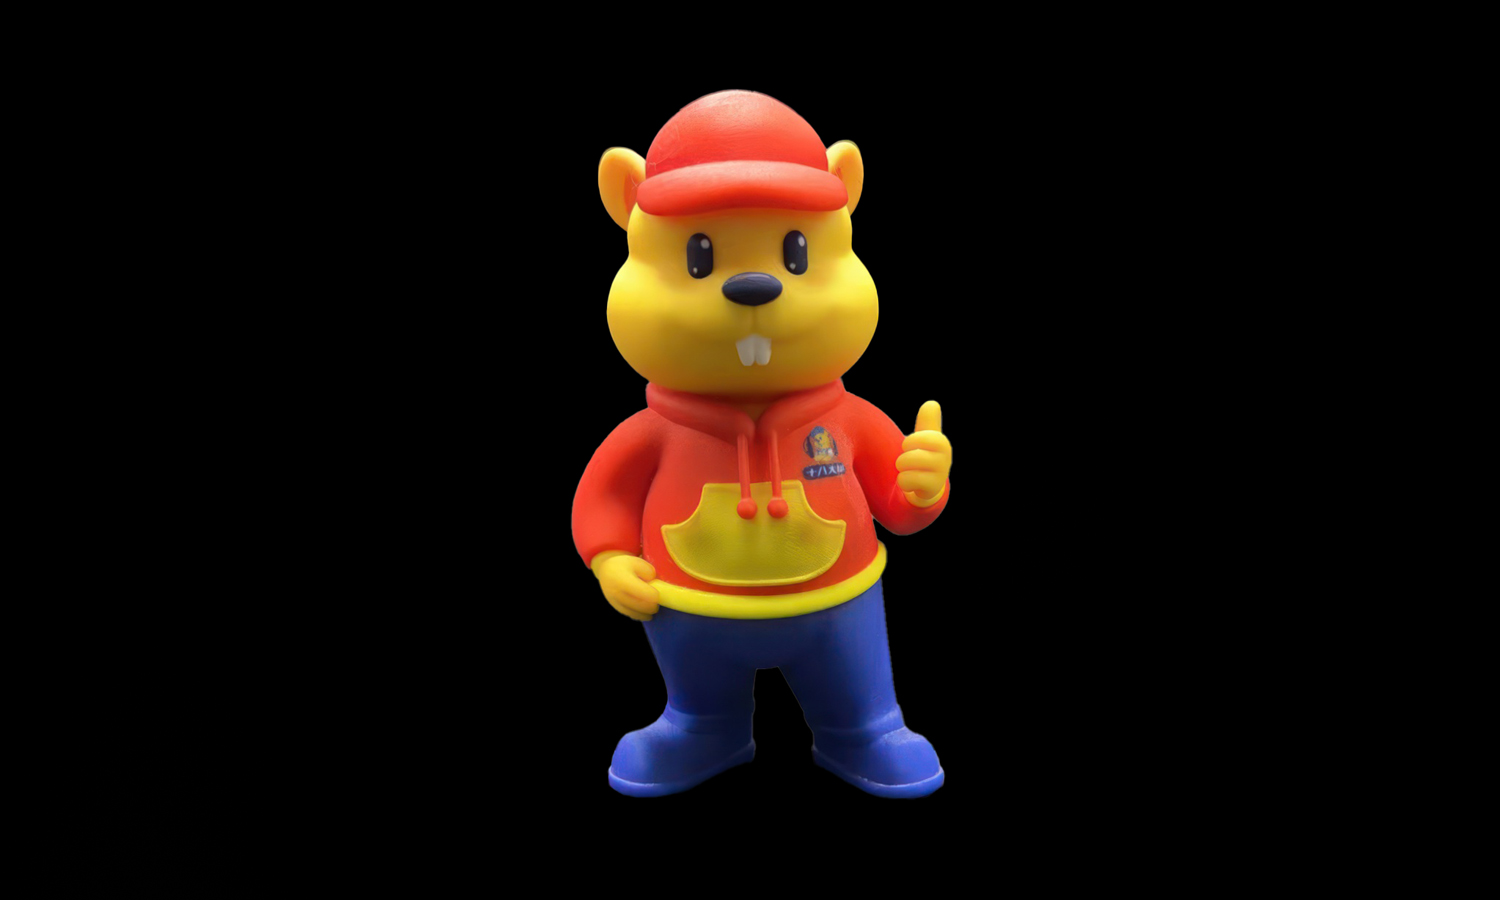
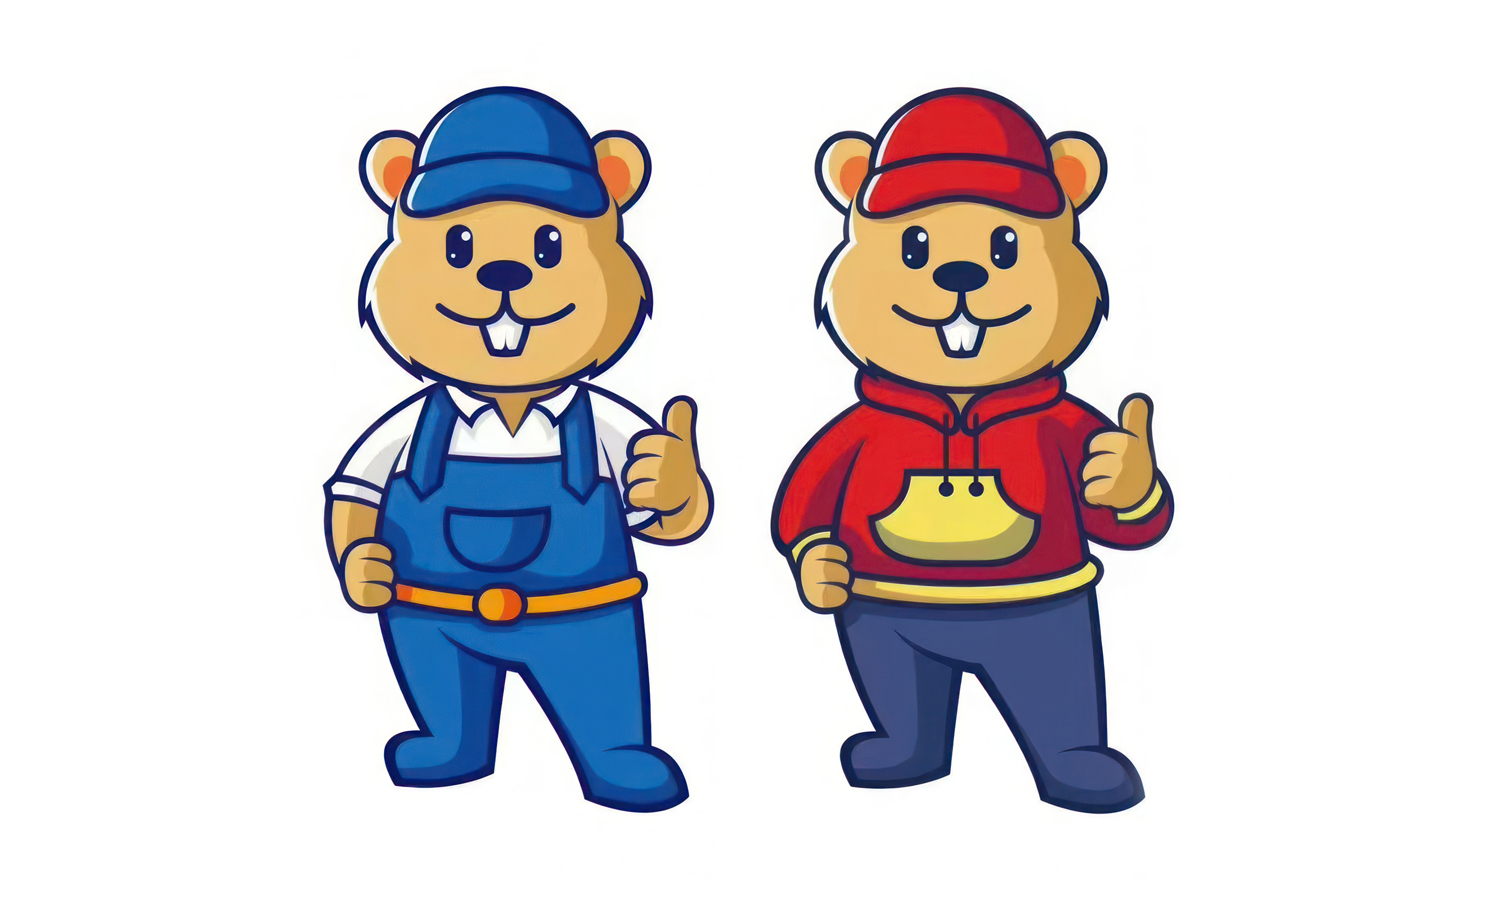
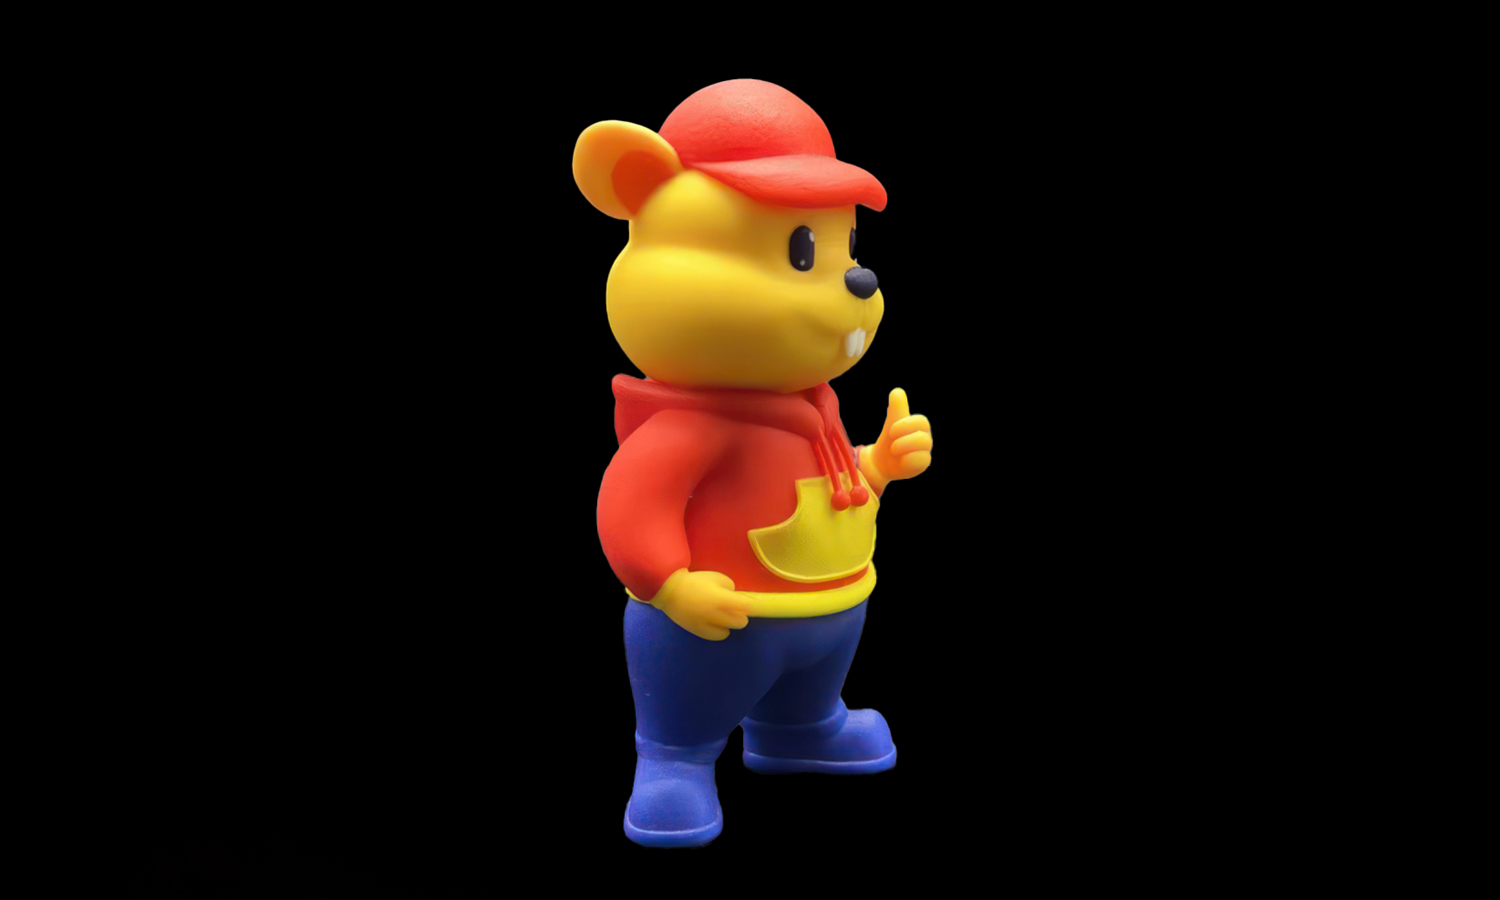
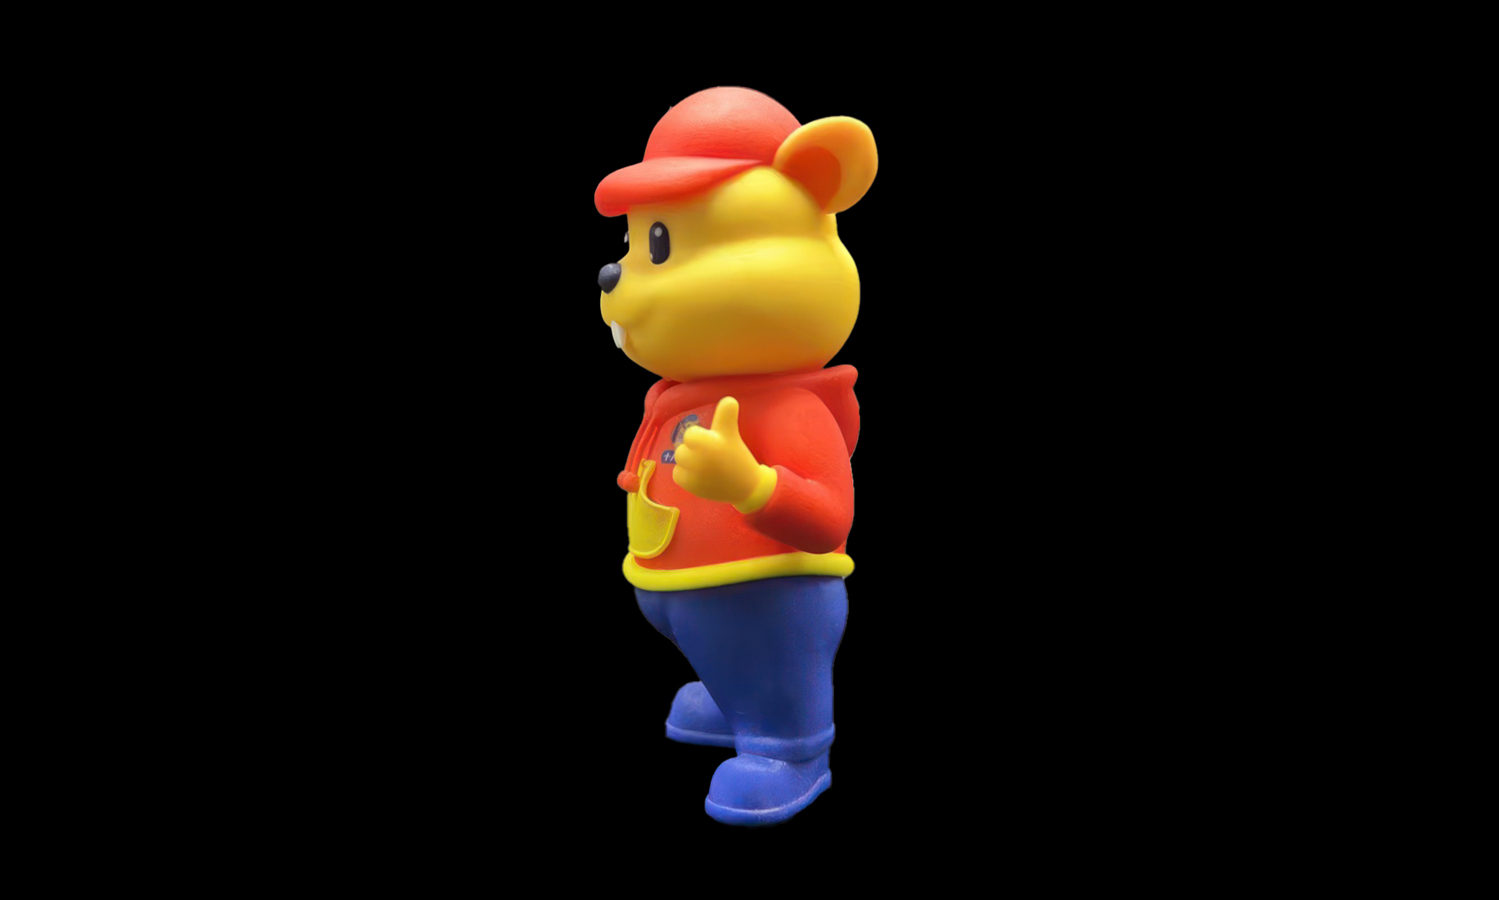
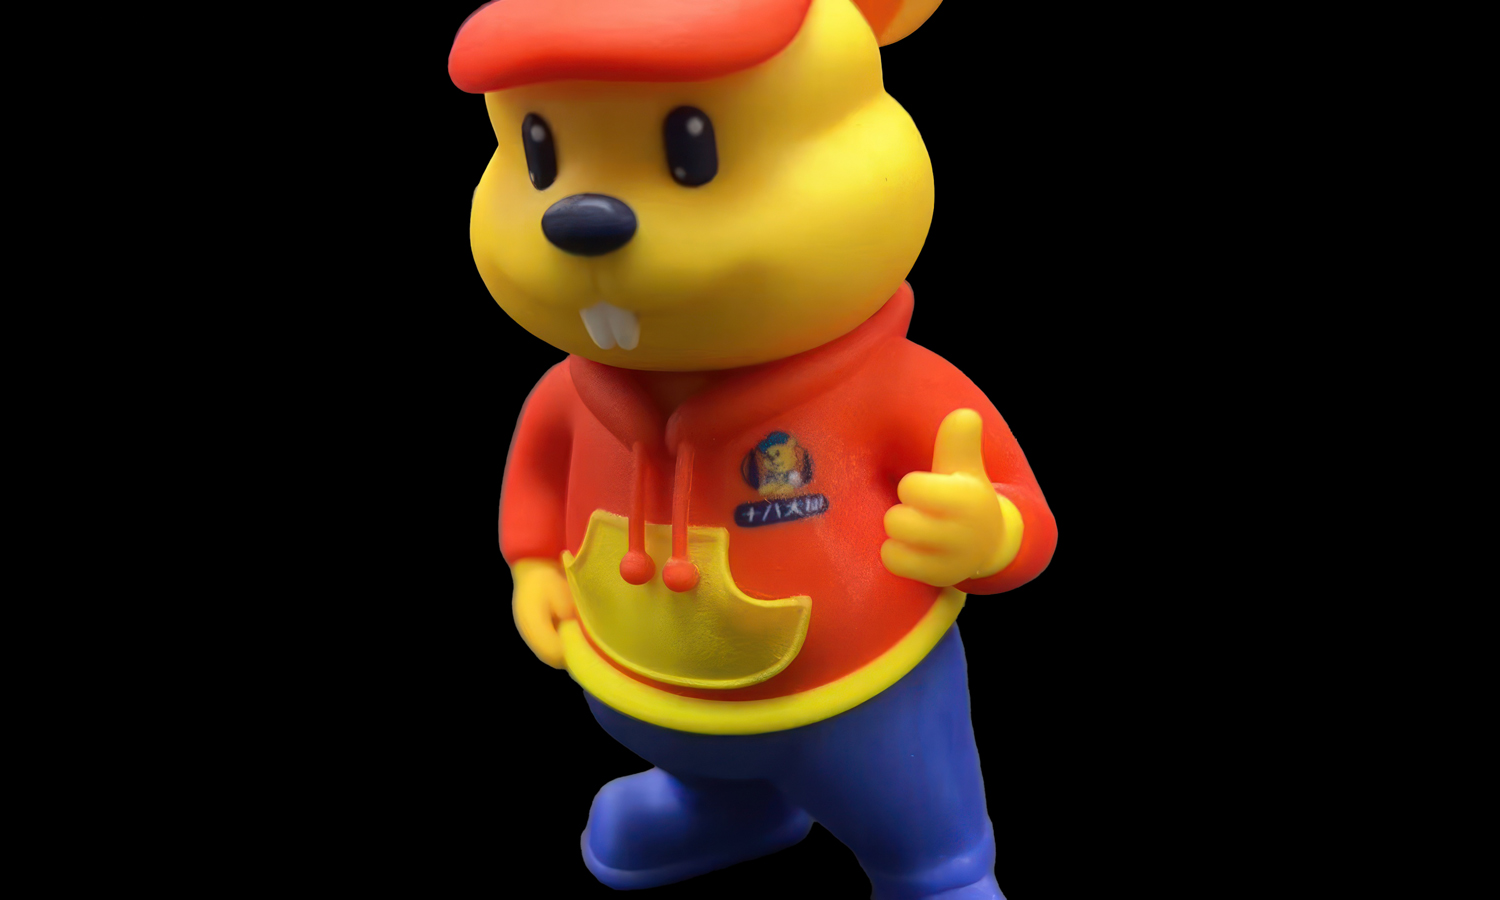
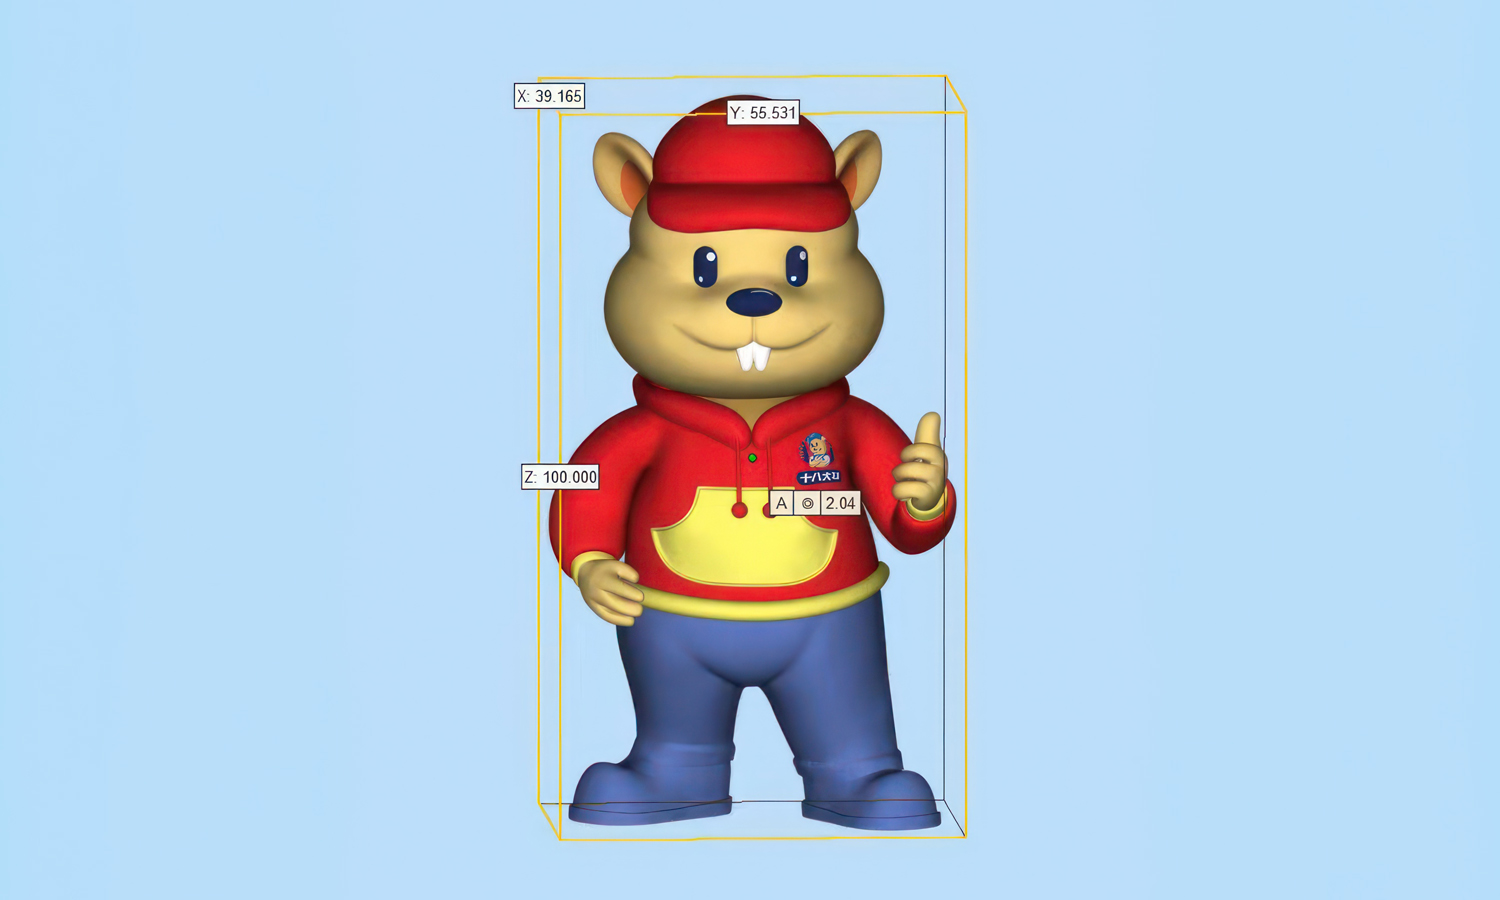
Looking for a mascot that’s both adorable and reliable? Look no further than this SLA 3D printed cartoon chipmunk sporting a stylish red zip-up hoodie! This little guy is sure to win hearts with his charming smile, bright eyes, and enthusiastic thumbs up.
Standing tall and proud, our chipmunk mascot is crafted with high-quality SLA 3D printing technology, ensuring exceptional detail and a smooth finish. He’s decked out in a cool red hoodie with a bright yellow pocket, adding a touch of personality. And don’t forget the finishing touches: dark blue trousers and shoes complete his charming look.
This chipmunk mascot is more than just cute, he’s also a symbol of trust and dependability. His friendly demeanor and positive attitude make him the perfect ambassador for your brand.
At FacFox, we specialize in high-quality, detail-oriented 3D printing using cutting-edge SLA technology. Our team of experts can help you create custom mascots, figurines, or prototypes that perfectly capture your brand’s essence. Whether you need a single mascot or a whole army of chipmunks, FacFox has the expertise and resources to bring your vision to life.
Contact FacFox today and let us help you create a mascot that’s both adorable and unforgettable!
Solution
- Step 1: Designing the Model. Initially, a digital 3D model of the cartoon chipmunk wearing a hoodie was created using Blender.
- Step 2: Preparing the Printer. The SLA 3D printer was prepared, ensuring the resin tank was filled with the appropriate photopolymer resin.
- Step 3: Printing the Base Layers. The build platform was positioned within the tank at a precise distance from the surface of the liquid SLA Generic Resin. The first layers of the chipmunk mascot were then cured by a UV laser.
- Step 4: Building the Structure. Layer by layer, the chipmunk’s structure was formed as the build platform moved upward, curing each subsequent layer with the UV laser to solidify the resin.
- Step 5: Detailing the Features. The intricate details, such as the red cap, hoodie with a yellow pocket, and the thumbs-up gesture, were carefully crafted as the laser traced the corresponding areas of each layer.
- Step 6: Finalizing the Form. As the final layers were completed, the full form of the chipmunk mascot, including its smiling face with white incisors, was realized.
- Step 7: Cleaning the Print. After the printing was finished, the chipmunk figure was removed from the build platform and washed to remove any uncured resin.
- Step 8: Post-Curing. The mascot was then placed under UV light to ensure that the entire structure was fully cured and hardened.
- Step 9: Quality Checking. The finished chipmunk mascot was inspected for any defects and to confirm that all details matched the original design specifications.
- Step 10: Painting and Finishing. Lastly, the mascot was hand-painted to add color to the red hoodie, dark blue trousers, and shoes, completing the manufacturing process.


