Gallery

About Project
One of the common challenges of metal 3D printing is achieving a smooth and shiny surface finish. Metal 3D printed parts often have a rough and textured surface due to the nature of the printing process, which involves melting and solidifying metal powder with a laser or an electron beam.
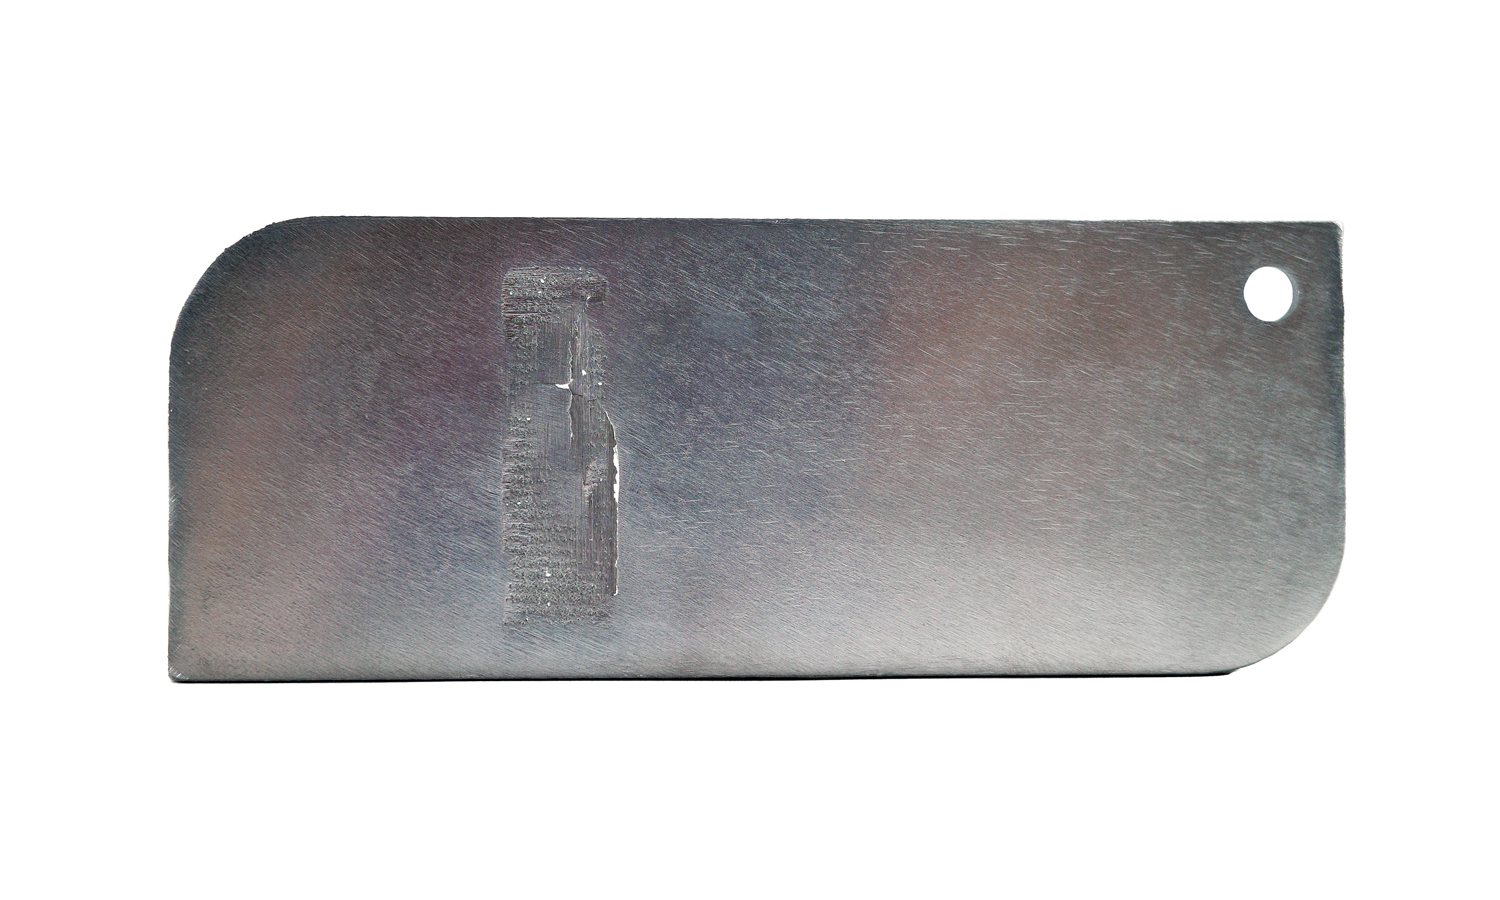
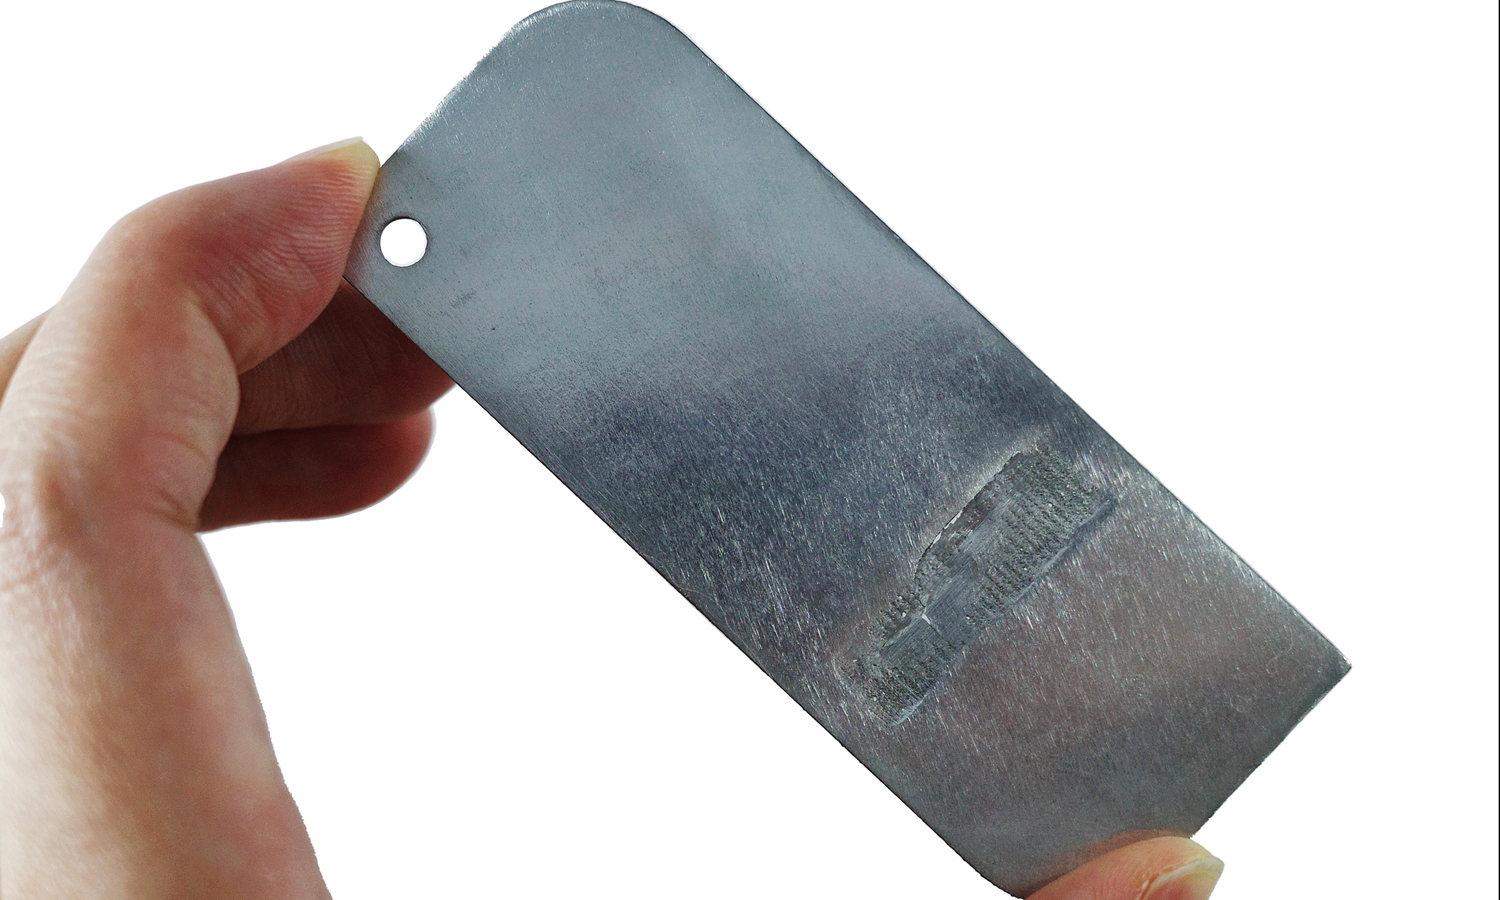
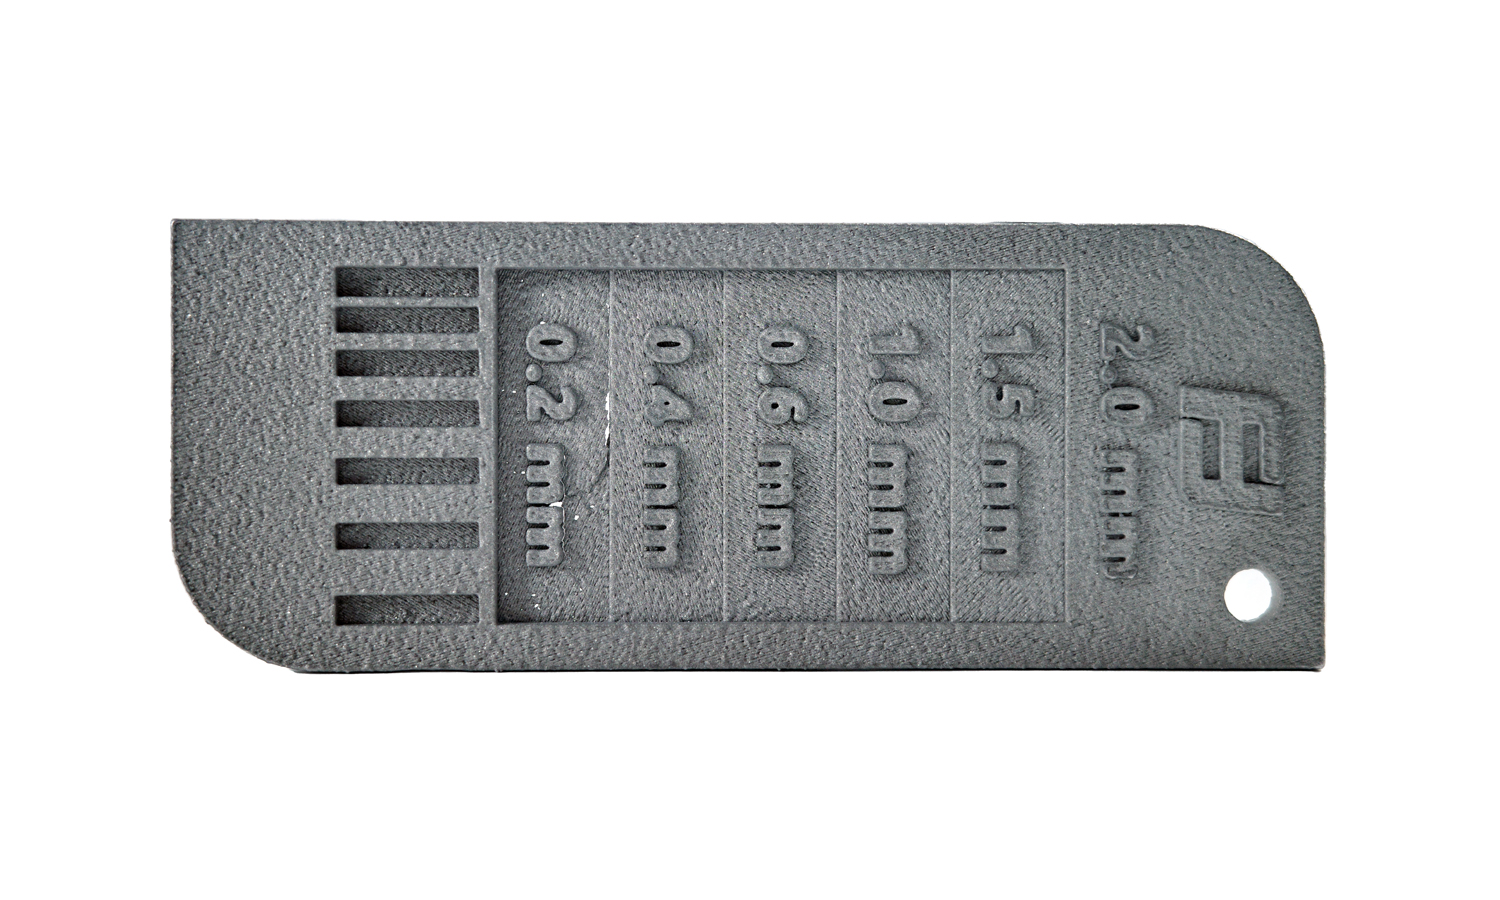
In this post, we will show you the polished aluminum 3D-printed sample with a roughness of Ra 1.6, which is a measure of surface roughness that indicates the average deviation from the mean line in micrometers. Ra 1.6 is considered a fine polish that gives a smooth and glossy surface to metal parts.
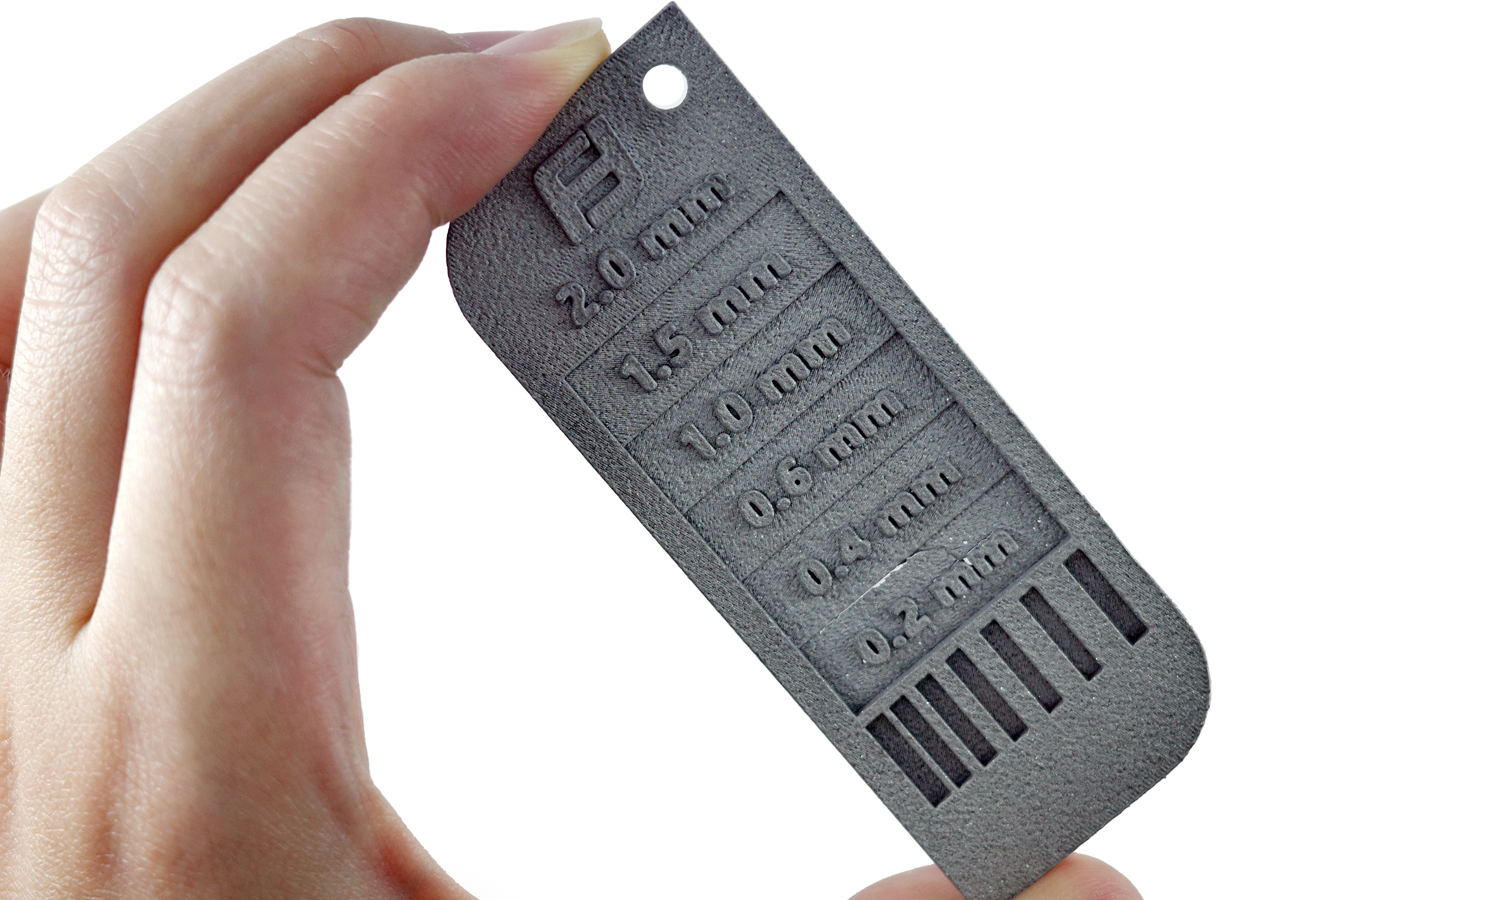
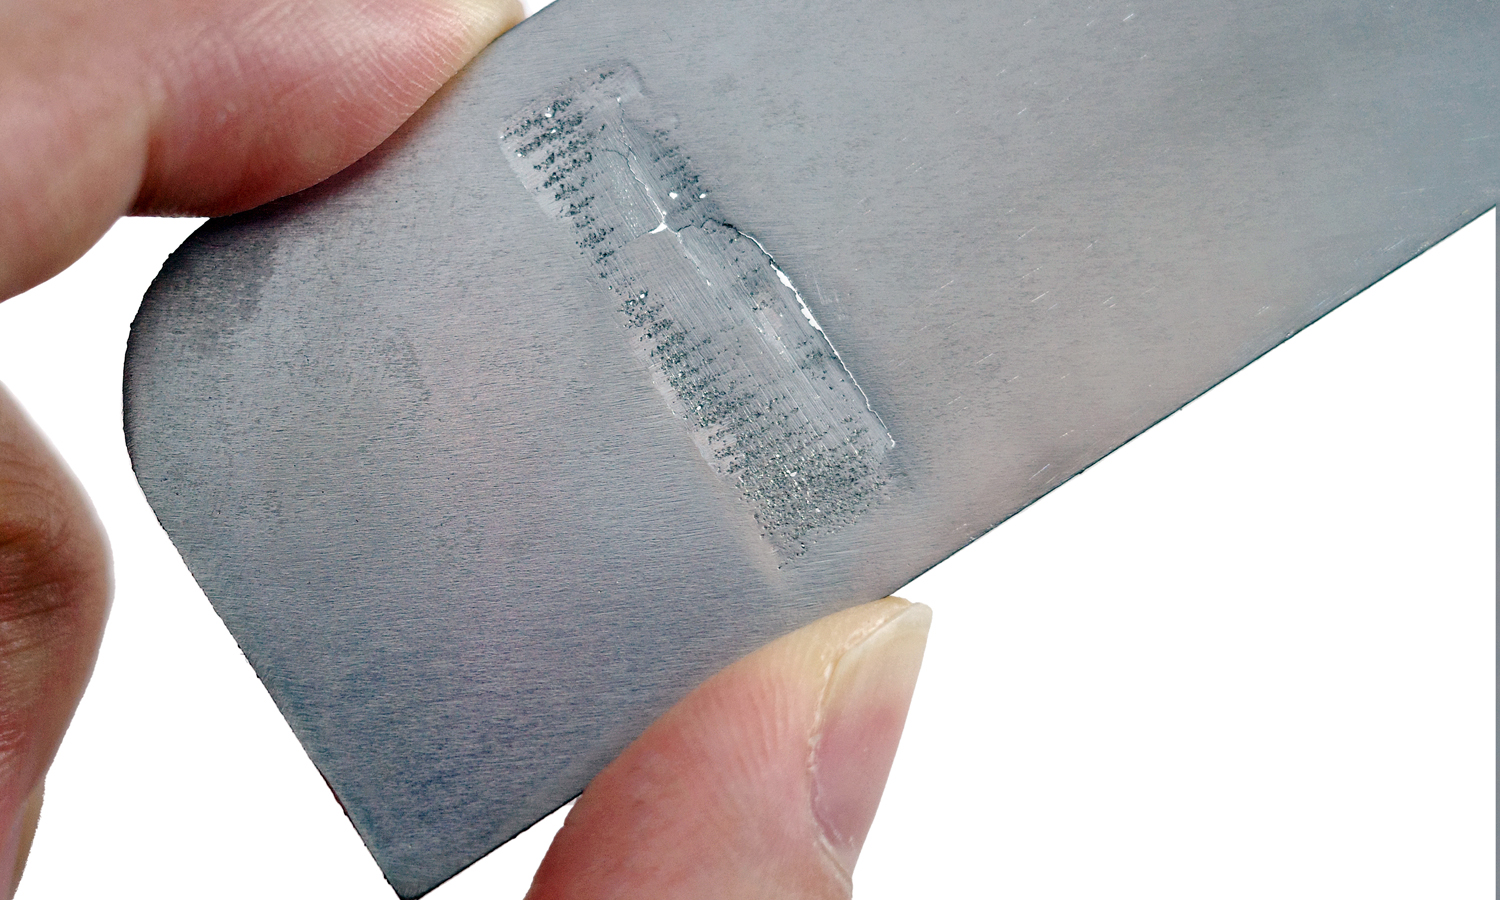
The SLM 3D printed sample strip is identical to the one we showed you in our previous post, except that we have polished the back face by hand using sandpaper and polishing paste. The front face remains untouched with a roughness of Ra 3.2. As you can see from the pictures, the polished back face has a much smoother and shinier appearance than the raw front face.
However, the 0.2 mm thick stage is broken off due to the polishing process. We suggest the safe thickness to be 0.7mm for polishing. If you want to save time and effort on polishing your metal 3D printed parts, you can rely on FacFoxŌĆÖs professional finishing services. FacFox offers various finishing options for metal 3D printed parts, such as polishing, sandblasting, anodizing, coating, and more. You can choose the finish that best suits your needs and preferences, whether you want to improve the aesthetics, functionality, or durability of your part.
FacFox also offers high-quality SLM 3D printing services with a wide range of metal materials, such as aluminum, titanium, stainless steel, inconel, and more. You can upload your own design or choose from thousands of ready-made models on FacFoxŌĆÖs website.
Solution
- Step 1: A 3D model was prepared and exported into a 3D printable file format (an STL format). The model was hollowed to reduce the amount of metal powder.
- Step 2: The file was loaded into the software and the printing parameters such as layer thickness, laser power and scanning speed were set up.
- Step 3: The build chamber was filled with Aluminum powder and leveled with a recoater blade.
- Step 4: The printing process started and the laser scanned each layer according to the file.
- Step 5: The part was allowed to cool down inside the build chamber before being removed.
- Step 6: Any support structures that were needed to prevent warping or distortion during printing were broken off.
- Step 7: Excess powder that remained on the part was cleaned off using brushes or compressed air.
- Step 8: The part was heat treated to improve mechanical properties and microstructure. Then it got hand polished with some extra-fine-grit sandpaper.


