Gallery
About Project
Here at FacFox, we understand the need for electronics enclosures that are both durable and functional. That’s why we offer SLS 3D printing services using high-quality nylon, perfect for creating custom cases that meet your exact specifications.
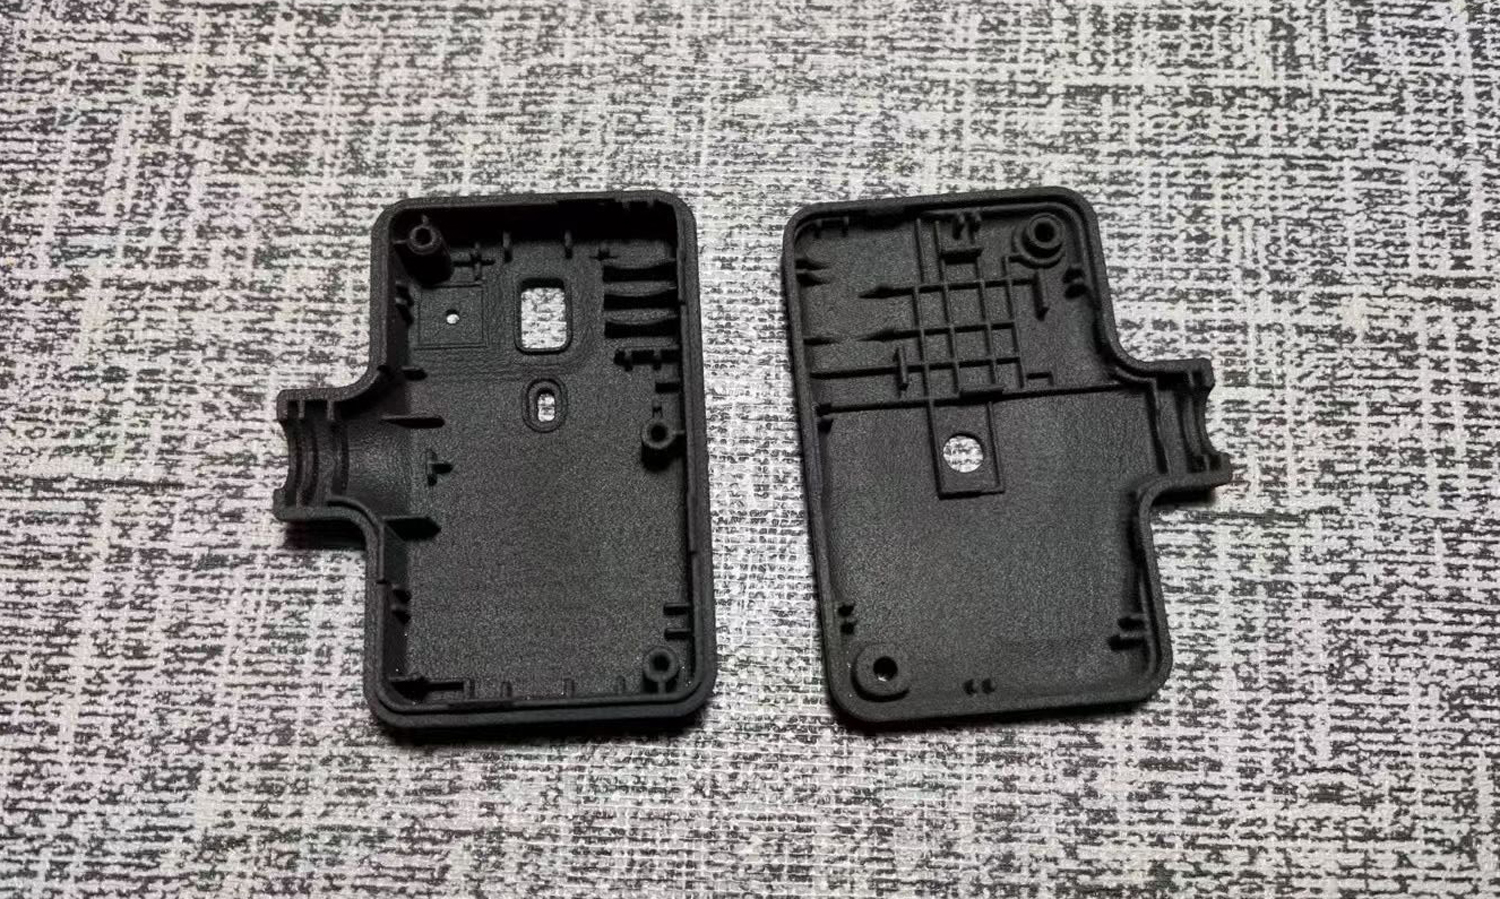
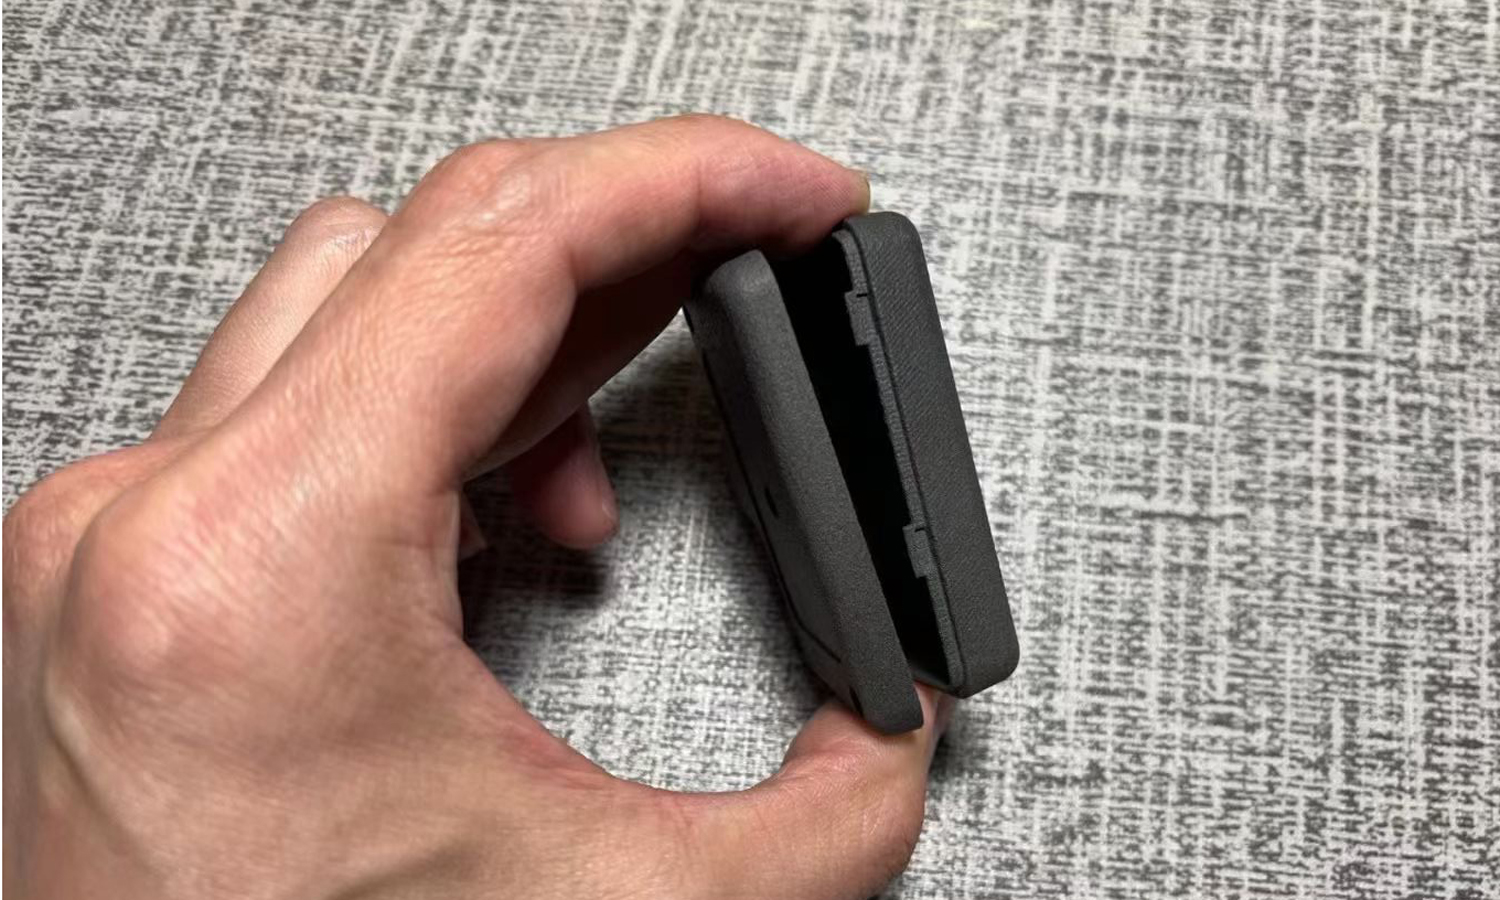
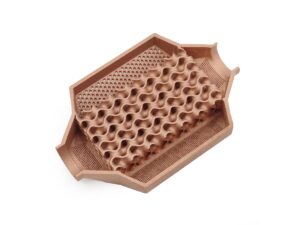
This example showcases the capabilities of SLS nylon for electronic devices. The case is designed and 3D printed in two halves, ensuring a perfect, seamless fit when assembled. Reinforcing ribs on the inside and strategically placed bosses on the corners provide exceptional structural integrity and aid in precise alignment during assembly.
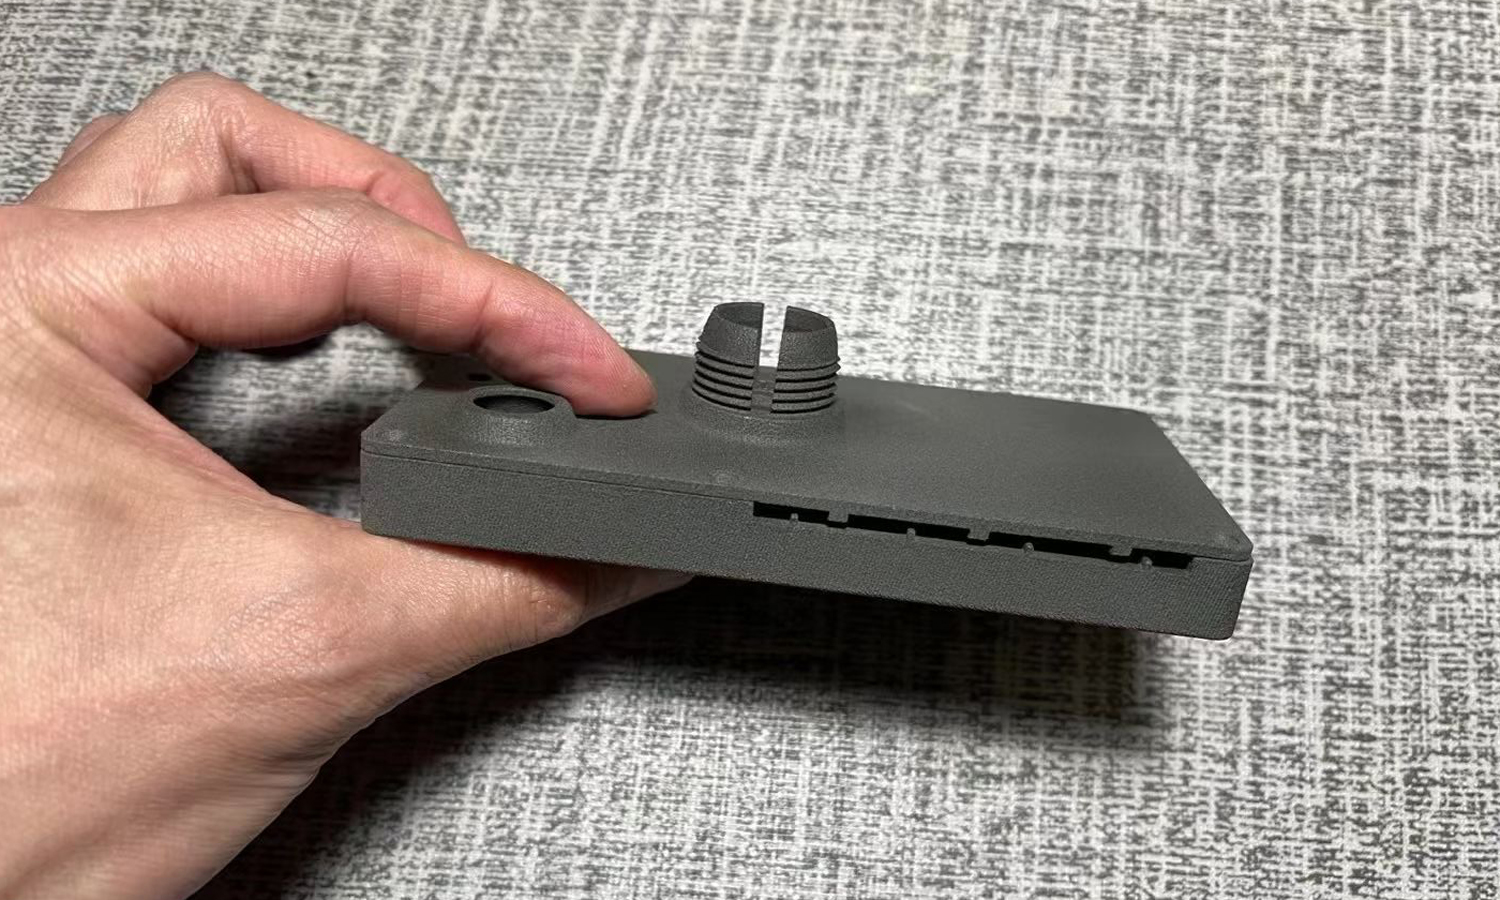
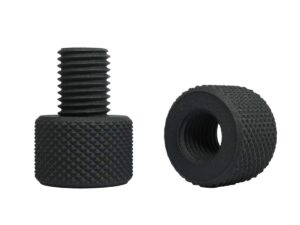
The highlight of this design is the incorporation of large, bottle-mouth style threads on the perimeter. These threads are ideal for applications requiring a secure seal, commonly found in enclosures protecting moisture-sensitive electronics or those needing airtight packaging. The threads allow for a screw-on cap, creating a tight and dependable barrier against external elements.
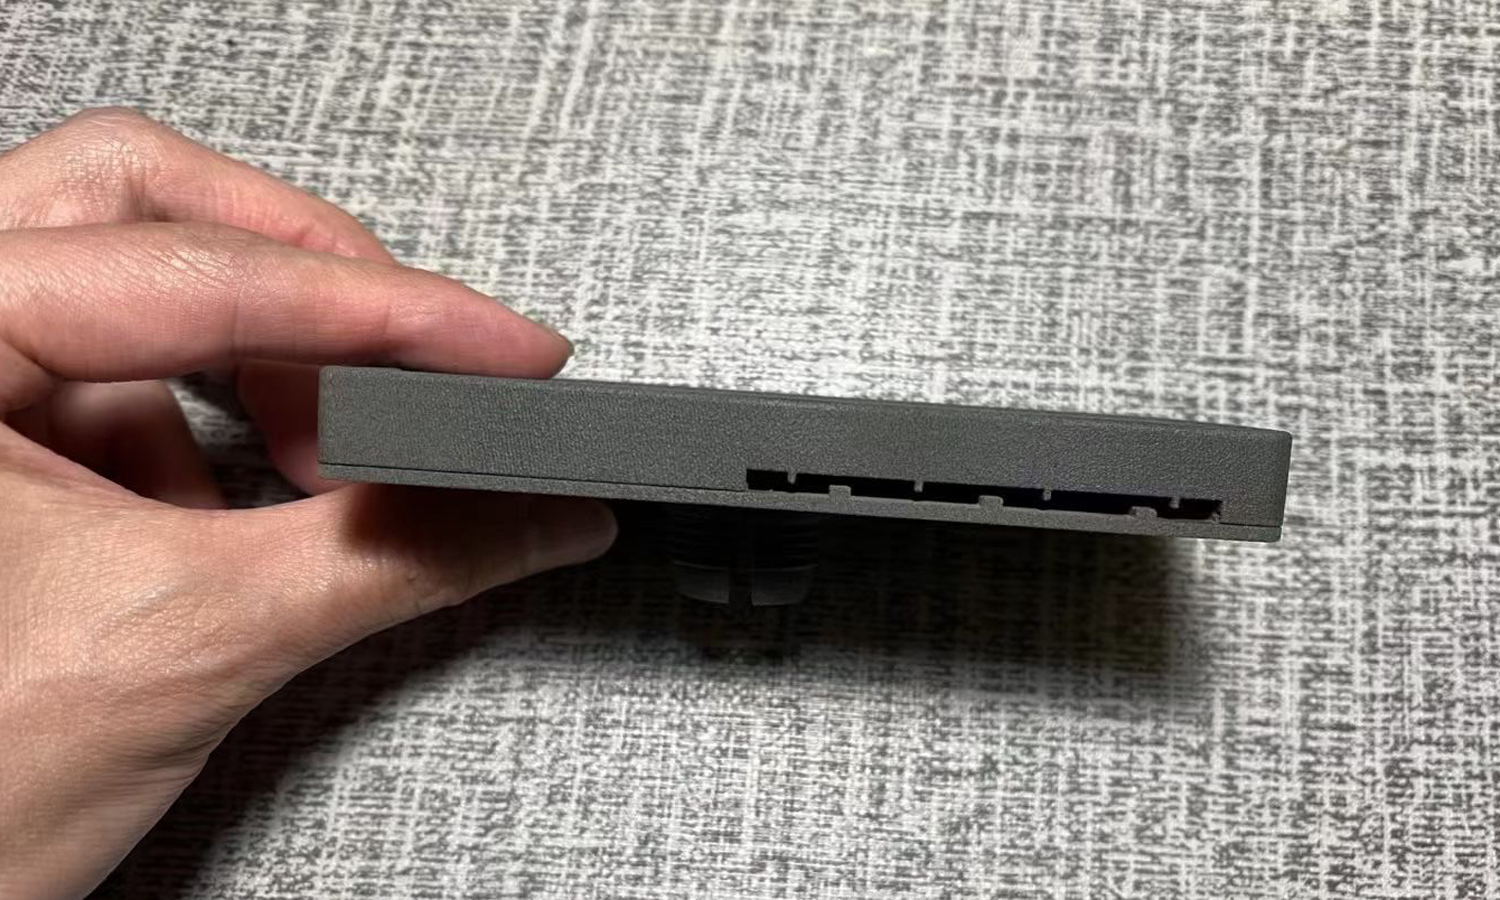
For breathability, the design incorporates strategically placed rectangular venting holes on the sides. This allows for pressure regulation and potential heat dissipation, while still maintaining a secure seal on the connecting parts of the case.
FacFox’s SLS 3D printing with nylon offers several advantages for electronic device cases:
- High Durability: Nylon is known for its strength and dimensional stability, making it perfect for protecting delicate electronics.
- Precision Fit: SLS printing delivers exceptional accuracy, ensuring a perfect fit between the two halves of the case.
- Airtight Sealing: The thread design allows for a secure, screw-on cap, ideal for moisture-sensitive components.
- Customizable Design: With SLS printing, you can create enclosures with specific features like venting holes, internal compartments, and mounting points.
At FacFox, we are committed to providing innovative and reliable 3D printing solutions for the electronics industry. Contact us today to discuss your project and discover how SLS 3D printed nylon cases can elevate your electronic device’s protection and functionality.
Solution
- Step 1: Design Phase. The electronic device case was designed using computer-aided design (CAD) software. Attention was paid to ensure that the two halves would fit together perfectly to form a single piece. Features such as reinforcing ribs for structural integrity and bosses for alignment were included in the design. Large threads for a screw-on cap and rectangular venting holes for air circulation were also incorporated.
- Step 2: Selection of Material. Nylon powder, suitable for selective laser sintering (SLS) 3D printing, was chosen for its durability and flexibility.
- Step 3: 3D Printing Process.
– The nylon powder was evenly spread across the build platform inside the SLS printer.
– A laser selectively sintered the powder, layer by layer, according to the CAD design, solidifying the nylon where needed to build up the case.
– After each layer was completed, a new layer of powder was applied on top, and the process was repeated until both halves of the case were fully formed. - Step 4: Cooling and Cleaning. Once the printing was finished, the build platform was allowed to cool. The excess powder was then removed, and the two halves of the case were extracted from the powder bed.
- Step 5: Post-Processing.
– The printed parts were cleaned to remove any remaining loose powder.
– Additional post-processing techniques, such as sandblasting, were applied to improve the surface finish and remove any rough edges. - Step 6: Quality Inspection. The two halves of the case were inspected for dimensional accuracy and structural integrity. The precision of the fit, the functionality of the threads, and the placement of the venting holes were all checked against the original design specifications.
- Step 7: Assembly Preparation. The internal surfaces were prepared for assembly. This included the installation of any necessary hardware, such as screws or fasteners, into the bosses.
- Step 8: Final Assembly. The two halves were aligned using the bosses and securely fastened together to form a complete case. The large threads were tested with a corresponding cap to ensure a secure seal was achievable.
- Step 9: Final Quality Check. The completed case underwent a final quality check to ensure it met all design and functional requirements, including the effectiveness of the sealing threads and the proper function of the venting holes.


