
Gallery

About Project
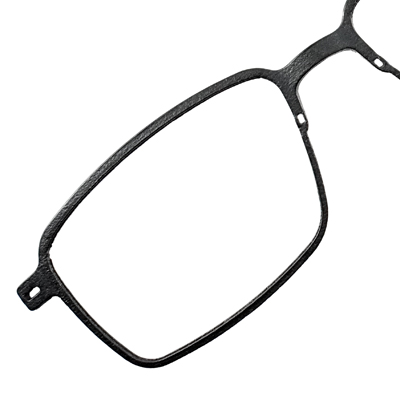
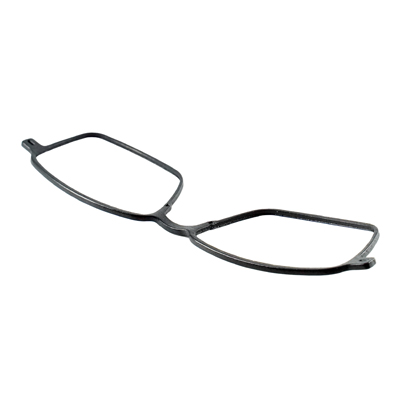
Are you looking for a stylish and durable pair of glasses? Why not try this 3D-printed nylon PA 12 thin-framed glasses? This is a unique and customizable product that uses MJF 3D printing technology to create a lightweight and flexible frame that fits your face perfectly. Nylon PA 12 is a strong and resilient material that can withstand daily wear and tear. It also has a smooth and matte finish that gives it a sleek and elegant look.
MJF nylon prints would have better raw finishing than SLS nylon prints. However, for better wear experience, they could also be sand-blasted for a finer touch. And it could be dyed into black color as you like. For those who like colorful glasses frames, MJF could also print full-color nylon prints.
FacFox is a professional online 3D printing platform that offers high-quality and affordable MJF 3D printing service. You can upload your own design or choose from their existing models, select your material and color options, and get an instant quote. FacFox will print your glasses frame with their state-of-the-art MJF machines and deliver it to you in a short time.
DonŌĆÖt settle for ordinary glasses when you can have MJF 3D printed nylon PA 12 thin-framed glasses frame dyed black sand-blasted. Order yours today from FacFox and enjoy the comfort and style of this amazing product.
Solution
- Step 1: First, the 3D model would be broken down into layers of 0.1 mm on the computer and sent to the 3D printer.
- Step 2: Before printing, the tank was filled with MJF Nylon PA12 powders. On a bed pressure, a 0.1 mm thick layer over the whole width was applied.
- Step 3: The material recoater carriage moved across the build area, depositing a thin layer of the powder material. The printing and fusing carriage moved across the build area, preheating the powder to a specific temperature to provide material consistency.
- Step 4: An array of inkjet nozzles fused agents onto the powder bed in areas that correspond to the partŌĆÖs geometry and properties. After each layer was finished, the build unit retracted to create space for the next layer of material to be deposited.
- Step 5: This process repeated until the build was completed. When the printing process ended, removed the excess powders which also serve as supports.
- Step 6: The glass frame was sand-blasted for a finer surface, and then soaked in heated black dye solution for a dozen of minutes.


