
Material Resin
Quantity 1 pcs
Price Range $1-100
Lead Time 4 workdays
Gallery
About Project
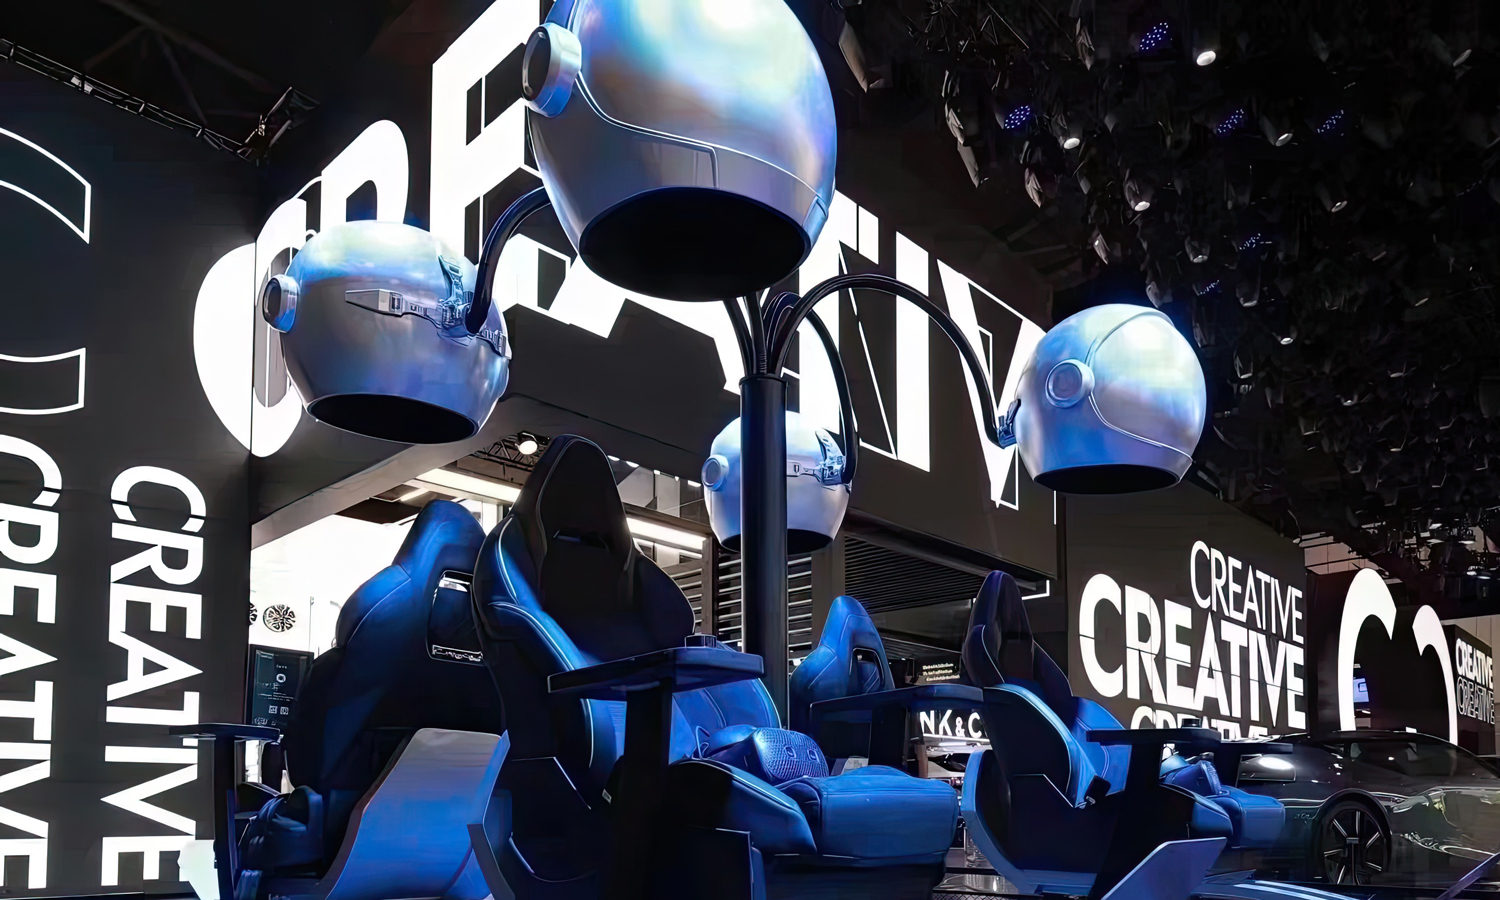
FacFox helped a visionary vehicle company create a truly eye-catching display for their recent auto show appearance. We produced four custom helmets, designed with a futuristic aesthetic, that were sure to turn heads.
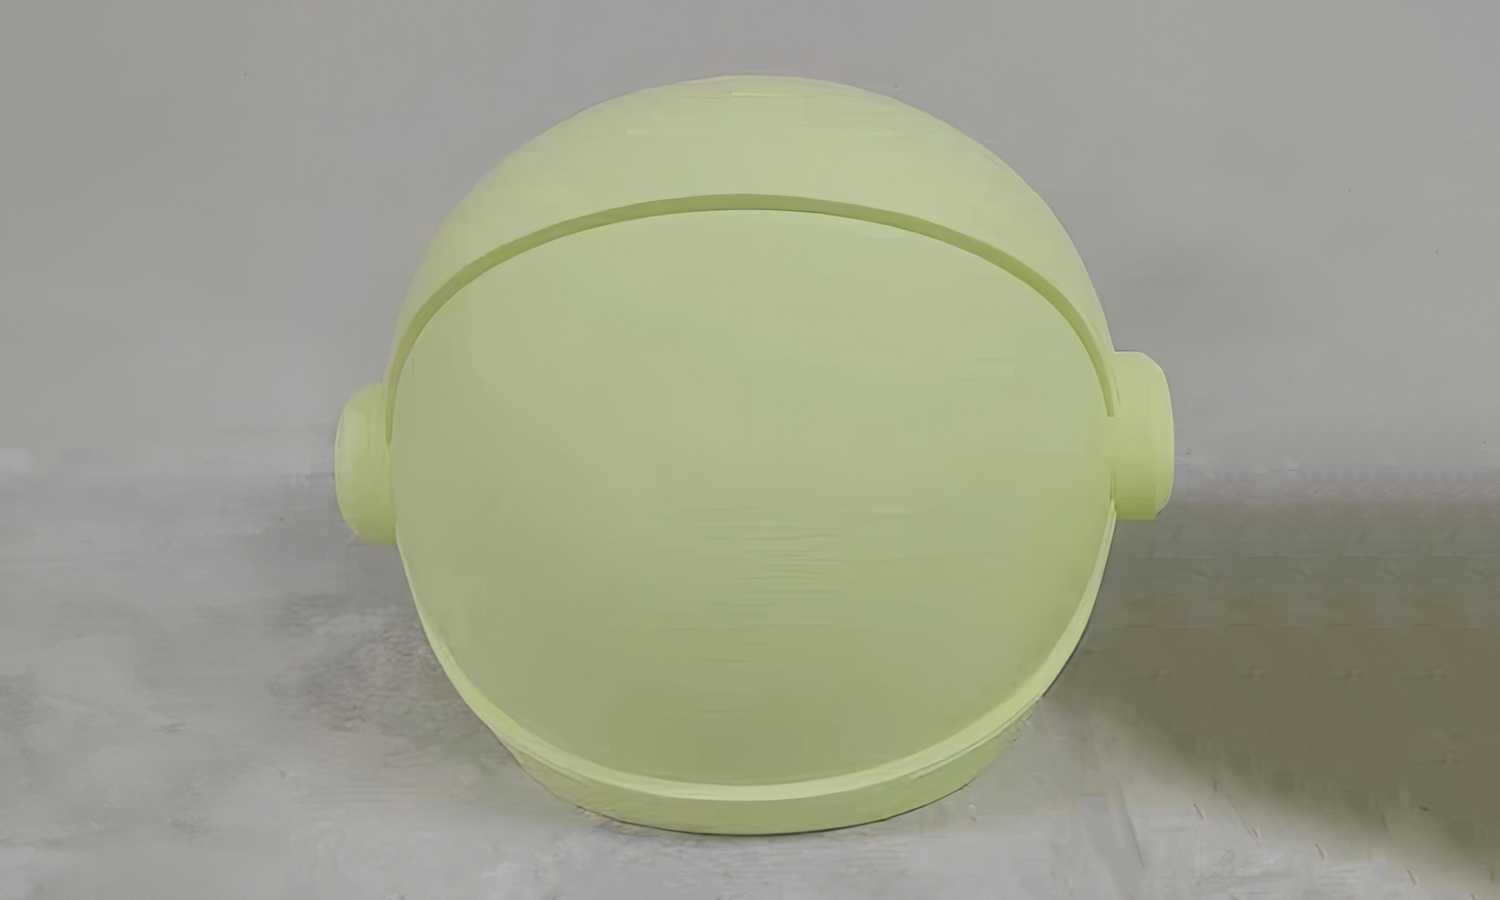
The helmets were 3D printed using SLA Tough Resin, a superior choice for this project. Compared to generic resin, SLA Tough Resin offers increased stiffness and impact resistance, resulting in parts with enhanced mechanical properties. This ensured the helmets could withstand the hustle and bustle of the auto show environment.
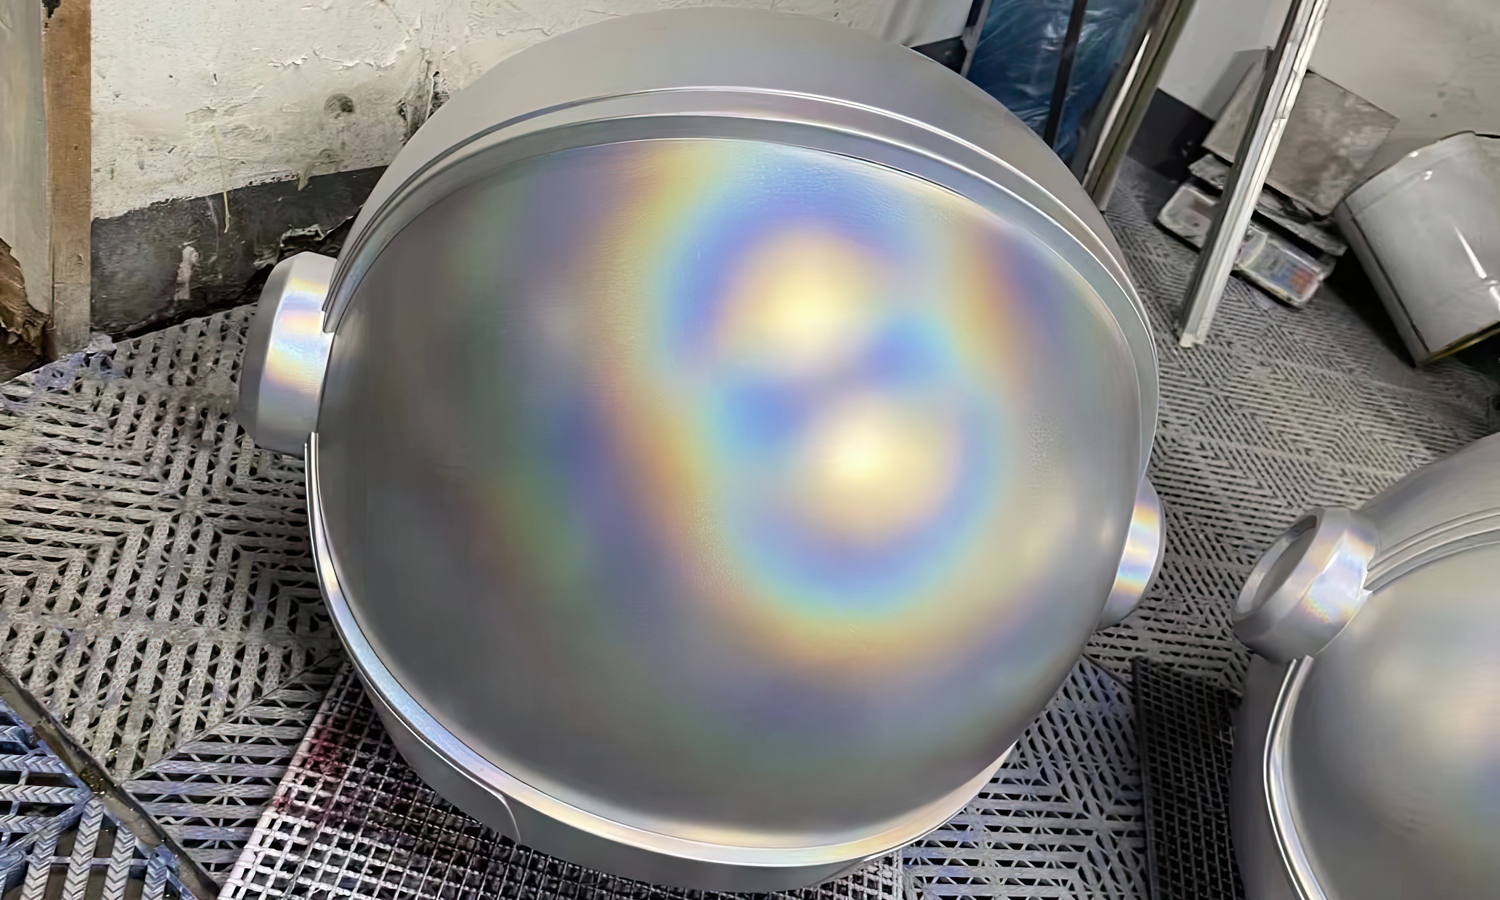
After printing, we meticulously painted the helmets in a dazzling iridescent silver color, perfectly matching the client’s vision for a futuristic look. The finished helmets were then mounted on stands and displayed alongside gaming chairs, creating a unique and interactive exhibit that captured the attention of show attendees.
At FacFox, we understand the unique needs of the automotive industry. Our advanced 3D printing technology and wide range of materials allow us to produce high-quality, functional parts for a variety of applications, from prototypes and concept models to production tooling and end-use parts.
Whether you need SLA Tough Resin for enhanced durability or another material to meet your specific requirements, our team of experts is here to help you achieve your goals. Contact FacFox today to discuss your next automotive 3D printing project.
Solution
- Step 1: Design Preparation. The helmet designs were meticulously crafted using computer-aided design (CAD) software. These designs incorporated futuristic elements, ensuring they aligned with the desired aesthetic for the auto show.
- Step 2: Material Selection. SLA Tough Resinб═was chosen as the material for printing the helmets. This resin offers superior stiffness and impact resistance compared to generic resins, making it ideal for durable and functional parts.
- Step 3: 3D Printing Process. The CAD files were loaded into an SLA (Stereolithography) 3D printer. Layer by layer, the printer selectively cured the liquid resin using ultraviolet (UV) light. This process allowed for precise and intricate details in the helmet geometry. The helmets were printed in their entirety, including the outer shell and internal structures.
- Step 4: Post-Processing. After printing, the helmets were carefully removed from the build platform. Excess resin and support structures were cleaned off using isopropyl alcohol. Any imperfections or rough surfaces were meticulously sanded to achieve a smooth finish.
- Step 5: Surface Treatment. To achieve the desired iridescent silver color, the helmets underwent surface treatment. A specialized iridescent silver paint was applied evenly to the entire surface. This paint created a captivating color shift effect, reflecting different hues depending on the viewing angle.
- Step 6: Curing and Drying. The painted helmets were placed in a curing chamber or exposed to UV light for proper curing. Once fully cured, they were allowed to dry thoroughly.
- Step 7: Quality Inspection. Each helmet underwent a rigorous quality check. Inspectors examined the surface finish, color consistency, and overall structural integrity.
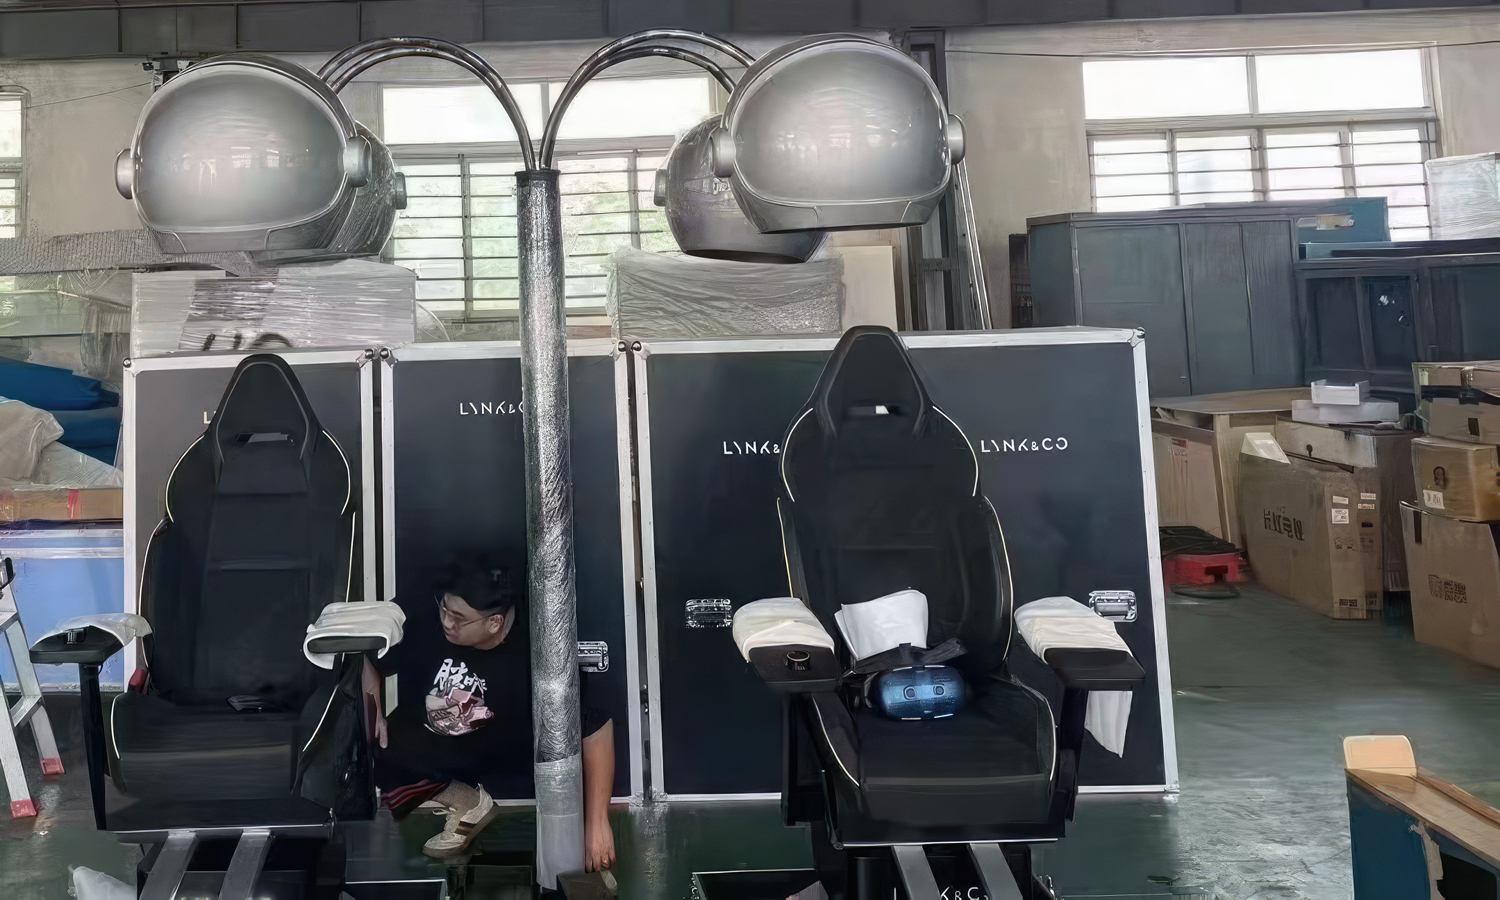
- Step 8: Assembly. The four helmets were assembled onto custom-designed stands. These stands were specifically crafted to showcase the helmets at the auto show. The helmets were securely attached to the stands, ensuring stability during display.
- Step 9: Final Placement. The stands with the iridescent silver helmets were strategically positioned at the auto show venue. They hung prominently on gaming chairs, creating an eye-catching and futuristic display.


