Gallery
About Project
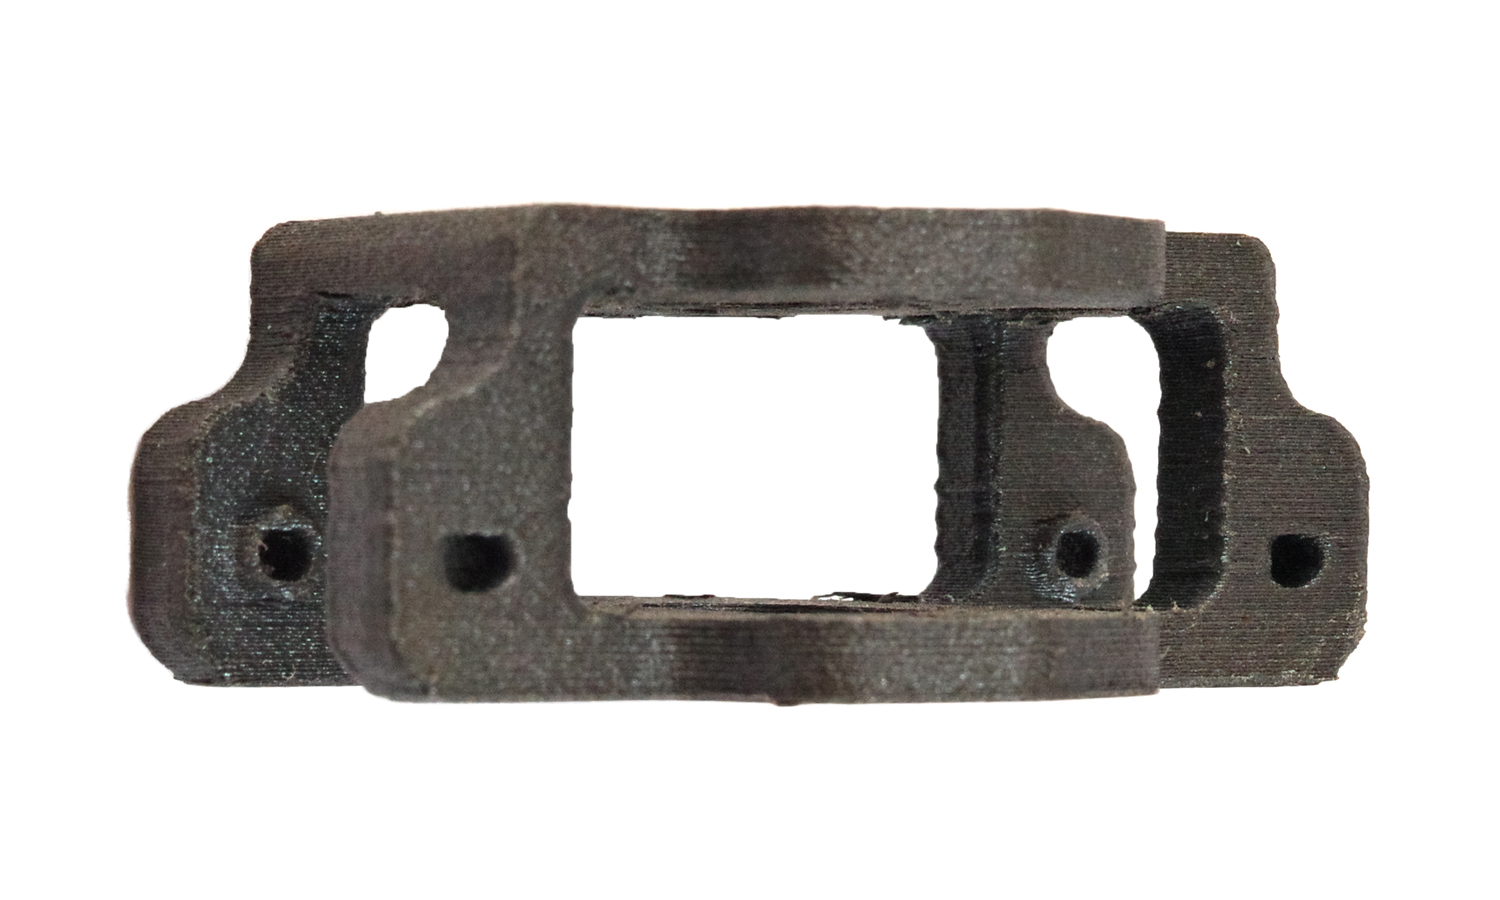
Are you looking for a strong, lightweight and durable material for your bumper mount bracket? If so, you might want to consider FDM 3D Printed CF-PEEK.
CF-PEEK stands for Carbon Fiber Reinforced Polyether Ether Ketone, a high-performance polymer that has outstanding mechanical, thermal and chemical resistance properties. It is one of the premier polymers in FFF/FDM 3D Printing, used in some of the most demanding applications by industries such as Auto, Aerospace, Defense, Semi-conductor and Oil/Gas.┬Ā
FDM 3D Printing with CF-PEEK allows you to create complex and customized shapes that are not possible with traditional manufacturing methods. It also reduces the weight and cost of your parts, while maintaining high strength and stiffness.┬Ā
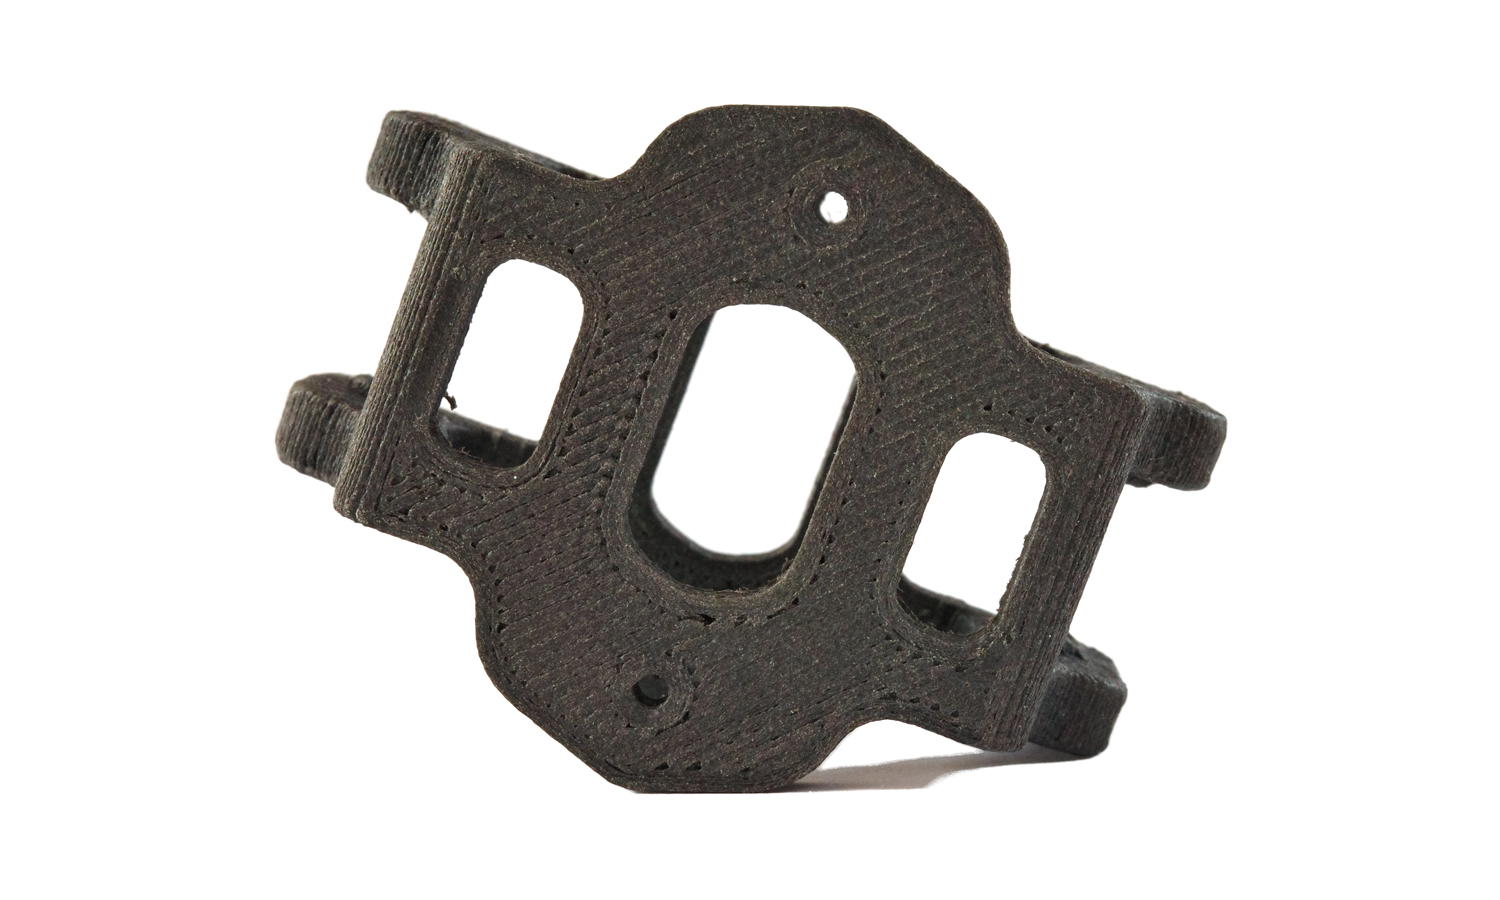
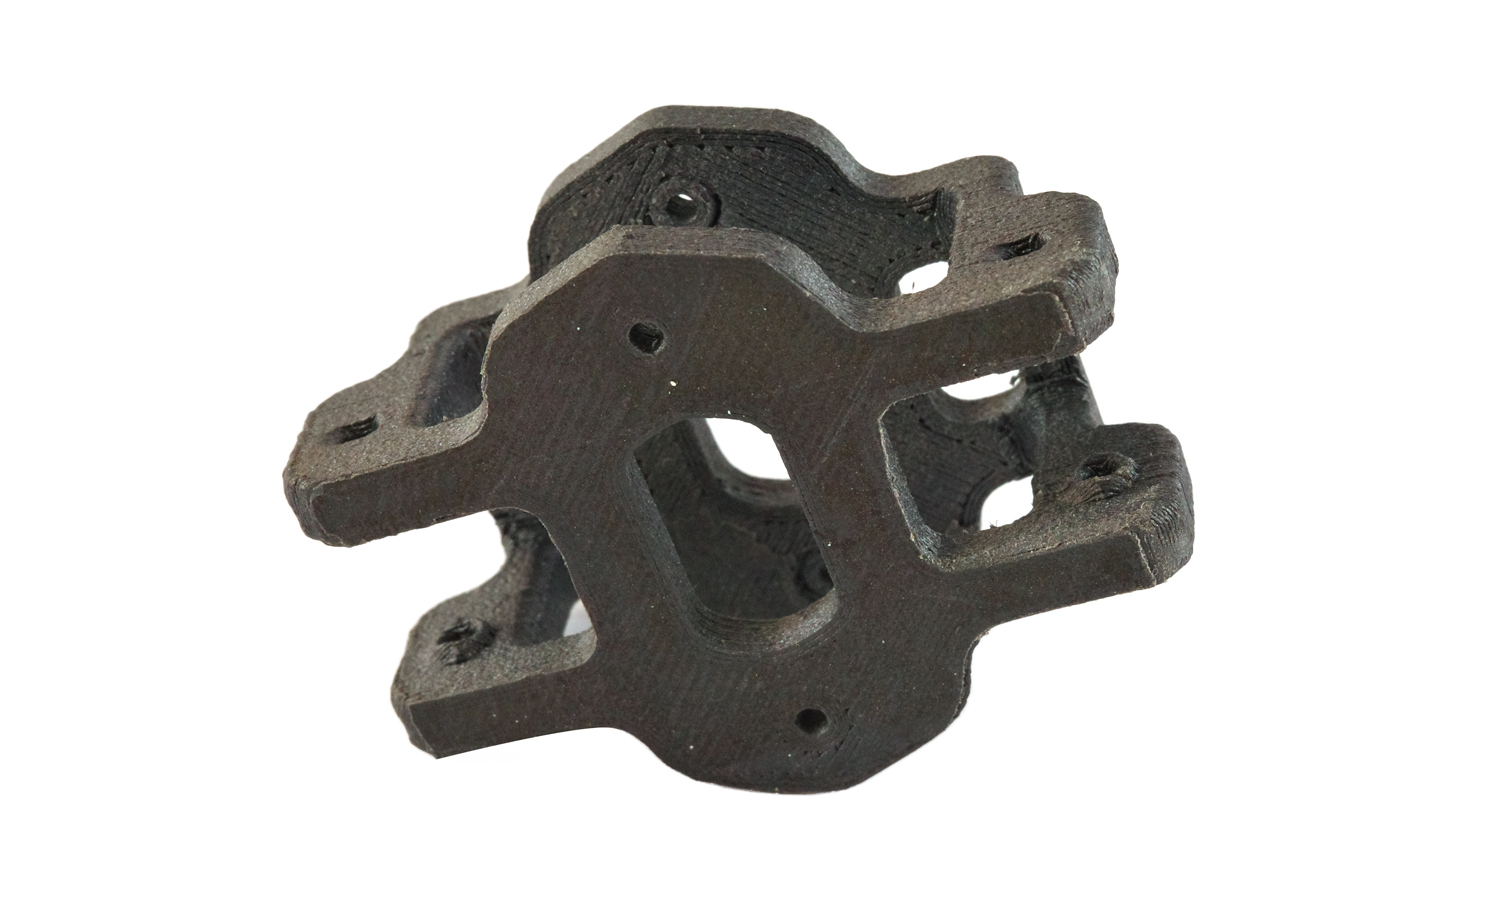
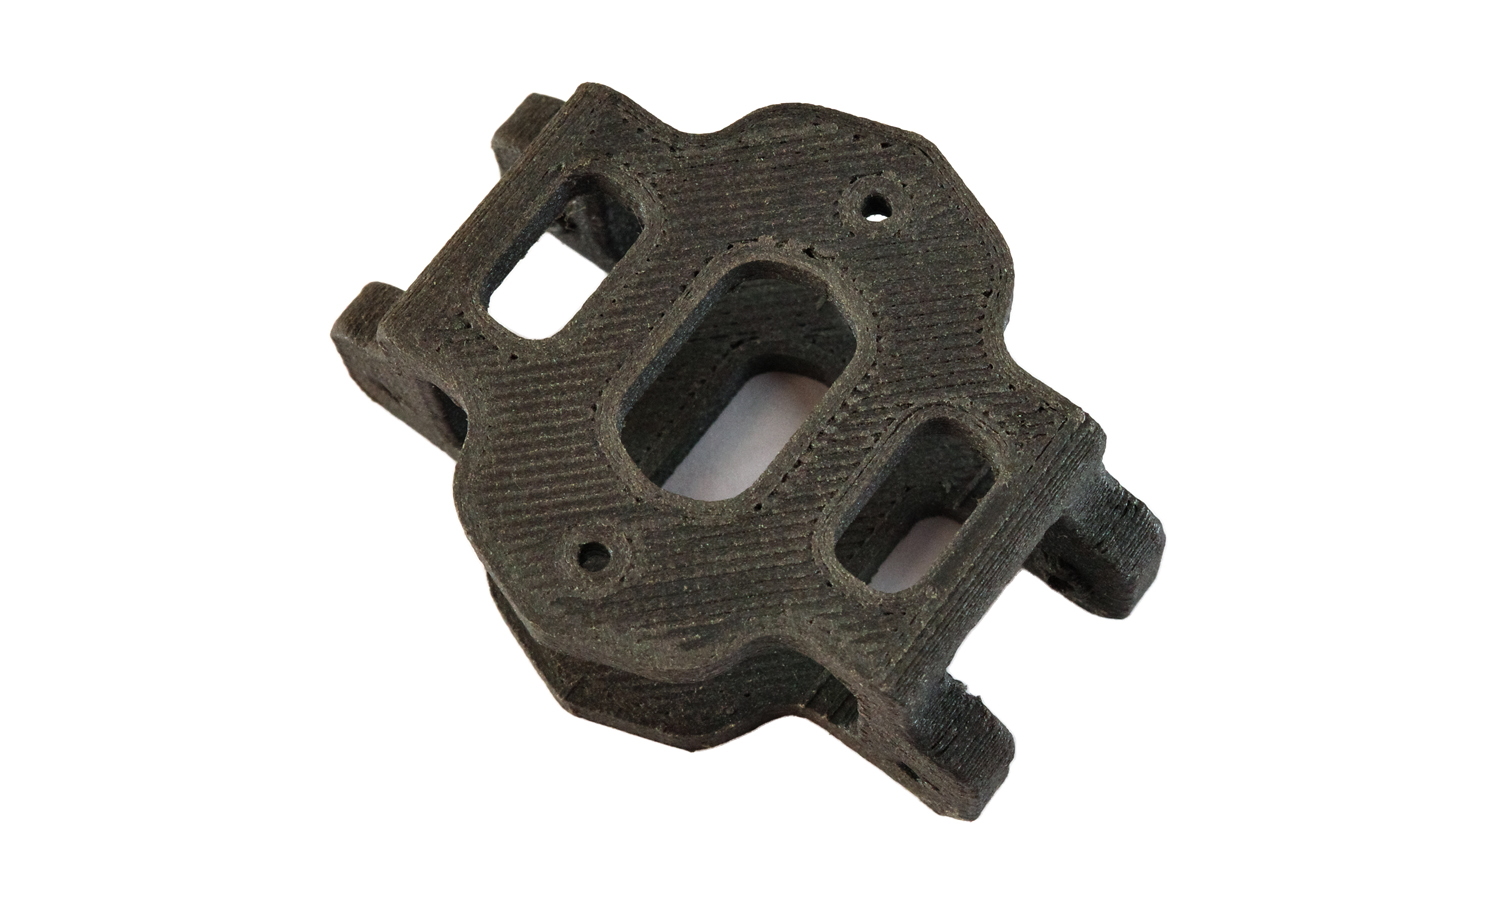
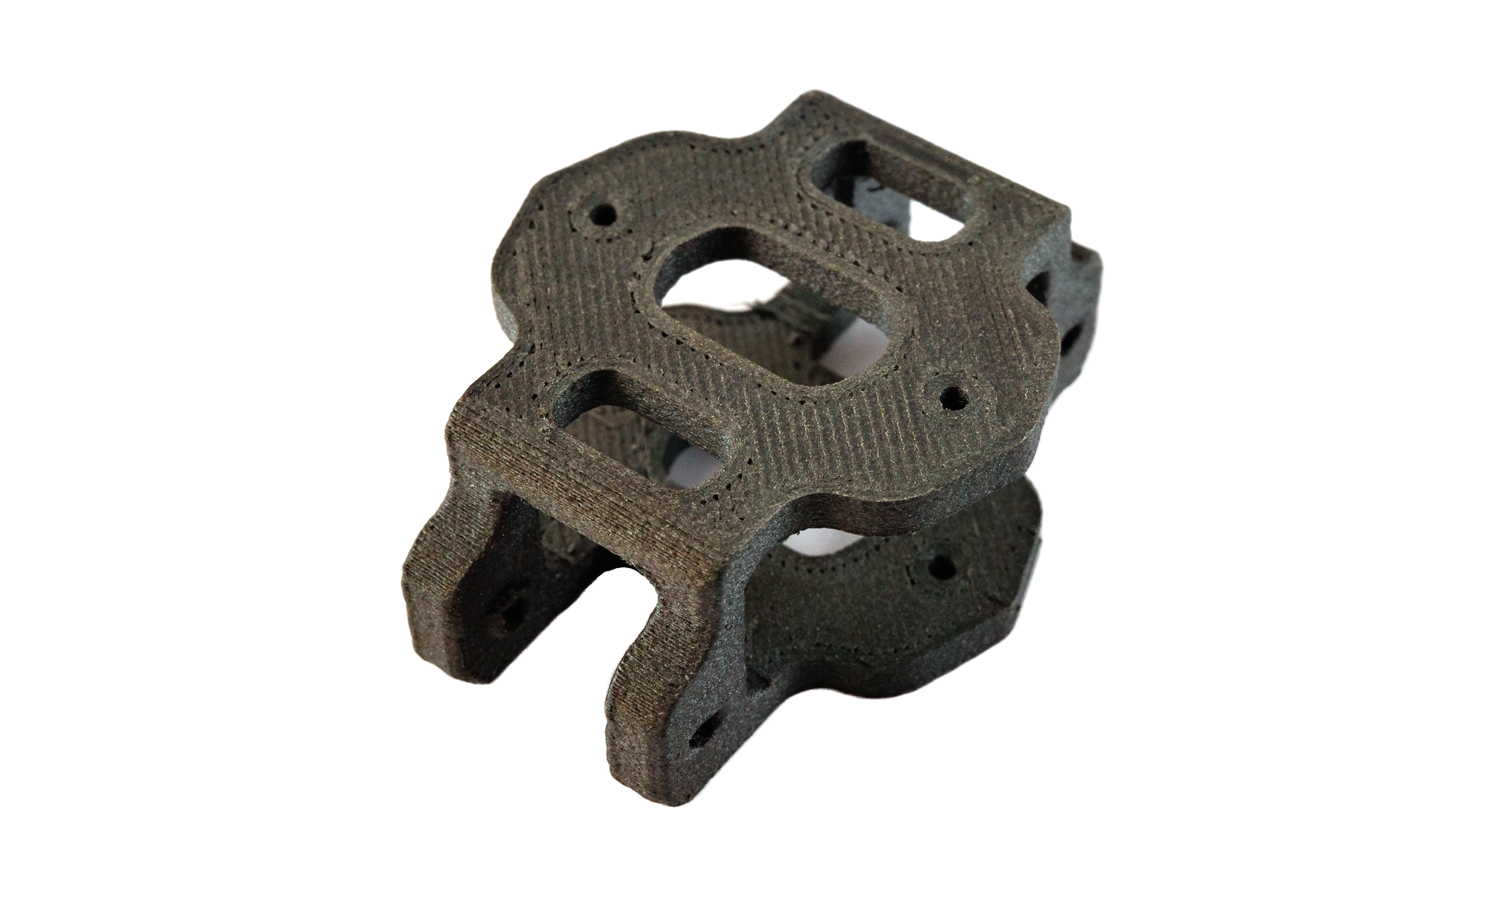
One example of a FDM 3D Printed CF-PEEK part is this bumper mount bracket. It is designed to attach the bumper to the chassis of a vehicle, and it needs to withstand high impact forces and harsh environmental conditions. The bracket has a dark brownish grey color and some holes on it so it can be fixed with other parts.
The bumper mount bracket was printed by FacFox, a leading online 3D printing service provider that offers high-quality CF-PEEK 3D printing at affordable prices. FacFox has a team of experienced engineers and technicians who can help you optimize your design for 3D printing and ensure the best results. FacFox also offers fast turnaround time, worldwide shipping and excellent customer service.
If you are interested in FDM 3D Printed CF-PEEK parts, you can visit FacFoxŌĆÖs website facfox.com and upload your 3D model for an instant quote. You can also contact them for more information or assistance via info@facfox.com. FacFox is your trusted partner for all your 3D printing needs.
Solution
- Step 1: A digital design file of the bumper mount bracket was uploaded to the FDM 3D printer.
- Step 2: A spool of CF-PEEK filament was loaded into the printer and fed through an extruder that heated, melted and extruded the material through a thin nozzle.
- Step 3: The extruder head was attached to a three-axis system that allowed it to move across the X, Y and Z axes.
- Step 4: The printer extruded melted CF-PEEK material in thin strands and deposited them layer by layer along a path determined by the design.
- Step 5: The material cooled and solidified after being deposited. Fans were attached to the extruder head to accelerate cooling in some cases.
- Step 6: The build platform descended after each layer was completed and the printer started work on the next layer.
- Step 7: The process was repeated until the entire bumper mount bracket was formed.
- Step 8: It was removed from the build platform and any support structures were detached.
- Step 9: The bumper mount bracket was inspected for quality and accuracy.


