Gallery

About Project
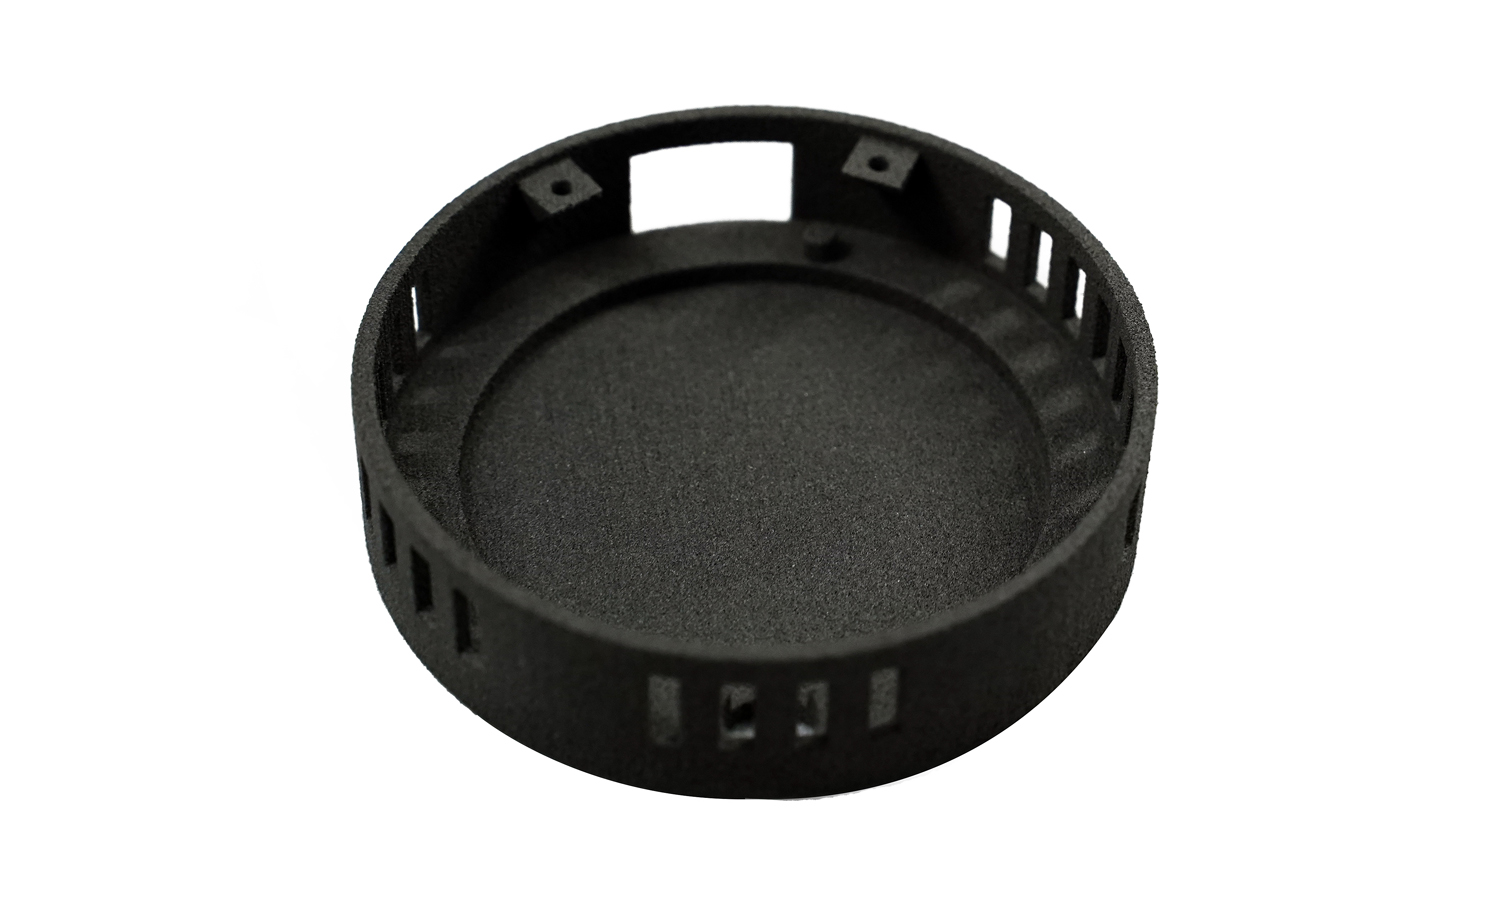
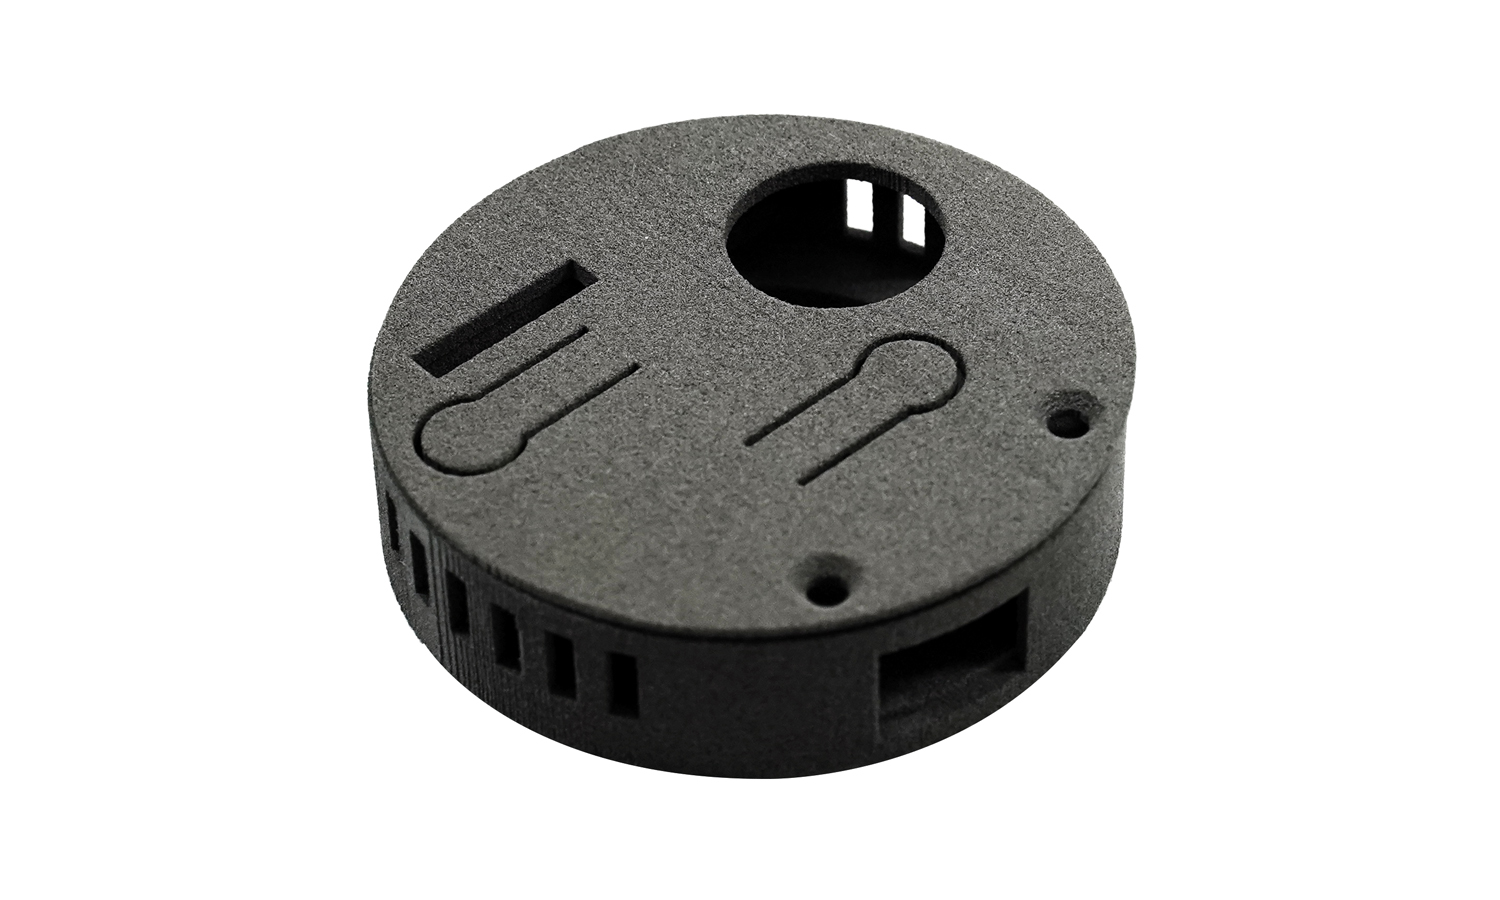
If you are looking for a way to create a durable and complex electronics housing, you might want to consider using SLS 3D printing technology. SLS stands for Selective Laser Sintering, which is a powder-based 3D printing process that uses a laser to fuse material layers into a final part.
SLS 3D printing has many advantages over other methods, such as high accuracy, strength, flexibility and freedom of design. You can create parts with intricate geometries, such as bores, bridges and hollow structures, without the need for supports or molds.
To create a cylindrical enclosure with SLS 3D printing technology, you need to follow these steps:
1. Design your part using a CAD software. Make sure to include all the features you need, such as bores for wires or screws, bridges for mounting or connecting parts, and hollow structures for weight reduction or airflow. You can also add textures or logos to enhance the appearance of your part.
2. Upload your file to an online 3D printing service provider like FacFox. FacFox offers high-quality SLS 3D printing services at affordable prices. You can choose from various materials and colors for your part. You can also get instant quotes and feedback on your design.
3. Place your order and wait for your part to be delivered. FacFox will print your part using state-of-the-art SLS machines and post-process it according to your specifications. You will receive your part within days after placing your order.
With SLS 3D printing technology and FacFoxвҖҷs professional service, you can create a cylindrical enclosure that meets your needs and expectations.
Solution
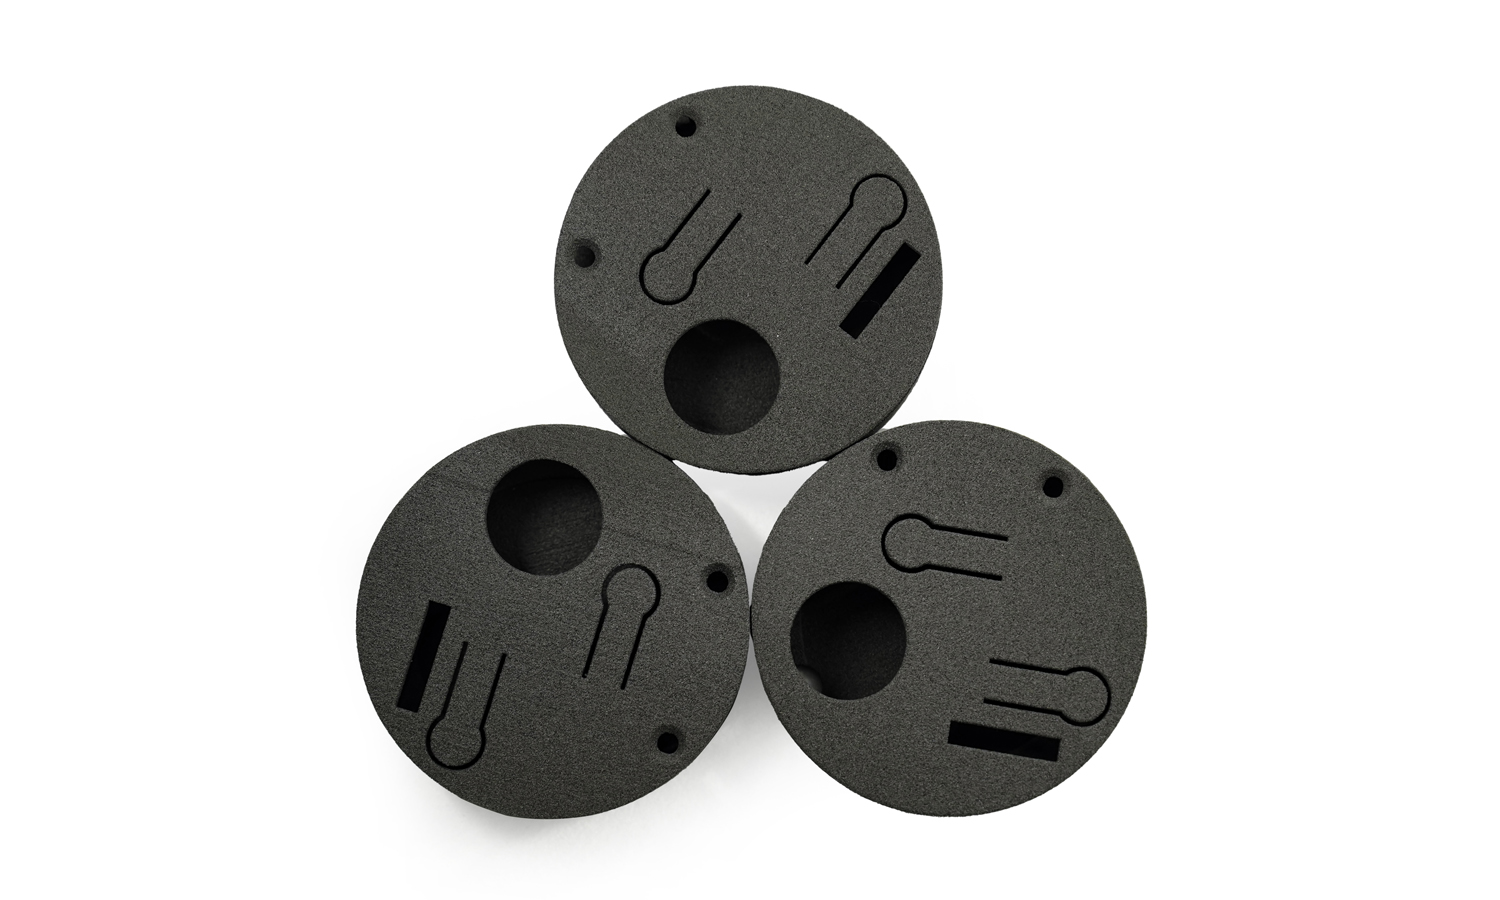
- Step 1: First, the 3D model was broken down into layers of 0.1 mm on the computer and adjusted for better positioning. The model was then duplicated and piled according to the required amount.
- Step 2: Before printing, the tank would be filled with SLS Grey Nylon PA12 powders. On a bed pressure, a 0.1 mm thick layer over the whole width was applied.
- Step 3: The machine was preheated to above 100В°C, and the laser would light the powder and increase the temperature just above the melting point of the powders.
- Step 4: After a layer was formed, the platform would lower down and produce another layer until the whole model got produced.
- Step 5: When the printing process ended, excess powders which also served as supports would be removed with brushes and a vacuum cleaner.


