Material Resin
Quantity 1 pcs
Price Range $1-100
Lead Time 4 workdays
Gallery
About Project
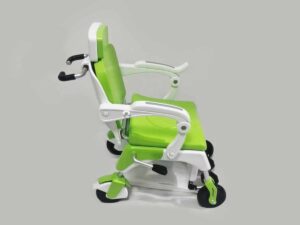
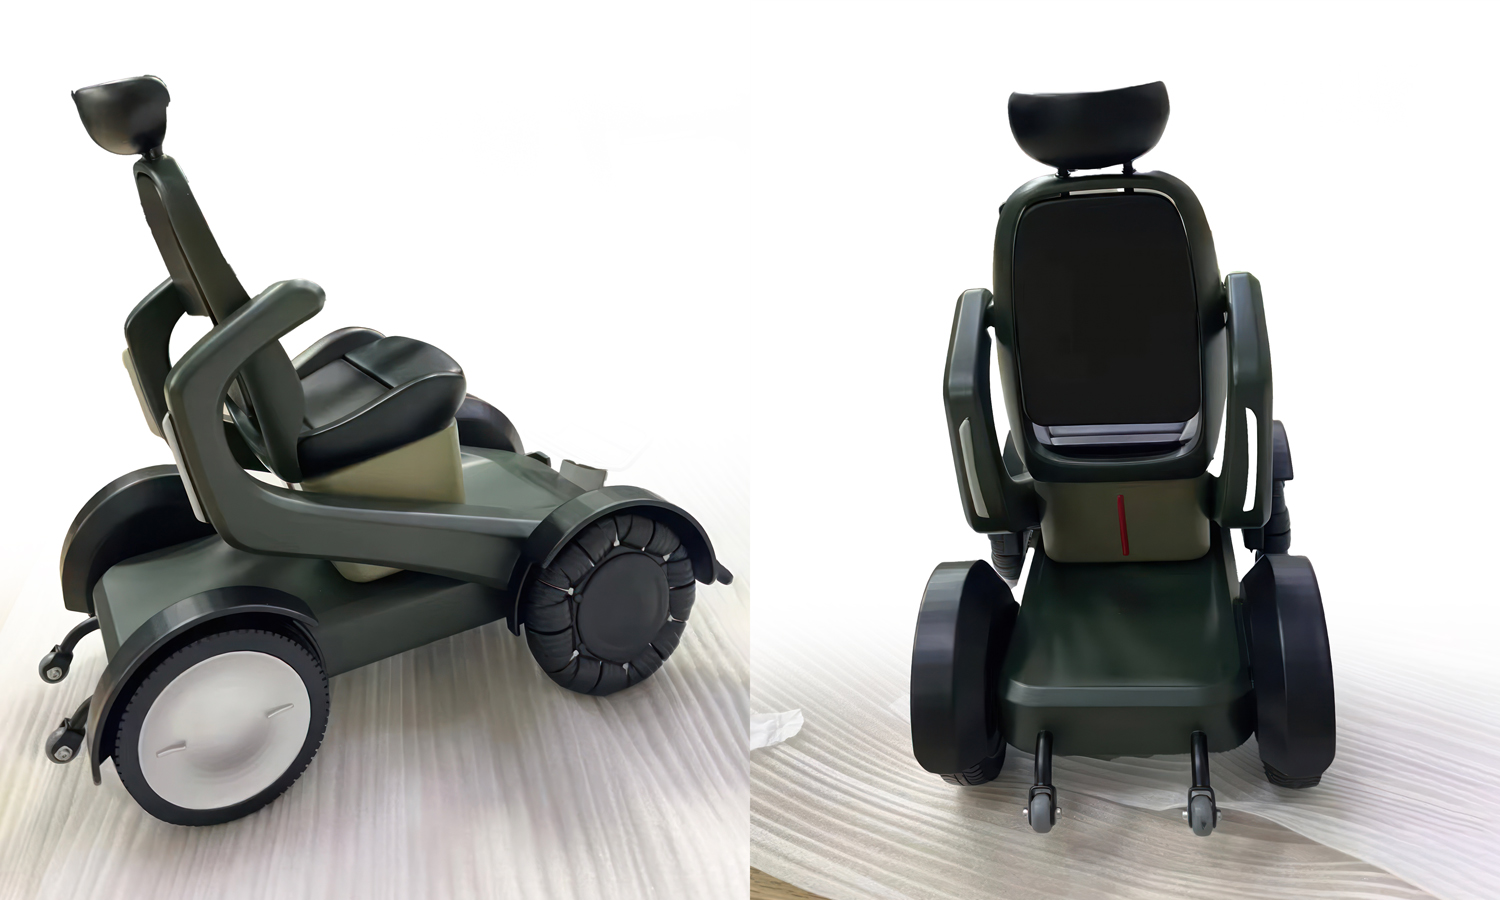
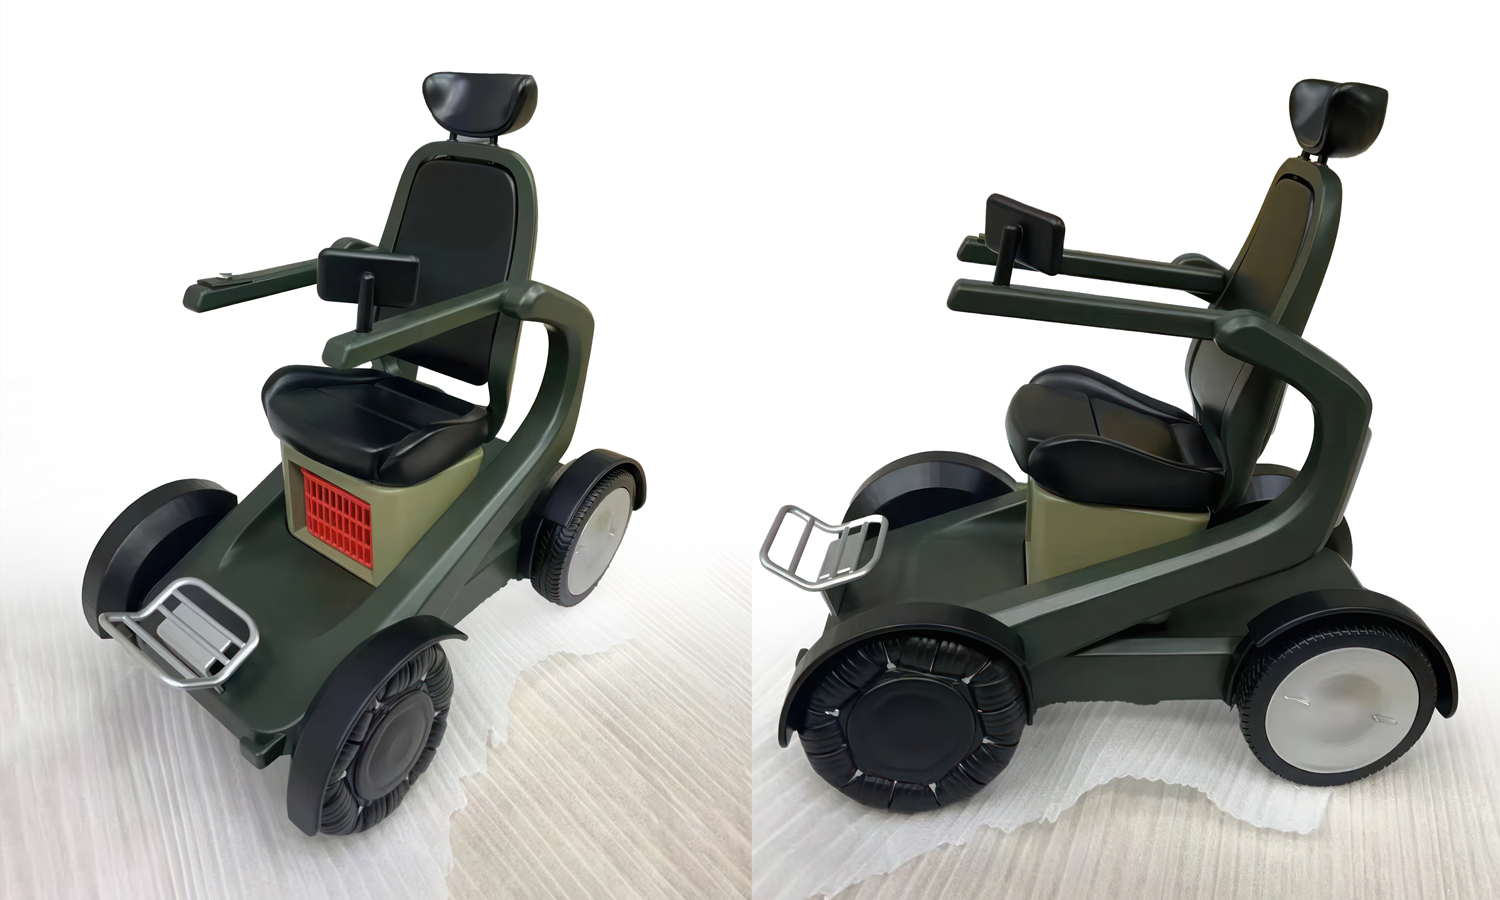
Before a mobility product reaches the market, designers often need something more convincing than renderings. This electric wheelchair prototype was likely created as a physical presentation model, helping the client review the overall shape, color matching, seating layout, wheel structure, armrests, footrests, and control details in real space.
The model was not printed as one simple block. Instead, different parts such as the seat, backrest, wheels, frame, foot supports, armrests, and small hardware-like details were likely produced separately with SLA 3D printing. This made it easier to preserve clean edges, paint each component neatly, and assemble the wheelchair with a more product-like finish. The dark green body, black seat cushions, silver wheel covers, and small red rear detail give the prototype a calm, modern, and practical appearance.
For product designers, startups, and hardware teams, a model like this can be incredibly useful. It allows the team to check proportions, communicate design intent, impress investors, and collect feedback before committing to tooling or mass production. If you want to turn your product concept into a polished physical prototype, FacFox can help with 3D printing, painting, assembly, and finishing. You can get an instant quote online or email us to start your projects.
Solution
- Step 1: The 3D model was reviewed and separated into printable parts, including the seat, backrest, wheels, body panels, armrests, foot supports, and smaller accessory details.
- Step 2: The parts were produced with SLA 3D printing, where liquid photopolymer resin was selectively cured layer by layer to create smooth surfaces and accurate small features.
- Step 3: The printed resin parts were removed from the build platform, cleaned, and post-cured to improve dimensional stability and surface hardness before finishing.
- Step 4: Supports were removed, and the visible surfaces were sanded and refined so the seat, wheels, frame, and body panels could receive paint more evenly.
- Step 5: The components were hand painted and sprayed in separate colors, including dark green for the main body, black for the seat and tires, silver for the wheel covers and footrest, and red for the rear detail.
- Step 6: The finished parts were assembled into the final electric wheelchair prototype, and the alignment of the wheels, armrests, foot supports, backrest, and overall silhouette was checked from multiple angles.