Material Resin
Quantity 1 pcs
Price Range $100-1,000
Lead Time 20 workdays
Gallery

About Project
Are you looking for a way to showcase your innovative design for a modern wheelchair that is both functional and stylish? Do you want to impress the judges of the competition that aims to care about the disabled? If so, you might want to consider using SLA 3D printing to create a resin scaled-down prototype of your wheelchair.
SLA stands for stereolithography, a type of 3D printing that uses a laser to cure liquid resin into solid objects. SLA 3D printing can produce high-resolution and smooth-surfaced models that are ideal for displaying intricate details and complex shapes. SLA 3D printing can also use different types of resins, such as clear, flexible, tough, or castable, to achieve different properties and effects.
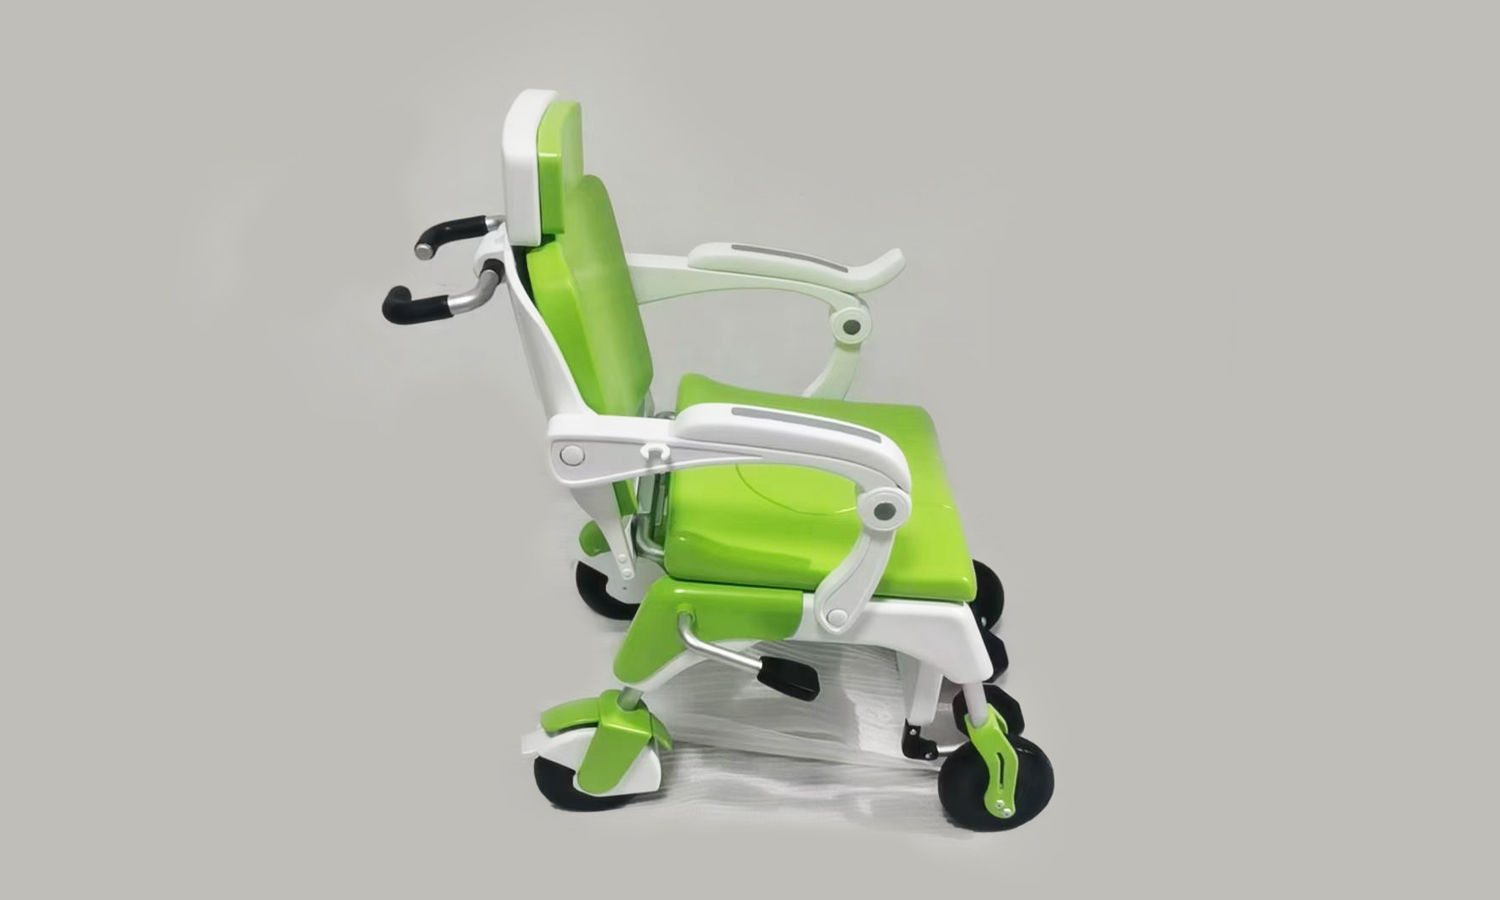
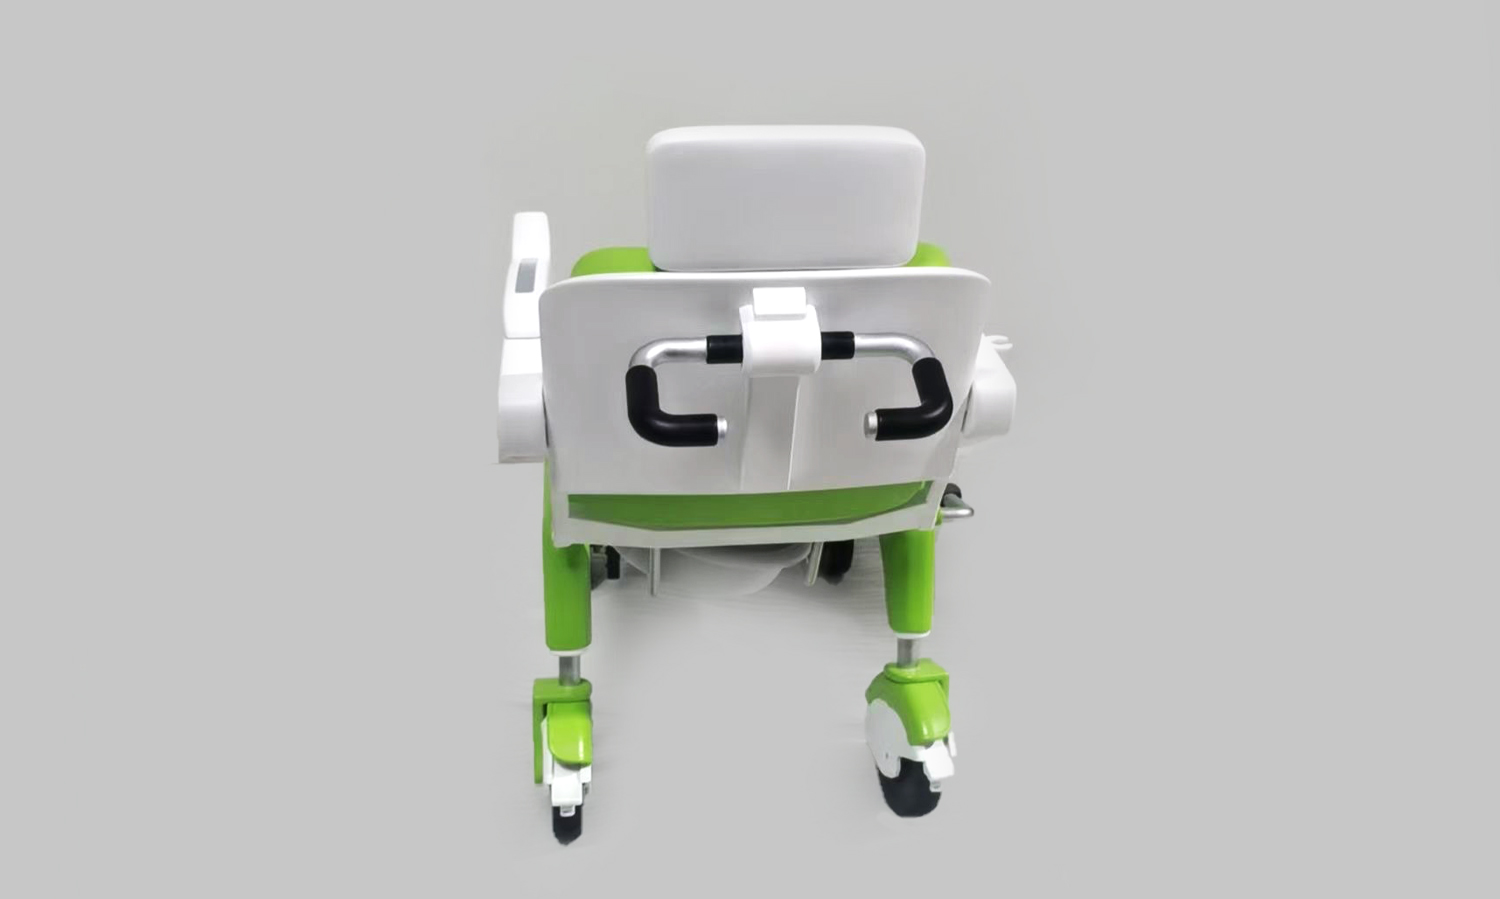
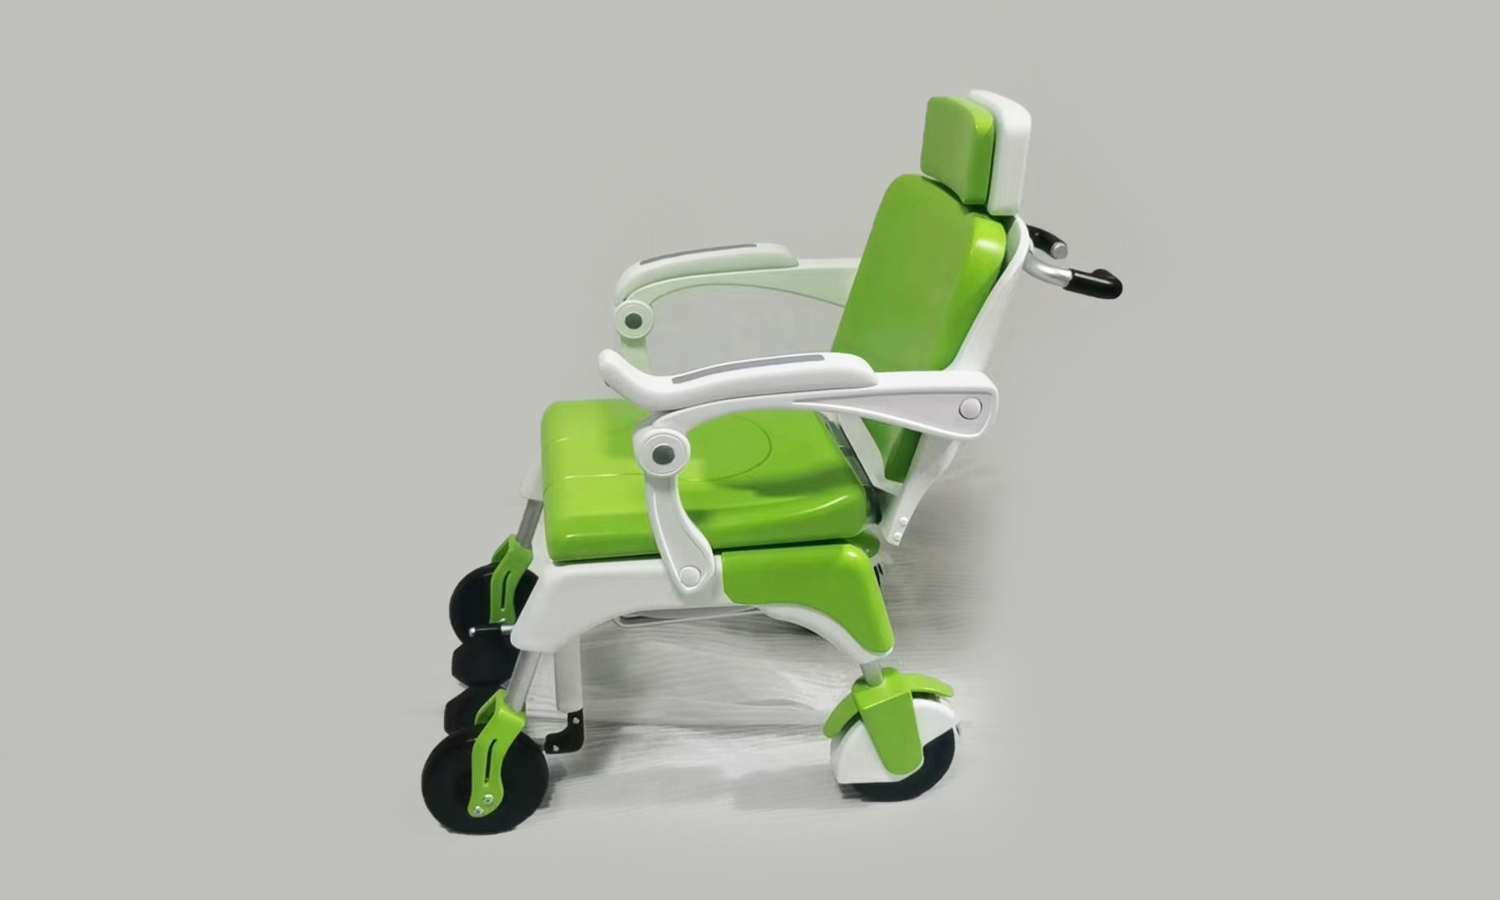
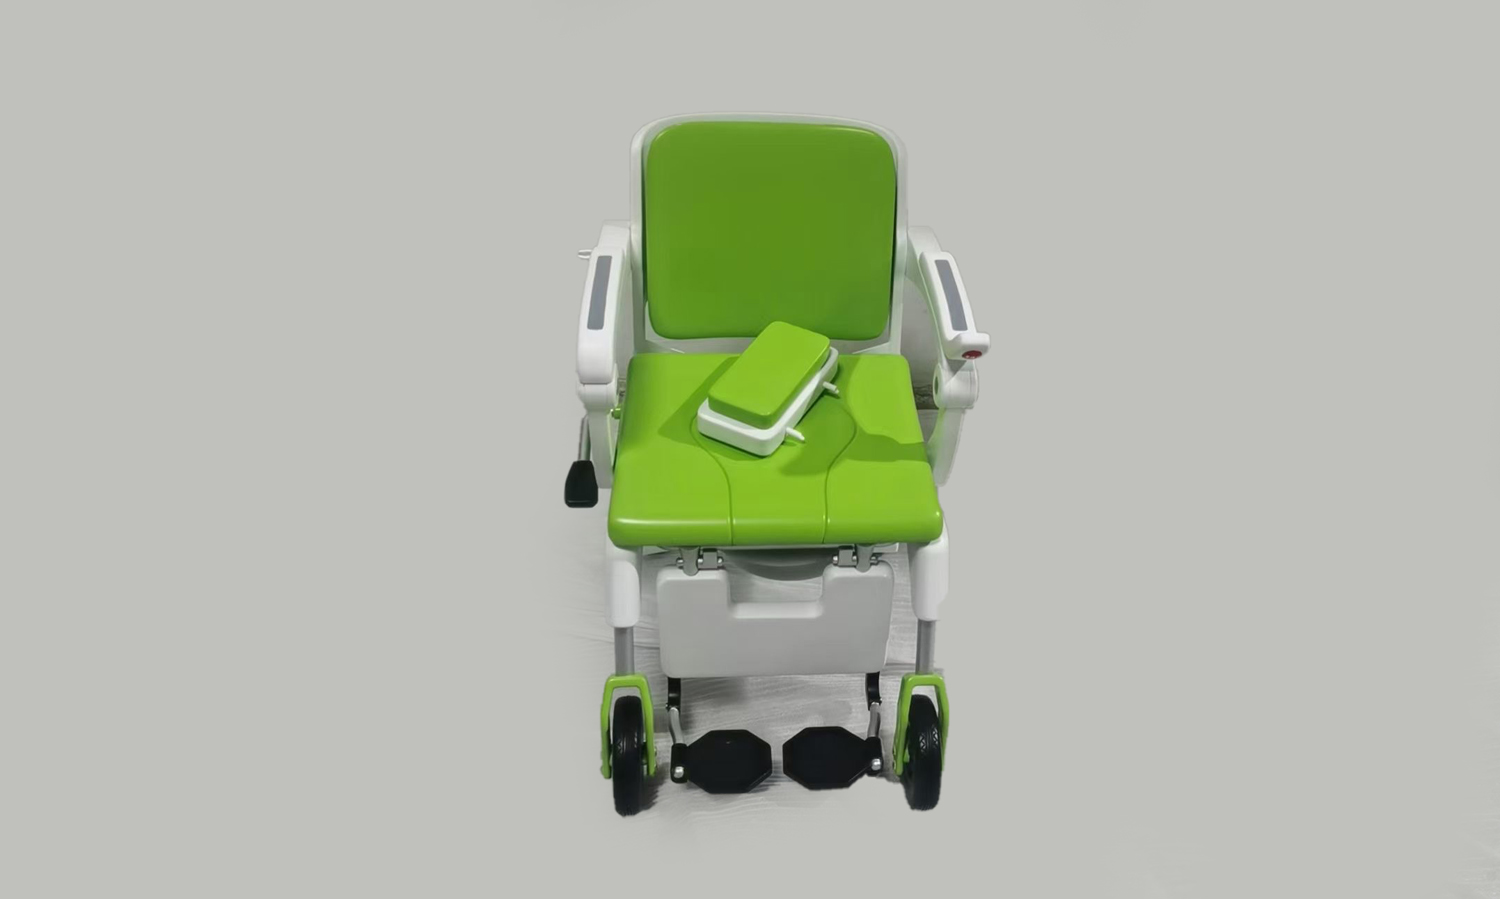
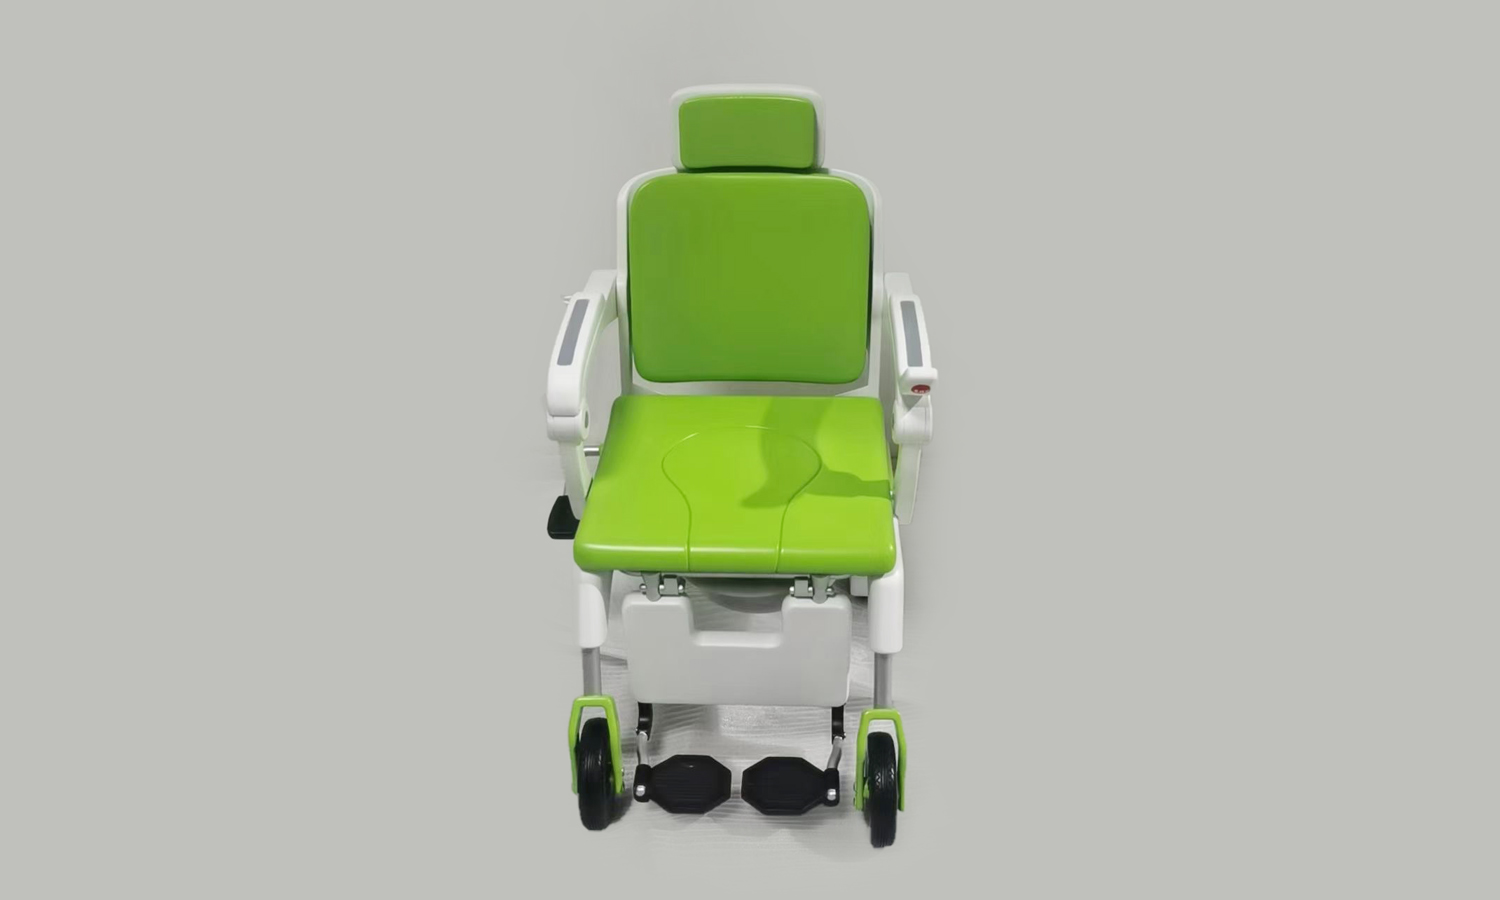
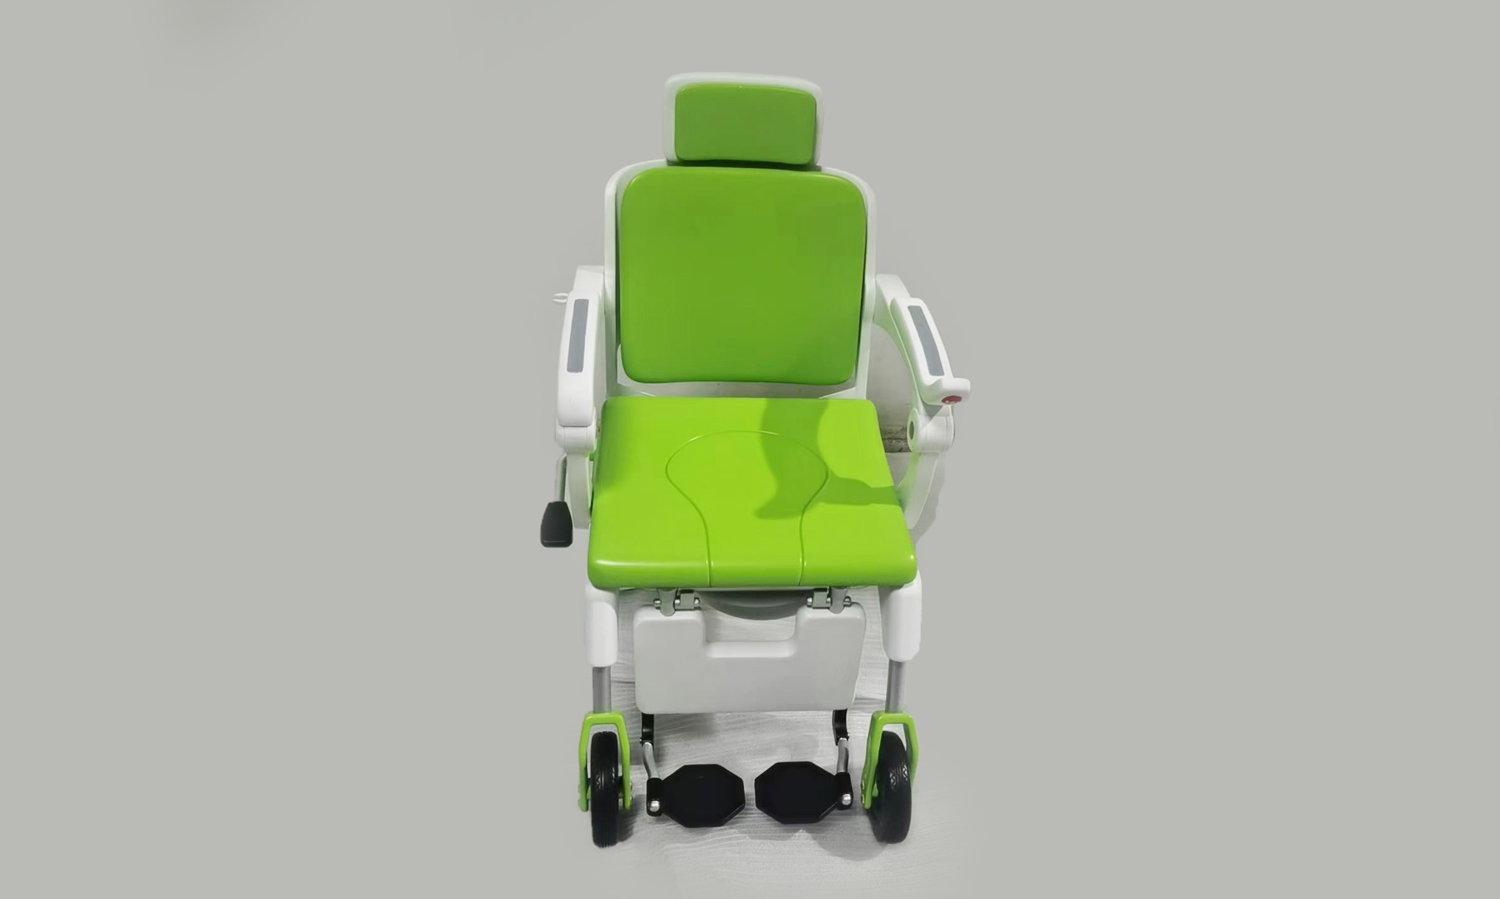
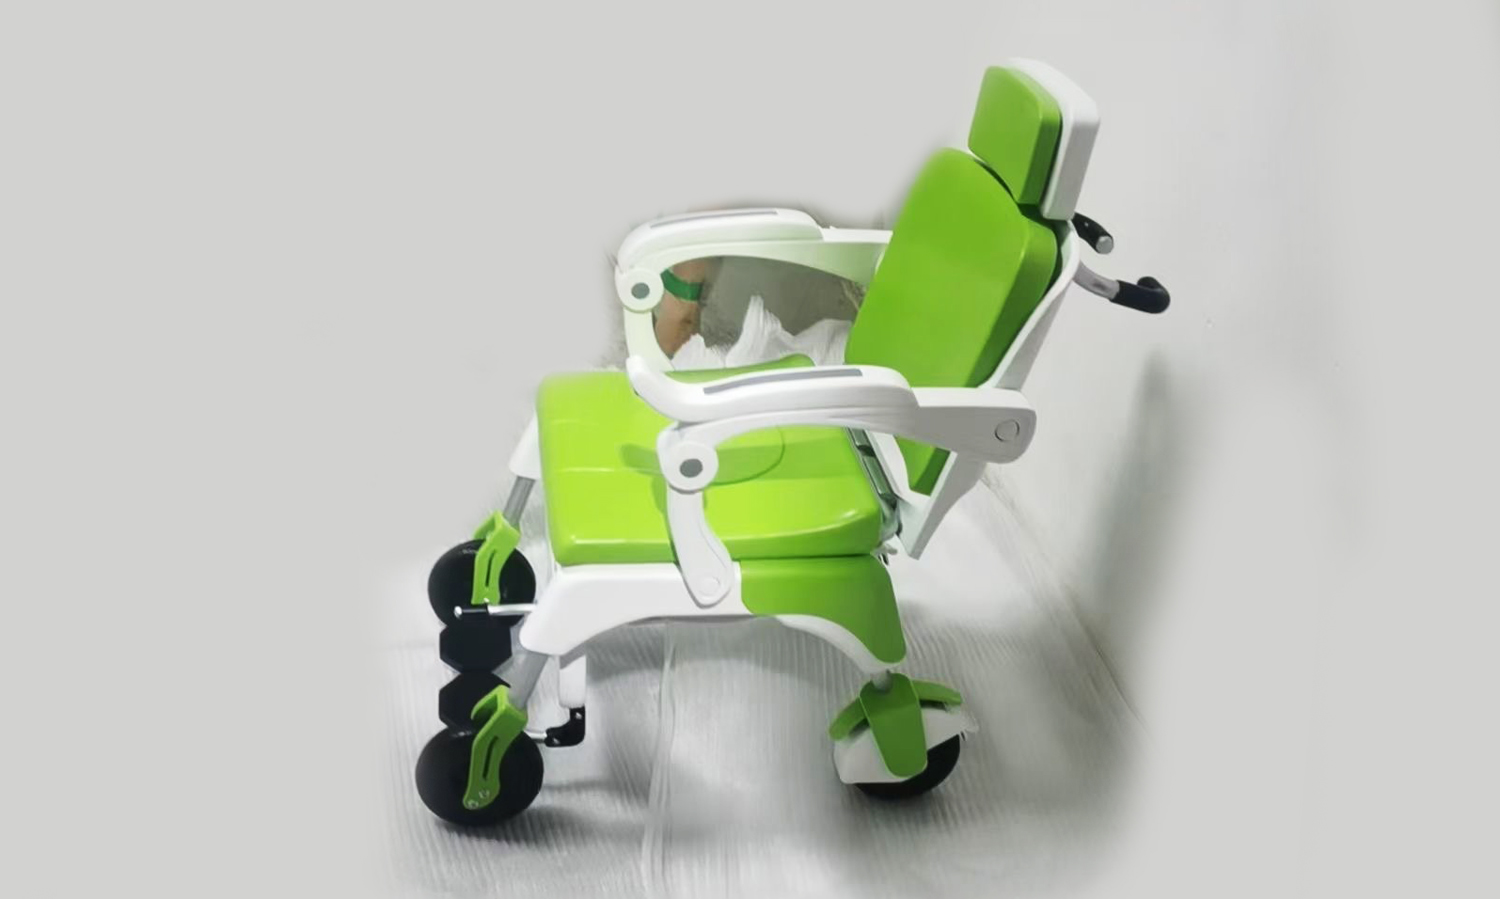
One example of an SLA 3D printed resin modern wheelchair scaled-down prototype is this light green model that was designed by a student for a competition. It has a simple, modern design with a curved back and seat. It has four caster wheels that allow it to roll easily. It has a headrest and armrests. The headrest is adjustable, so it can be raised or lowered to fit the userŌĆÖs height. The armrests are padded for comfort. The light green color makes it more adorable for young patients.
This prototype was created using FacFoxŌĆÖs prototyping services, which offer fast, reliable, and affordable SLA 3D printing solutions. FacFox can help you turn your design into a physical model that you can touch, feel, and test. FacFox can also provide you with expert advice and guidance on how to optimize your design for SLA 3D printing. Whether you need one prototype or hundreds, FacFox can deliver them to you in a matter of days.
If you are interested in SLA 3D printing or FacFoxŌĆÖs prototyping services, please visit their website facfox.com or contact them via info@facfox.com.┬Ā
Solution
- Step 1: A 3D model of the desired object was created using CAD software and converted into an STL file format.
- Step 2: The STL file was imported into a slicing software that divided the 3D model into many parts and generated a set of instructions for the printer.
- Step 3: Each part was printed separately using SLA 3D printing. The build platform was positioned in the tank of liquid photopolymer resin, at a distance of one layer height from the surface of the liquid. A UV laser created the first layer by selectively curing and solidifying the resin according to the instructions from the slicing software. The build platform was lifted up by one layer height and a recoating blade swept across the tank to spread a new layer of resin over the cured layer. This process was repeated until the entire part was completed.
- Step 4: All the parts were removed from the build platforms and washed with a solvent to remove any excess resin. They were then placed in a UV oven to cure fully and improve their mechanical properties.
- Step 5: Each part was painted according to the client’s requests. The main body was painted light green and green, the wheels were painted black, and the rest tiny parts were painted silver. A spray gun and masking tape were used to apply matte, glossy, and metallic paints. The parts were then glued together to form one piece.


