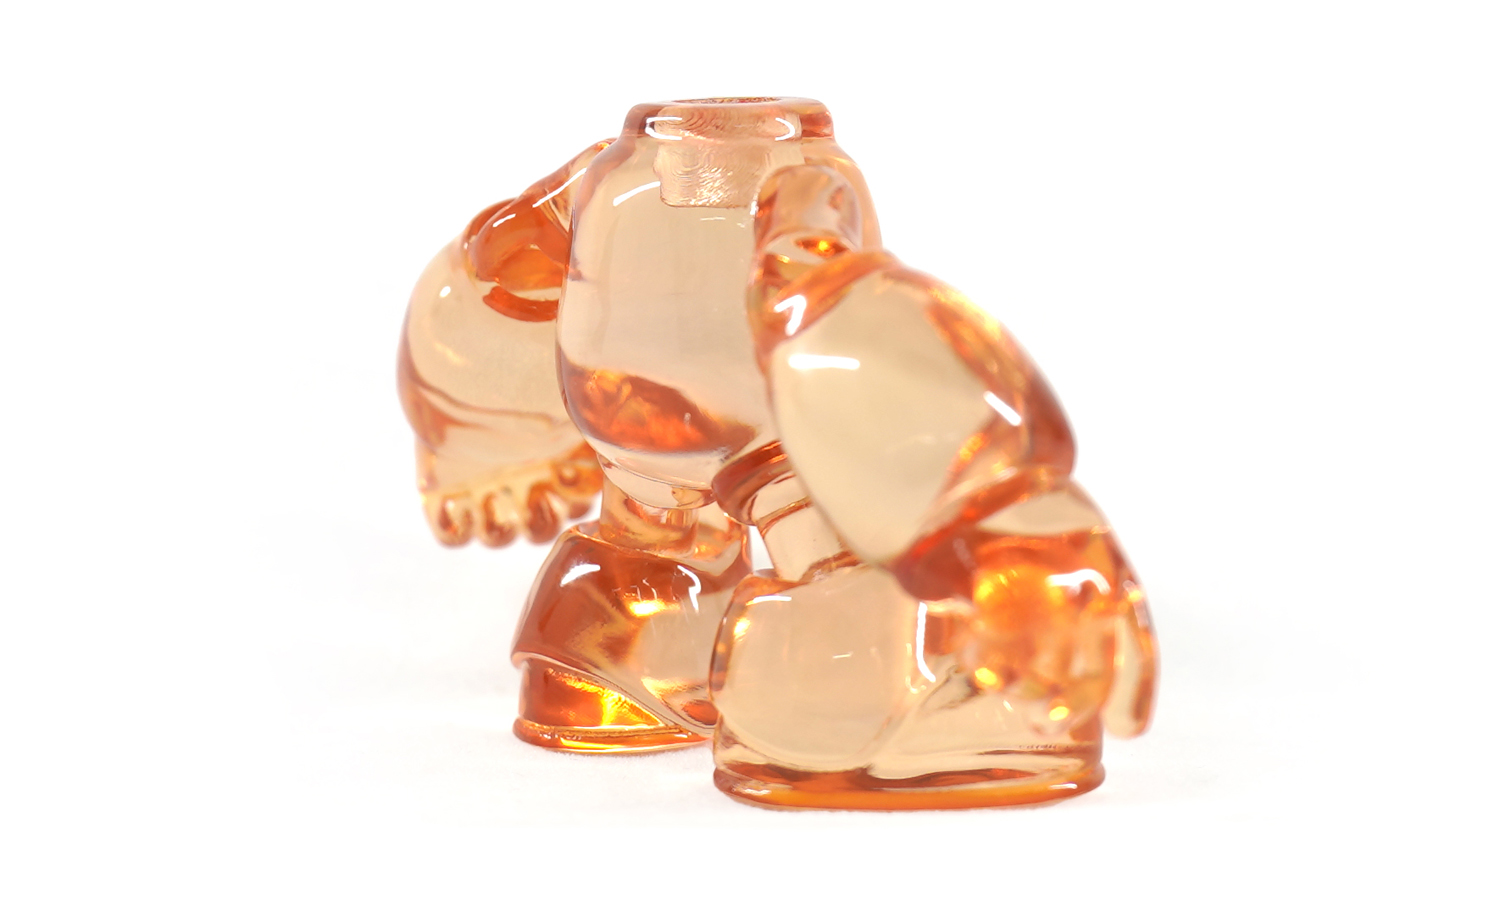
SLA 3D Printed Doll Made with Clear Resin and Tinted Orange Color
- CNC Milled Aluminum Precision Component
- Binder Jetting 3D Printed Stainless Steel 316L Delicate Hollow Ball
Posted on 2023-02-08 in Toys ┬Ę ńÄ®ÕģĘ
Process 3D Print, Support Removal, Post Curing, Polish, Paint
Material Resin
Quantity 1 pcs
Price Range $1-100
Lead Time 2 workdays
Material Resin
Quantity 1 pcs
Price Range $1-100
Lead Time 2 workdays
Gallery
About Project
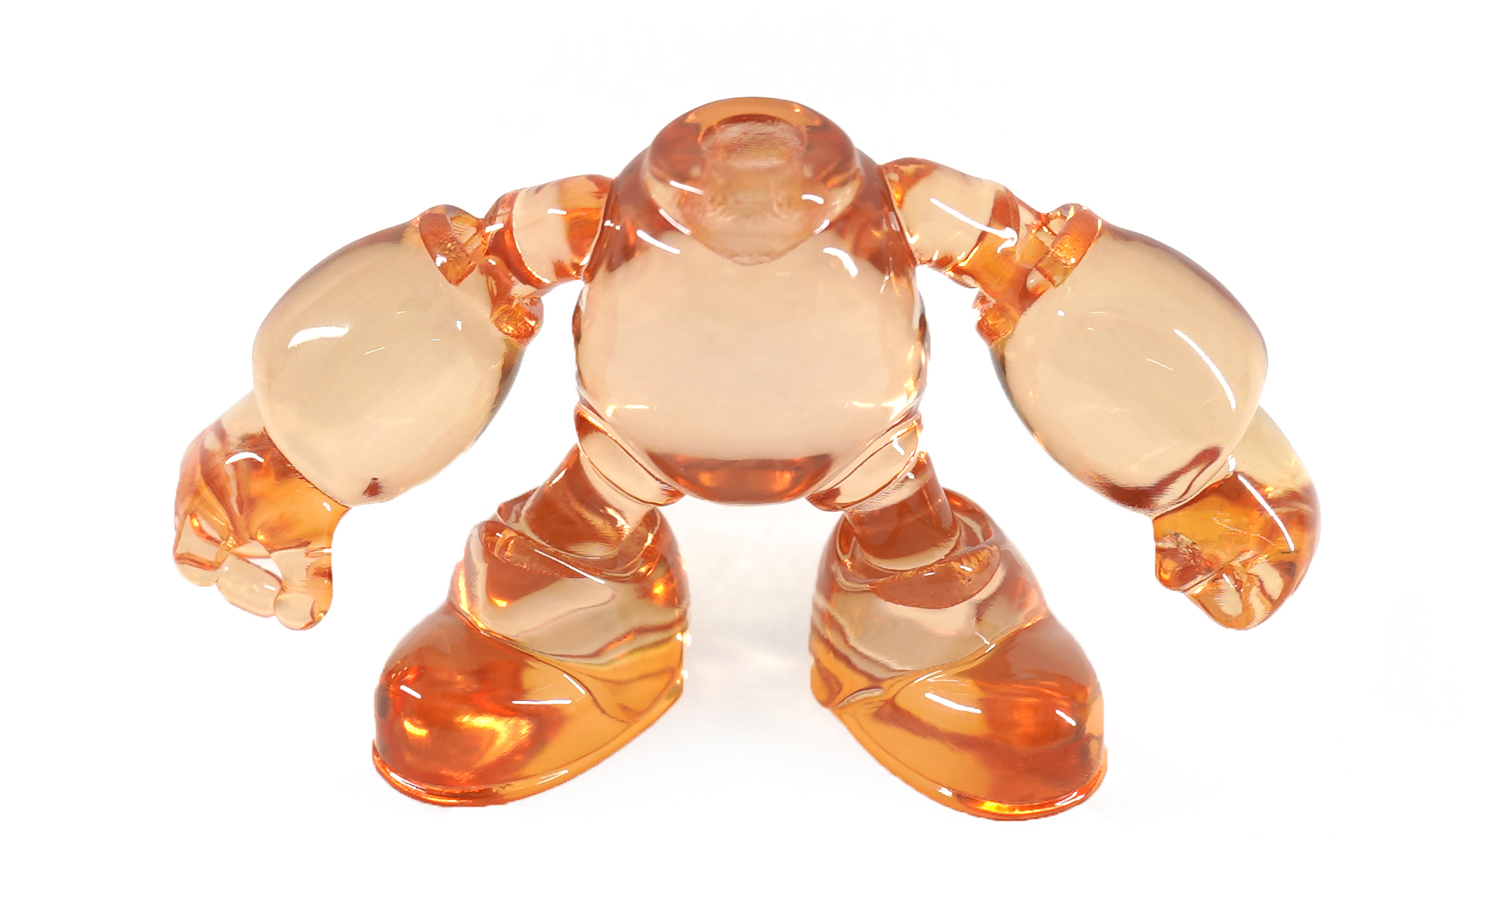
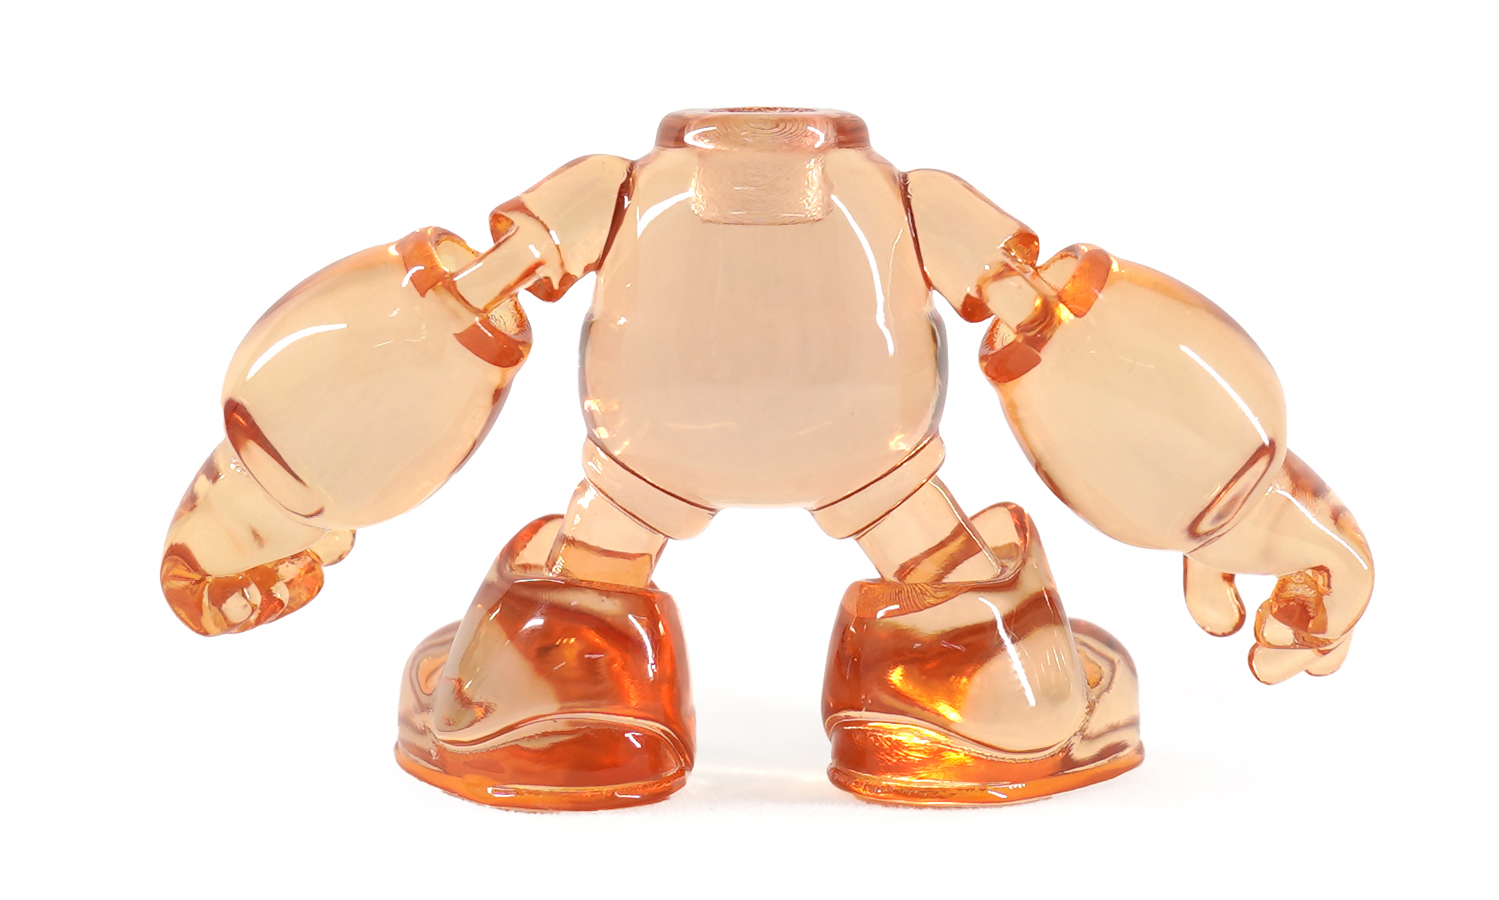
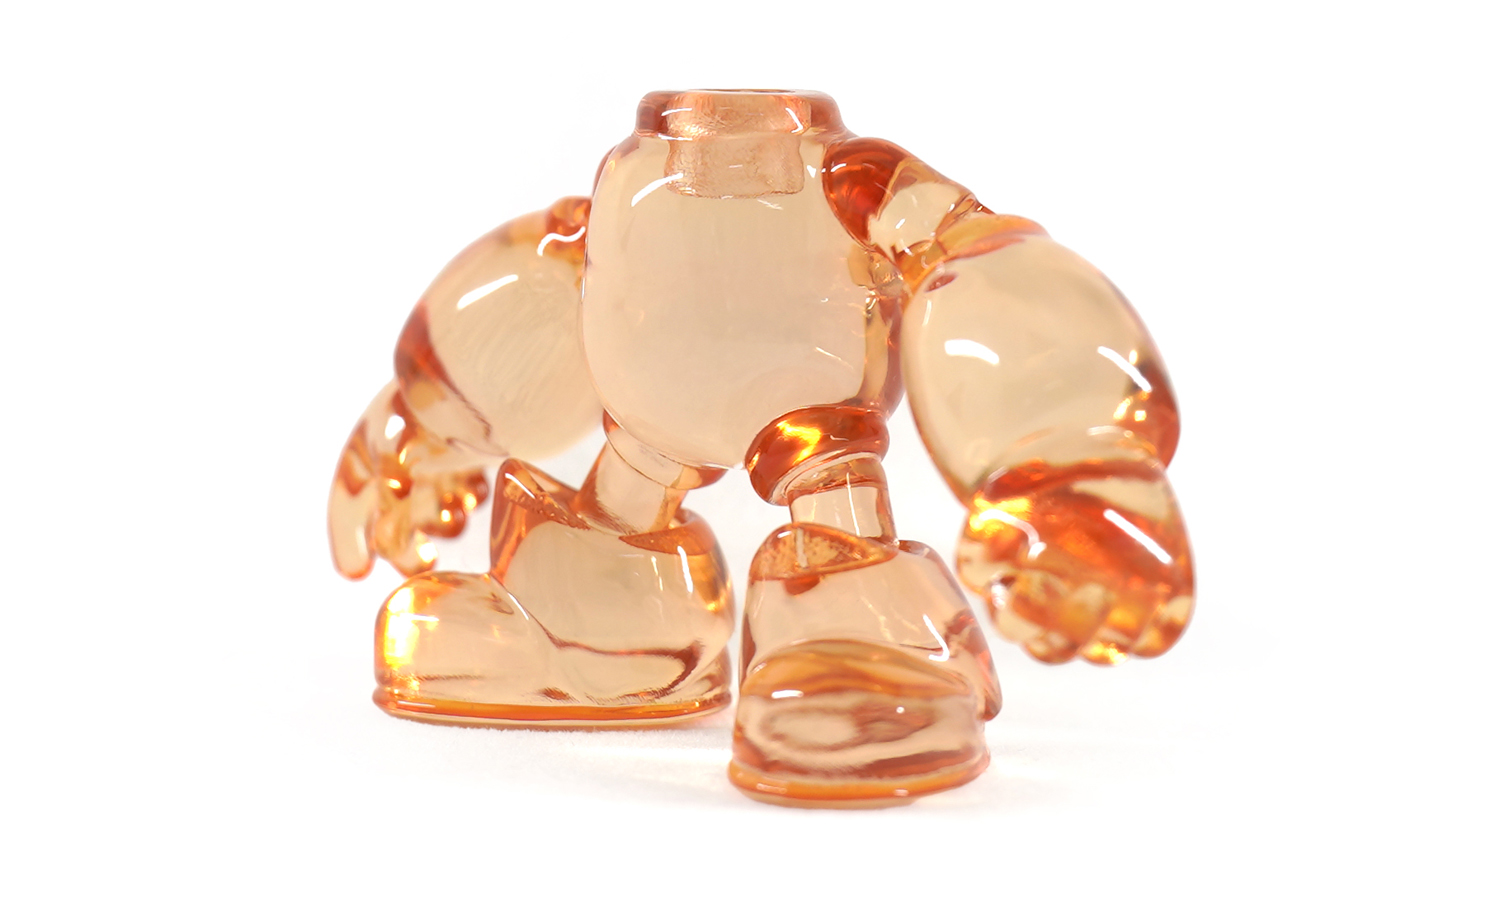
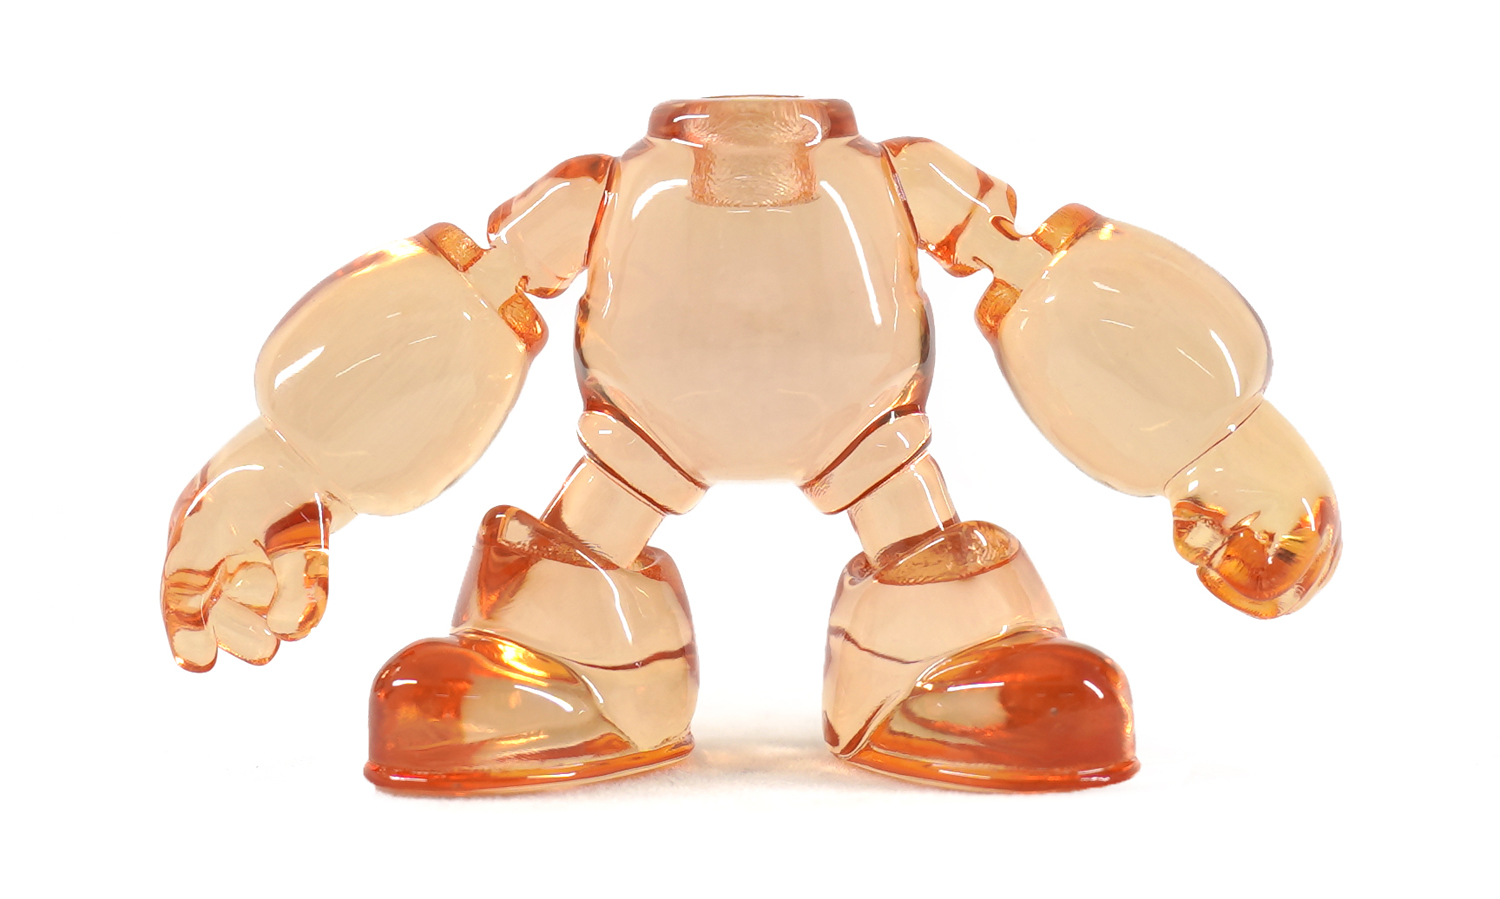
Here is a transparent sample part made with clear resin and SLA 3D printing technology. And it’s dyed into uniform orange color. It’s made to display how crystal our clear prints could be. There are visible lines on its joints where polishing is hard.
Solution
- Step 1: When printing transparent models, we need to focus on the structures, as polishing is highly required to make the parts clear. Sometimes the model has some blind points which are hard for sanding and polishing.
- Step 2: 3D print the model in one piece with SLA Clear Resin and our industrial SLA 3D printer. It seems simple but requires a lot of engineers’ experience. We have printed tens of clear parts every day and tuned the 3D printer to the best condition.
- Step 3: When printing is finished, remove the supports and rinse it with IPA, then manually sand and polish it with 400-4000 grit sandpaper until the model becomes transparent. Attention is necessary when cleaning the cracks.
- Step 4: Spray the part evenly with UV oil. As the oil protection layer has a thickness, the dimension of parts may be affected, so the clear parts are used just as display models, not functional ones. If the client wants a frosted effect, we would sandblast the clear parts.
- Step 5: Soak the print in a dye solution for minutes.
