Material Resin
Quantity 1 pcs
Price Range $1-100
Lead Time 5 workdays
Gallery
About Project
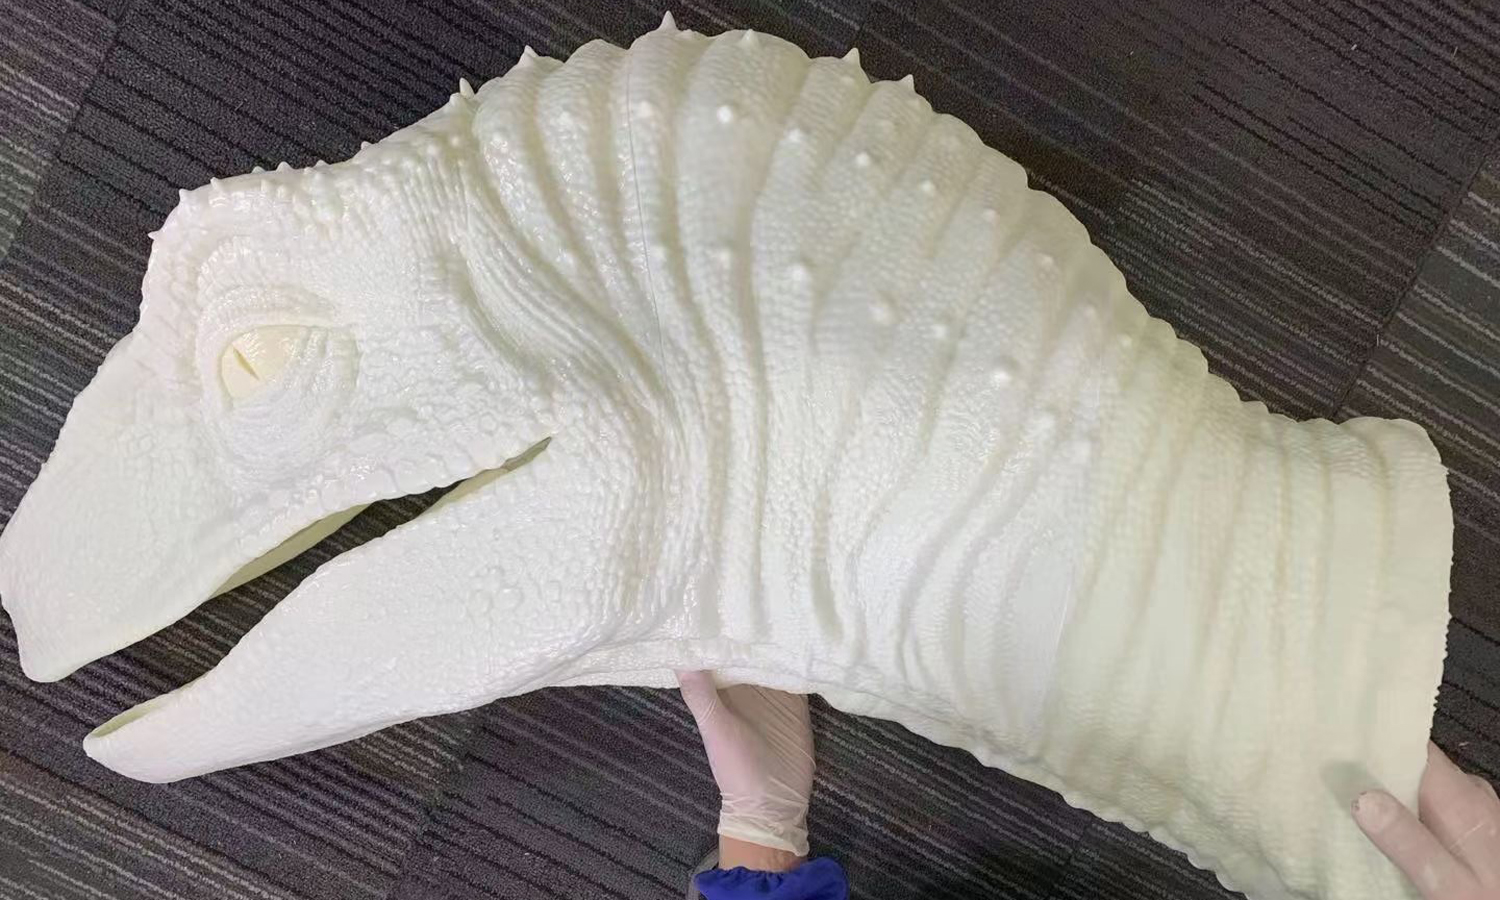
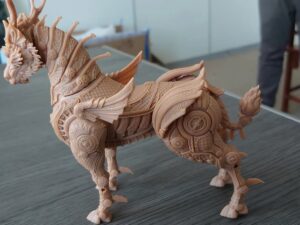
Unleash the prehistoric world right in your own space with our SLA 3D Printed Dinosaur Head Resin Garage Kit! This meticulously crafted white dinosaur head model, ending at the neck, is a marvel of modern technology and ancient wonder.
Sourced from ahigh-quality original 3D model, each dinosaur head is sliced into manageable pieces, printed with precision, and seamlessly glued together to create a stunningly detailed final product. Whether youŌĆÖre a collector, a hobbyist, or looking for an extraordinary decorative piece, this kit is sure to impress.
But why stop at the basics? With FacFoxŌĆÖs customizing services, you can take your prop making to the next level. Tailor your dinosaur head to your exact specifications ŌĆō from the scale of the model to the final color finish. FacFoxŌĆÖs expertise in 3D printing ensures that even the most intricate designs come to life with astounding accuracy and quality.
DonŌĆÖt just dream about dinosaurs ŌĆō bring them to life with FacFoxŌĆÖs SLA 3D Printed Dinosaur Head Resin Garage Kit. Custom yours today and experience the thrill of creating something truly prehistoric!
Solution
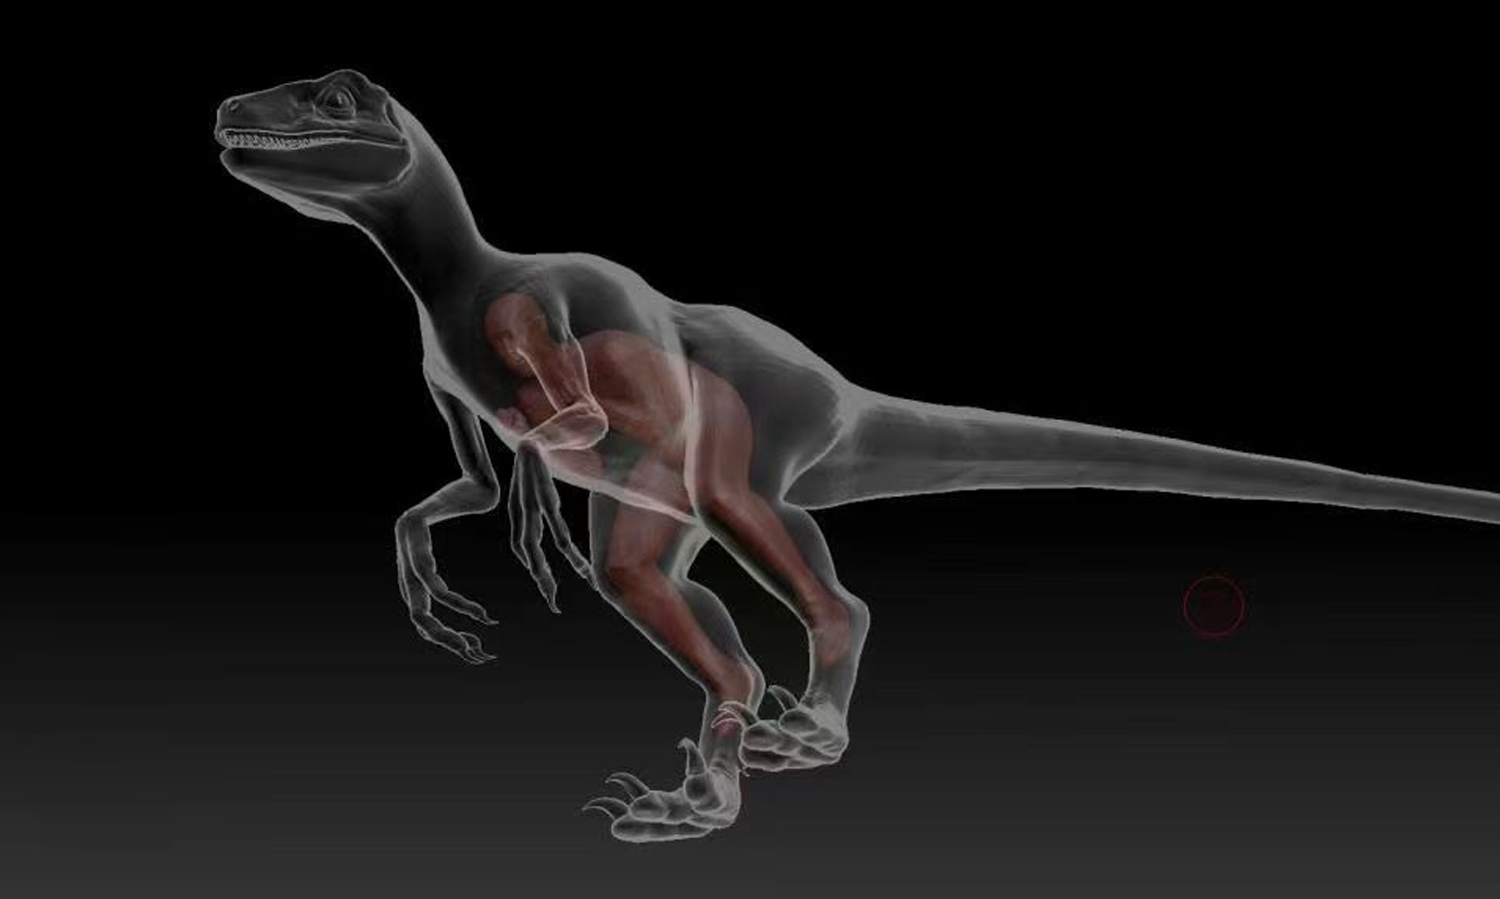
- Step 1: Design. The 3D model of the dinosaur head was designed using CAD software, ensuring all details were meticulously captured.
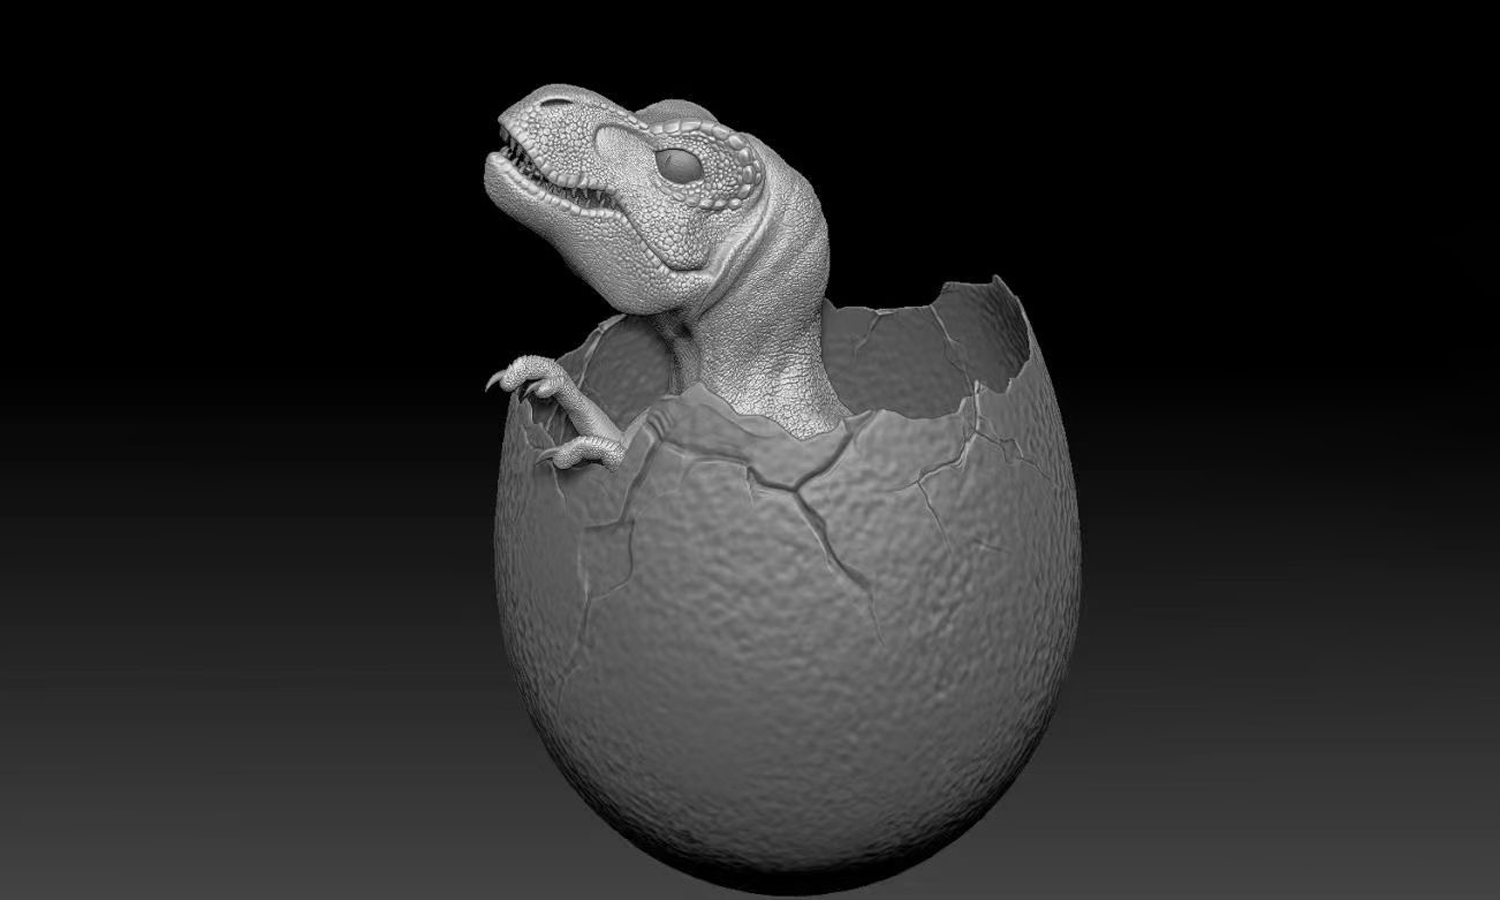
- Step 2: File Preparation. The designed model was sliced and then exported into a 3D printable file format, typically STL or OBJ.
- Step 3: Machine Setup. The SLA 3D printer was prepared, with the resin tank filled with photopolymer resin.
- Step 4: Printing. The build platform was positioned within the tank at a precise distance from the surface of the liquid resin. A UV laser was used to cure the resin, layer by layer, solidifying the modelŌĆÖs cross-sections.
- Step 5: Washing. After printing, the dinosaur head model was washed in a solvent to remove any uncured resin.
- Step 6: Post-Curing. The model was then exposed to UV light to ensure any remaining resin reached its final strength and stability.
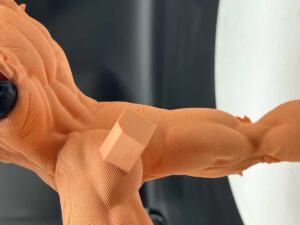
- Step 7: Support Removal. Any supports added during the printing process were carefully removed from the dinosaur head model.
- Step 8: Assembly. The printed pieces were assembled and glued together to form the complete dinosaur head.
- Step 9: Surface Finishing. Finally, the assembled model was sanded and finished to achieve a smooth surface, ready for painting or display.


