SLA 3D Printed and Neon Green Tinted Zeitgeist’s Mouth Mask in Dead Pool
Posted on 2021-06-16 in Toys ┬Ę ńÄ®ÕģĘ
Process 3D Print, Support Removal, Post Curing, Polish, Paint
Material Resin
Quantity 1 pcs
Price Range $100-1,000
Lead Time 10 workdays
Material Resin
Quantity 1 pcs
Price Range $100-1,000
Lead Time 10 workdays
Gallery


About Project
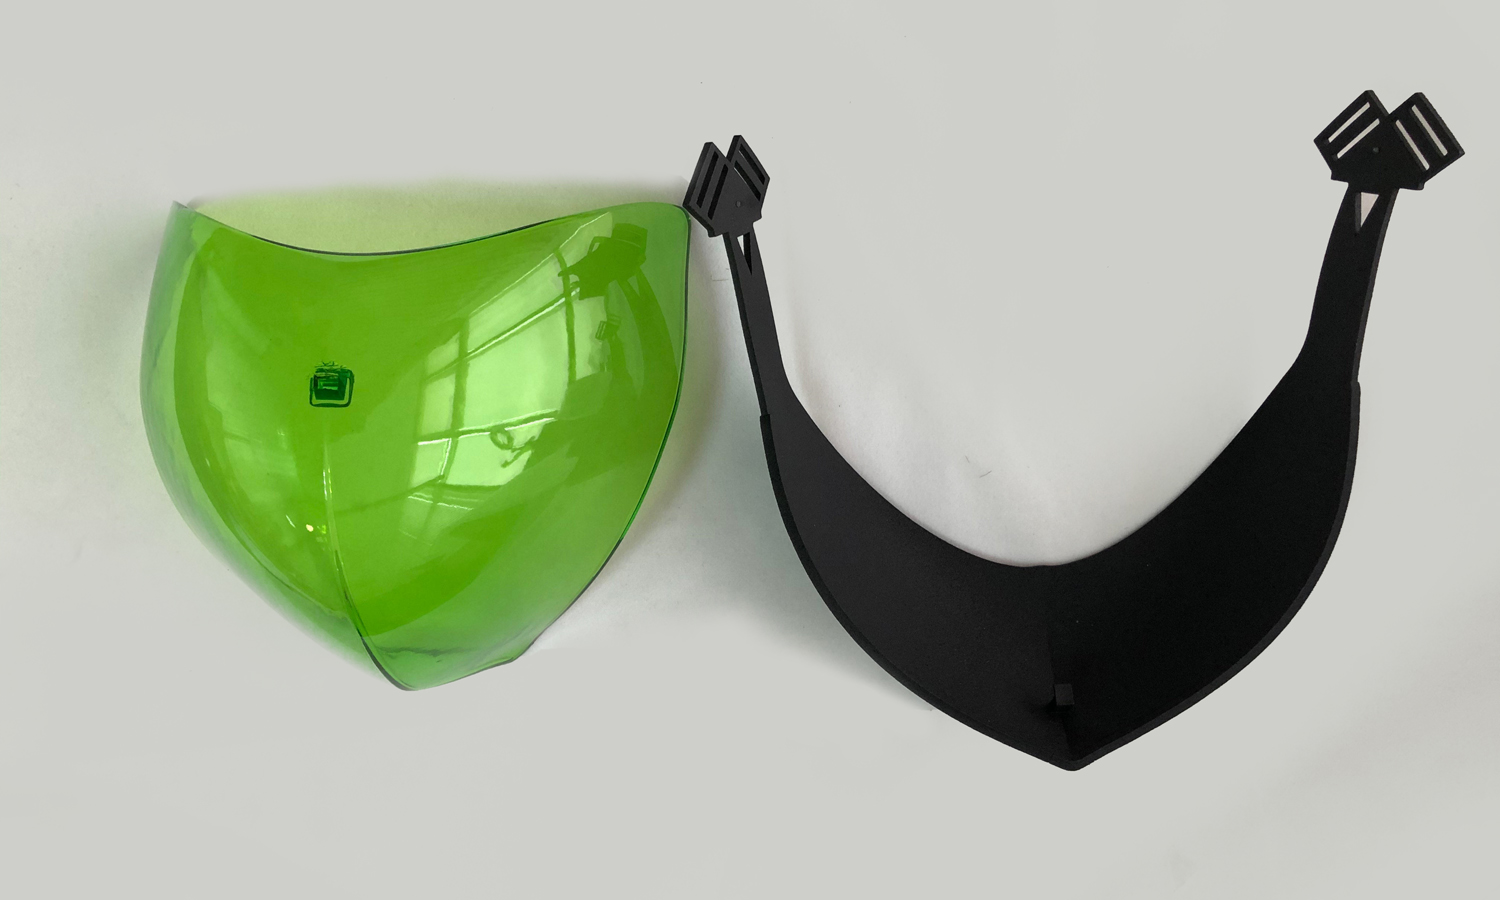
Zeitgeist is a member of the X-Force and his ability is spitting up acidic bile. His mask, made from unknown material similar to plastic but much stronger, can help him to avoid accidental spewing.
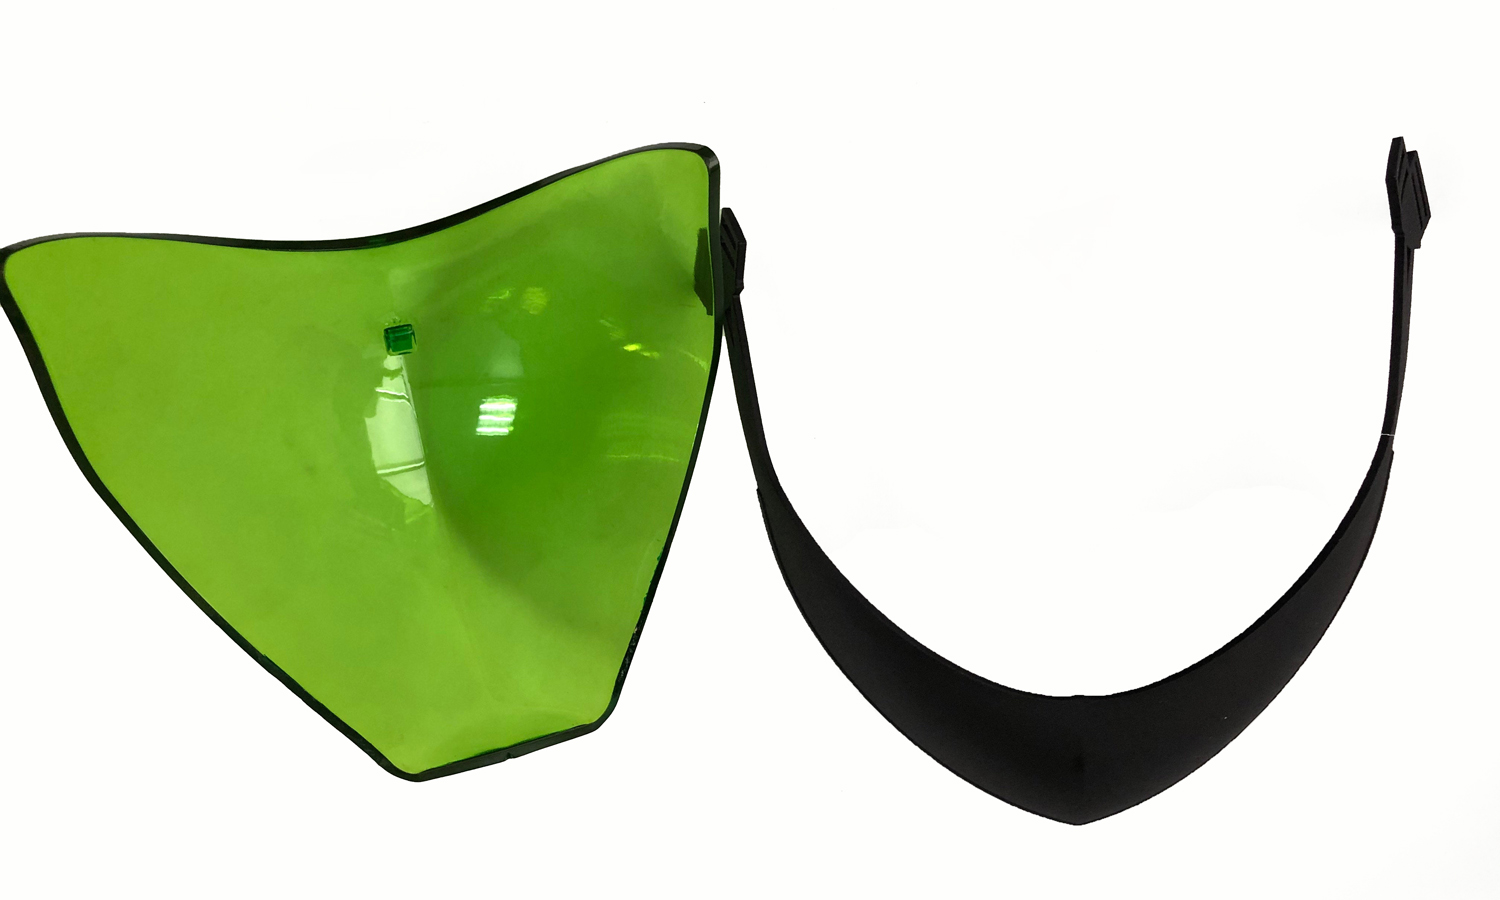
A fan of him downloaded the 3D model from the Internet and found us to make one. He would like to have the green part 3D printed in translucent neon green, and the base as standard black plastic. The total cost is about $200.
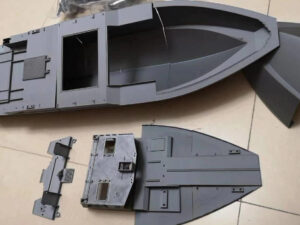
The outcome turned out good. Although there is a small problem: we could not assemble these two parts together, maybe the 3D models have design defects. But the client was satisfied and decided to fix it by himself.
Solution
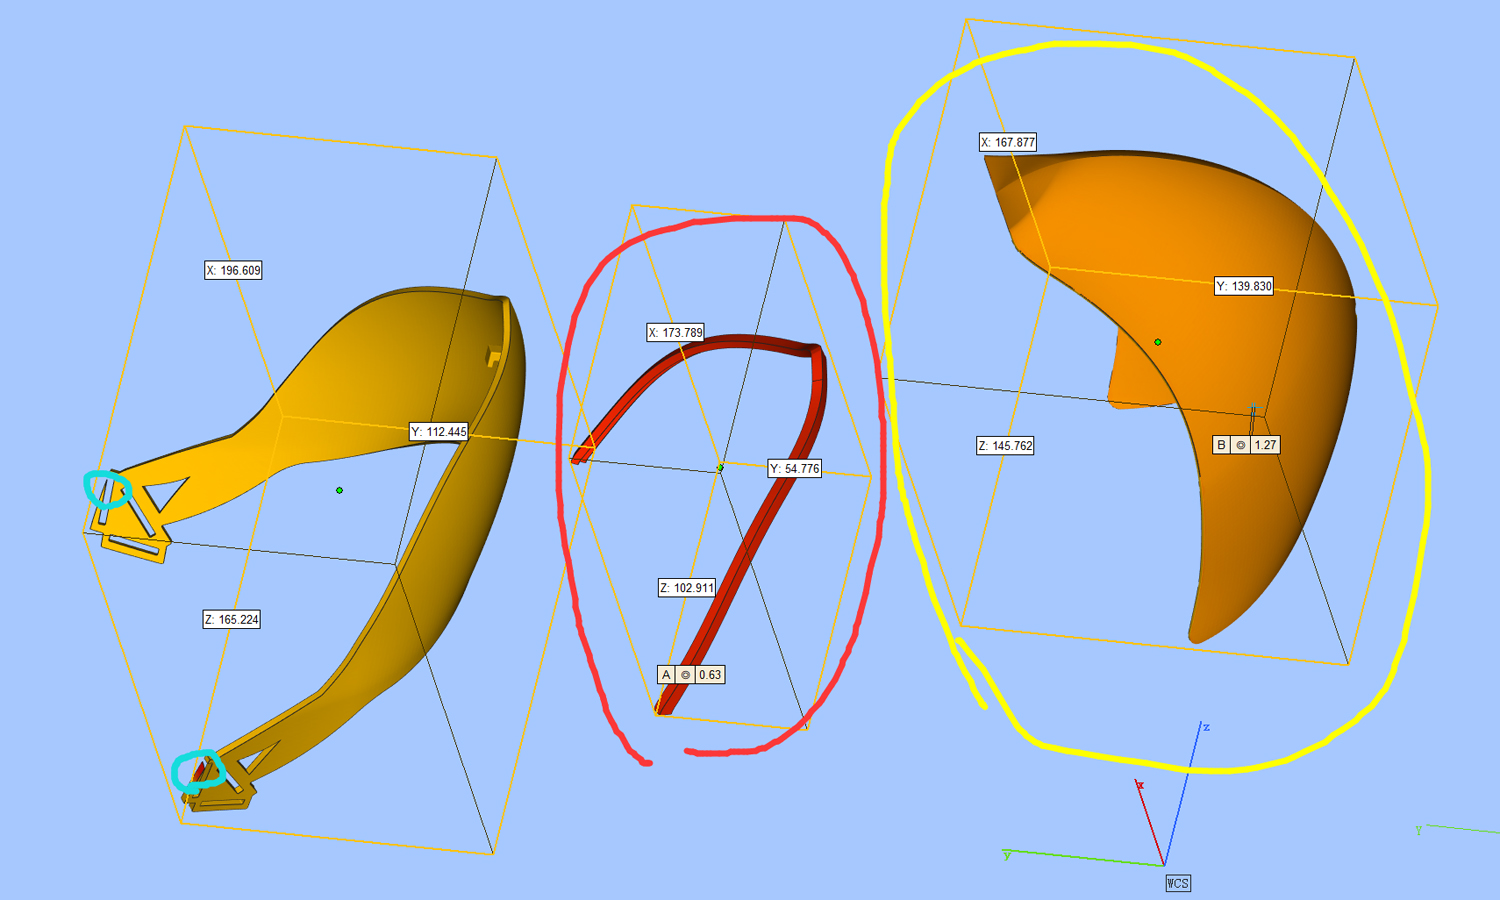
- Step 1: First we will make sure the printing size is correct by sending the screenshots of the models opened in the software. It’s a simple but crucial part, sometimes the wrong size would result in a wrong quote and unwanted parts.
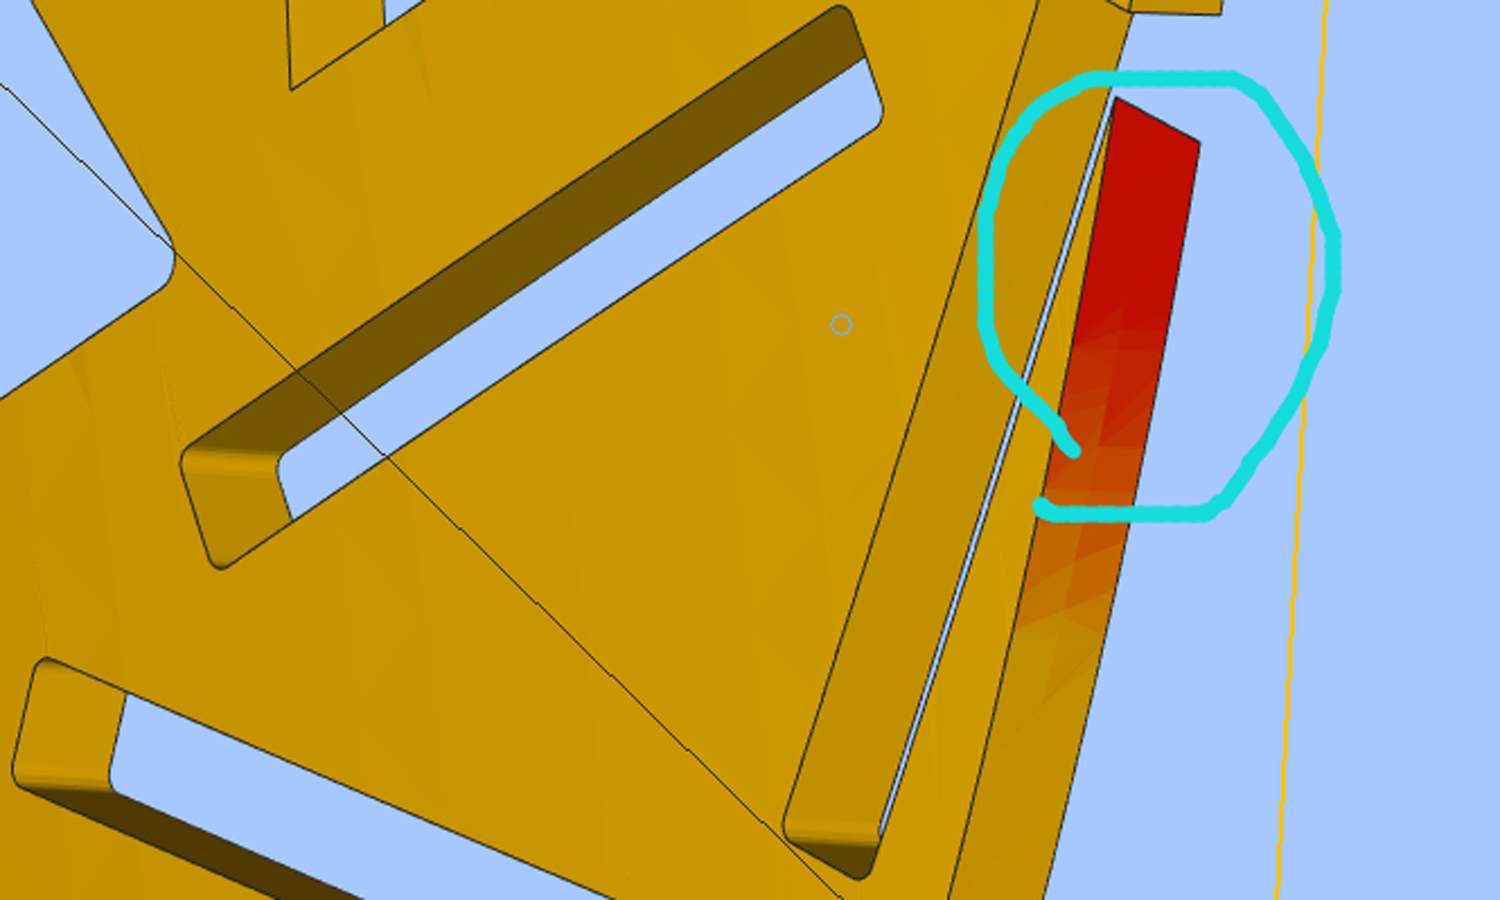
- Step 2: Our engineer checks the 3D models and points out the parts which have problems. The parts circled in red are too thin to print; the part circled in yellow needs to be thickened to about 2MM wall thickness because of the need to print transparent parts; the part circled in blue is too sharp so the details may be lost.
- Step 3: The client agrees to revise the model by himself to guarantee successful printing. He thickens the parts to 4mm. When he asks about materials suggestions, we recommend SLA Clear Resin for the neon green part and MJF Nylon PA 12 for the black part rather than resin, because Nylon is much stronger for wearing.
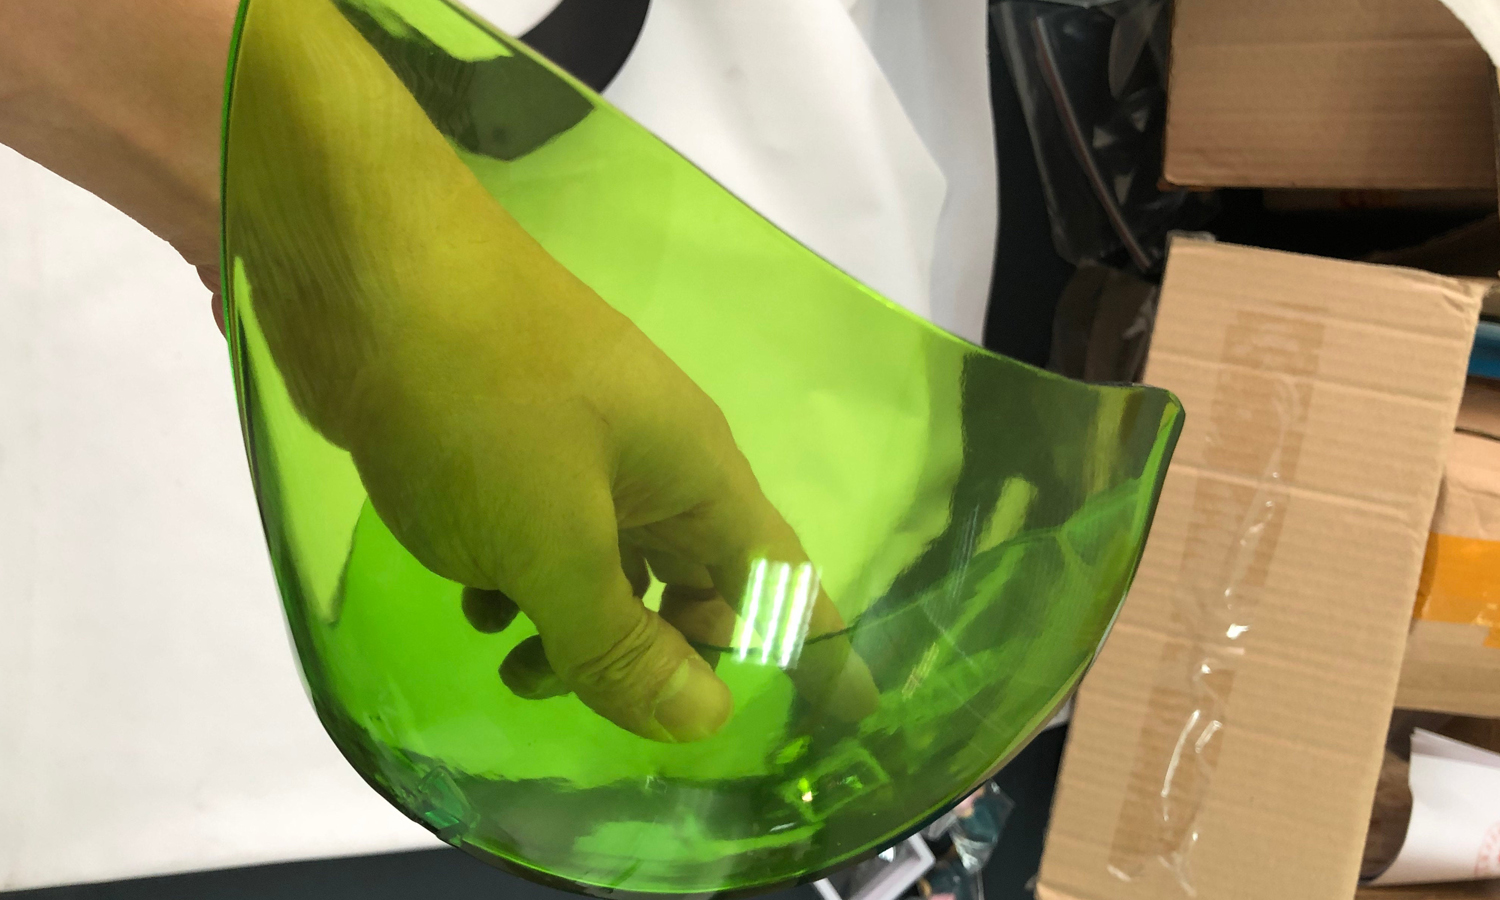
- Step 4: 3D print the clear part with our SLA 3D printer. Wash the green parts with IPA, remove the supports, polish the surface using sandpaper, then spray with thick UV oil. At last, dye it green as the reference picture. We can only make the color similar with the picture but not completely the same.
- Step 5: 3D print the black part with an HP MJF 3D printer. Apply bead blasting and air blasting to smooth the finish of the part. Manually sand the part and dye it into black color in a 90┬░C bath for about 10 minutes.

