Gallery
About Project
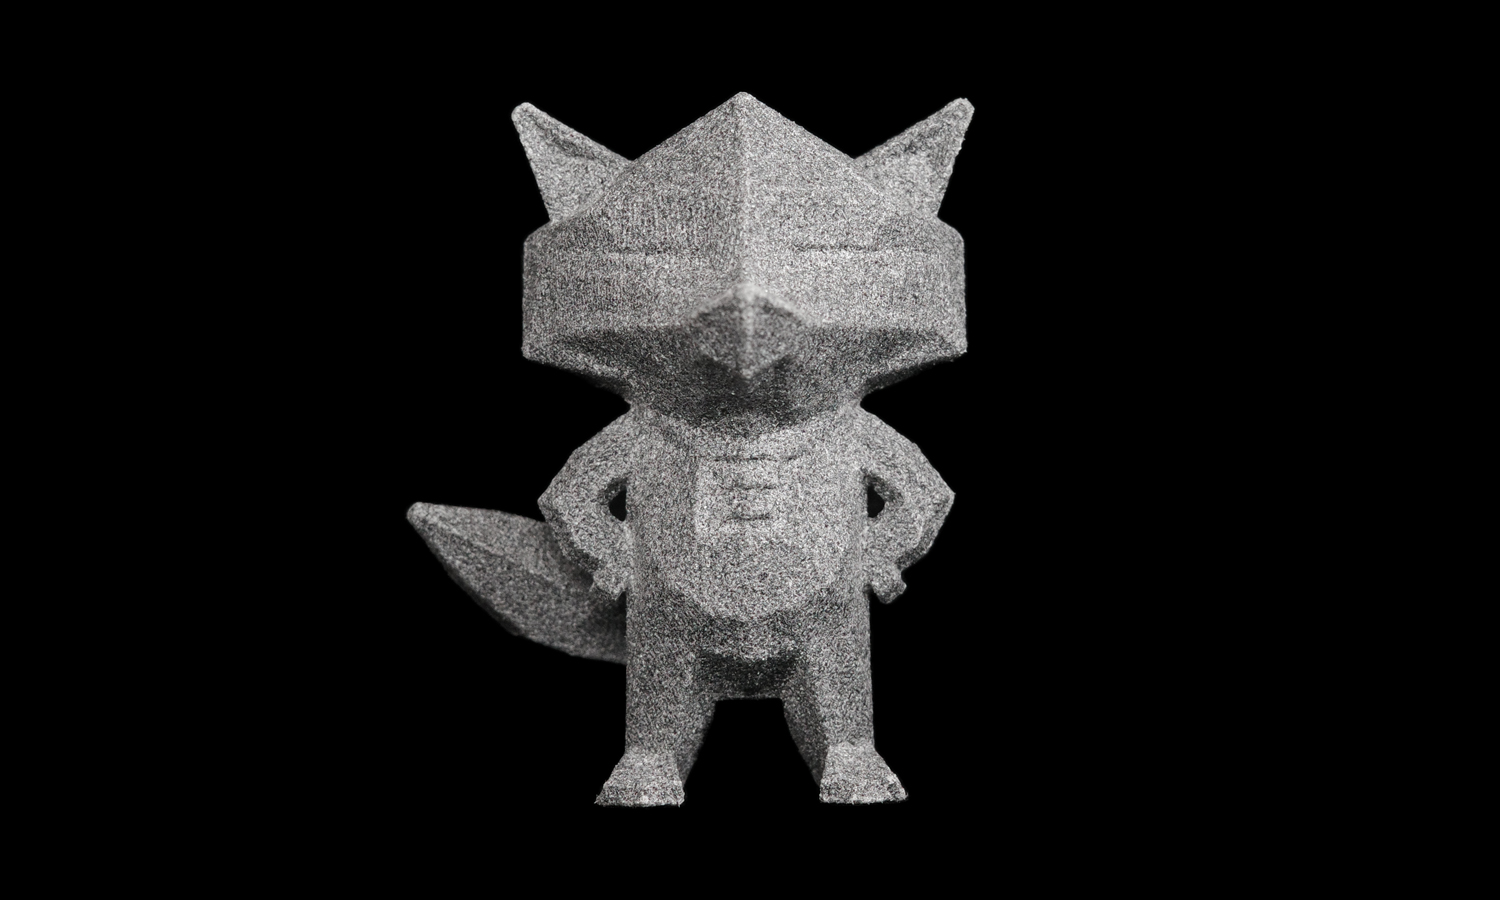
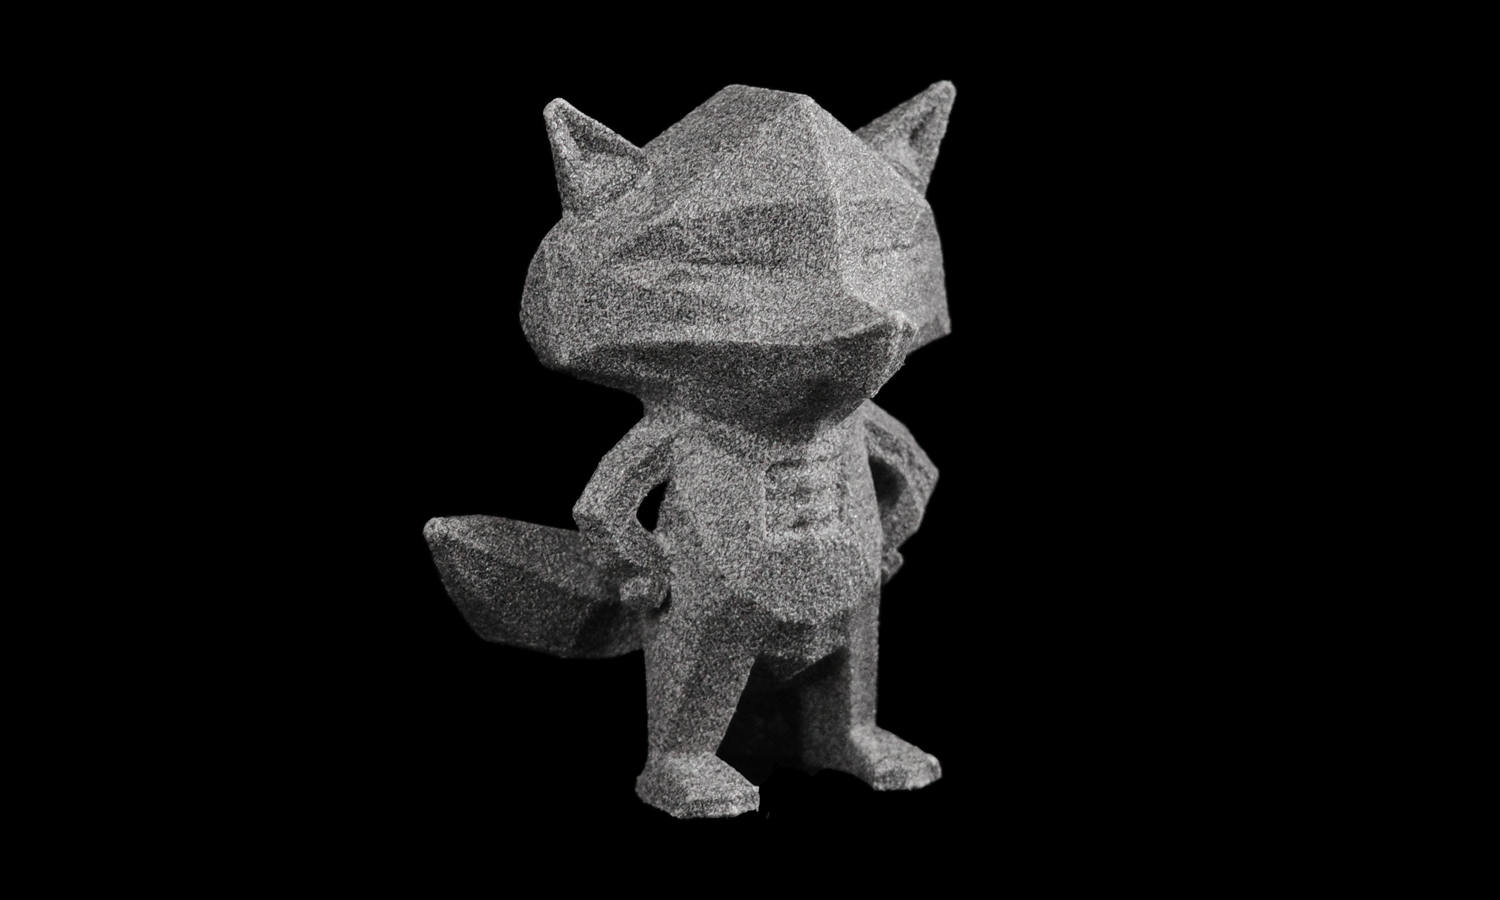
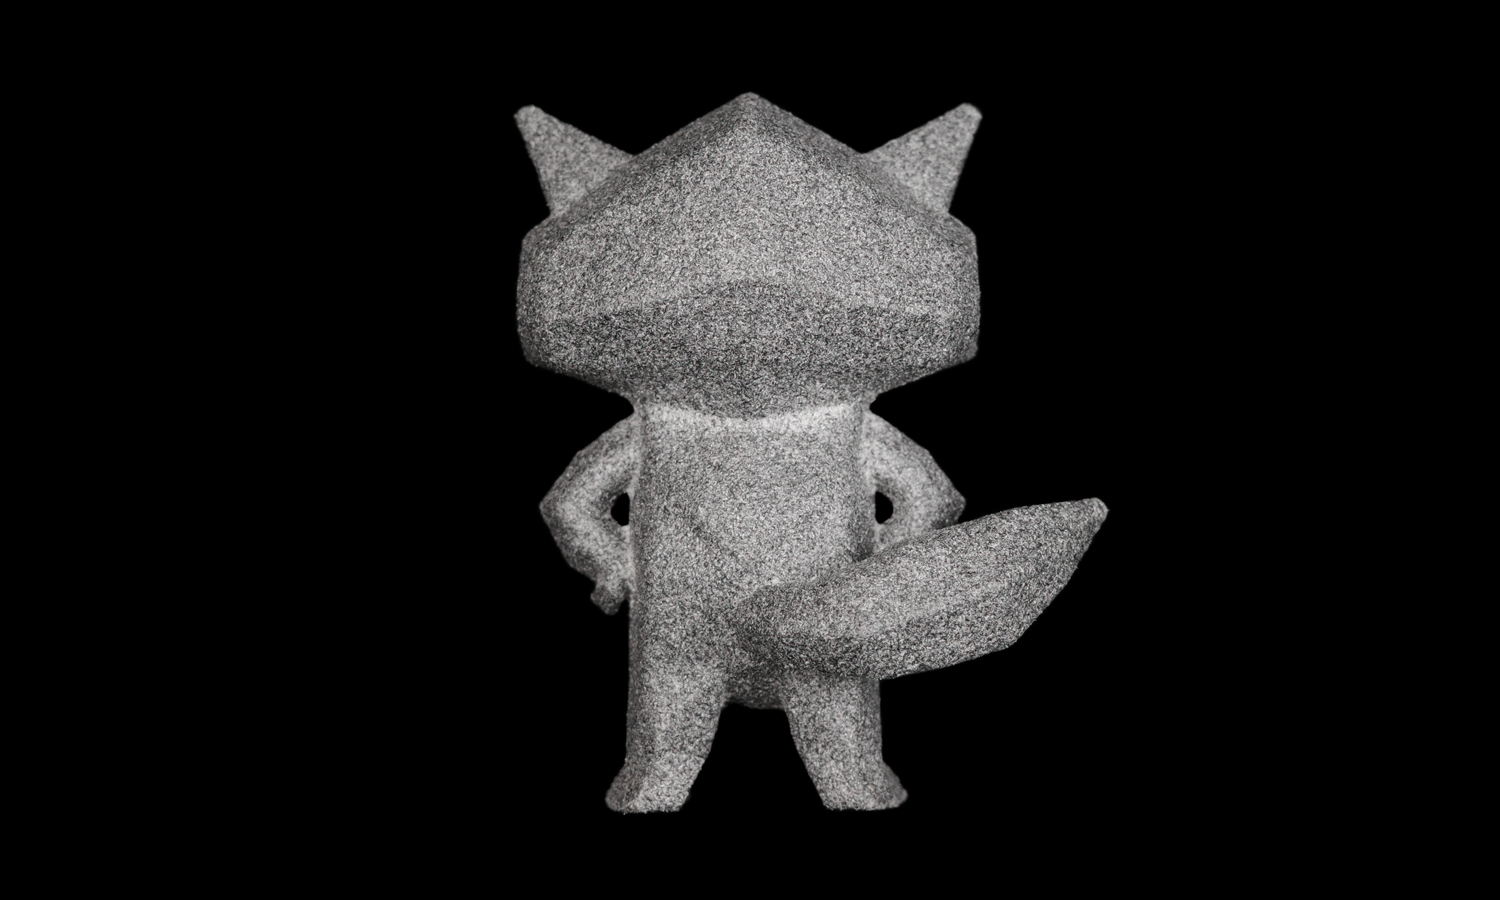
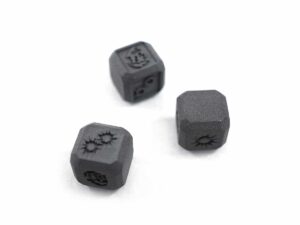
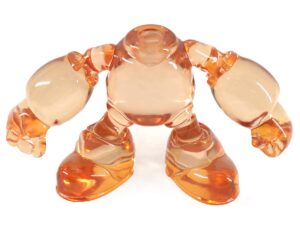
Meet Henry, the friendly fox who is the mascot of FacFox, a leading 3D printing service provider. Henry is not just a cute logo, but also a sample of the high-quality 3D printing that FacFox can offer. Henry was printed using MJF (Multi Jet Fusion) technology, which is a powder-based 3D printing process that creates strong and durable parts with complex geometries.
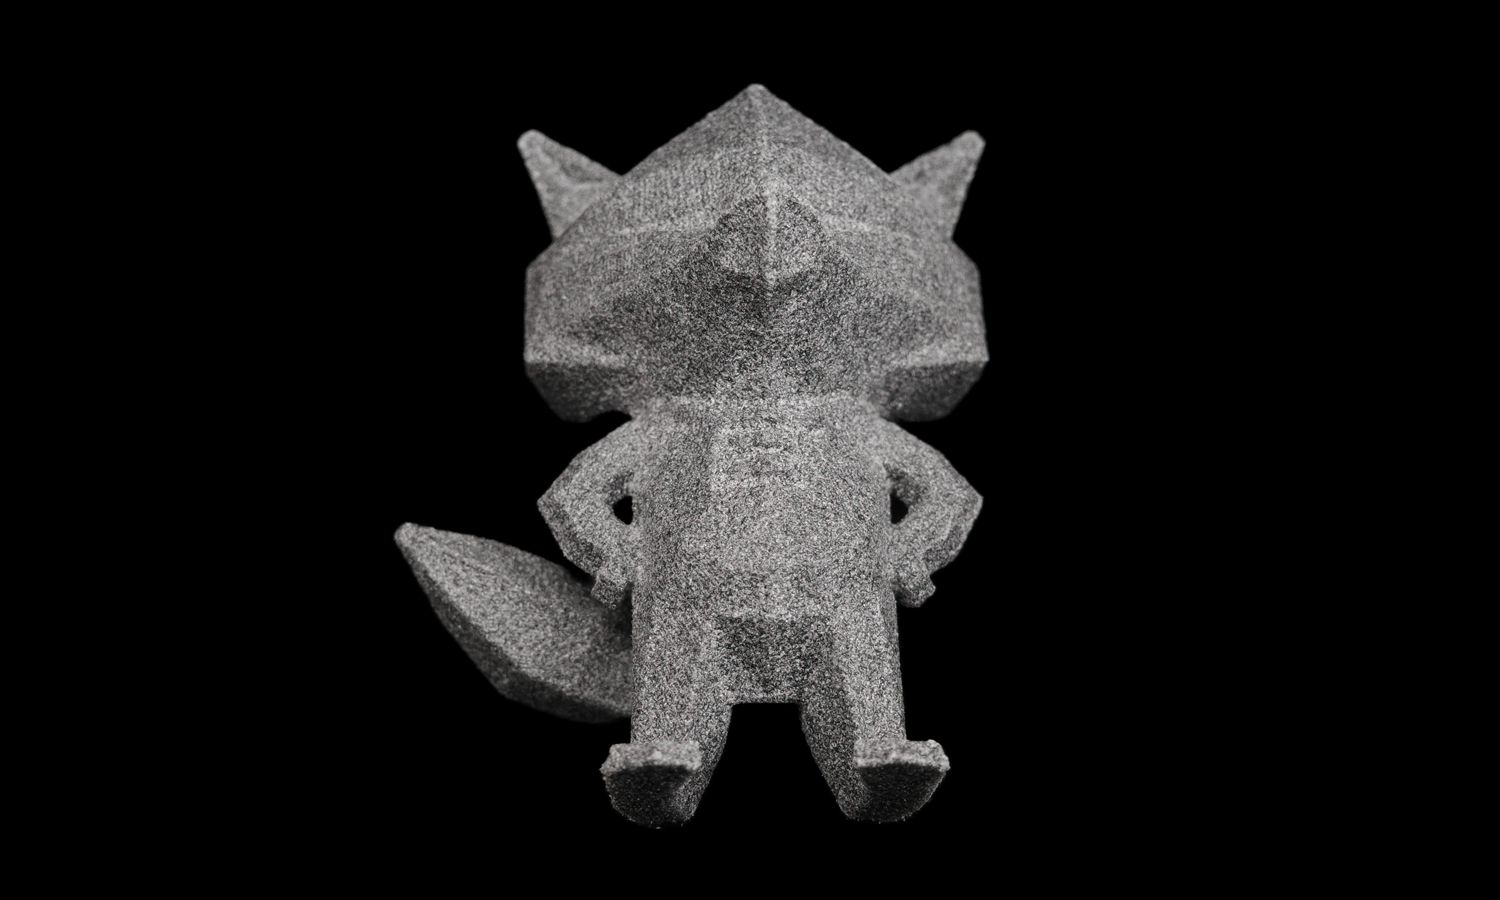
Henry has a grainy grey colour, which gives him a coarse but charming appearance. But donŌĆÖt let his looks fool you, he is actually very smooth and uniform to the touch. His surface texture is the result of the raw finish of the MJF process, which does not require any post-processing or polishing. This means that Henry was printed in one go, without any extra steps or costs.
Henry is not only a mascot, but also a demonstration of the versatility and efficiency of FacFoxŌĆÖs 3D printing services. Whether you need prototypes, functional parts, or custom products, FacFox can help you turn your ideas into reality with MJF technology. You can choose from a variety of materials, colours, and finishes to suit your needs and preferences. FacFox also offers fast turnaround times, competitive prices, and excellent customer support.
If you want to learn more about FacFox and MJF 3D printing, or if you want to order your own Henry the fox, visit their website [here]. You can also check out their other 3D printing services and products, such as FDM, SLA, SLS, DMLS, and more. FacFox is your one-stop shop for all your 3D printing needs. Contact them today and get ready to be amazed by the power of 3D printing!
Solution
- Step 1: A 3D model of Henry the Fox was created using CAD software and uploaded to the HP 3D printer software.
- Step 2: The software optimized the model for MJF 3D printing and packed it efficiently in the build chamber.
- Step 3: A build unit was inserted into the 3D printer and a layer of polypropylene (PP) powder was spread over the print area.
- Step 4: A fusing agent was applied selectively on the areas where HenryŌĆÖs shape was to be solidified, and a detailing agent was applied on the edges to create sharper boundaries.
- Step 5: The build area was heated by infrared lamps, causing the fusing agent to absorb more heat and melt the PP powder, while the detailing agent reduced the heat absorption and prevented unwanted melting.
- Step 6: The melted PP powder was fused into a solid layer, forming part of HenryŌĆÖs body.
- Step 7: The process was repeated for each layer until Henry was fully printed.
- Step 8: The build unit was removed from the 3D printer and transferred to a processing station, where Henry was cooled down and extracted from the powder bed.
- Step 9: The excess powder was recycled for future use and Henry was cleaned of any remaining powder.
- Step 10: Henry was ready to be shipped or used as a sample. He had a grainy grey colour and a raw finish, which gave him a coarse but smooth appearance.

