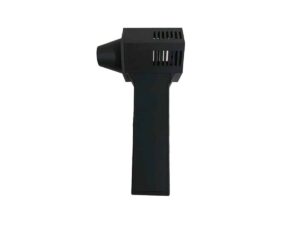
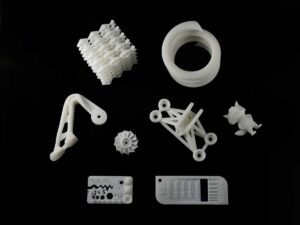
SLA 3D Printed and Hand Polished Resin Assembly Parts
- Binder Jet 3D Printed Large-format Cartoon Tiger Statues for a Skincare Brand’s Promotion
- SLA 3D Printed Compact Oxygen Concentrator Resin Prototype
Posted on 2022-08-02 in Mechanics ┬Ę µ£║µó░
Process 3D Print, Support Removal, Post Curing, Primer Coating, Polish, Paint
Material Resin
Quantity 1 pcs
Price Range $100-1,000
Lead Time 1 workdays
Material Resin
Quantity 1 pcs
Price Range $100-1,000
Lead Time 1 workdays
Gallery
About Project
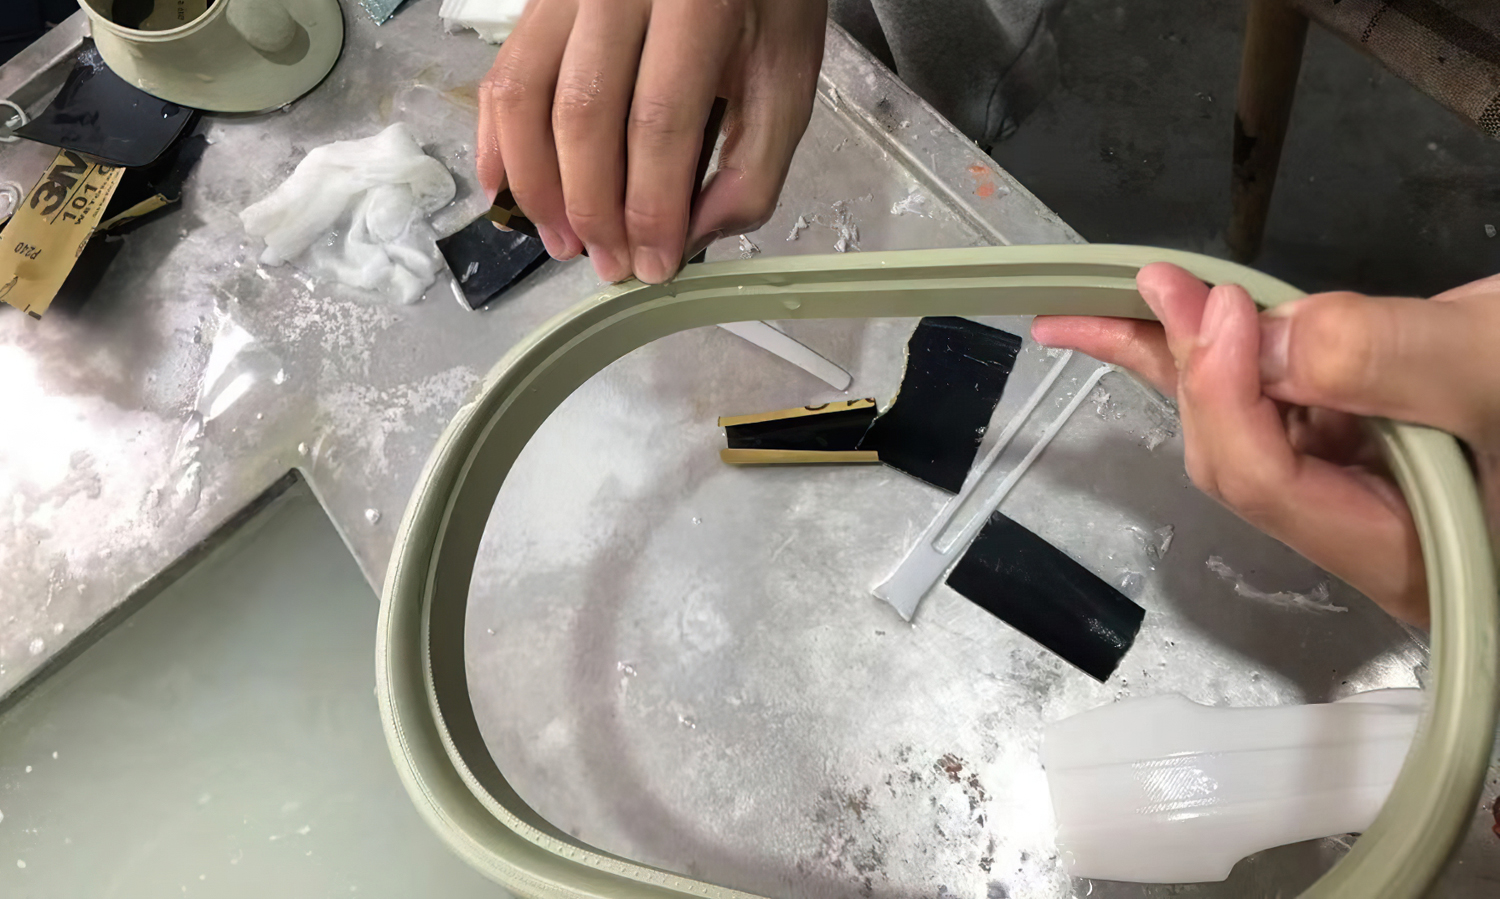
Sanding is a great method that you should be using for your resin 3D prints, as it allows you to get rid of layer lines, support stubs, imperfections, as well as a smooth final look.
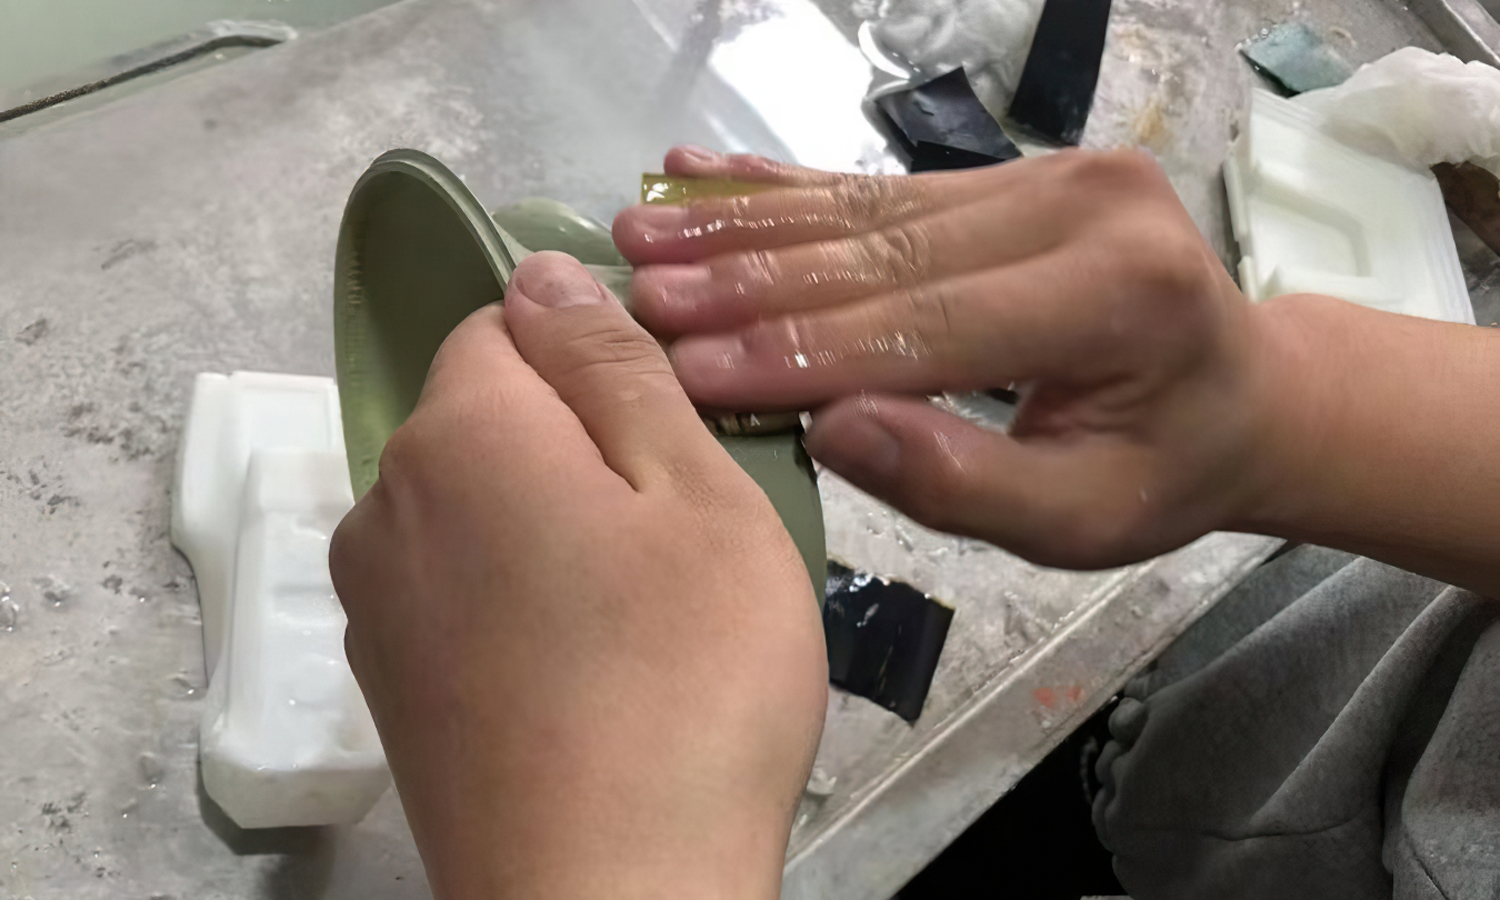
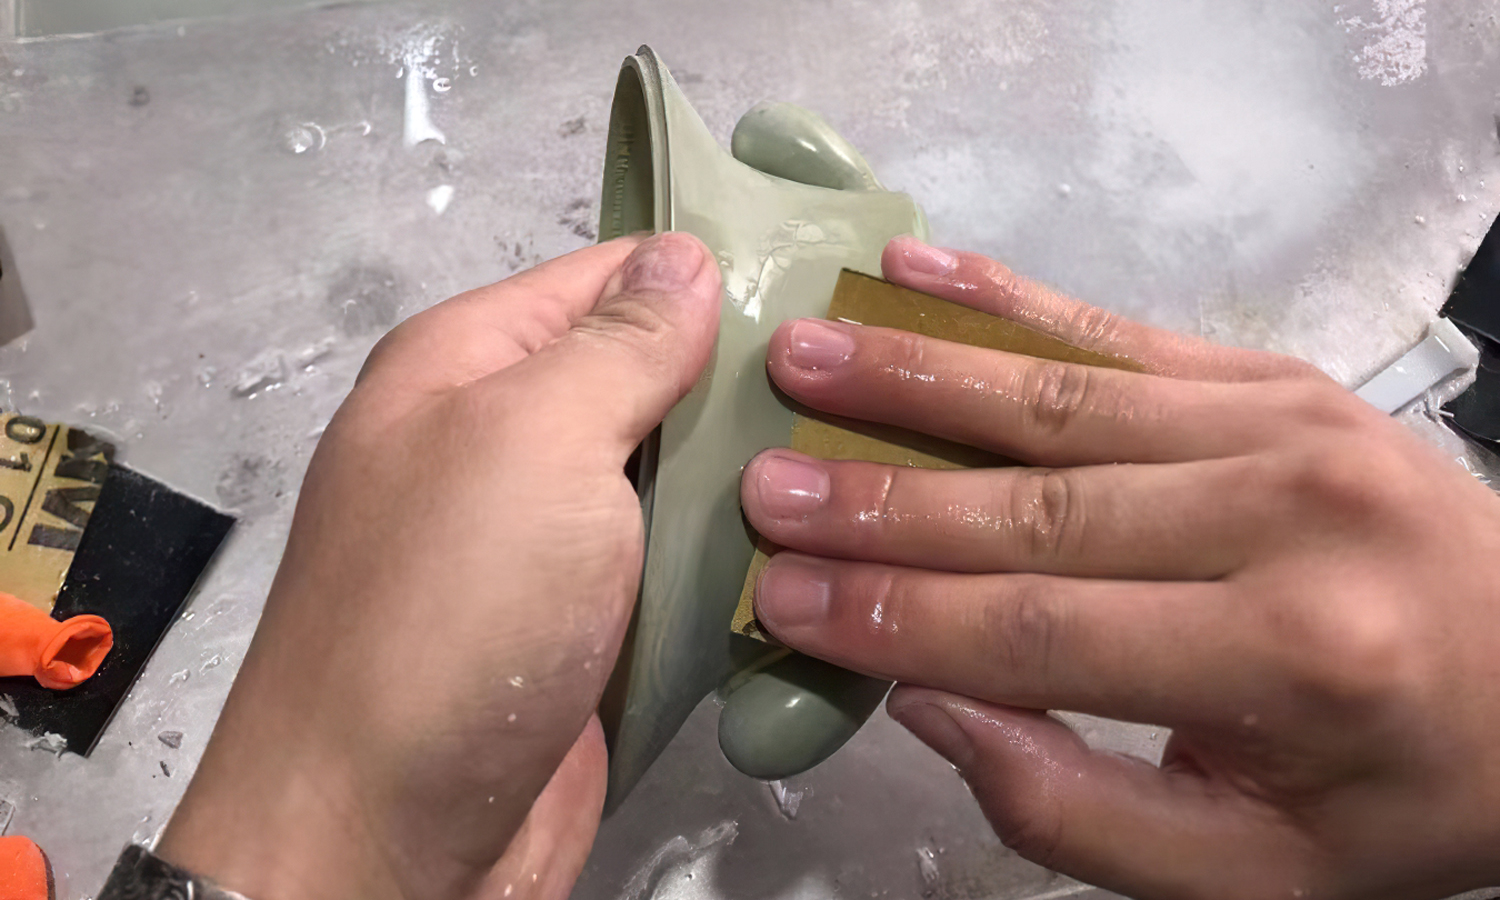
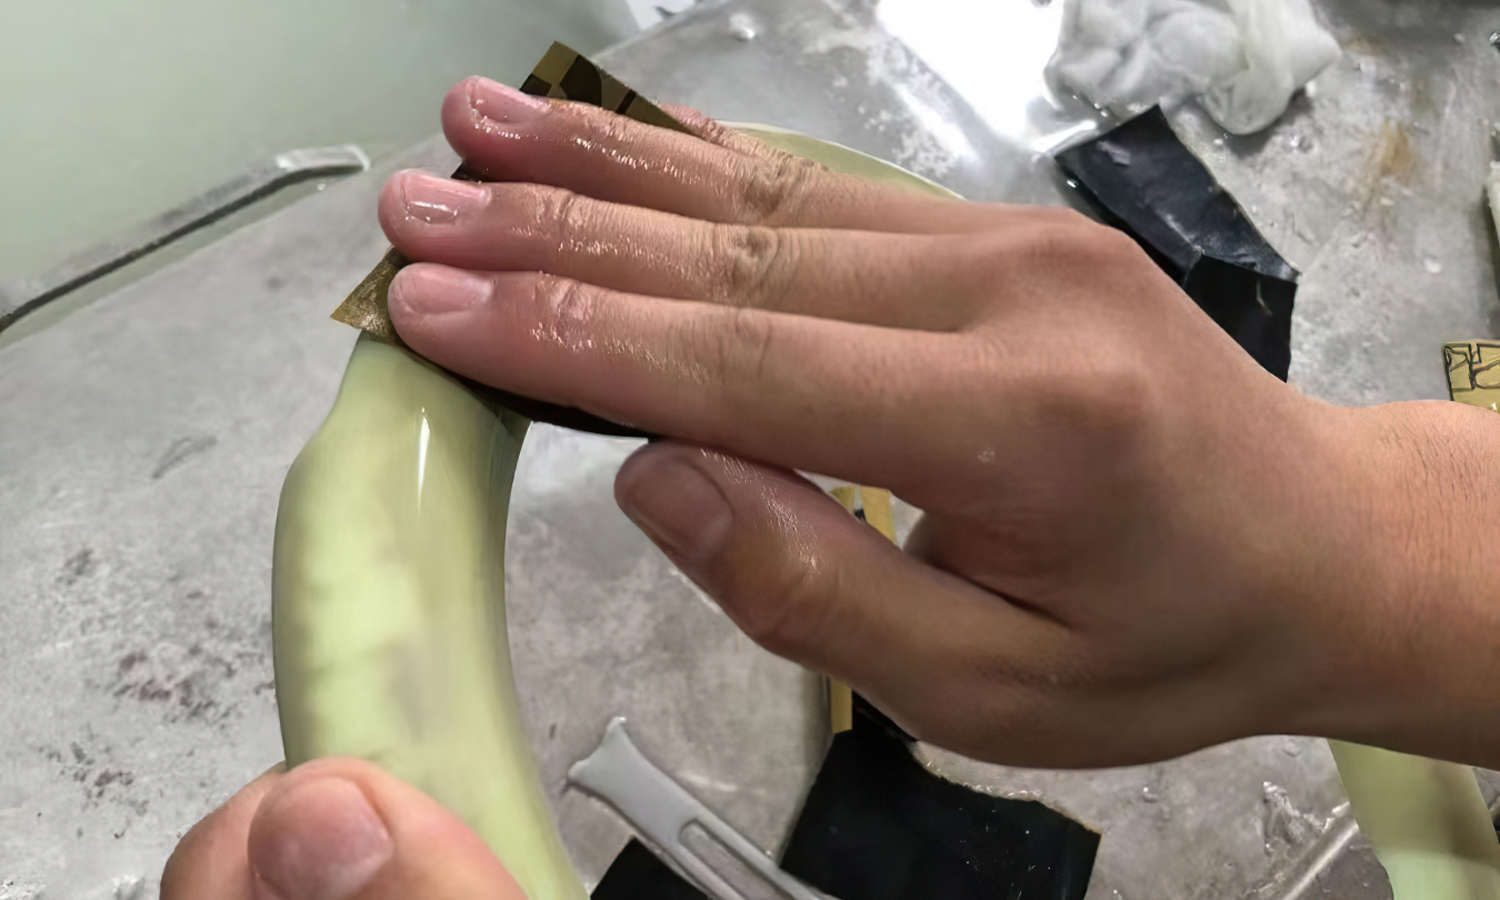
In the post-processing stage, we always start from removing rafts and supports with a plier or flush cutter and chisel. Then sand the prints with sandpaper, from the dry coarse grit to dry medium grit and wet fine grit. Care need to be taken around fine features, round surfaces, and other small or difficult-to-reach places.
Solution
- Step 1: Prepare your 3D printed models by removing your models from the build plate and washing away the uncured resin materials.
- Step 2: Remove rafts and supports with the help of pliers and clippers. Start from the large supports and be careful with the joining points and seams.
- Step 3: Sand with dry rough grit sandpaper like 200 grit with a good amount of control and precision to remove all the bumps left behind by the rafts and supports.
- Step 4: Sand with dry medium grit sandpapers like 400-800 grit to enhance the shine and smoothness of the model.
- Step 5: Sand with wet fine-grit sandpaper, at around 1,000 grit, to offer a significant polished and smooth feel to your resin 3D print.
- Step 6: Polish your resin 3D prints to get extra shine and a perfect finish.
