Gallery
About Project
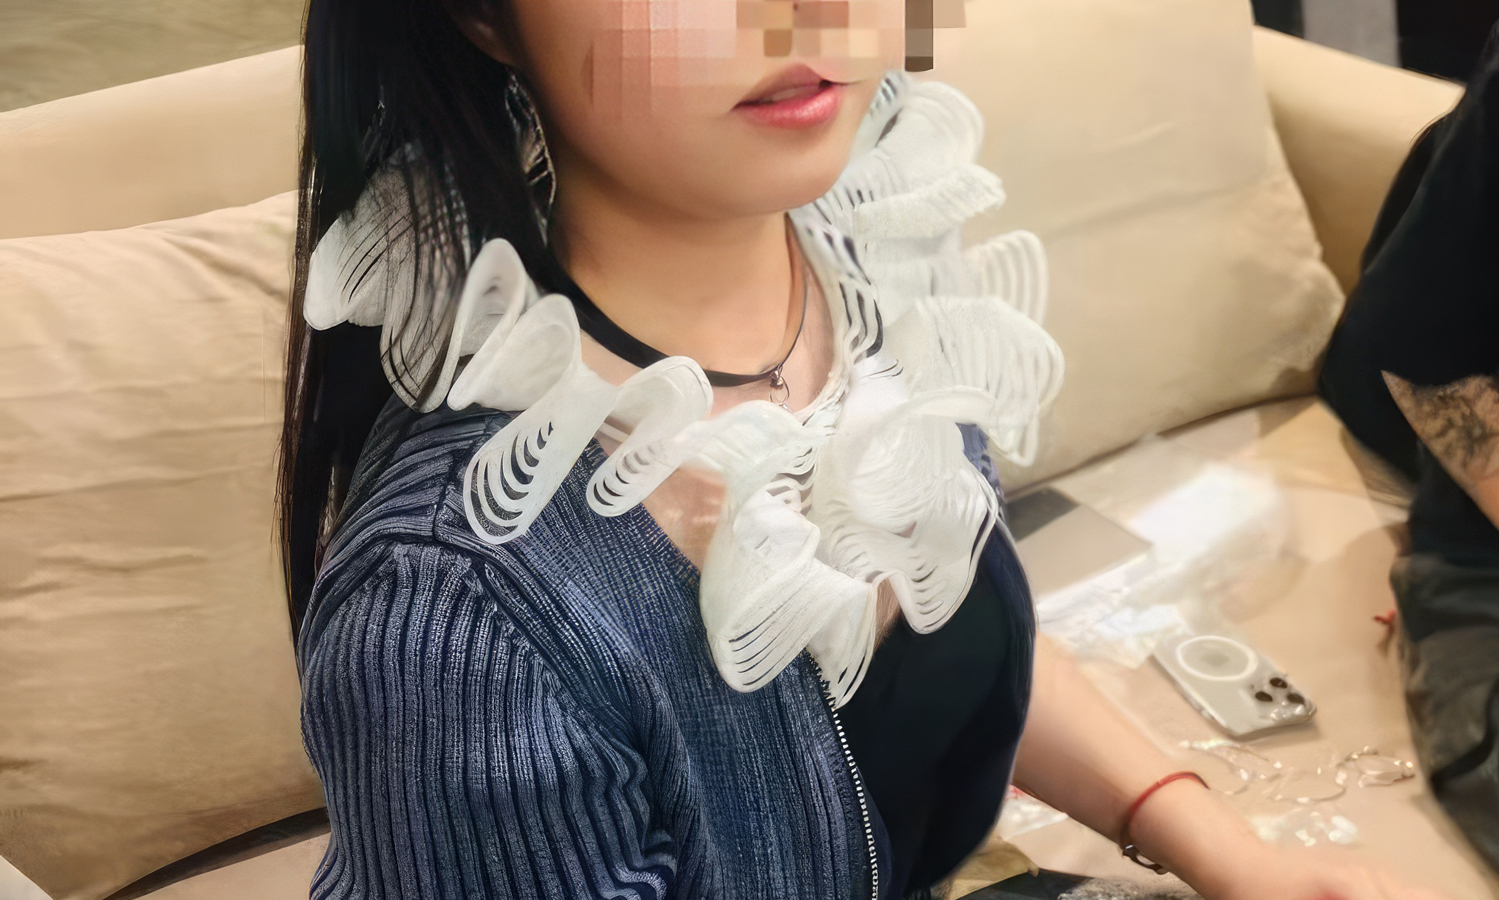
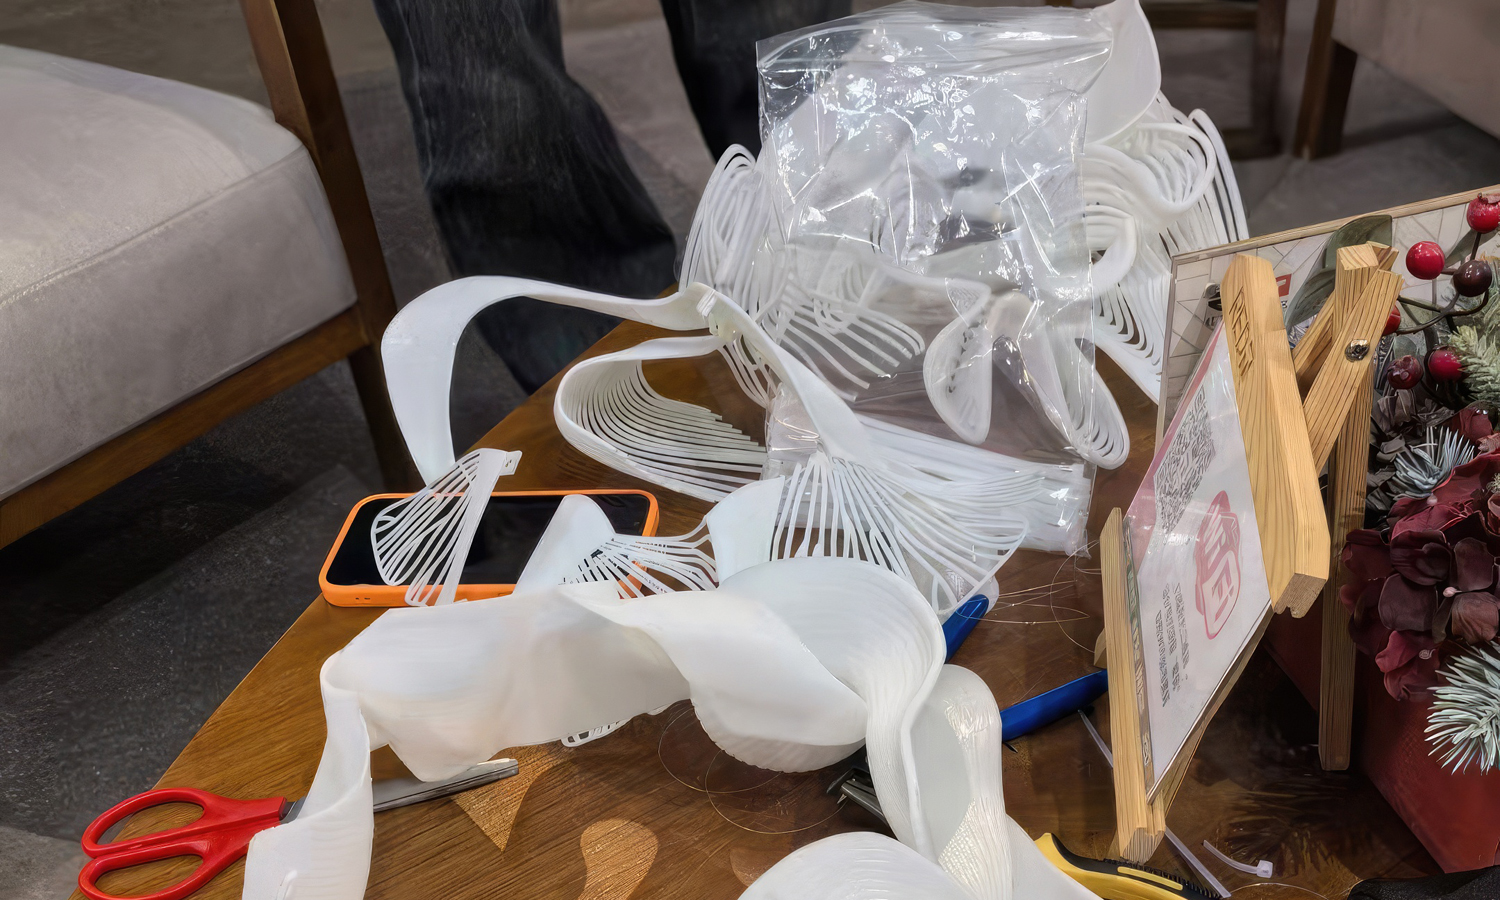
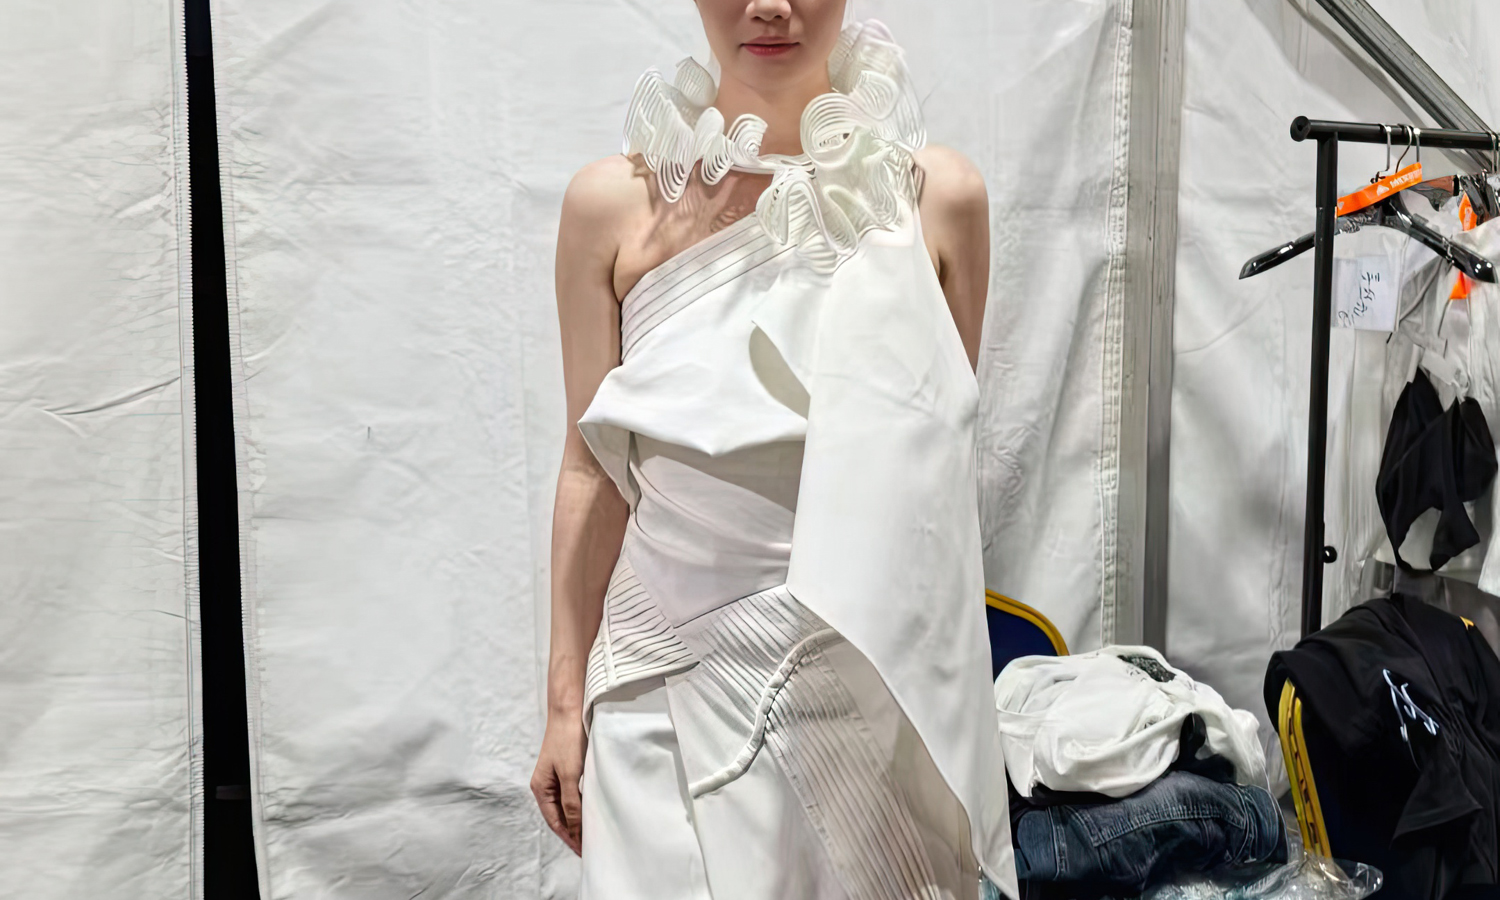
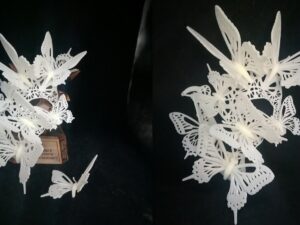
This model showcases a truly unique and intricate piece of 3D-printed jewelry: a collar necklace comprised of several interconnected loops and spirals. The design is lightweight and airy, with a delicate, lacy appearance achieved through white SLA Generic Resin. The hollow design and light color combine to create a modern and ethereal quality to the accessory.
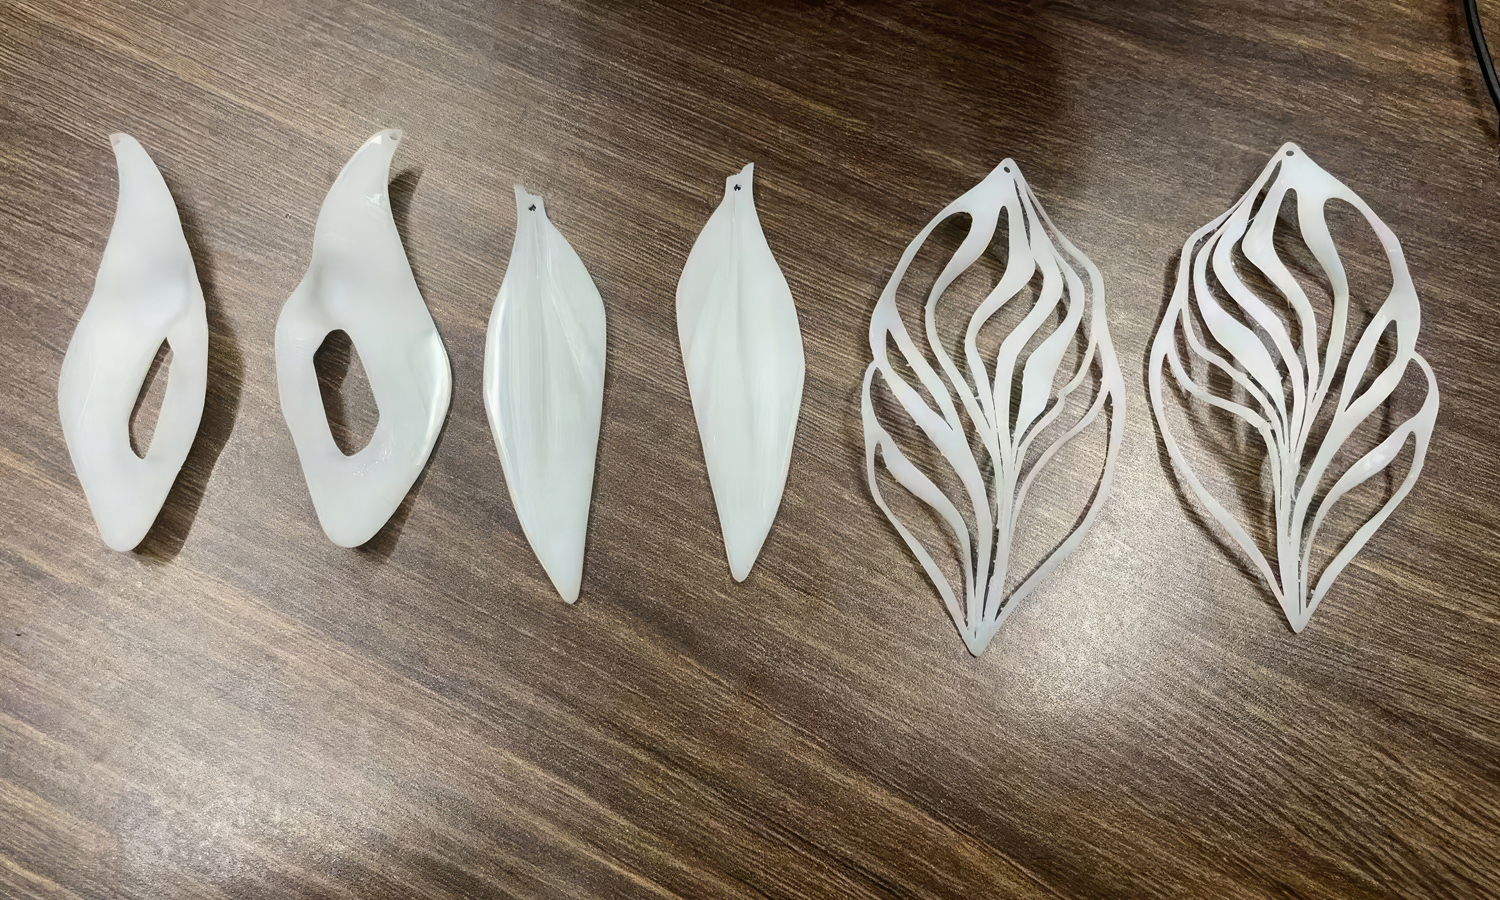
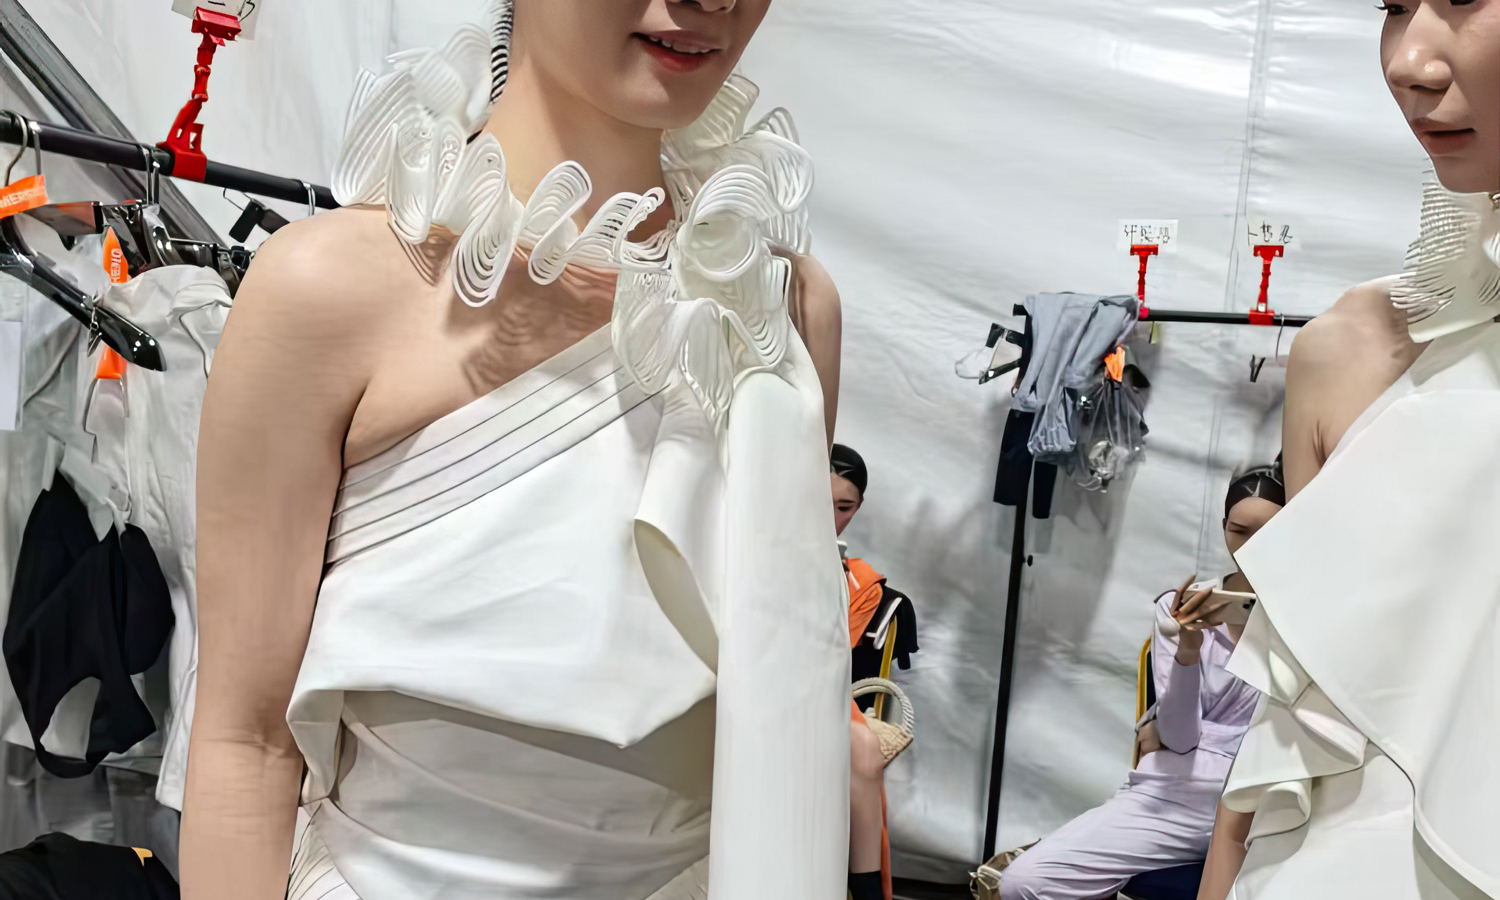
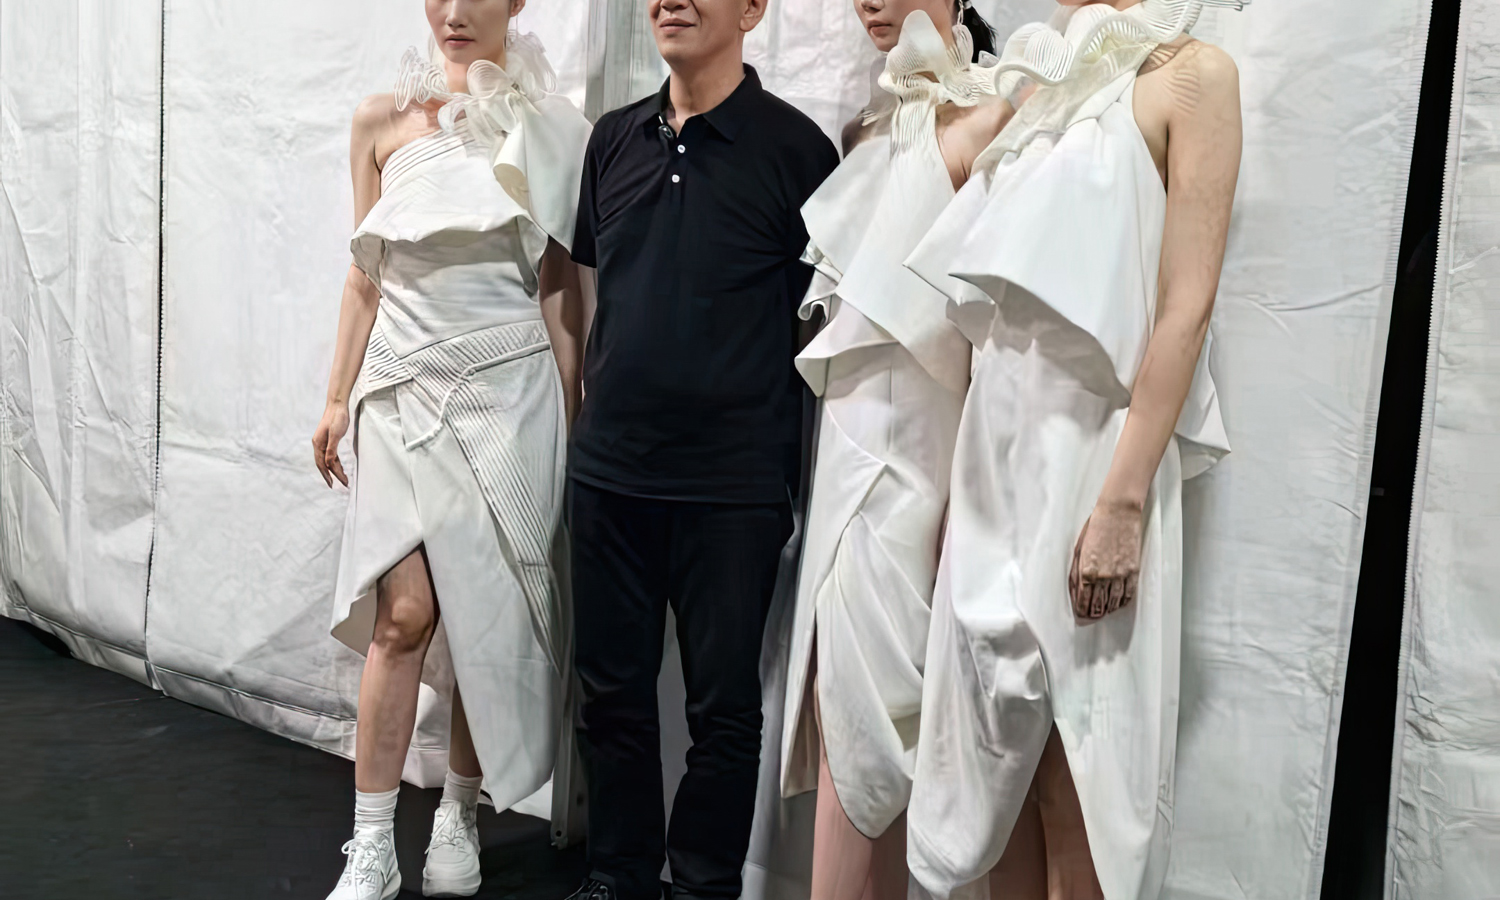
The loops themselves vary in size, creating a visually dynamic and flowing pattern around the neck. This piece perfectly highlights the capabilities of 3D printing technology in producing complex, customized designs that are both stylish and innovative. In fact, the designer behind this creation pushed the boundaries even further by crafting not just one, but three necklaces with similar and yet distinct designs, along with three pairs of beautiful, hollowed earrings – a complete set for a truly unforgettable runway presentation.
Want to see your own designs come to life in stunning 3D printed form? FacFox offers a wide range of 3D printing services, including SLA 3D printing in a variety of materials and colors. Contact FacFox today and let them help you turn your vision into reality!
Solution
- Step 1: Designing. The intricate patterns of the necklaces and earrings were meticulously designed using specialized software. Each loop and spiral was carefully crafted to ensure a lightweight and airy structure.
- Step 2: Preparing the Printer. The SLA 3D printer was prepared by filling the vat with a photopolymer resin, SLA Generic Resin. The build platform was positioned at a precise distance from the surface of the liquid resin.
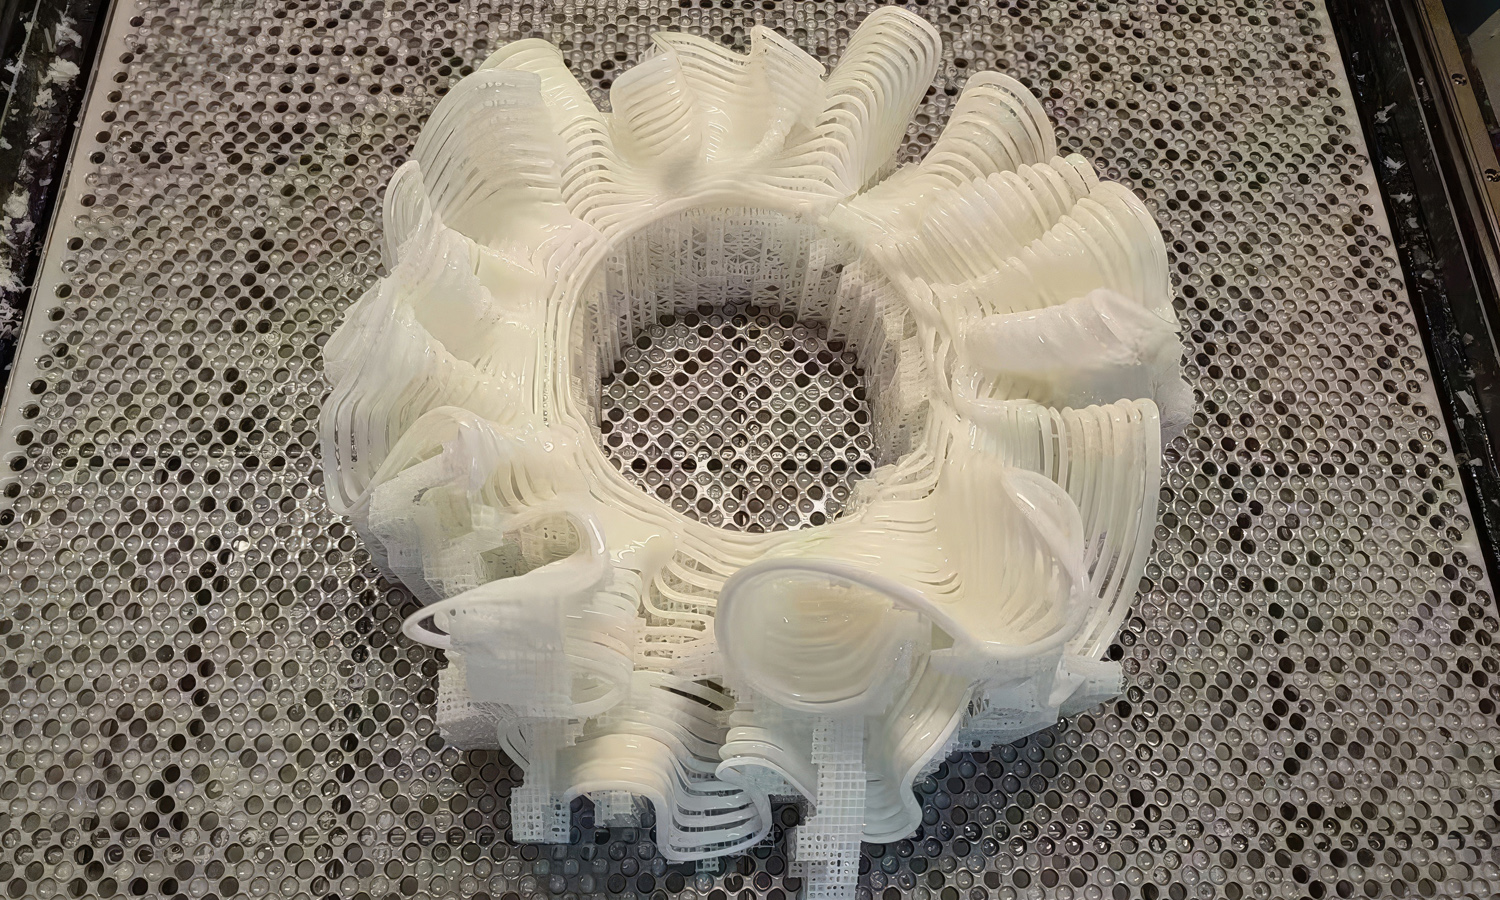
- Step 3: Printing Process. A UV laser was used to cure the resin. It traced the design onto the bottom-most layer, solidifying the resin into the desired shape. The build platform then lifted, allowing fresh resin to flow beneath the solidified layer.
- Step 4: Layering. This process was repeated, layer by layer, with each layer being cured and then joined to the previous one, gradually building up the necklace and earring structures.
- Step 5: Post-Processing. Once the printing was complete, the pieces were carefully removed from the build platform. They were then washed to remove any uncured resin and post-cured under UV light to achieve the final hardness and stability.
- Step 6: Finishing Touches. The final step involved the manual finishing of the jewelry. This included sanding any rough edges and assembling the various parts of the necklaces and earrings to complete the set.
- Step 7: Quality Check. The completed pieces underwent a thorough quality check to ensure that the design specifications were met and that the jewelry maintained a high standard of finish and structural integrity.
- Step 8: Runway Ready. Finally, the necklaces and earrings were ready to be showcased. Models adorned the unique and stylish 3D printed jewelry, walking the runway to display the innovative designs.

