
Gallery
About Project
Imagine a classroom where students can hold a miniature bridge, explore the intricate details of a building’s cross-section, or trace the path of a conveyor system – all in the palm of their hands. This is the power of SLA 3D-printed architectural models in engineering concept education.
Gone are the days of flat sketches and grainy photographs. SLA 3D printing allows for the creation of highly detailed and precise physical models, perfect for showcasing architectural and engineering concepts in a tangible way.
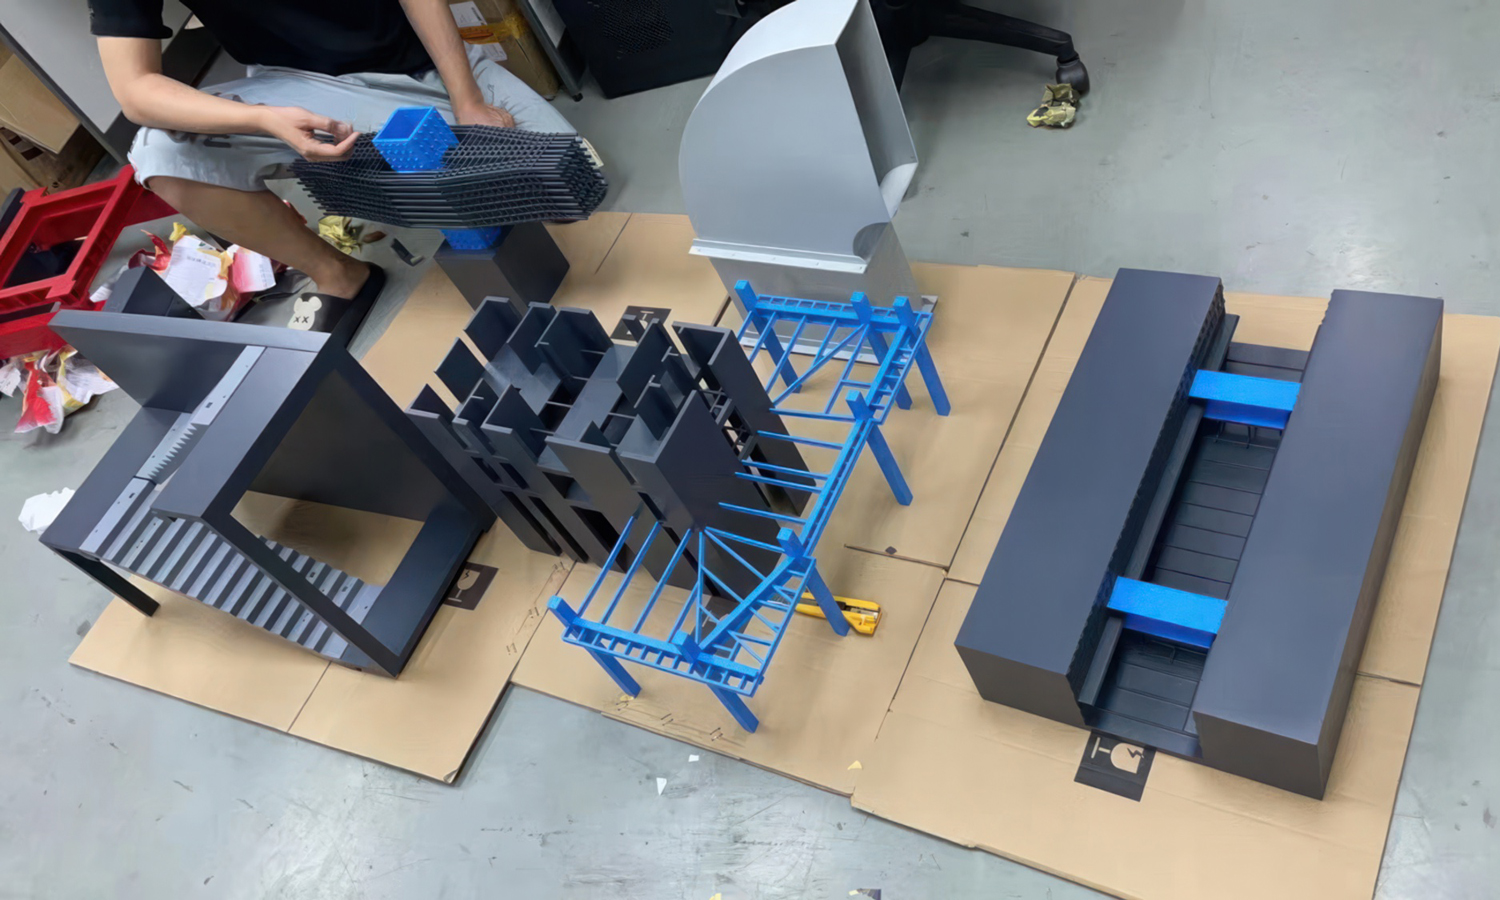
The image showcases a collection of such models, each serving a distinct educational purpose:
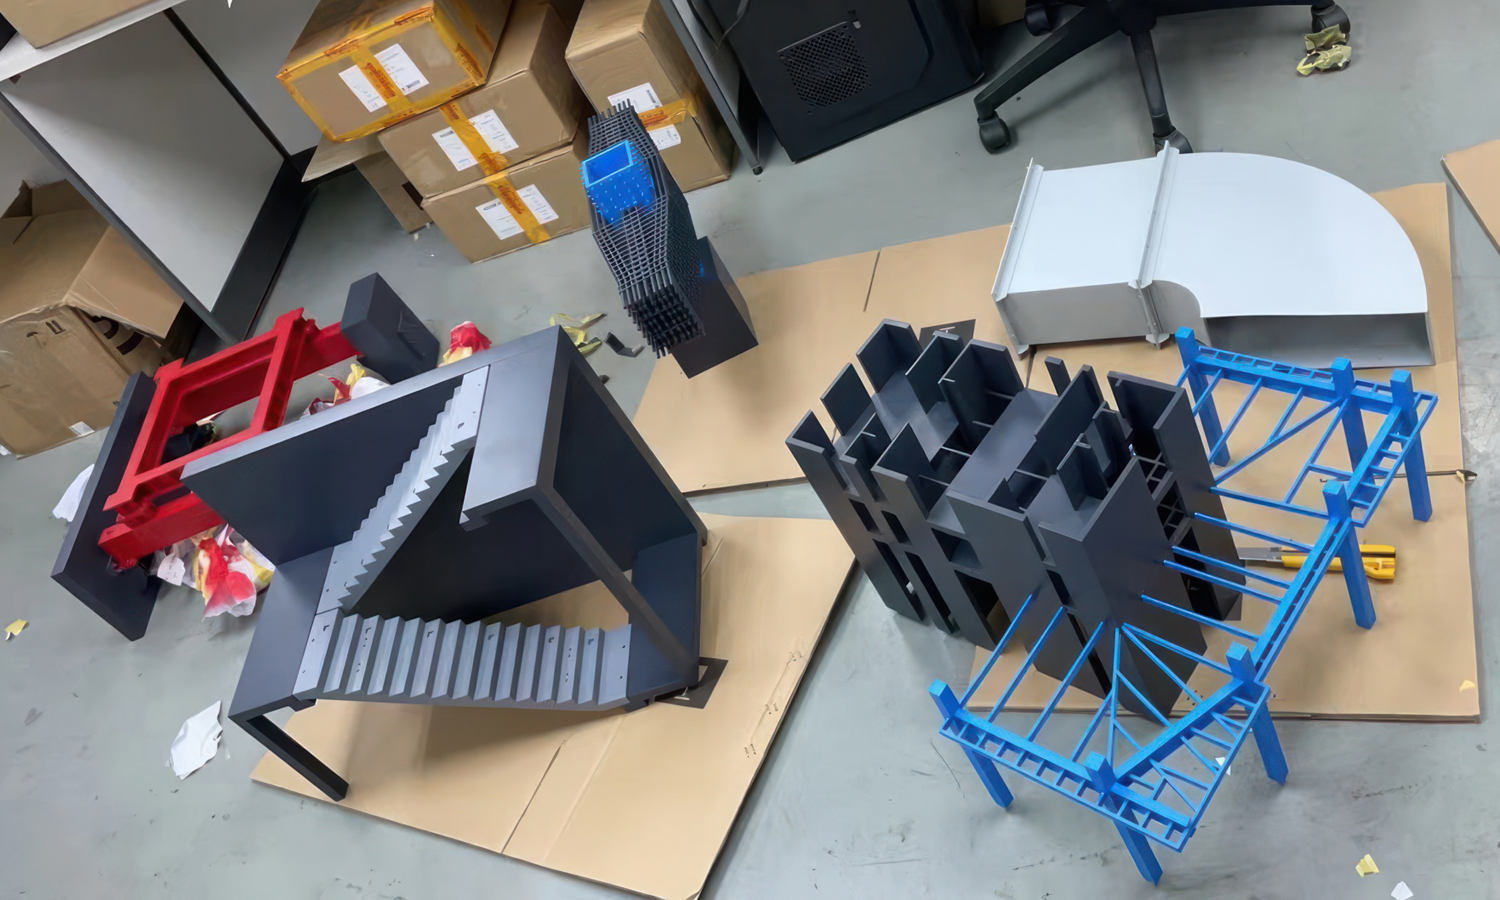
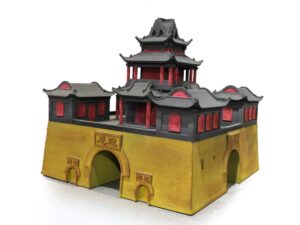
- The red frame structure model clearly demonstrates the components of a building’s skeleton.
- The grey section with stairs provides a three-dimensional view of spatial organization and circulation within a structure.
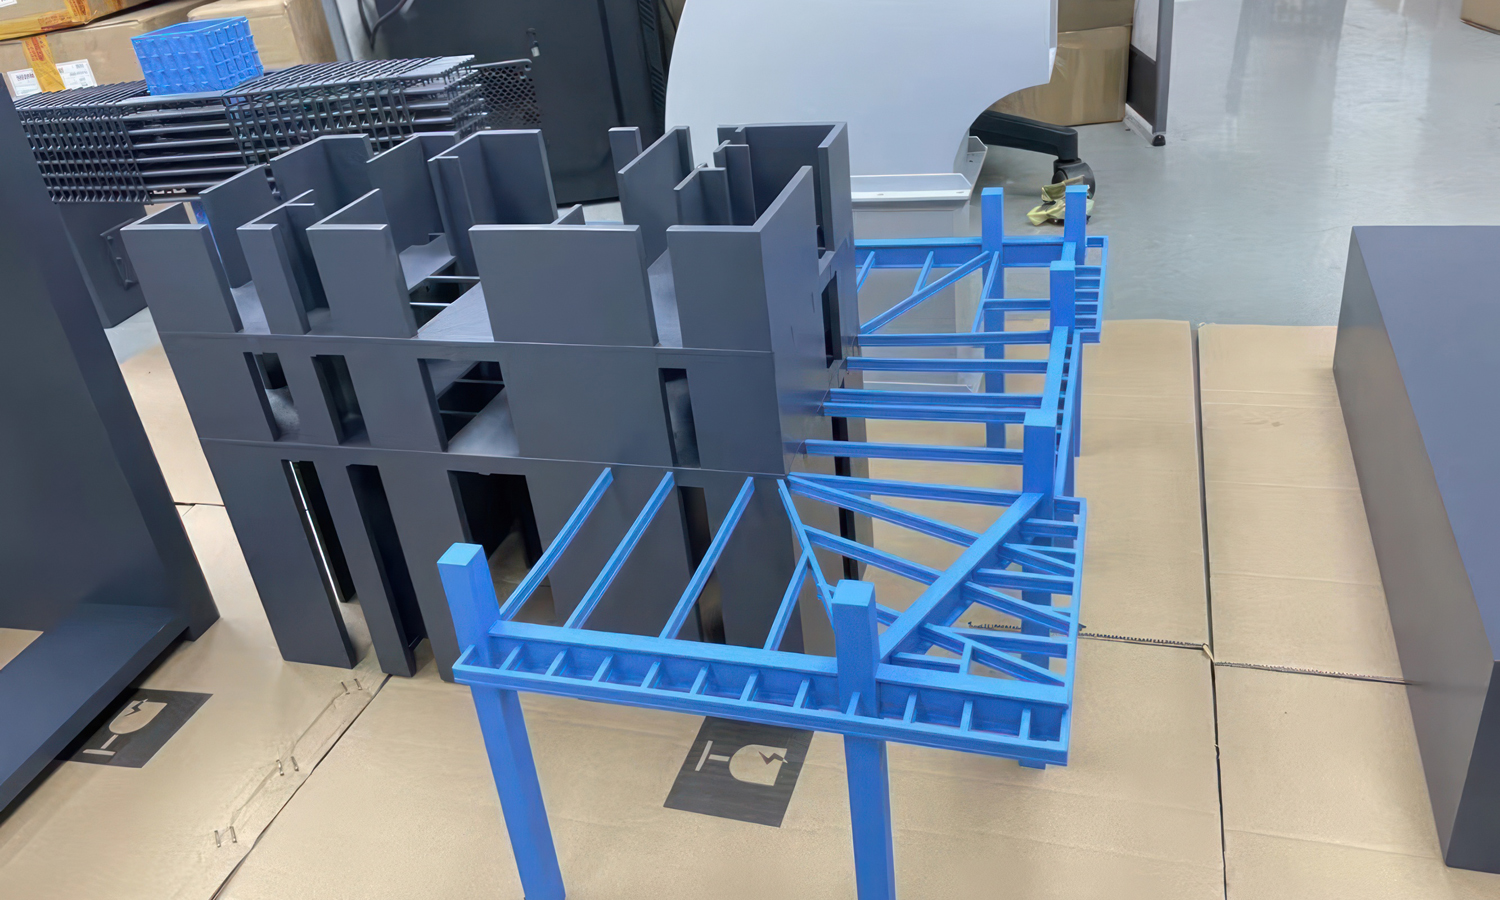
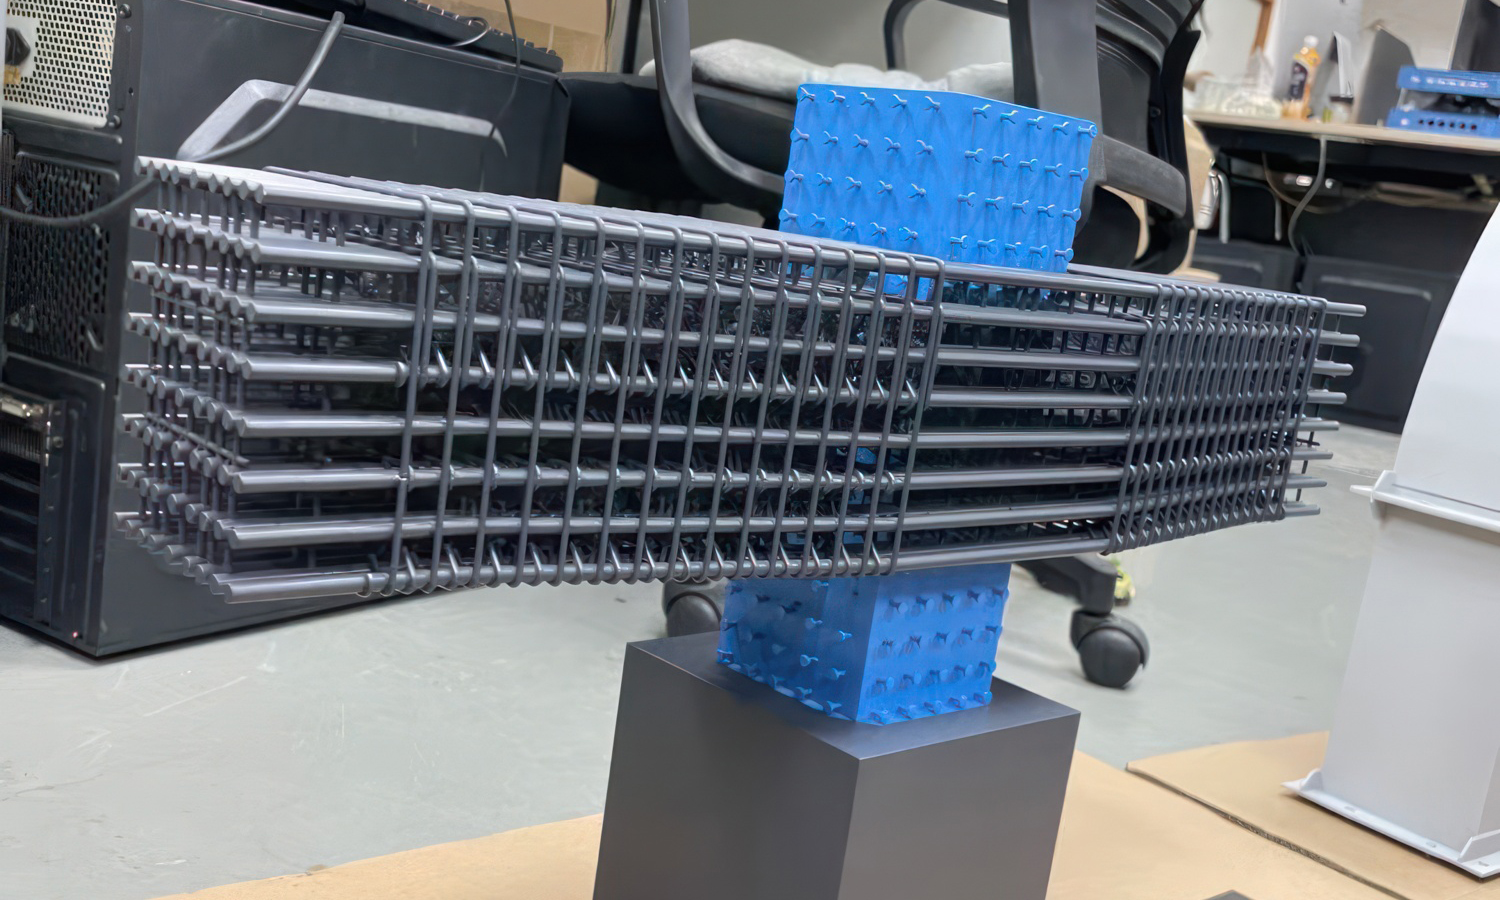
- The blue and grey truss model offers a close-up look at the load-bearing elements used in bridges, towers, and roofs.
- The tunnel segment allows students to visualize underground structures and their construction.
- The complex blue and grey model, resembling a building’s cross-section, reveals the intricate interplay of walls, beams, and floors.
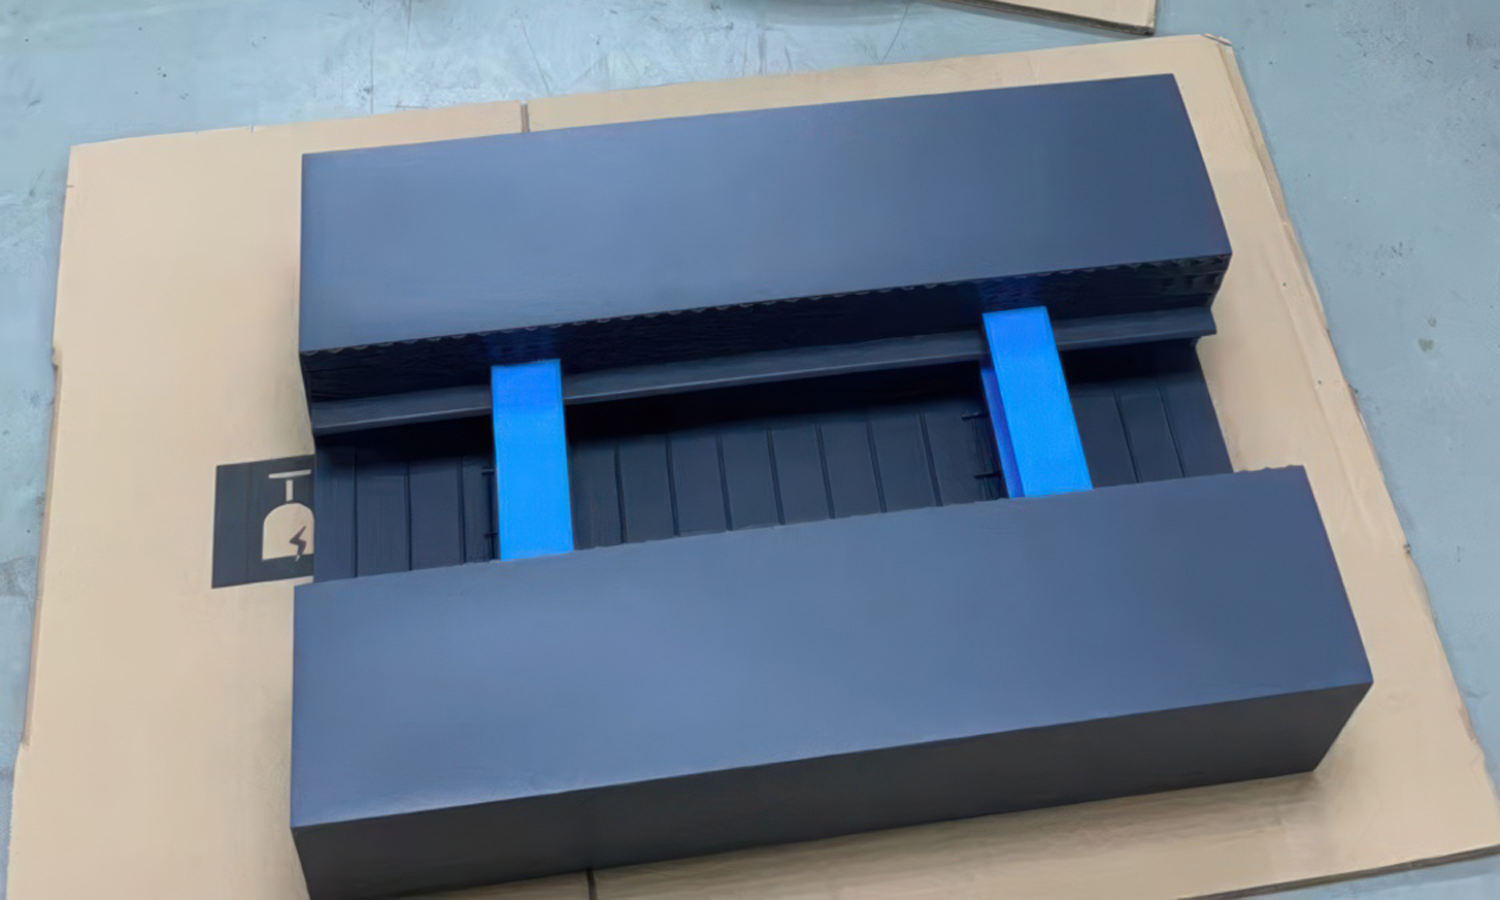
- The grey conveyor system with blue elements brings the inner workings of material transportation to life.
These models are more than just visual aids; they are interactive learning tools. Students can manipulate, examine, and compare them, gaining a deeper understanding of the underlying engineering principles. This hands-on approach fosters spatial reasoning, problem-solving skills, and a stronger grasp of abstract concepts.
At FacFox, we are passionate about empowering educators with innovative learning tools. Our SLA 3D printing services provide high-resolution, durable models that are perfect for engineering classrooms. We offer a wide range of materials and finishes to suit your specific needs, and our team of experts is here to help you bring your educational vision to life.
Contact FacFox today and let us help you transform your engineering curriculum with the power of 3D-printed models.
Solution
- Step 1: Model Geometry Preparation.
Ensure that the 3D model is watertight, meaning it has completely closed surfaces with no holes or self-intersecting faces.
Use 3D modeling software to identify and fix any non-manifold geometry issues.
Double-check the model for closure and potential issues before exporting it for printing. - Step 2: Wall Thickness Optimization.
Determine the appropriate wall thickness based on the chosen resin’s recommended minimum thickness (refer to the manufacturer’s data sheet).
Prioritize thicker walls at critical areas, such as the base of the model and other stress-prone regions.
Balance structural integrity with desired detail level-thinner walls for visual models, thicker walls for functional prototypes. - Step 3: Support Structure Design.
Create temporary support structures to hold up unsupported parts during printing.
Minimize overhangs and areas requiring extensive support.
Experiment with different support types (e.g., light touch, rafts) to find the right balance between strength and ease of removal. - Step 4: SLA Printing Process.
SLA (Stereolithography) uses a vat of liquid photopolymer resin as the build material.
An ultraviolet (UV) laser traces and cures the first layer of the 3D model on the surface of the liquid resin.
After curing a layer, the build platform lowers by one layer thickness into the resin vat, and a wiper coats a thin layer of liquid resin over the cured layer. - Step 5: Post-Processing.
Remove the printed model from the printer.
Rinse the model in isopropyl alcohol (IPA) to remove excess resin.
Cure the model under UV light to achieve its final hardness and stability. - Step 6: Painting and Assembling.
The parts were pre-assembled and adjusted by polishing with sandpaper.
The models were soaked in different dye to match with the blueprints.
Finally, the models are assembled and a photo was sent to the client before packing and shipping.


