- Metal and Resin Prototypes of Injection Mold with Conformal Cooling Channels
- SLM 3D Printed SS316L Y-type Strainer for Water System
Material Metal
Quantity 1 pcs
Price Range $1-100
Lead Time 5 workdays
Gallery
About Project
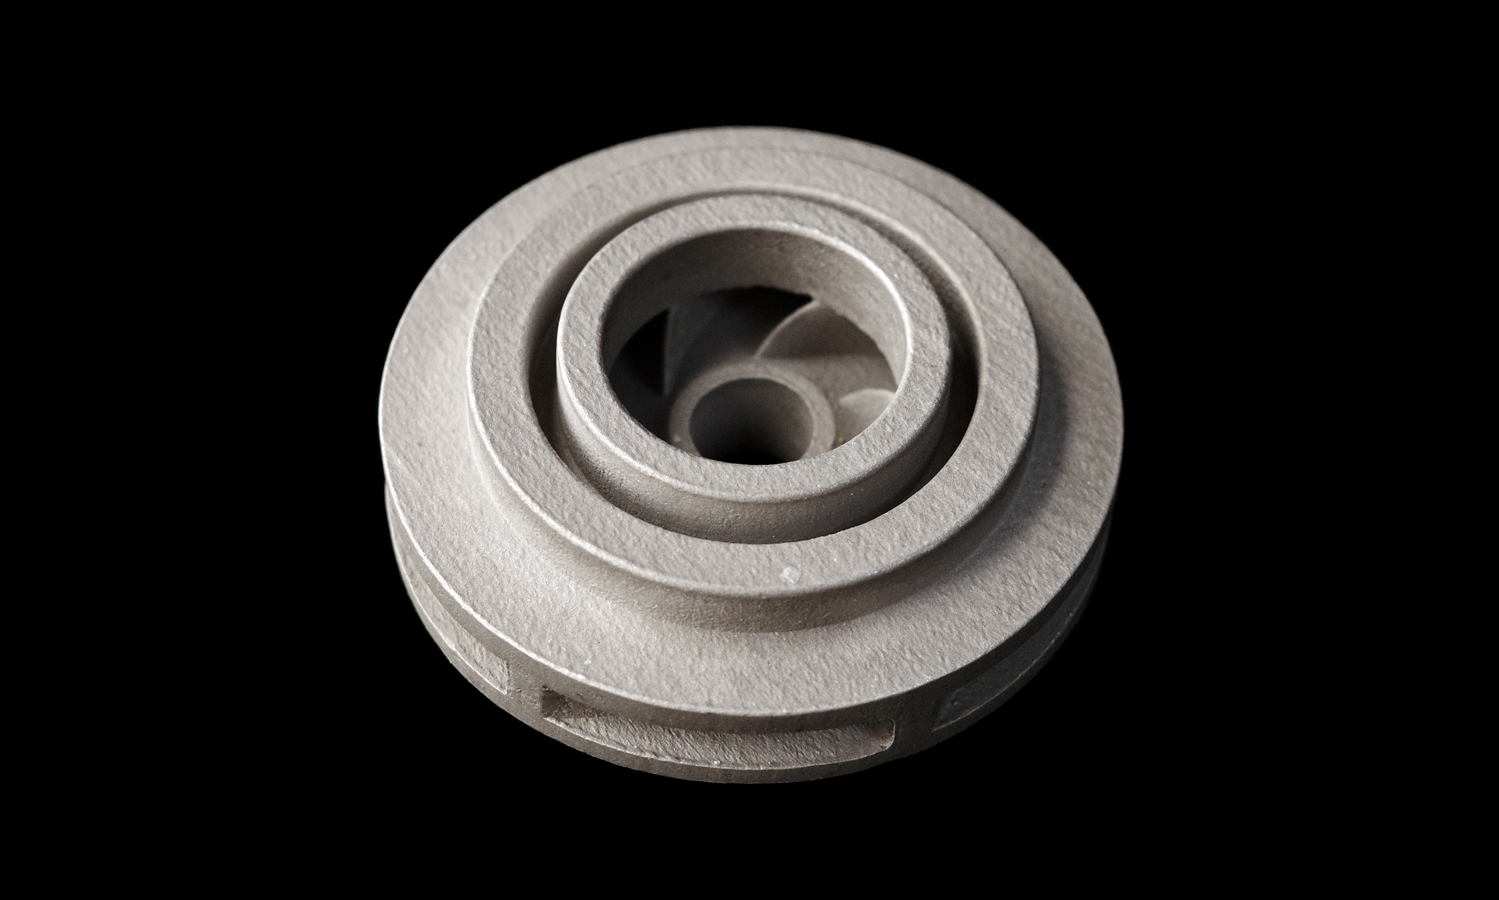
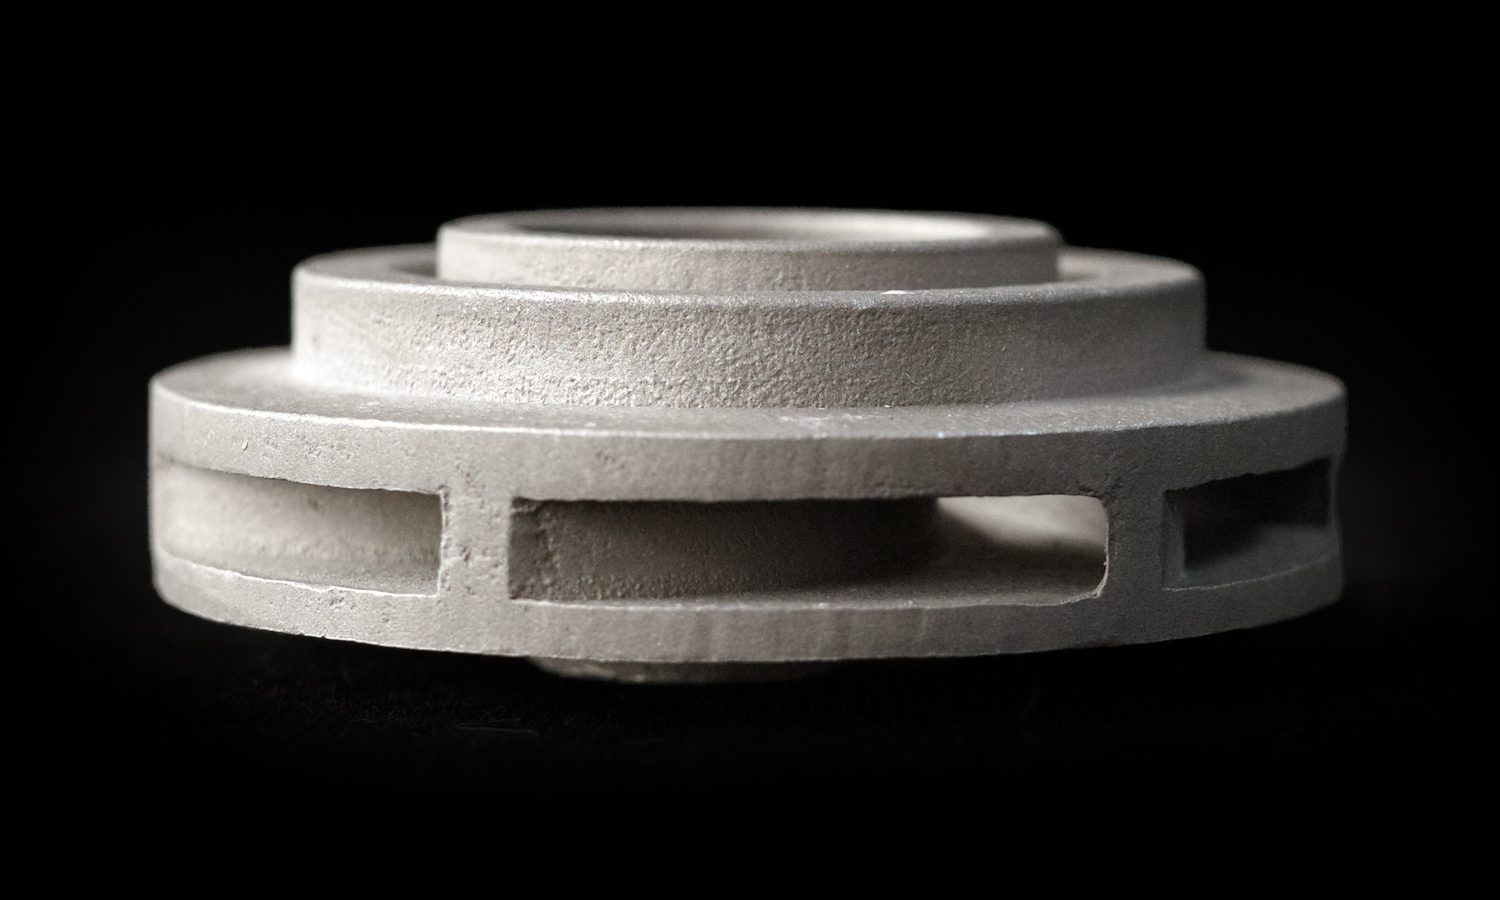
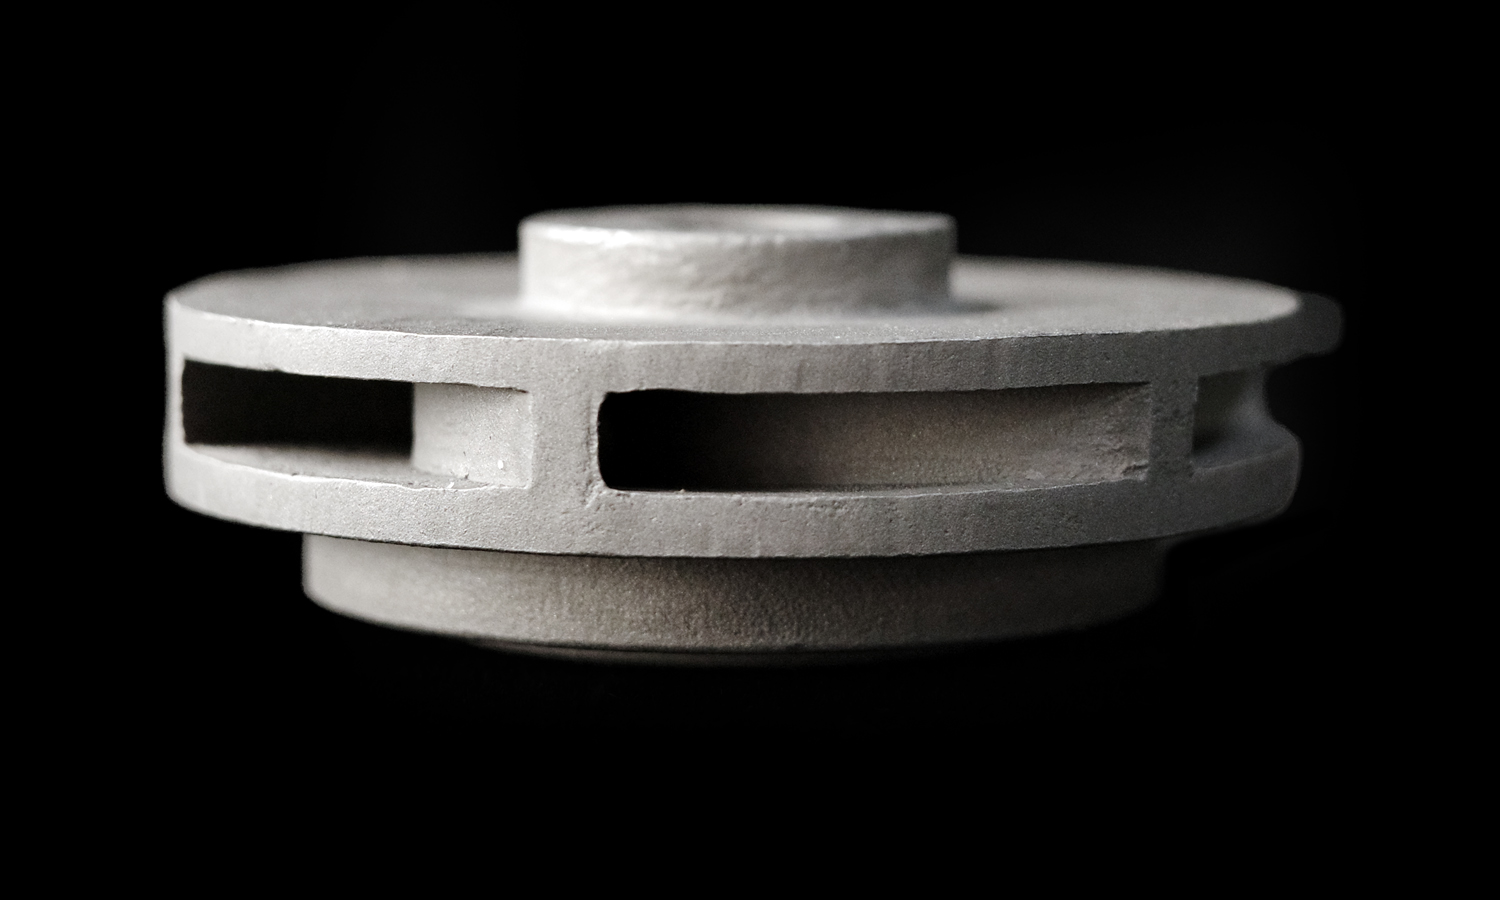
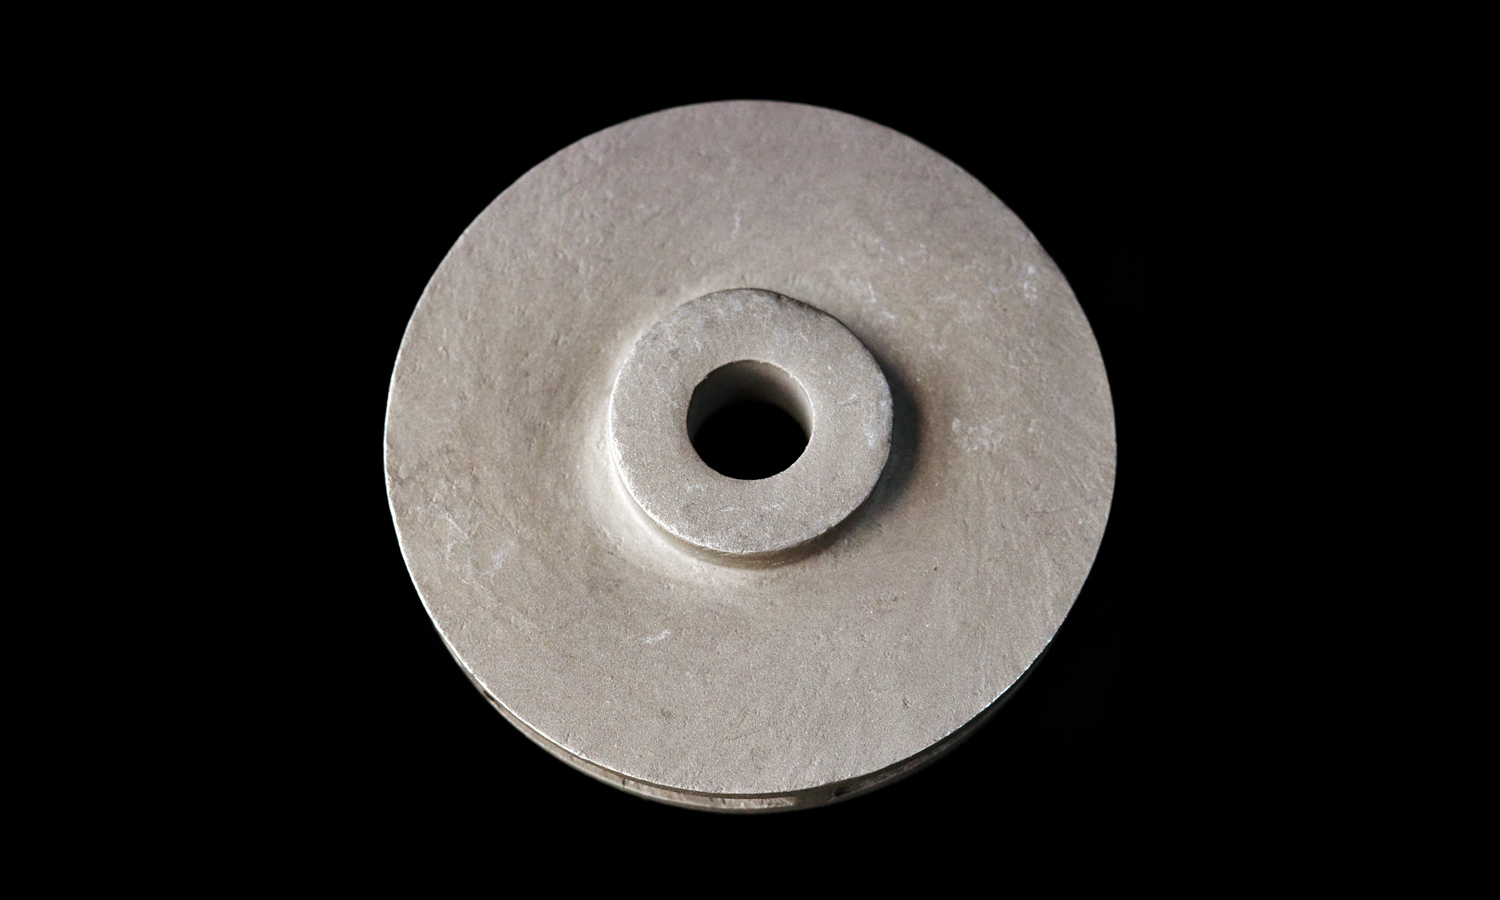
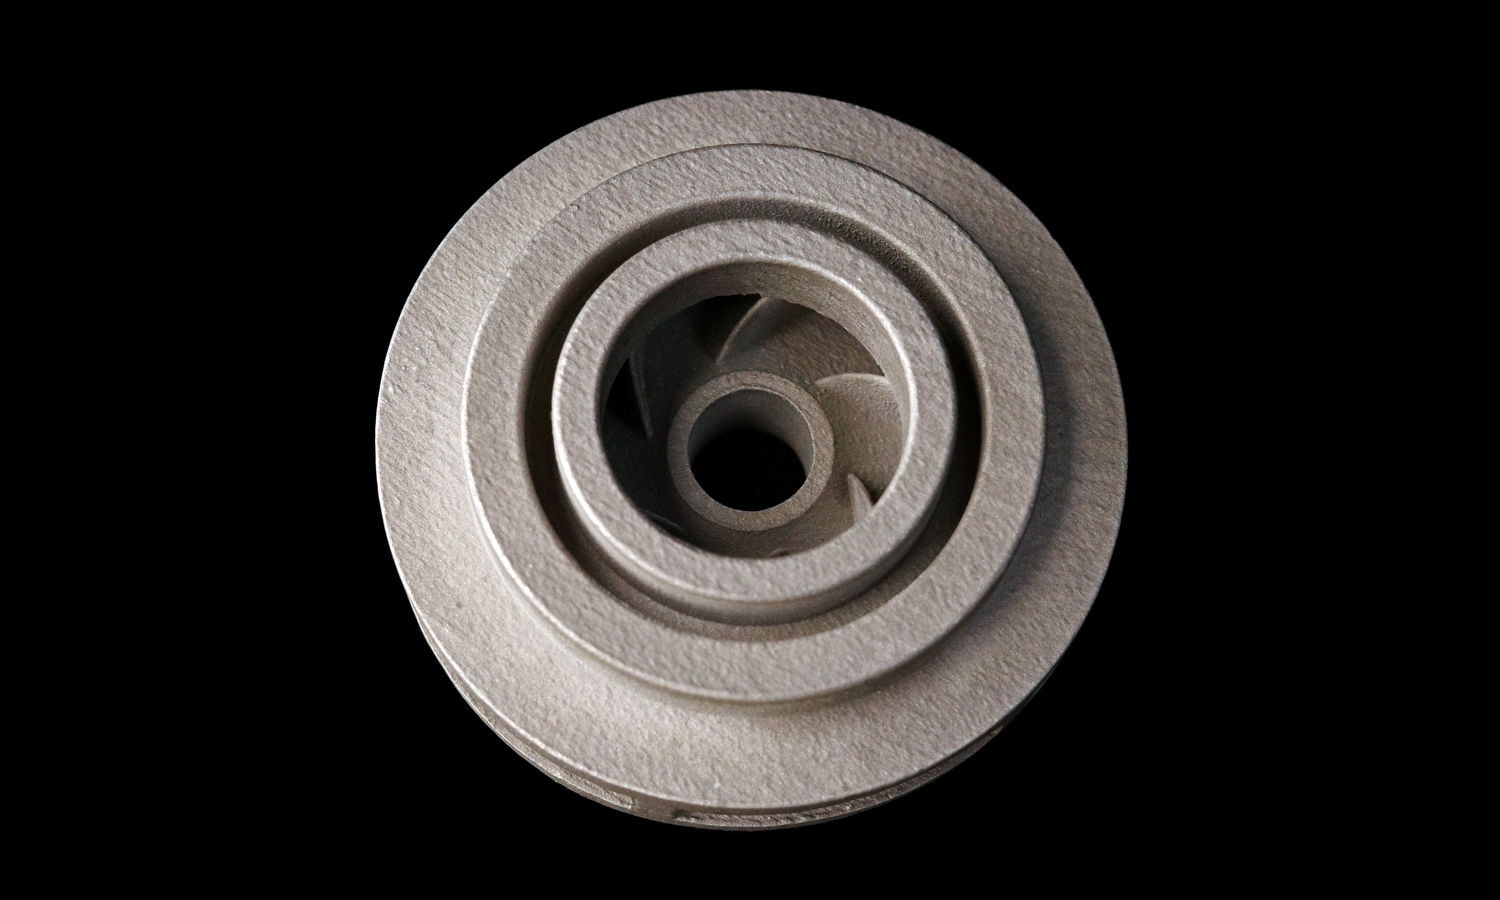
This kind of impellers are rotating devices that pump water through the nuclear cooling system. They need to be strong, corrosion-resistant, and precisely designed. Traditional methods of making impellers are costly, time-consuming, and prone to defects.
We used SLM, a metal 3D printing technology, to print a mini prototype of an impeller component using SS316L, a pre-alloyed stainless steel. The 3D printed part has high accuracy, detail, and mechanical properties.
Traditionally, impellers are manufactured by casting or machining, which can be costly, time-consuming, and prone to defects. ThatŌĆÖs why we decided to try something different: 3D printing with Direct Metal Laser Sintering (SLM). It has many advantages over conventional methods, such as faster production time, lower cost, greater design freedom, reduced material waste, and improved performance.
If you want to try SLM 3D printing for your projects, check out FacFoxŌĆÖs SLM 3D printing services. FacFox is a leading online platform that offers high-quality and affordable SLM 3D printing for various metals. You can upload your 3D model, choose your options, get an instant quote, and place your order online. FacFox will print your part with the best SLM machines and deliver it to your door in no time.
Visit facfox.com to learn more about FacFoxŌĆÖs SLM Stainless Steel 316L service and start your 3D printing journey today!
Solution
- Step 1: A CAD model of the impeller component was created and exported into a 3D printable file format (an STL format).
- Step 2: The STL file was sliced into thin layers and sent to the SLM 3D printer.
- Step 3: The SLM 3D printer used a high-power laser beam to selectively fuse a layer of SS316L metal powder together.
- Step 4: The process was repeated layer by layer until the desired shape was created.
- Step 5: The 3D printed part was removed from the powder bed and cleaned of excess powder.
- Step 6: The part was inspected for accuracy, detail, and mechanical properties.
