- SLA 3D Printed Formlabs Castable Wax Delicate Flower Casting Pattern
- MJF 3D Printed and Golden Plated Nylon Mouse Cover
Gallery
About Project
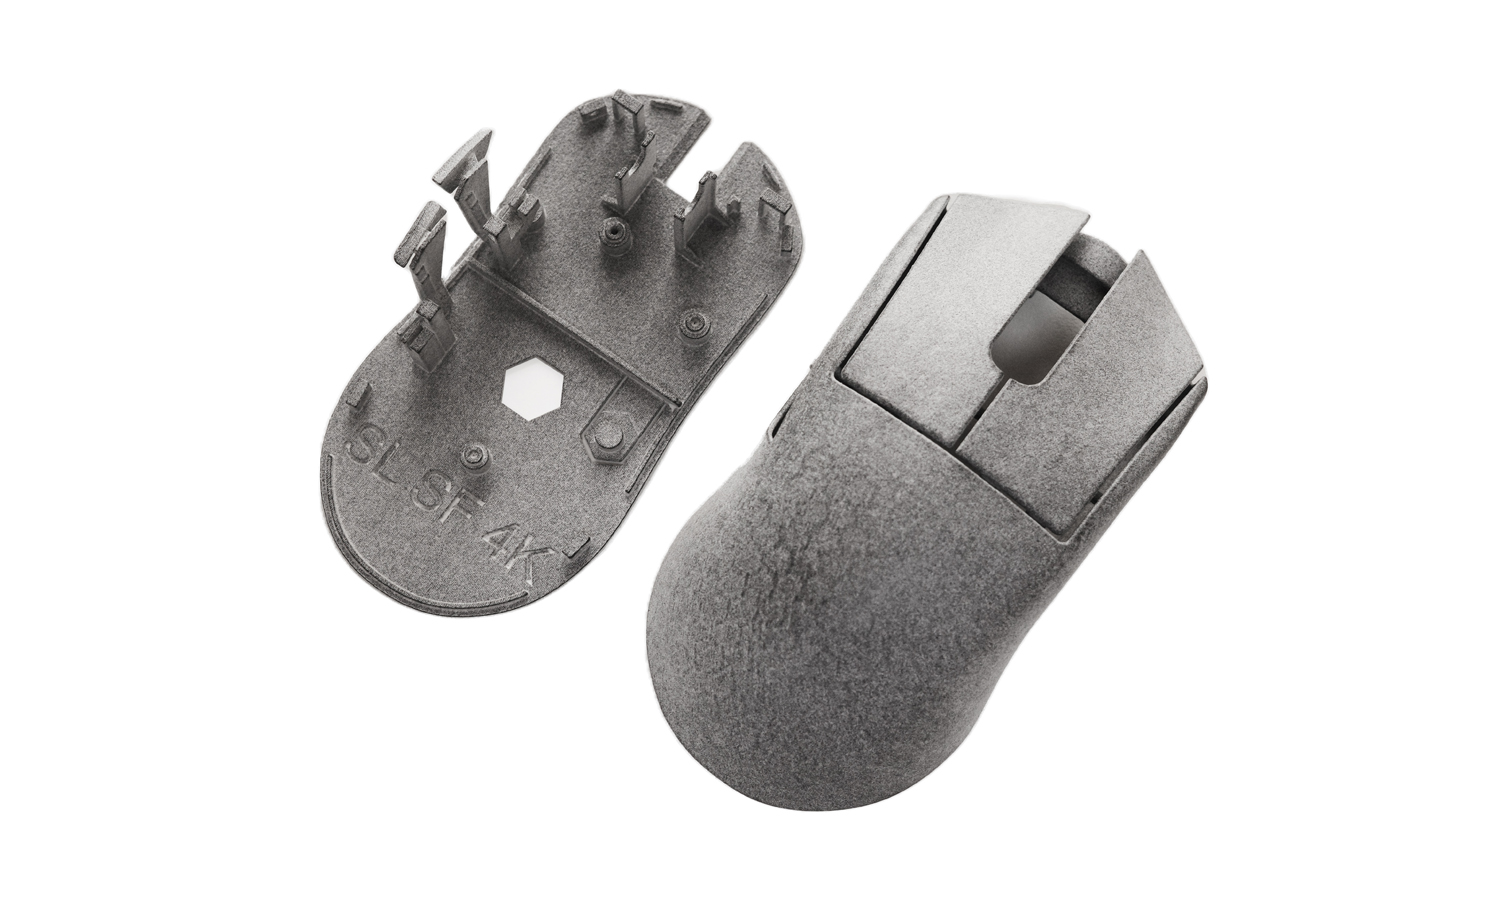
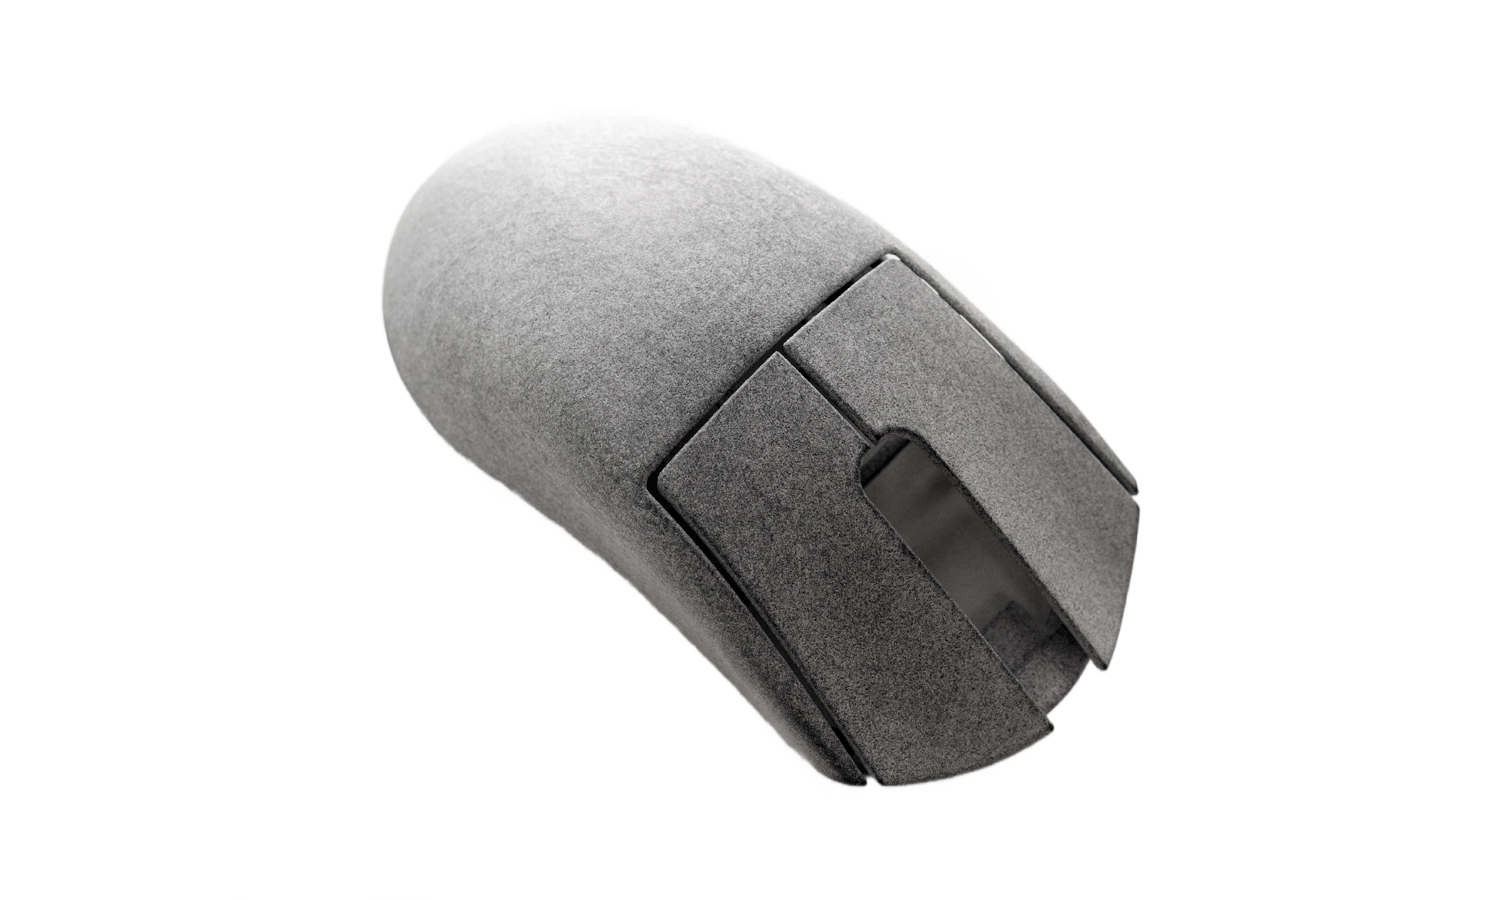
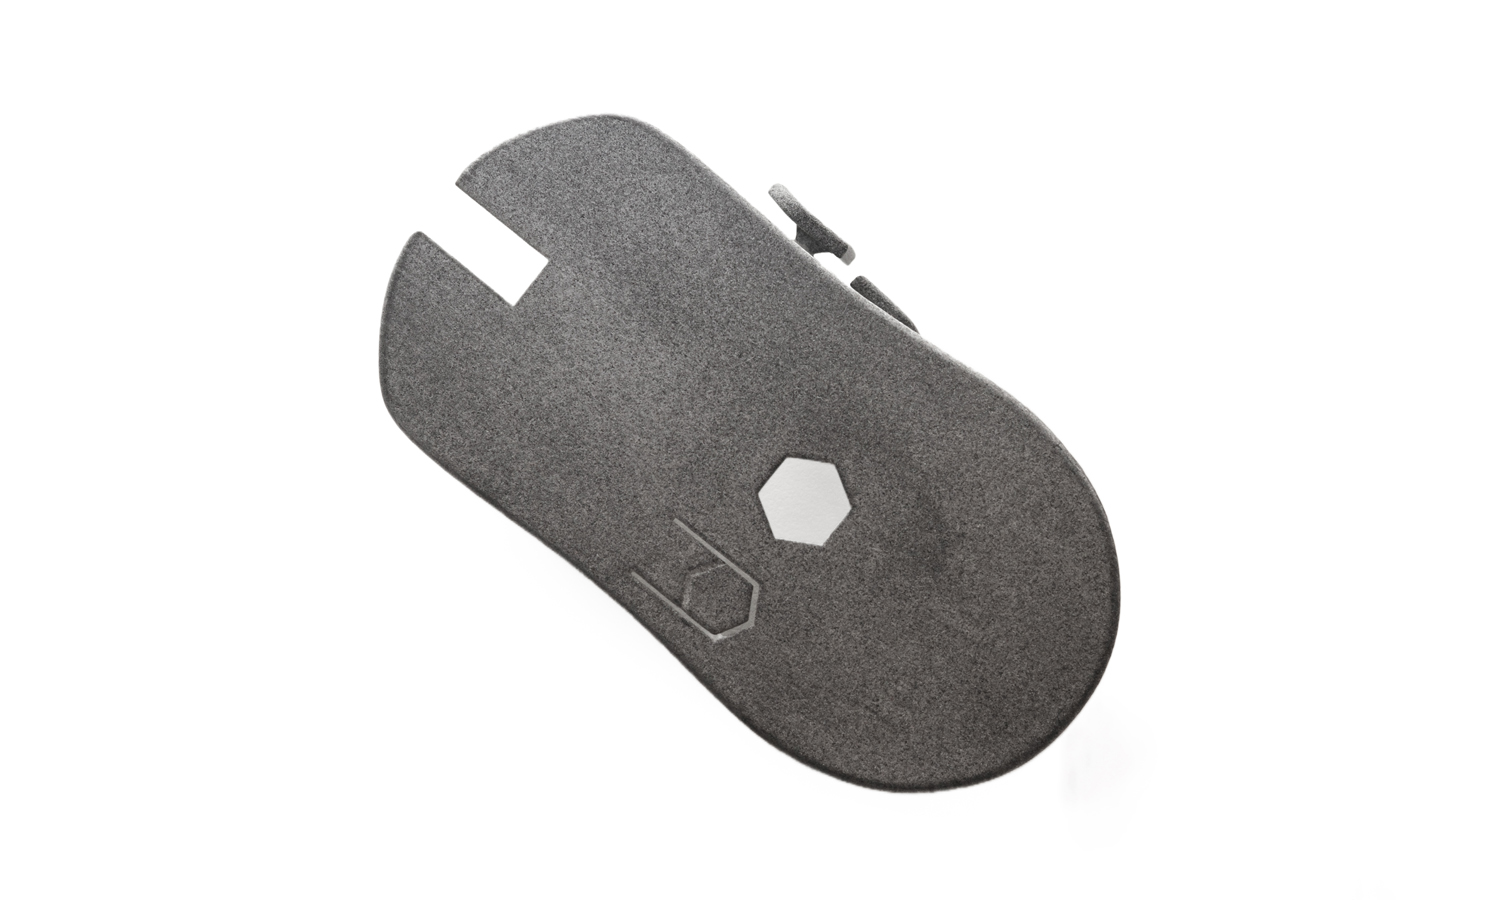
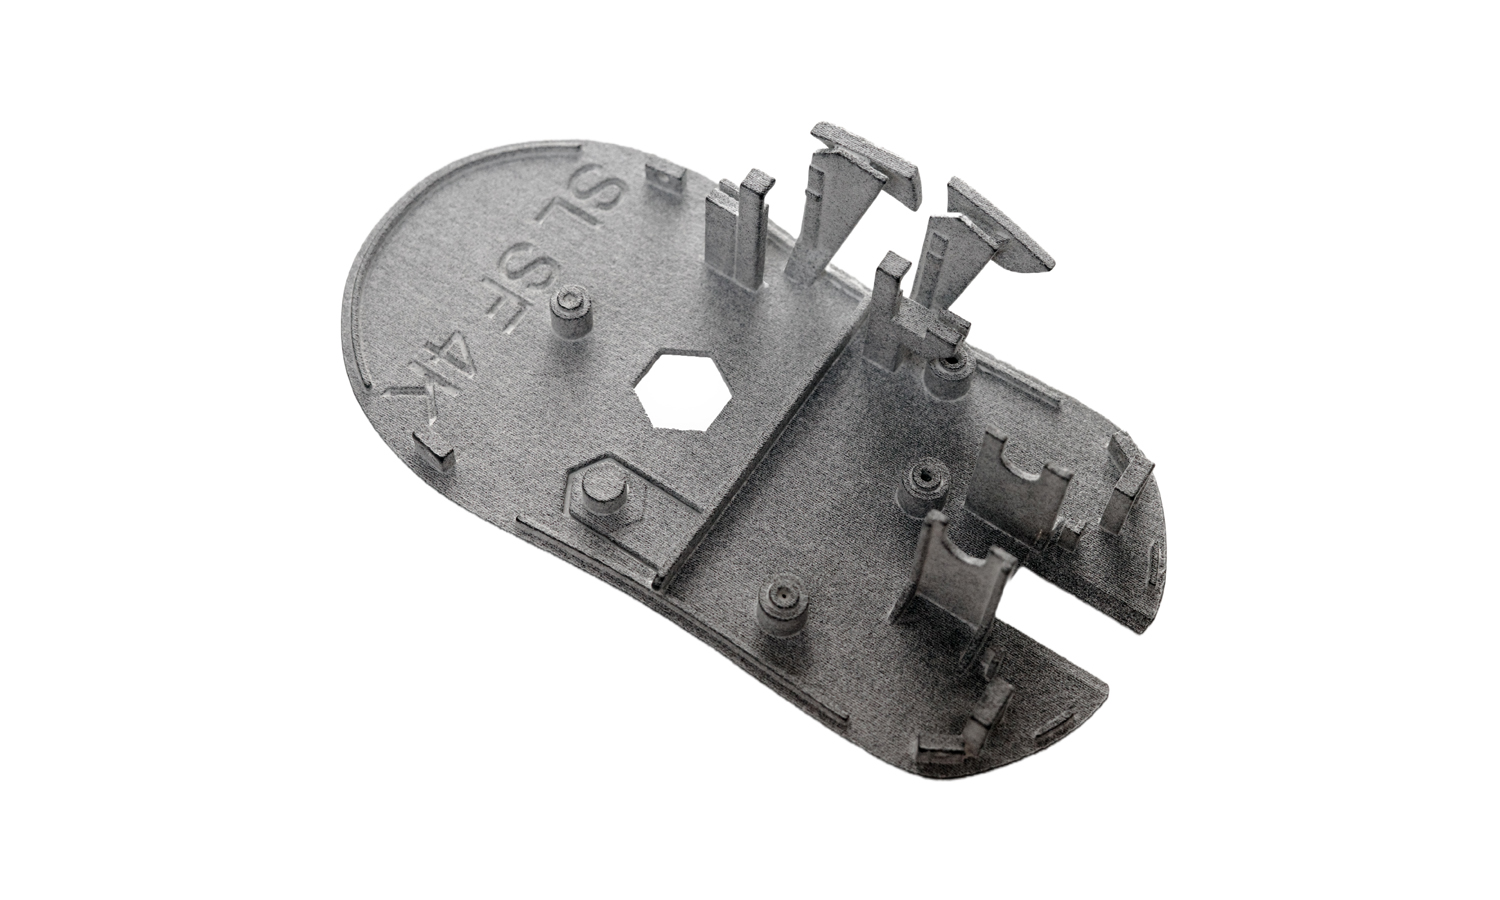
This case showcases a Piranha gaming mouse cover that was 3D printed using Multi Jet Fusion (MJF) technology and vibratory finished to achieve a smooth and translucent surface. The mouse cover is made of nylon PA12, a durable and flexible material that is ideal for gaming accessories.
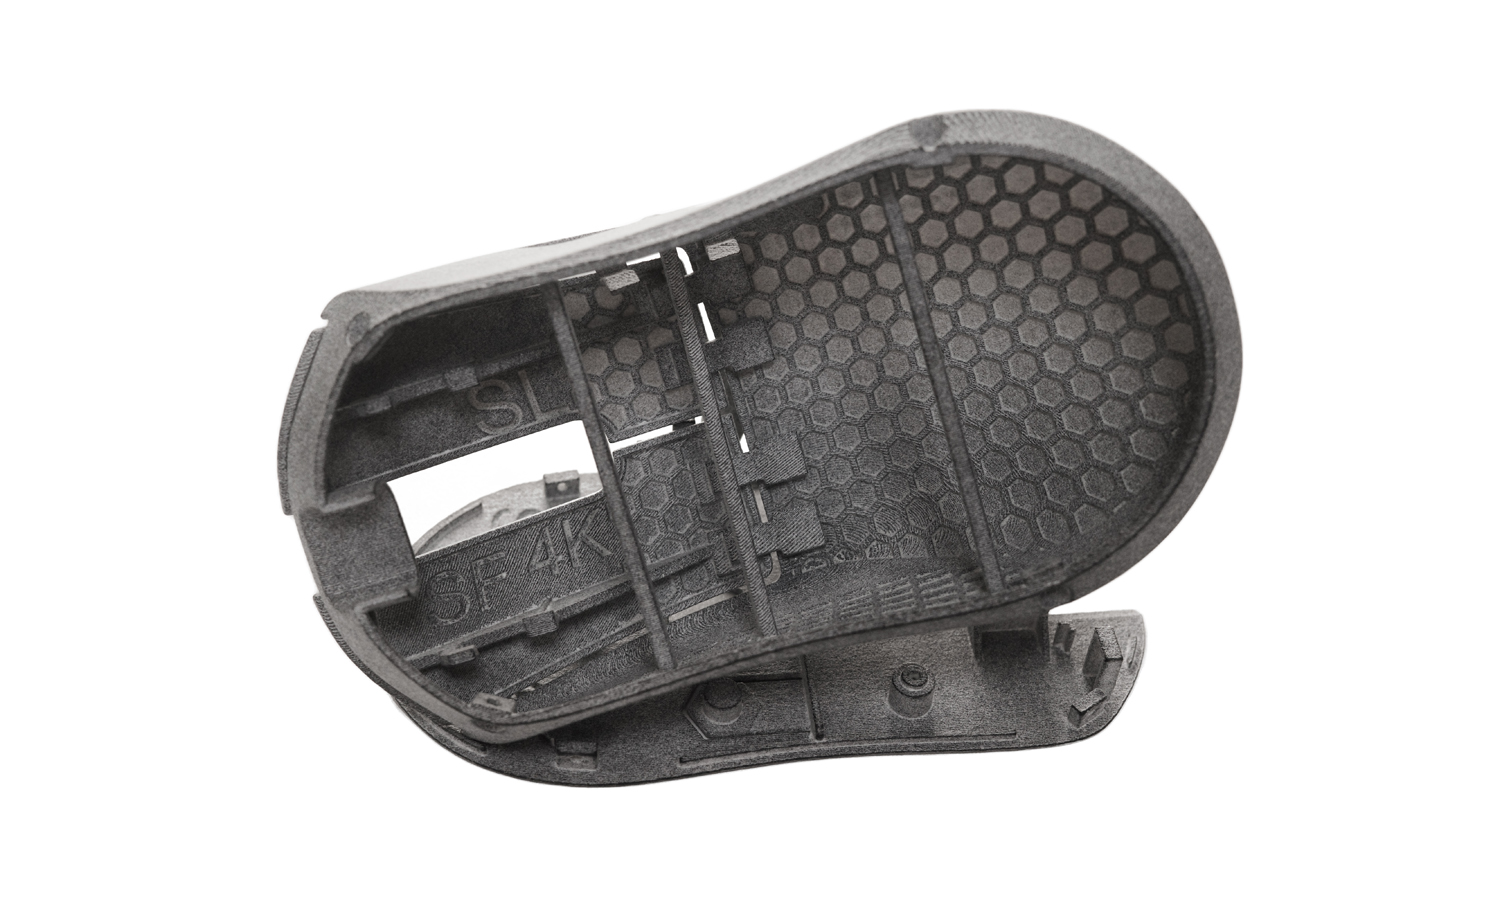
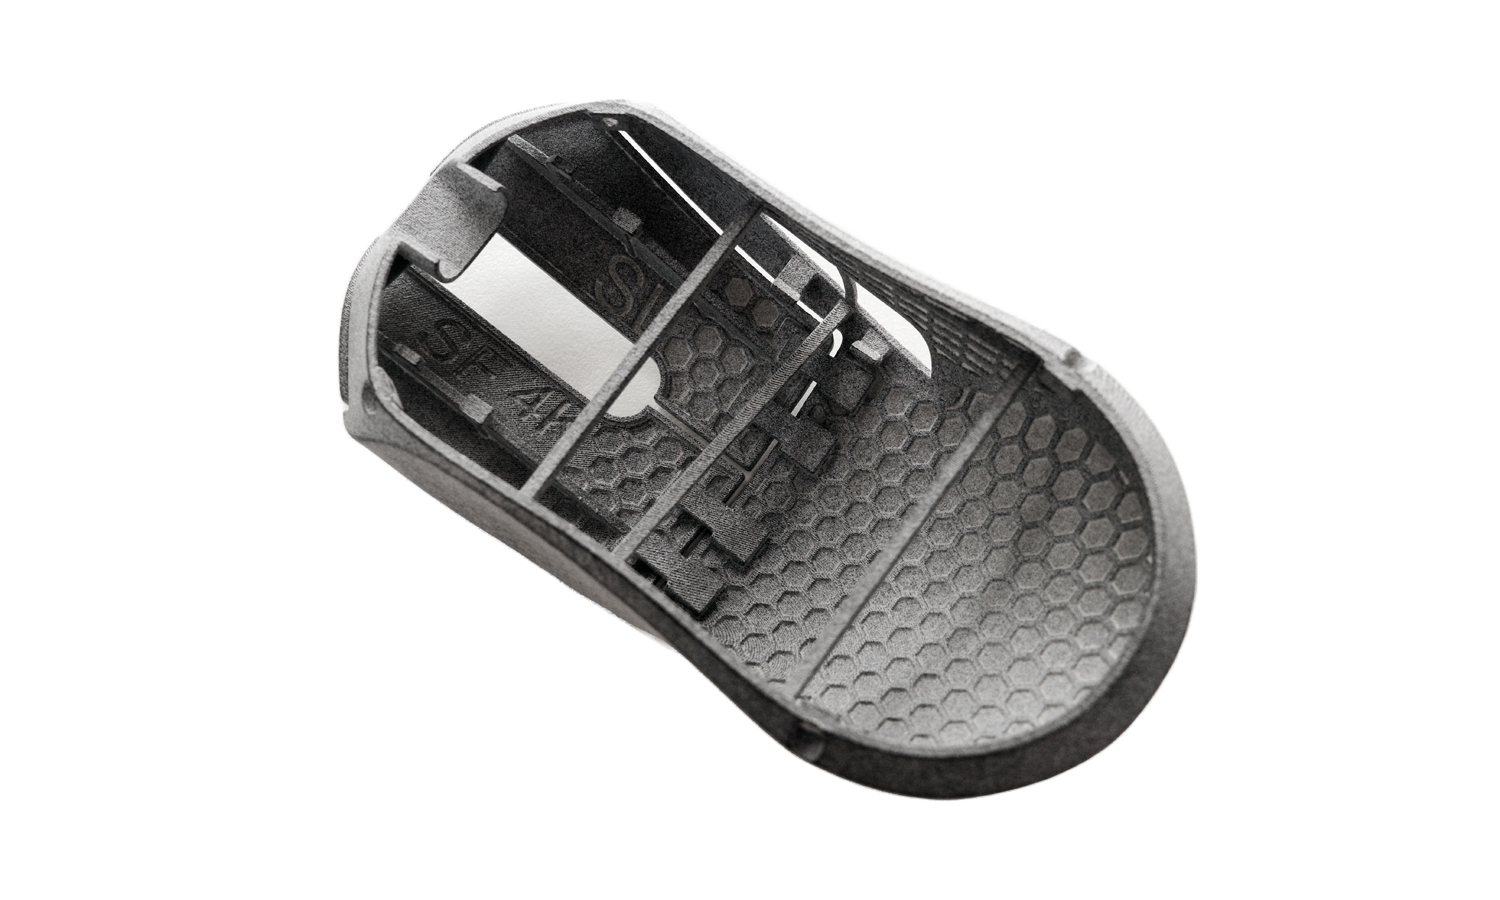
As requested by the designer, we did not dye the mouse cover black this time, and directly polish the prints with vibratory finishing as a experiment. So the mouse covers kept its raw gray color, and touches very smooth. There were still visible layer lines on the edge and front end, but much smoother than before. The hexagonal patterns on the side face were polished very thin, making them translucent when faced with sunlight.
If you are looking for a reliable and professional MJF 3D printing service for your gaming projects, look no further than FacFox. FacFox is a leading online platform that offers high-quality MJF 3D printing services for various materials, including nylon PA12, polypropylene, and TPU.
FacFox is your one-stop shop for all your MJF 3D printing needs. Contact us today via info@facfox.com to get a free quote and start your project with us.
Challenge
The mouse cover was then removed from the printer and transferred to a processing station, where it was cooled down and cleaned of excess powder. The raw print had a gray color and visible layer lines on the surface.
The mouse cover was placed in a vibratory tumbler along with ceramic media and water. The tumbler vibrated at high speed, causing the media to rub against the surface of the mouse cover and remove any roughness or imperfections. The vibratory finishing process lasted for about an hour, resulting in a smooth and even surface.
Solution
- Step 1: To create the mouse cover, a 3D model of the design was uploaded to FacFoxŌĆÖs online platform and printed on an HP Jet Fusion 3D printer.
- Step 2: The printer applied a layer of nylon PA12 powder over the print area and then sprayed a fusing agent on the areas that needed to be solidified. A detailing agent was also applied on the edges of the part to create sharper and smoother boundaries.
- Step 3: The print area was then heated by infrared lamps, causing the fused areas to melt and bond together. The mouse cover was then removed from the printer and transferred to a processing station, where it was cooled down and cleaned of excess powder.
- Step 4: The mouse cover was placed in a vibratory tumbler along with ceramic media and water. The tumbler vibrated at high speed, causing the media to rub against the surface of the mouse cover and remove any roughness or imperfections.
