Material Resin
Quantity 1 pcs
Price Range $1-100
Lead Time 1 workdays
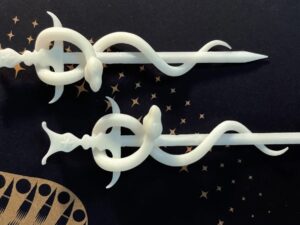
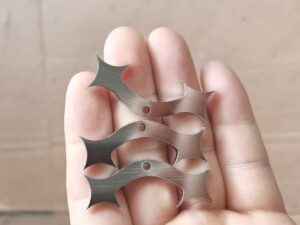
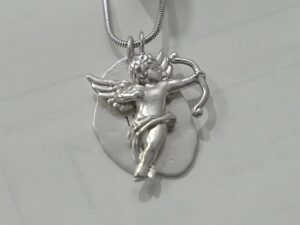
Gallery
About Project
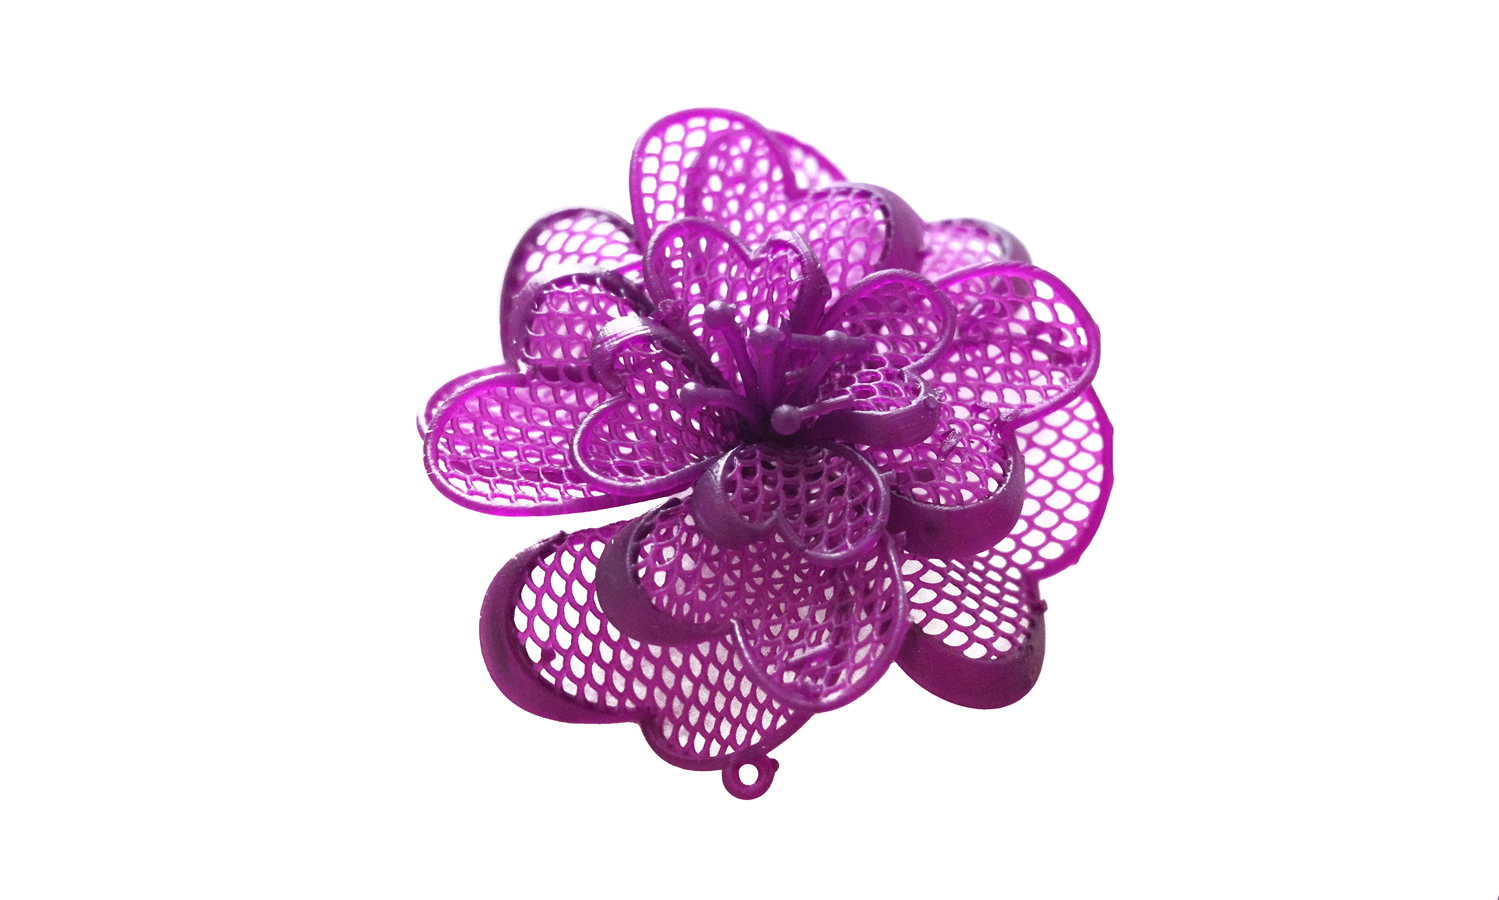
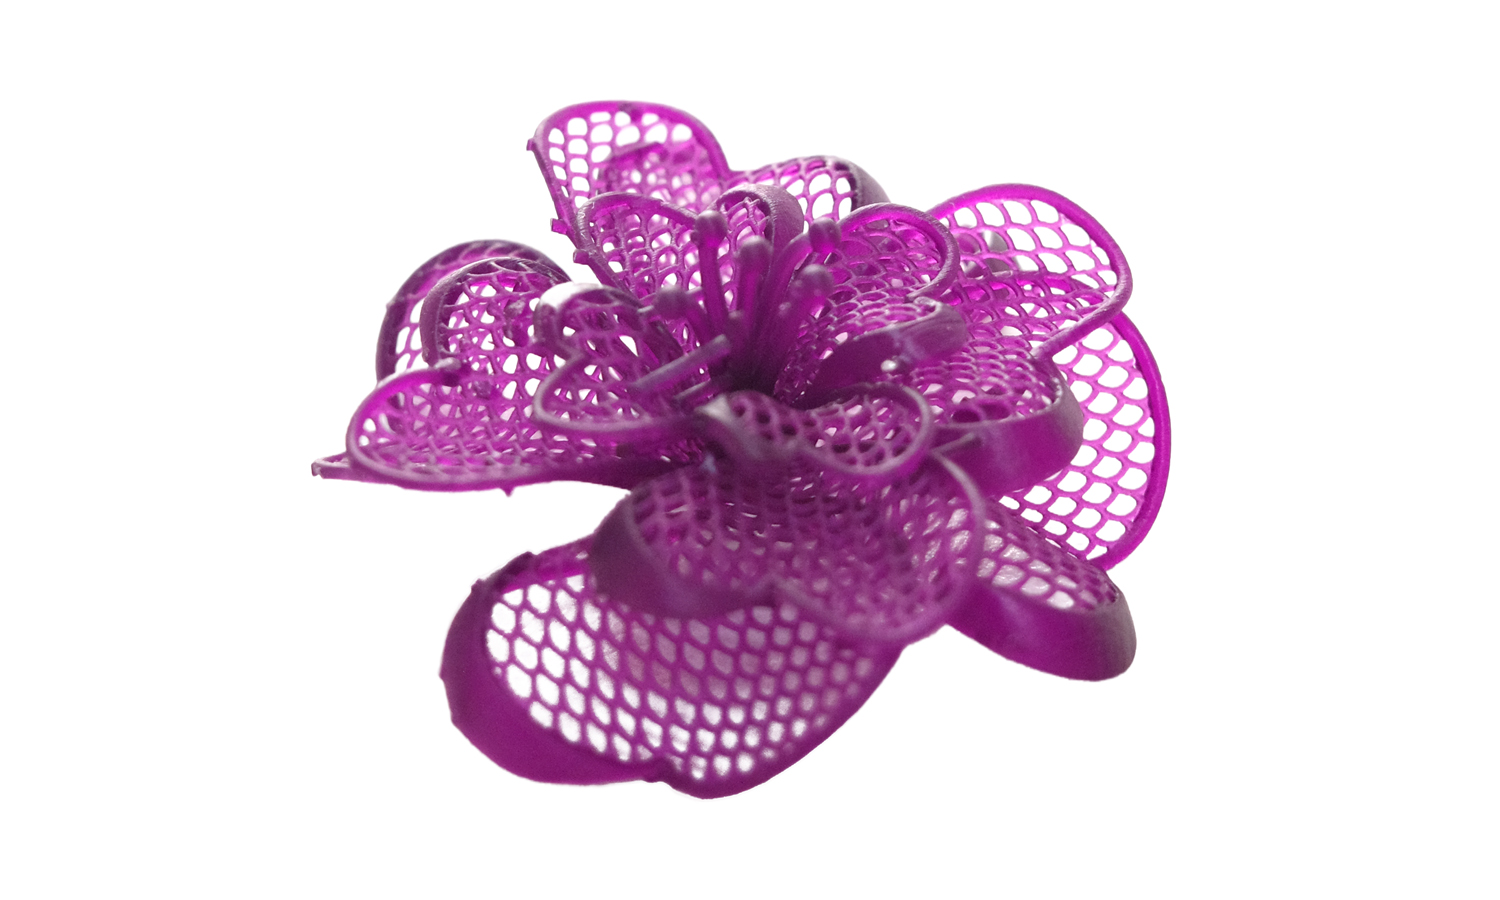
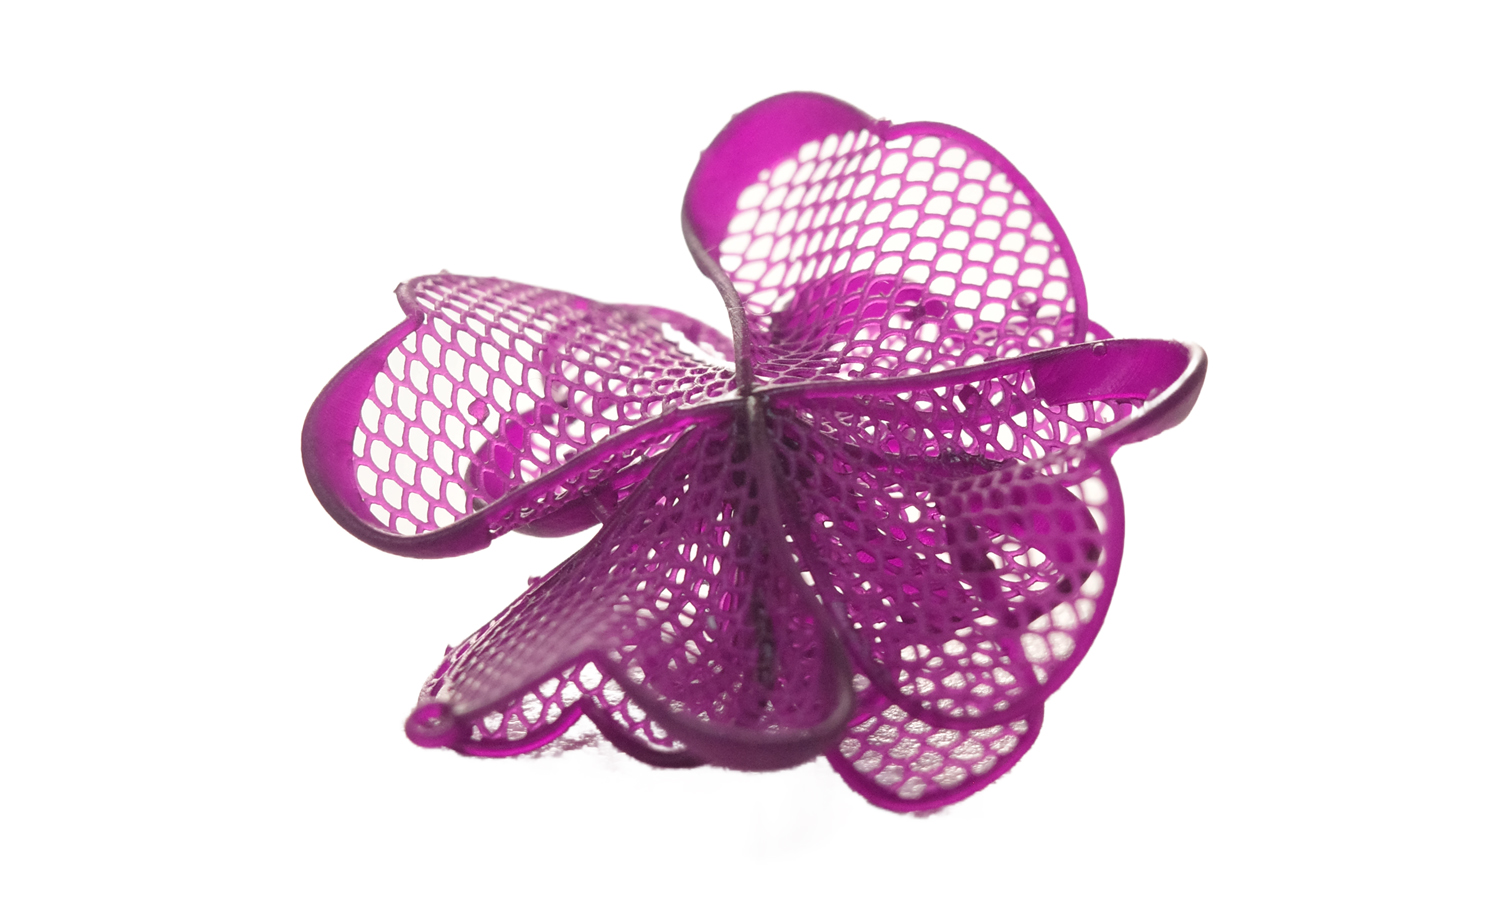
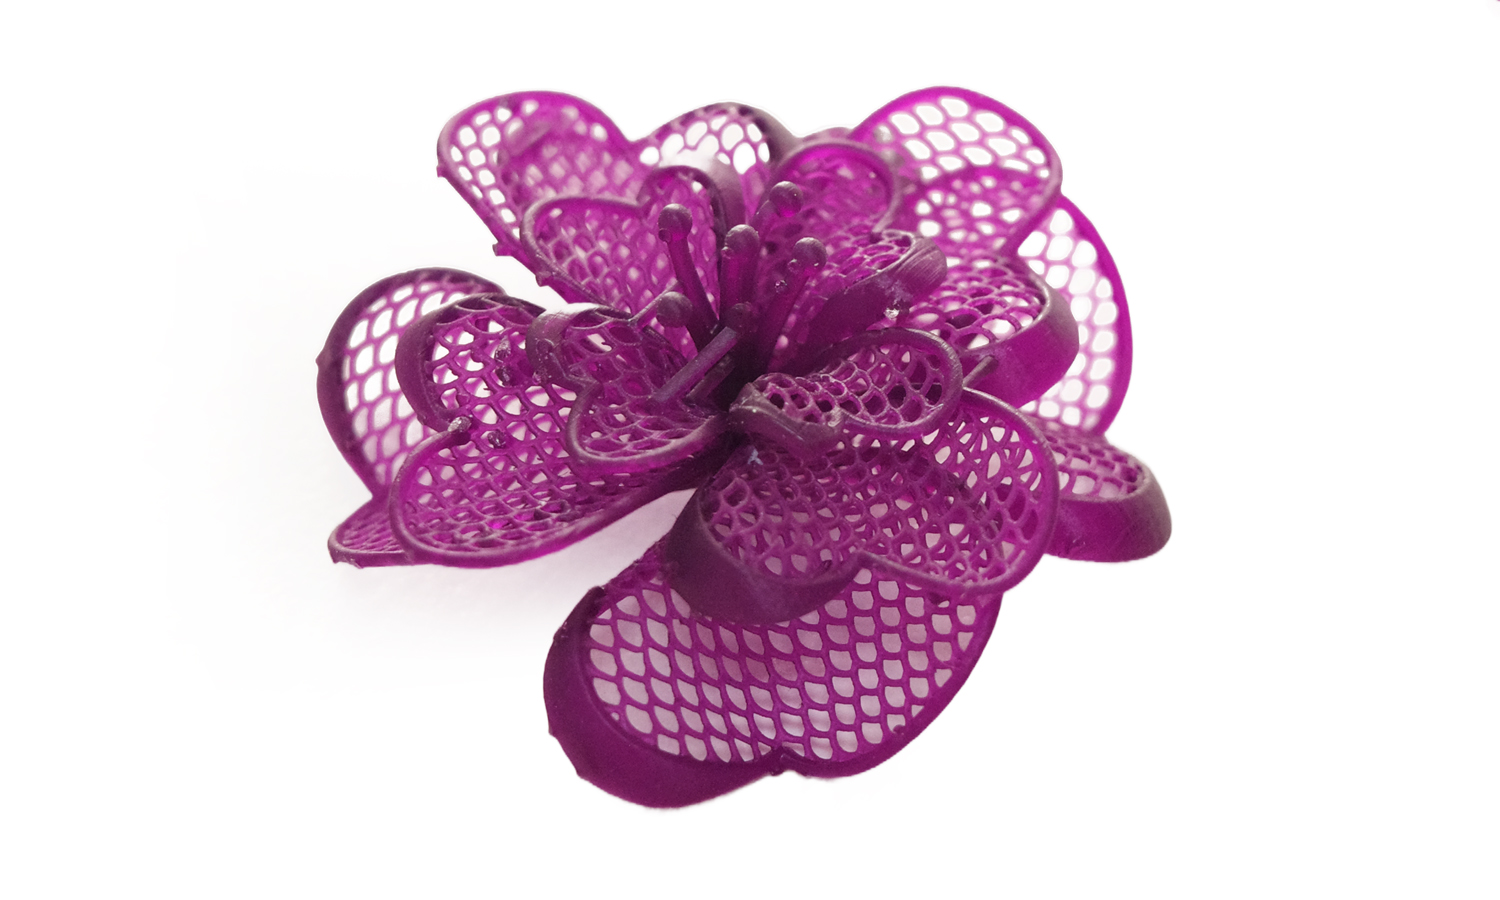
Formlabs Castable Wax Resin is a 20% wax-filled material that captures fine features and offers a smooth surface finish for accurate castings with zero ash content and clean burnout. Printed parts are strong enough to handle with no post-cure required, allowing for a fast and simple workflow. Castable Wax Resin is ideal for delicate filigree designs, custom try-ons, direct investment casting, and thin pieces with fine details.
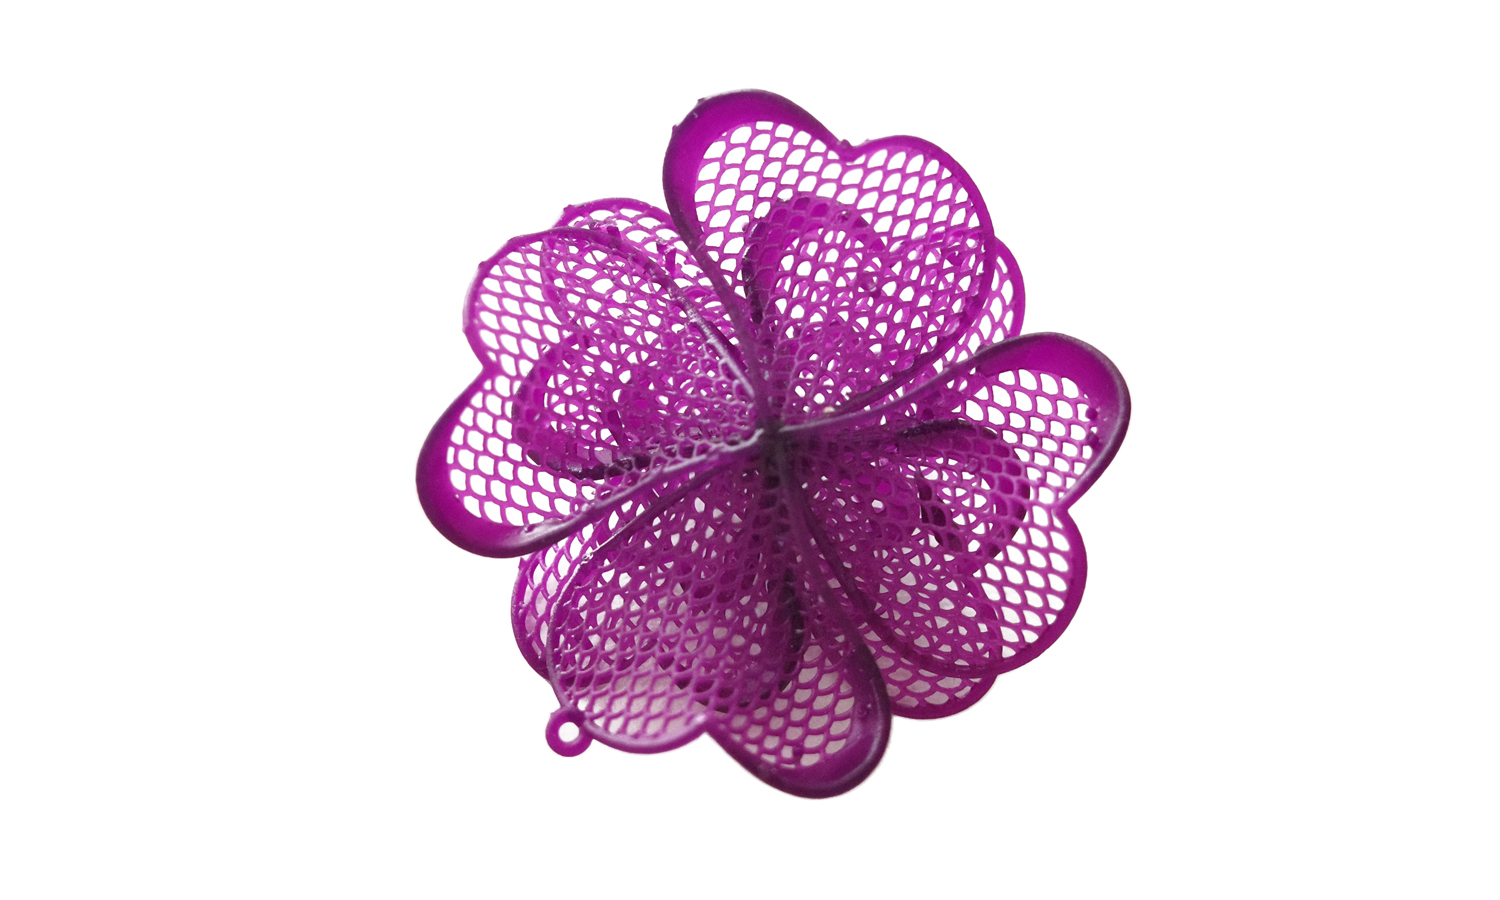
We successfully printed a delicate flower casting pattern using SLA 3D printing and Formlabs Castable Wax Resin. The flower has a diameter of about 2 cm and the petals are hollowed with many holes. No detail was lost, no breakage or deformation occurred, and the wax flower was ready to cast after washing without post-curing. The wax flower could be used for casting in various metals such as gold, silver, platinum, or bronze.
At FacFox, we offer SLA 3D printing services for jewelry industries using Formlabs Castable Wax Resin. We can print your designs with high precision and quality, and deliver them to you in a short turnaround time. Whether you need a single piece or a large batch, we can help you create stunning jewelry pieces with SLA 3D printing and Formlabs Castable Wax Resin. Contact us today to get a quote and start your project!
Solution
- Step 1: The 3D model of the flower sculpture was designed using jewelry-specific CAD software. And then it was uploaded to PreForm software and oriented for optimal printing quality and speed. The model was sliced into layers and sent to the Formlabs SLA 3D printer.
- Step 2: A compatible resin tank and build platform were installed on the printer, and Formlabs Castable Wax Resin was poured into the resin tank until the fill line was reached.
- Step 3: The print button was pressed and the printer started to print the model layer by layer by curing the resin with a laser or a projector. After the print was completed, the build platform was removed from the printer and the printed part was carefully detached from the platform using a removal tool.
- Step 4: The printed part was washed in isopropyl alcohol (IPA) using Form Wash or Finish Kit for 10 minutes to remove any uncured resin. The printed part was dried with compressed air or a soft cloth and inspected for any defects or supports that needed to be removed.


