Material Plastic, Metal
Quantity 1 pcs
Price Range $100-1,000
Lead Time 5 workdays
Gallery

About Project
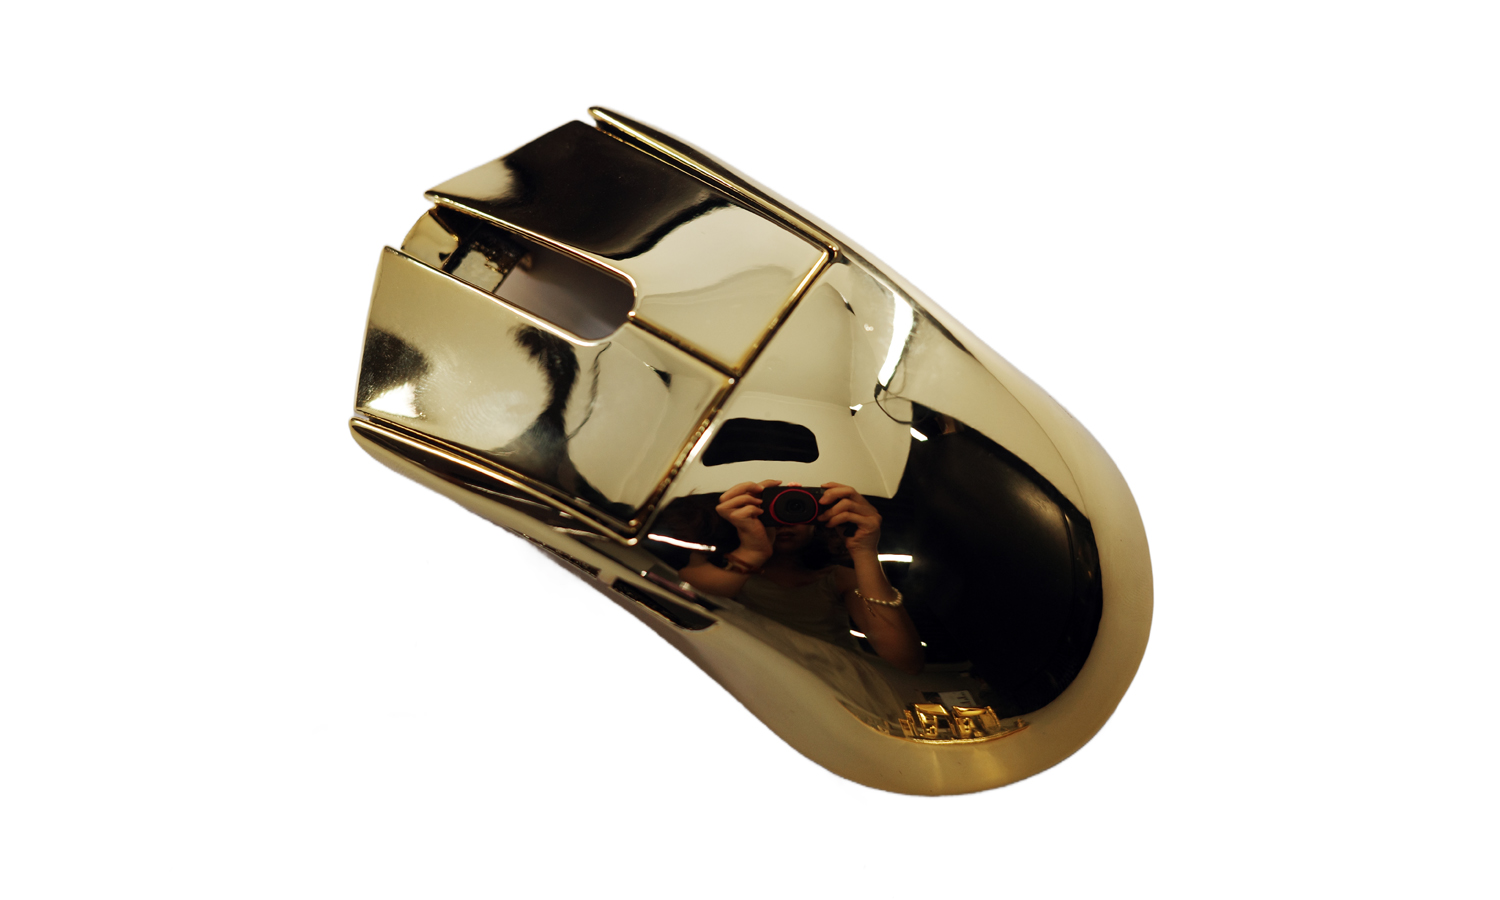
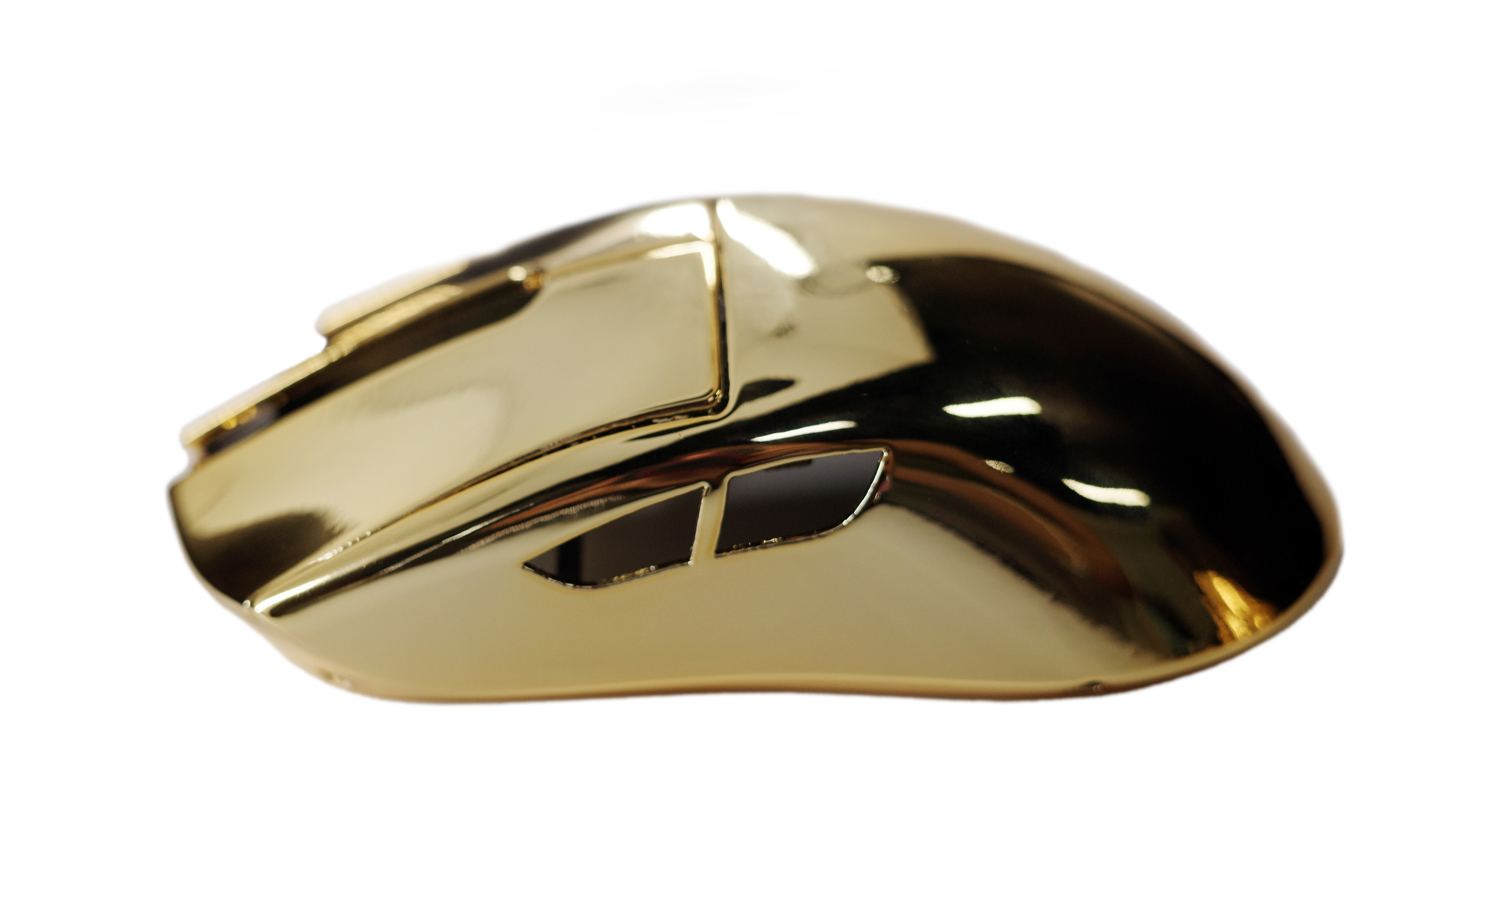
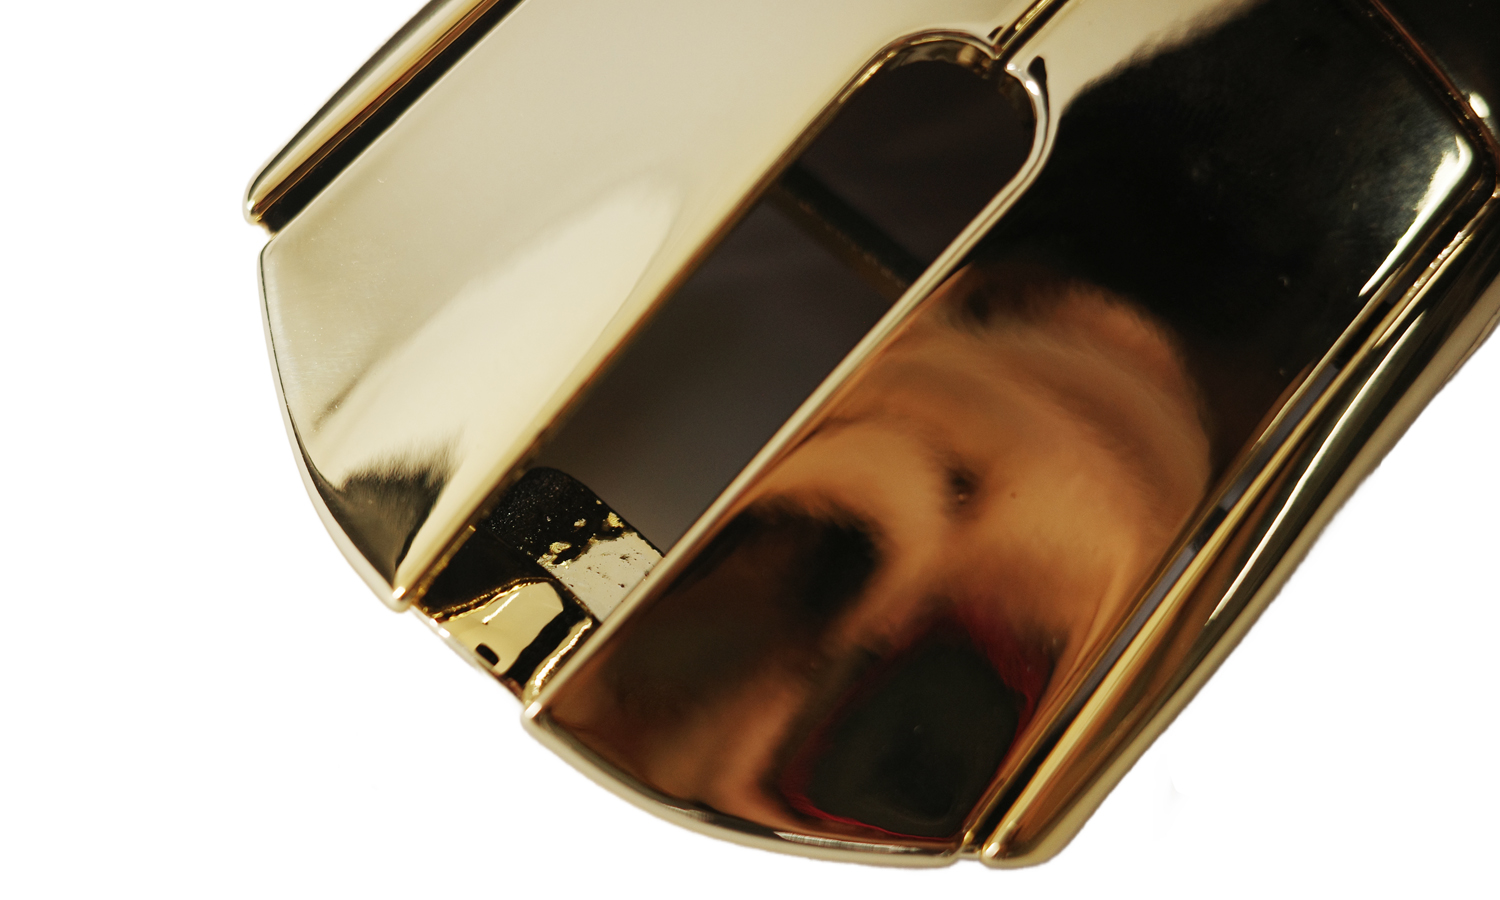
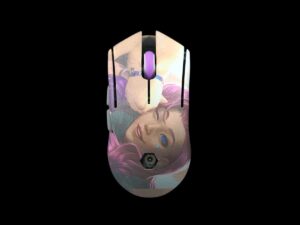
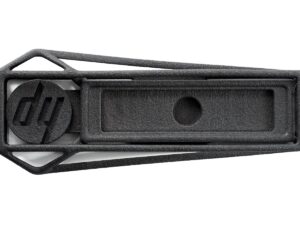
Check out this amazing 3D printed mouse cover that we electroplated with golden color for Piranha Mouse Mods!
Piranha Mouse Mods is a company that customizes gaming mice with 3D printed parts. They wanted a unique and luxurious mouse cover, so they used our MJF 3D printing service with nylon PA 12 material.
Nylon PA 12 is a durable and flexible material that can be dyed into different colors. However, Piranha wanted something more special, so they asked us to experiment with electroplating the mouse cover with a golden coating.
Electroplating is a process that applies a thin layer of metal to the surface of another material using an electric current. It can make the material look more beautiful and improve its properties. However, electroplating nylon PA 12 is not easy, and it requires some extra steps.
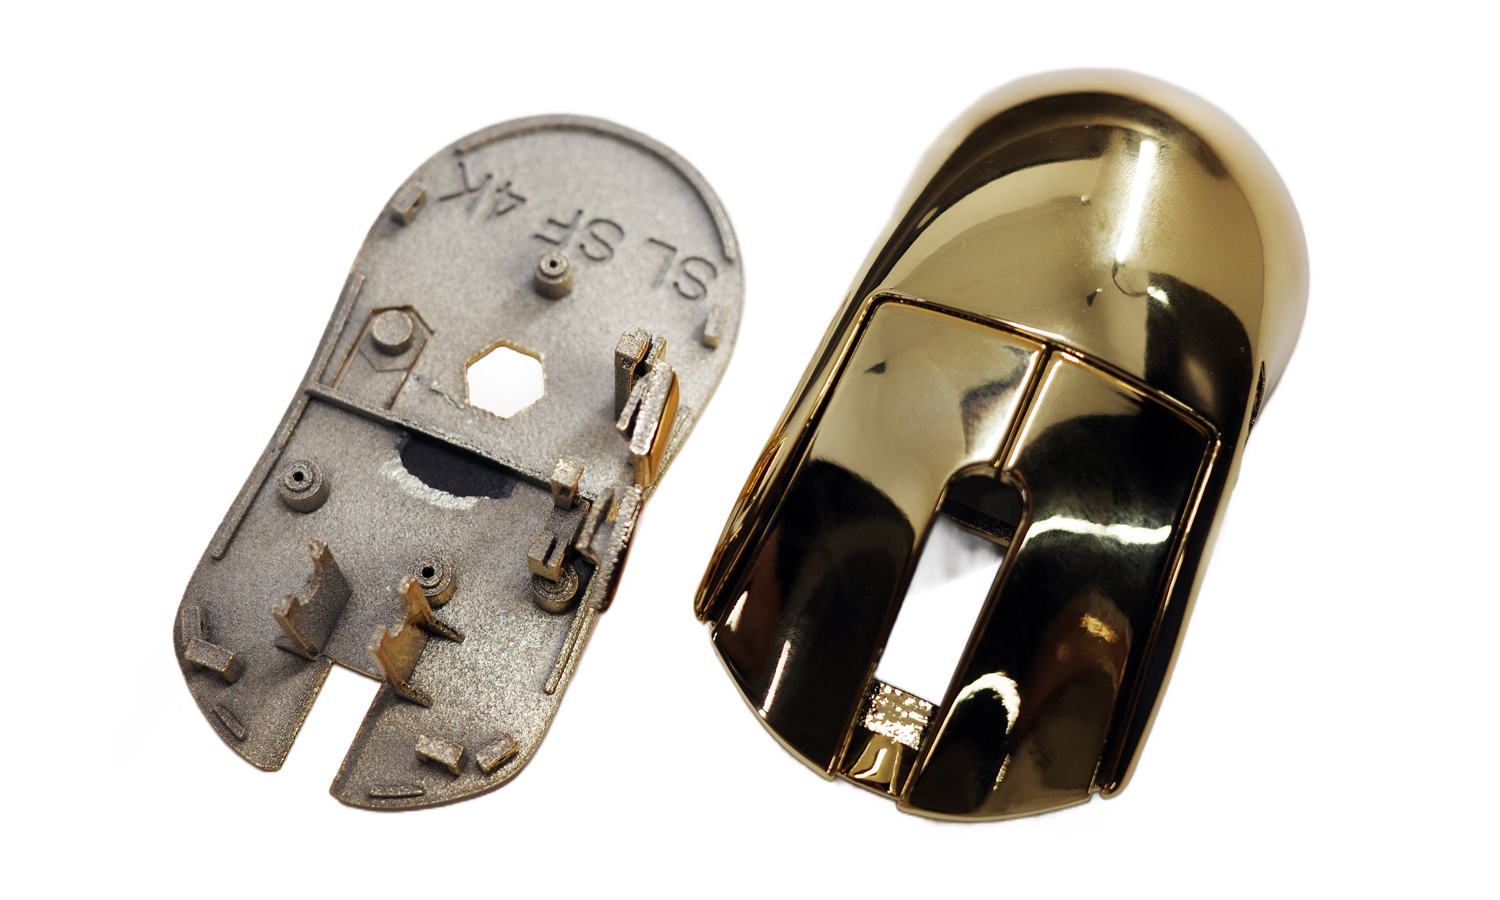
First, we had to cover the surface of the mouse cover with putties, which are substances that fill gaps and smooth out irregularities. Then, we immersed the mouse cover in a solution containing golden dye and aluminum ions and applied an electric current to deposit the aluminum onto the surface.
The result was a shiny and golden mouse cover that looked like a piece of jewelry. However, there were some challenges and limitations that we had to overcome. For example, the electroplating process added some thickness to the mouse cover, which affected the assembling of the parts. The design has to be adjusted to make sure that the parts fit together properly.
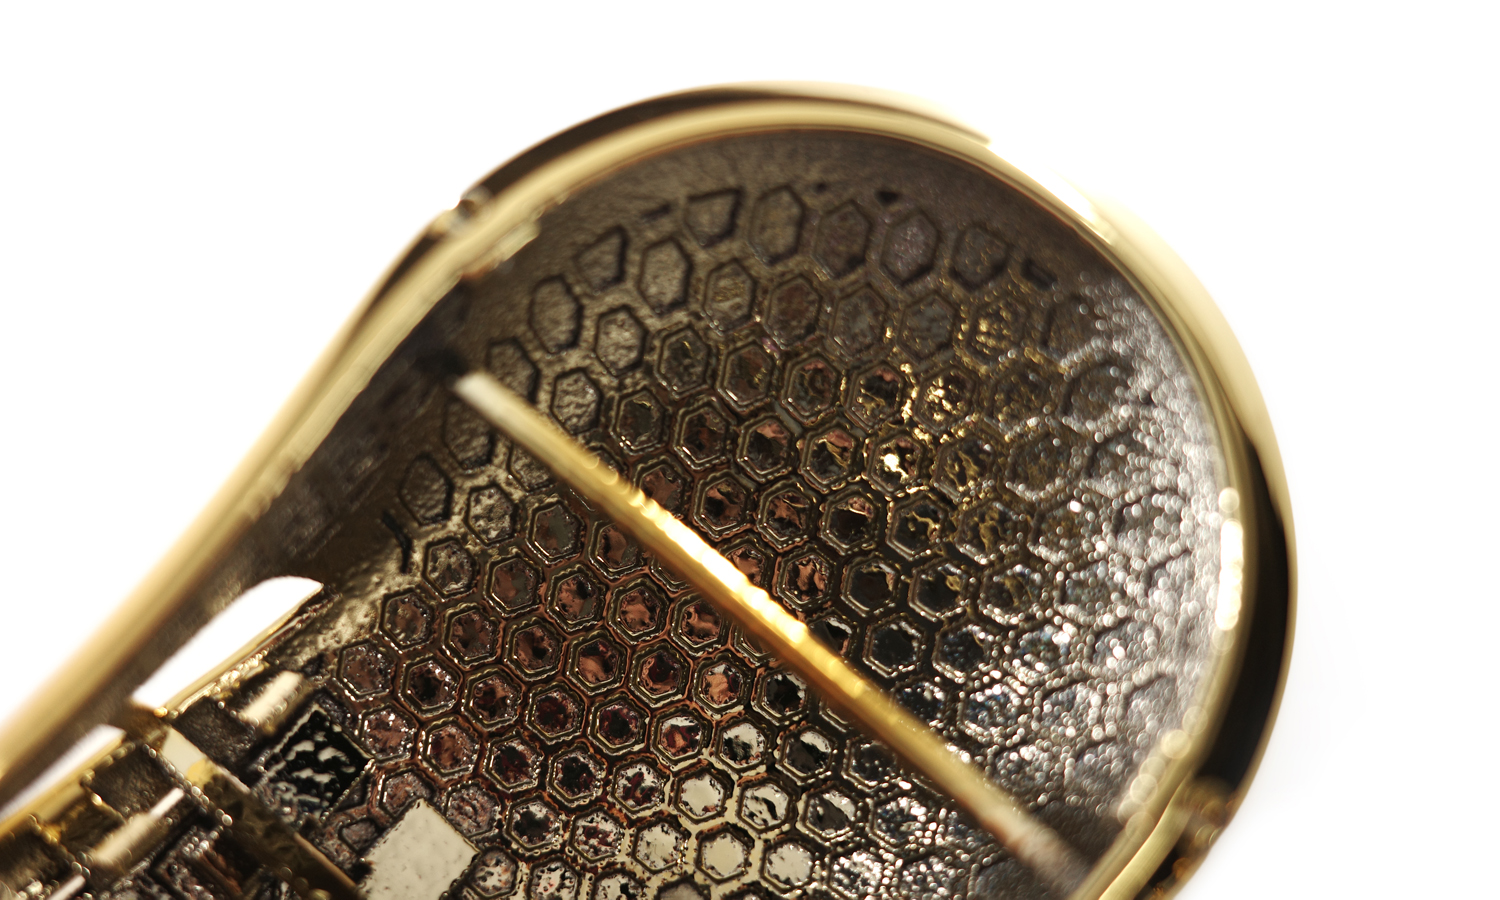
Another challenge was that we did not electroplate the mouse cover in a dust-free workshop, which resulted in some flaws on the surface. These were minor imperfections that did not affect the functionality of the mouse cover, but they could be avoided if we used a more advanced and expensive facility.
We hope that this case post inspires you to try our MJF 3D printing service and explore the possibilities of post-processing treatments. If you are interested in our MJF 3D printing service or have any questions, please feel free to contact us. We are always ready to assist you with your 3D printing needs.
Solution
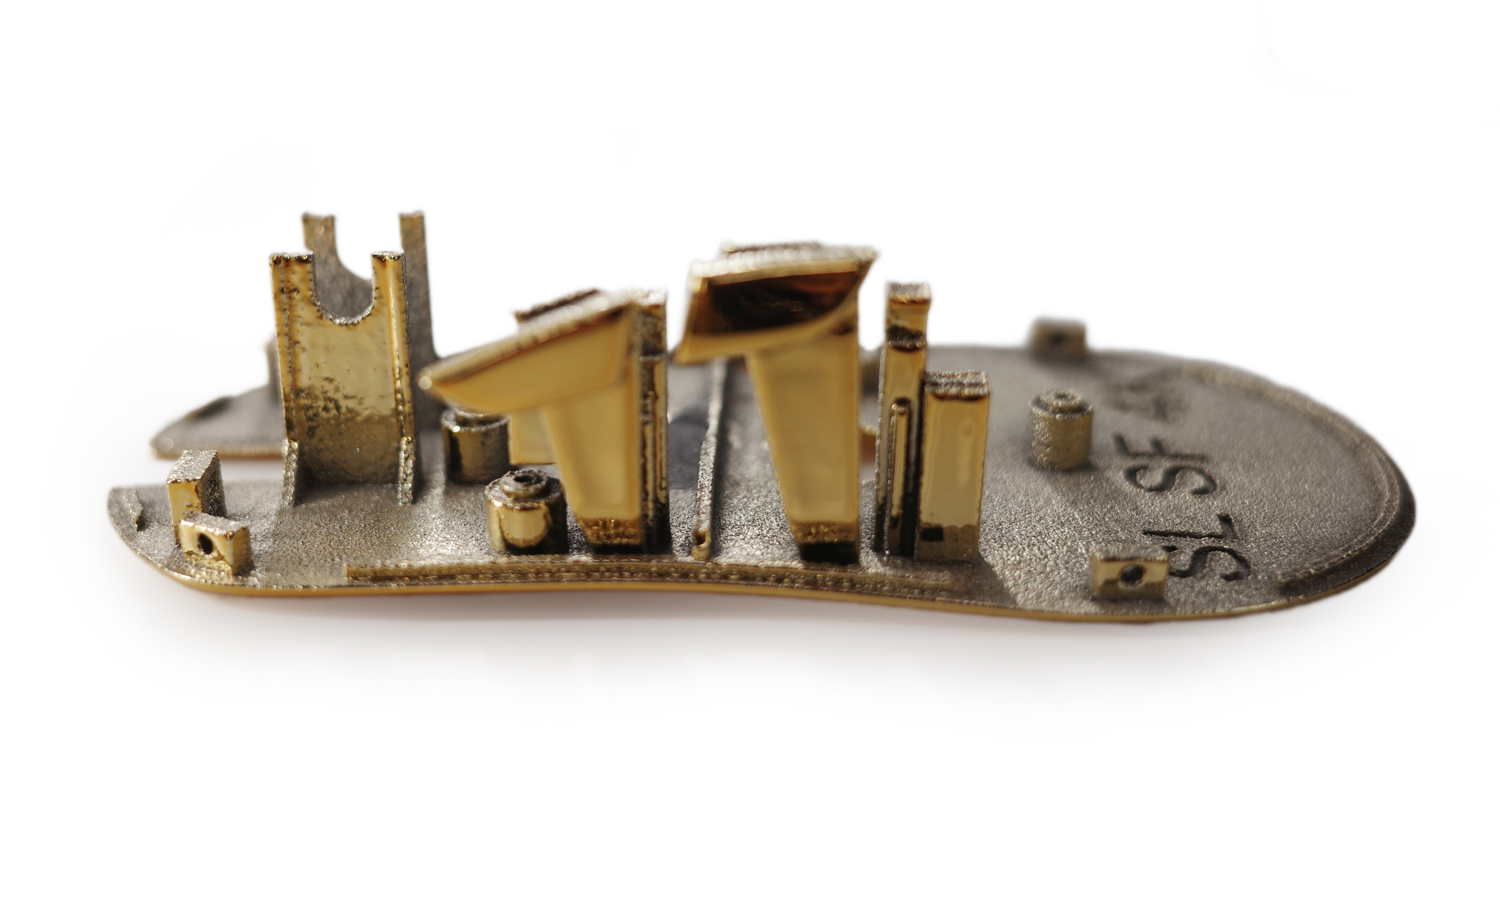
- Step 1: First, the 3D model would be broken down into layers of 0.1 mm on the computer and sent to the 3D printer.
- Step 2: Before printing, the tank was filled with MJF Nylon PA12 powders. On a bed pressure, a 0.1 mm thick layer over the whole width was applied.
- Step 3: The material recoater carriage moved across the build area, depositing a thin layer of the powder material. The printing and fusing carriage moved across the build area, preheating the powder to a specific temperature to provide material consistency.
- Step 4: An array of inkjet nozzles fused agents onto the powder bed in areas that correspond to the partŌĆÖs geometry and properties. After each layer was finished, the build unit retracted to create space for the next layer of material to be deposited.
- Step 5: This process repeated until the build was completed. When the printing process ended, removed the excess powders which also serve as supports.
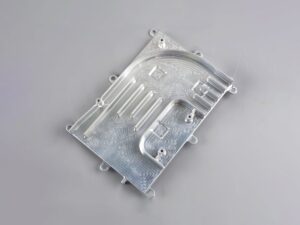
- Step 6: The models were sand-blasted for a finer surface, then they were covered with a thin layer of putties to fill gaps and smooth out irregularities.
- Step 7: The models were immersed in a solution containing aluminum ions and an electric current was applied to deposit the aluminum together with golden dye onto the surface. Then they were removed from the solution and rinsed with water to remove any excess gold.
- Step 8: The mouse covers were removed from the solution and rinsed with water to remove any excess aluminum. Then dried and polished to enhance its shine and appearance.
- Step 9: Finally, the two pieces were assembled with the other parts of the mouse and tested for functionality and performance.

