Gallery
About Project
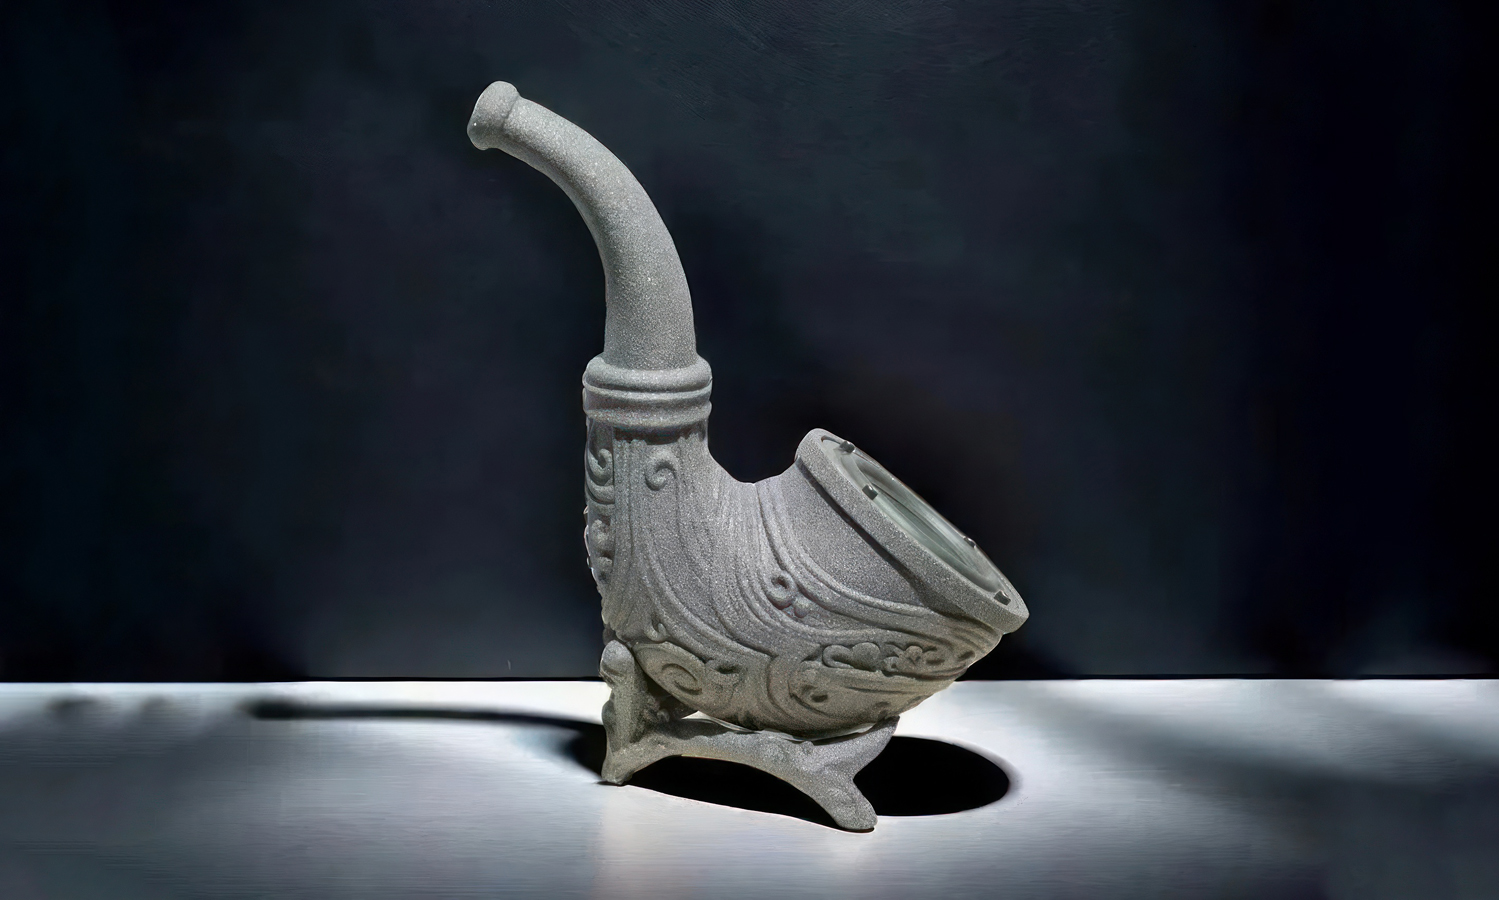
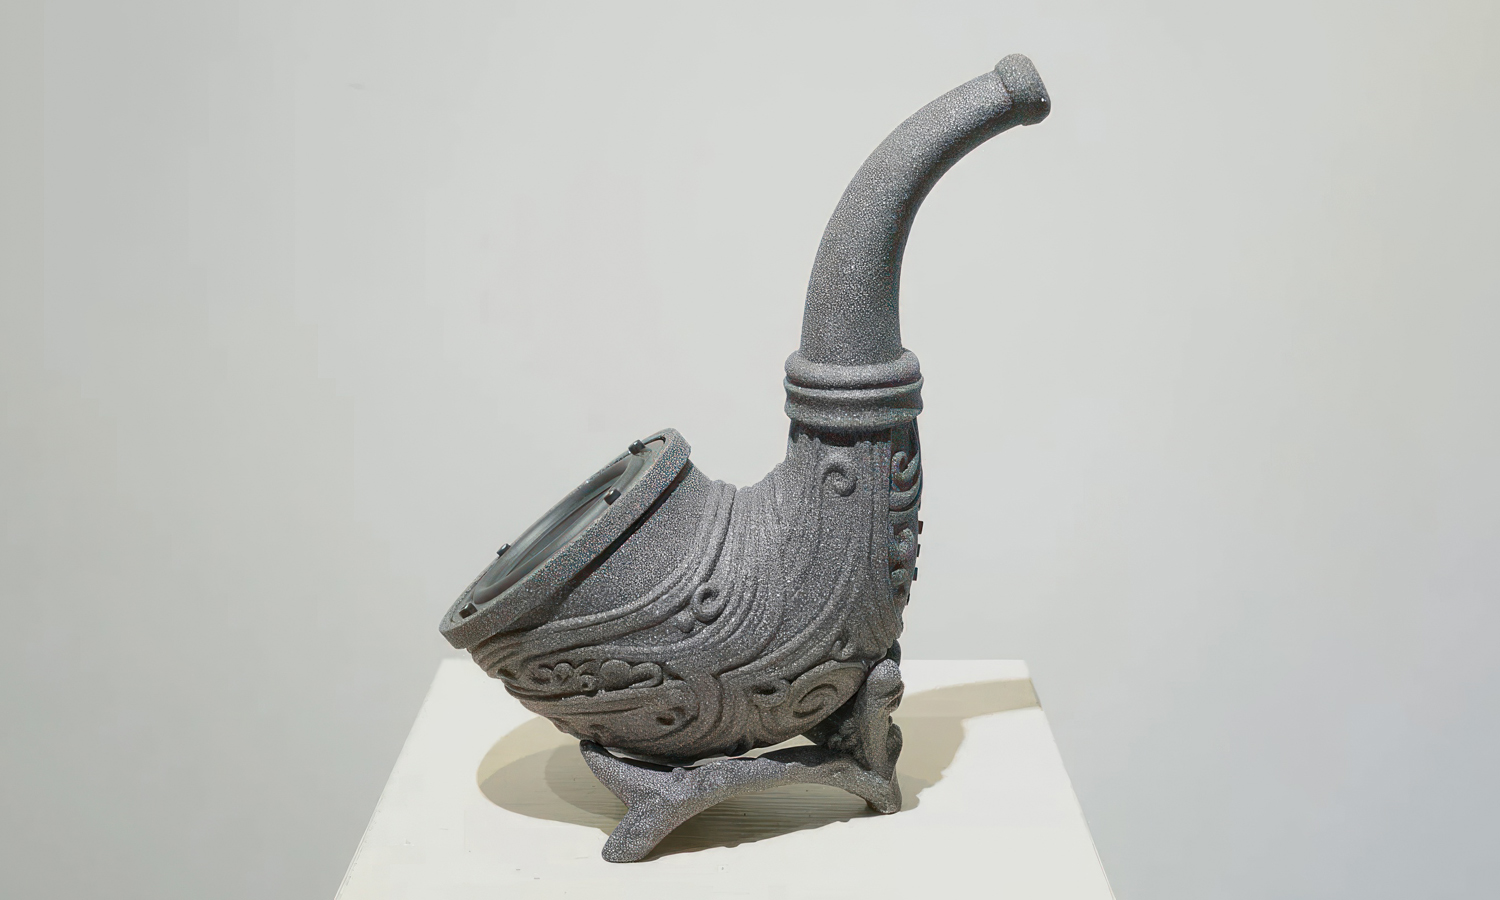
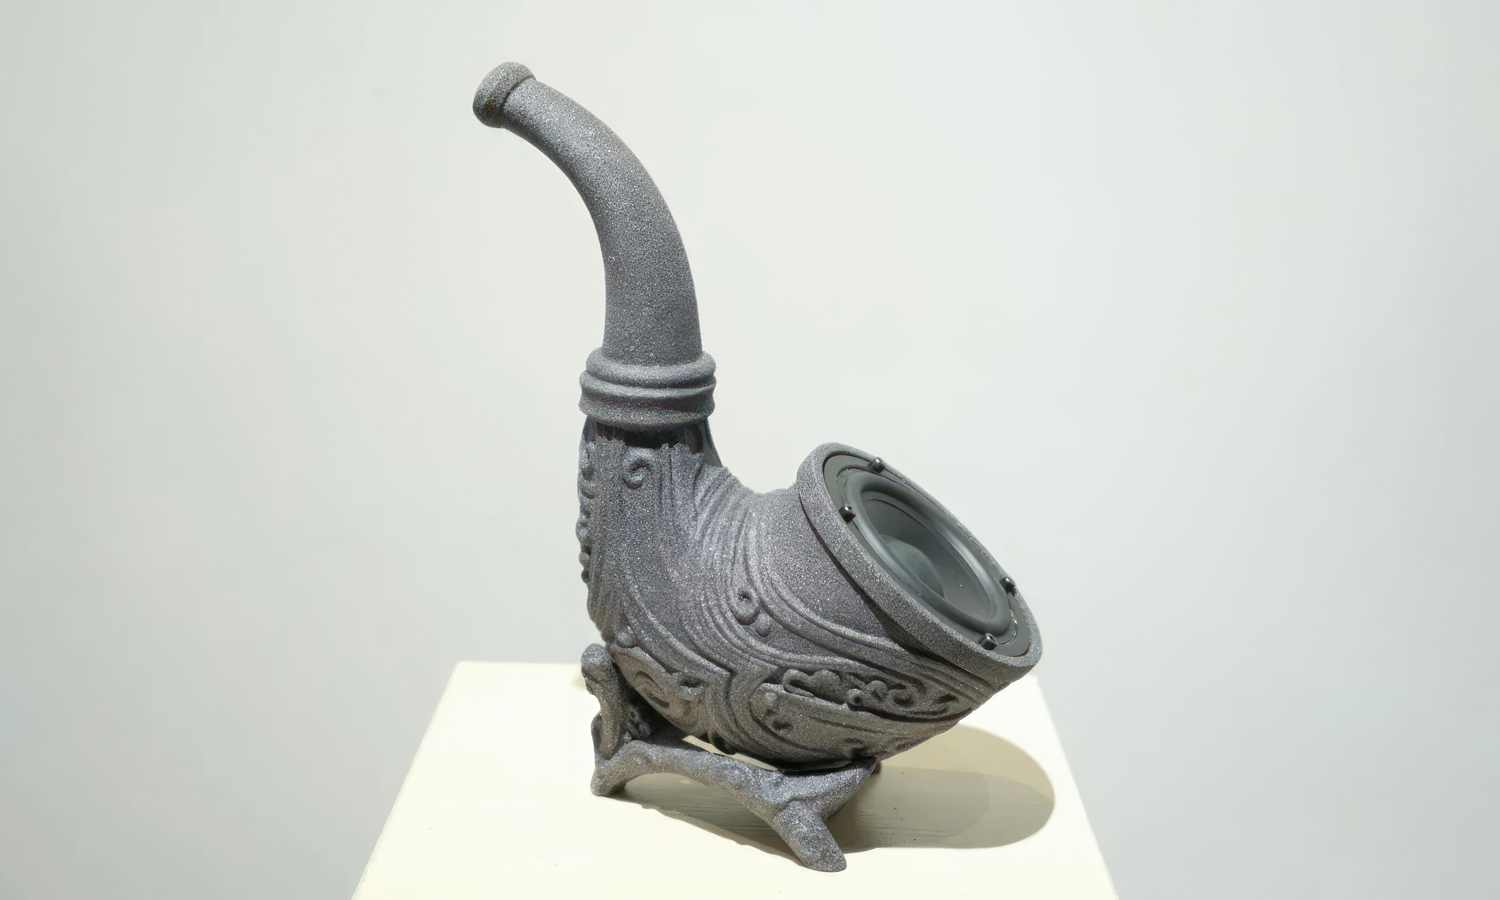
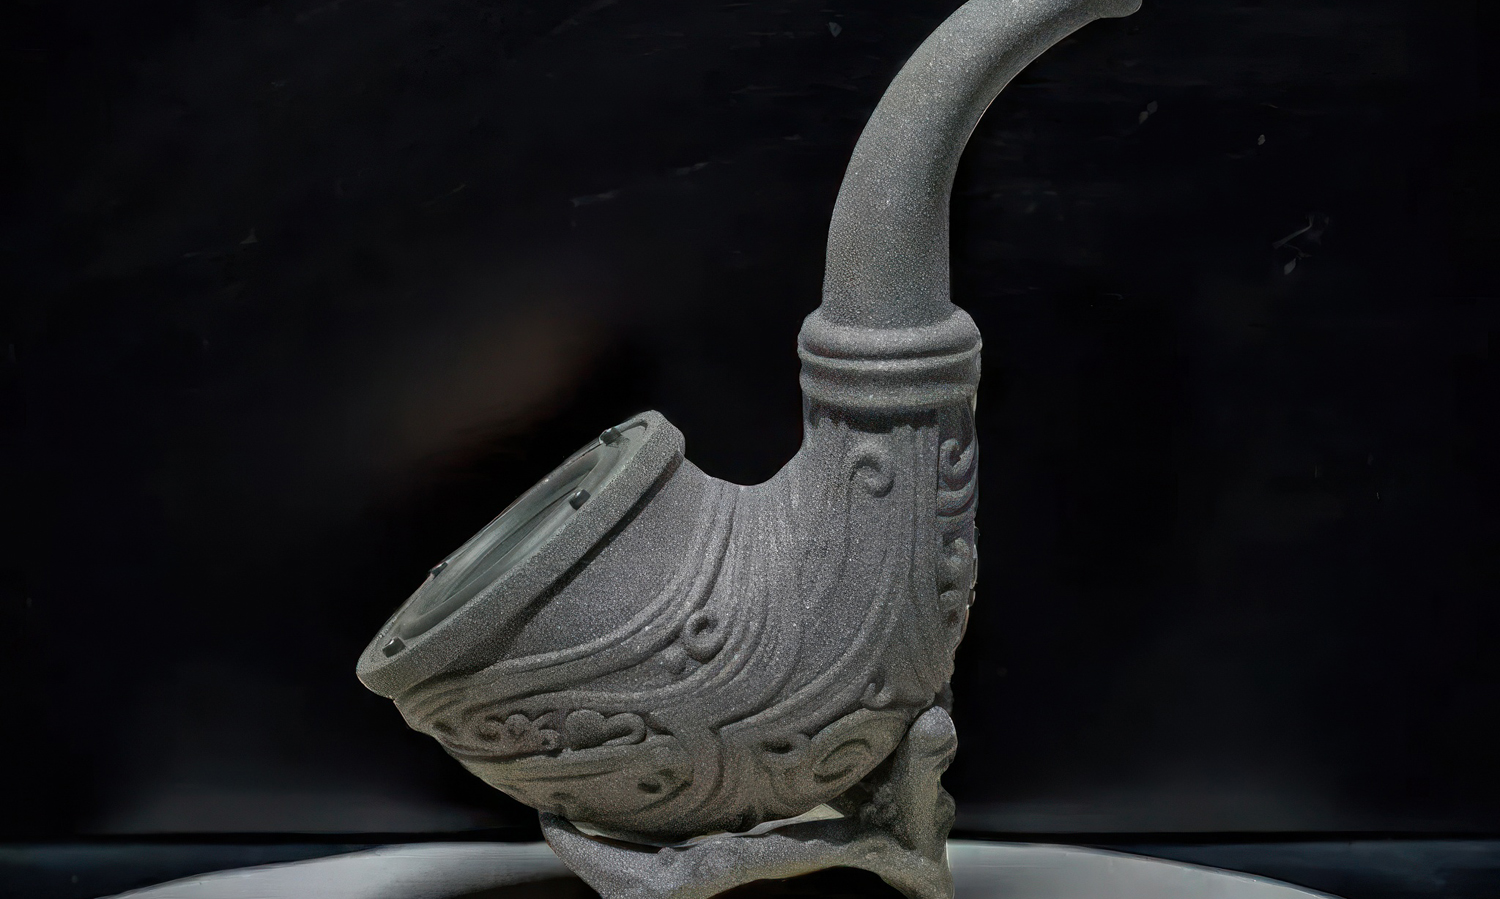
No smoke, just sound. This statement speaker borrows the unmistakable silhouette of a traditional pipe, then enlarges and reshapes it into a functional piece of audio decor. The long curved stem gives the object a dramatic vertical profile, while flowing relief patterns wrap around the bowl and guide the eye toward the angled speaker driver.
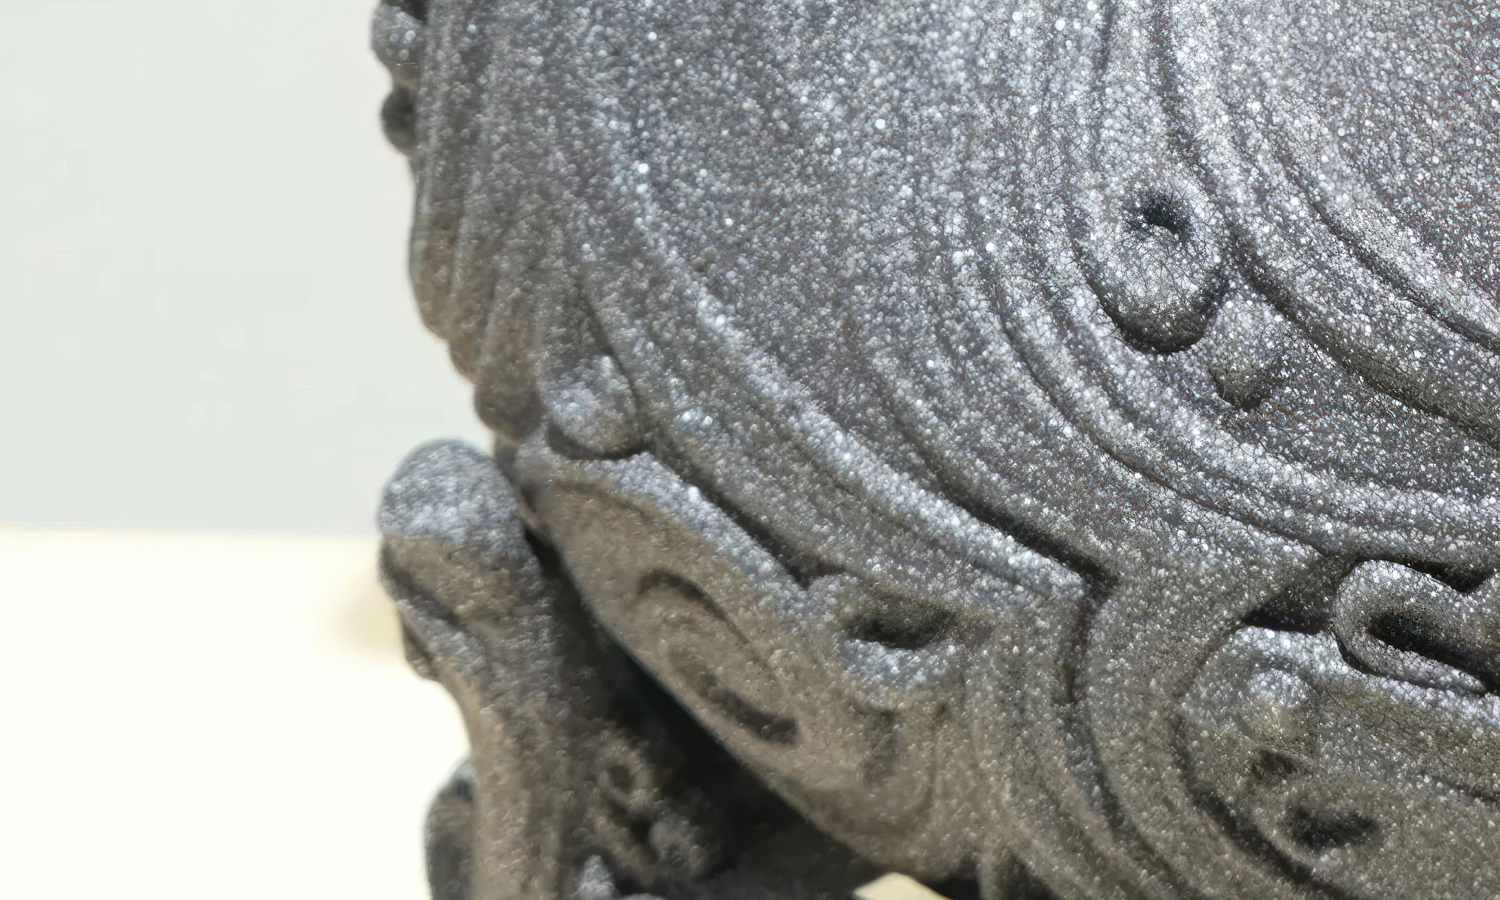
The enclosure was produced directly with Binder Jet sand 3D printing, a tool-free approach well suited to the design’s compound curves, recessed motifs, and unconventional proportions. The natural silver-gray sand-based surface catches the light across countless exposed grains and raised ornaments, giving the speaker an aged-metal character without concealing the material’s distinctly tactile identity. A dedicated sculpted stand cradles the rounded underside, stabilizing the top-heavy form and completing the presentation as a unified display object.
The finished piece feels part vintage artifact, part contemporary sound sculpture. It offers an engaging direction for themed interiors, lounges, hospitality spaces, exhibitions, artist editions, and other limited-run products where the enclosure should contribute as much personality as the electronics inside it. Developing a sculptural speaker, decorative electronics enclosure, or custom stand of your own? Send your 3D files, dimensions, hardware requirements, and finishing references to info@facfox.com, or request a custom manufacturing quote online.
Solution
- Step 1: The digital model was reviewed for wall thickness, the curved stem, relief depth, driver clearance, internal wiring space, mounting interfaces, center of gravity, and stand contact areas.
- Step 2: The pipe enclosure and supporting stand were prepared as separate printable components, with accessible openings for removing loose sand from internal and recessed areas.
- Step 3: Both components were produced through Binder Jet sand 3D printing. The surrounding powder supported the curved stem, angled bowl, relief details, and projecting stand geometry.
- Step 4: After curing, the parts were carefully excavated and thoroughly depowdered using brushes, suction, and controlled air.
- Step 5: The depowdered components were inspected for fragile edges, residual loose sand, relief definition, dimensional condition, and the fit between the enclosure and stand.
- Step 6: The speaker driver, wiring, and related hardware were installed in the angled bowl opening, and the completed enclosure was positioned on its fitted stand.
- Step 7: Final inspection covered fit, balance, stand stability, hardware security, the consistency of the natural granular surface, and basic audio operation.