Material Resin, Rubber
Quantity 5 pcs
Price Range $100-1,000
Lead Time 2 workdays
Gallery
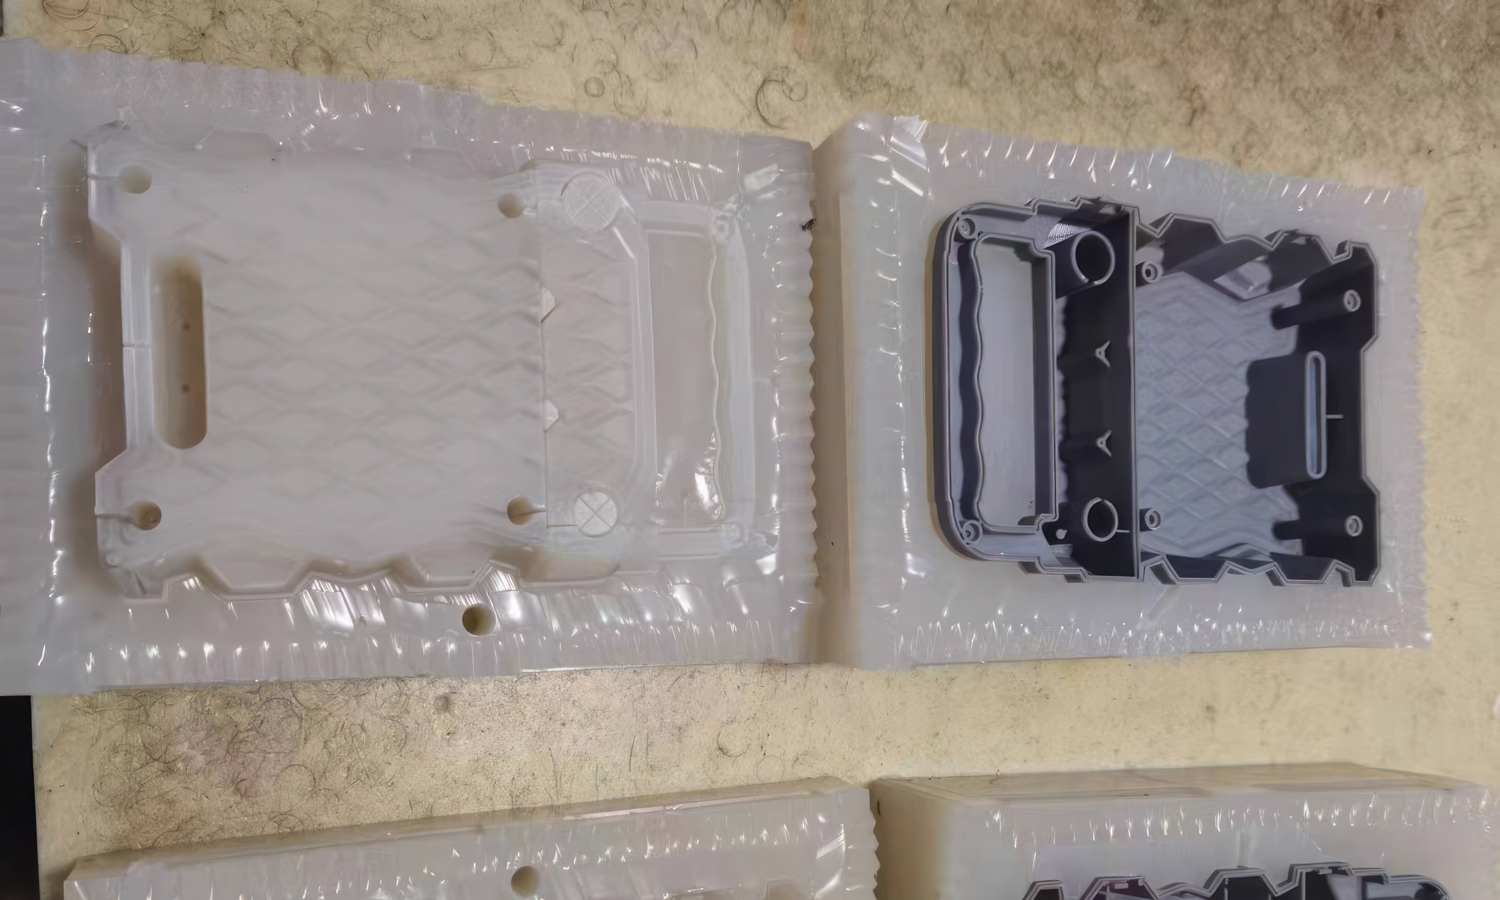
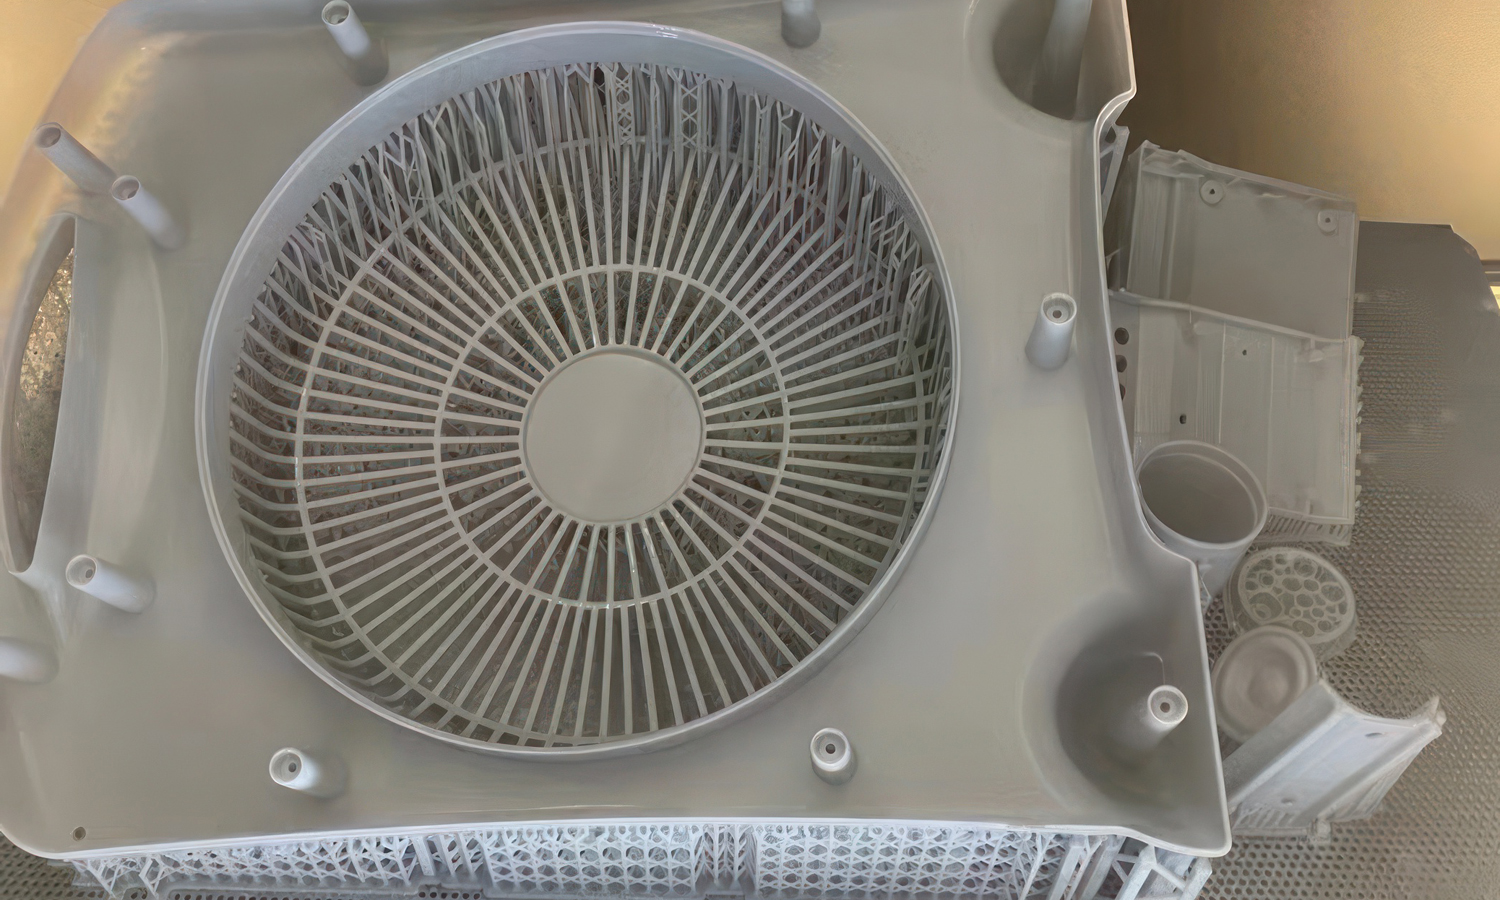
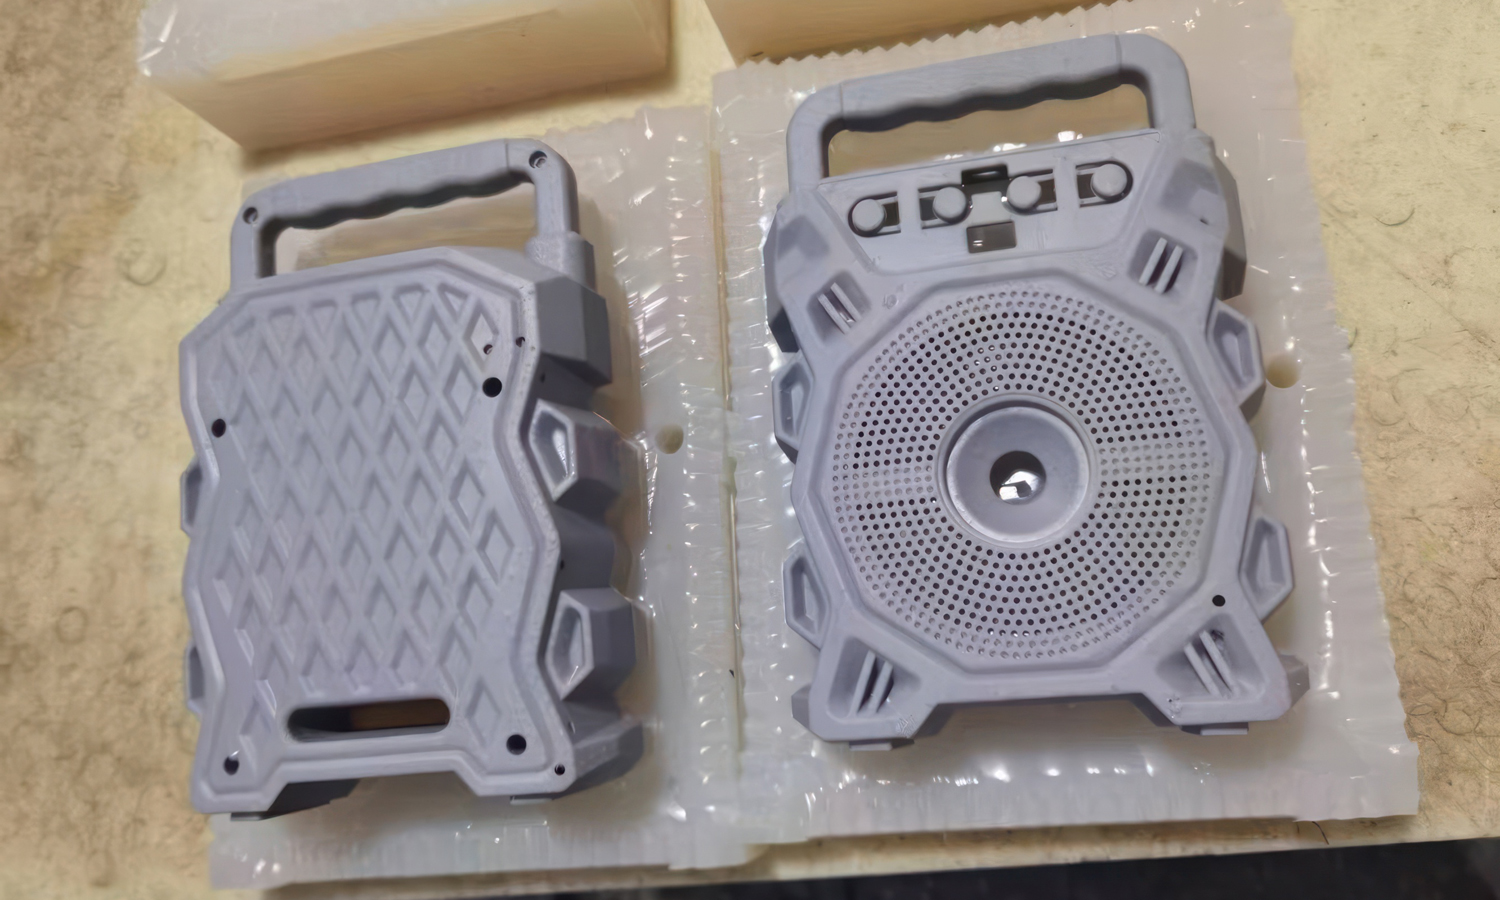
About Project
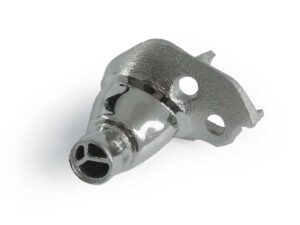
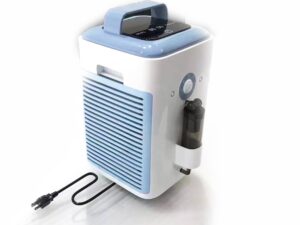
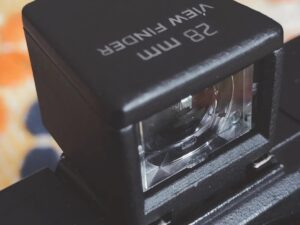
Are you looking for a high-quality, efficient method to produce intricate enclosure parts? Look no further than LCD 3D printed resin enclosures as patterns for silicon rubber casting.
Why LCD 3D Printed Resin Enclosures?
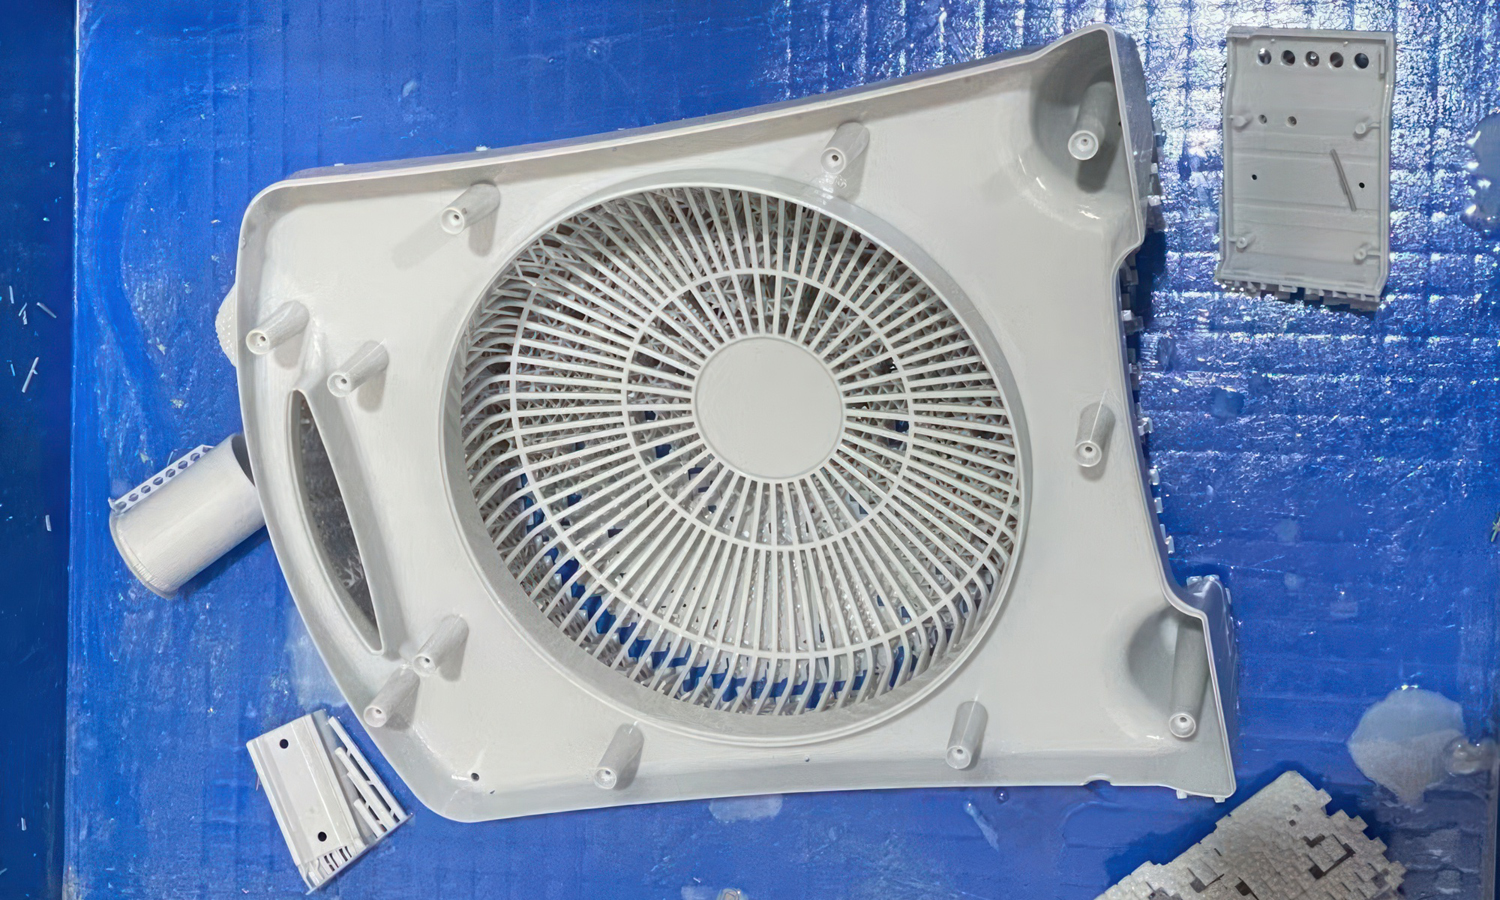
LCD 3D printing offers unmatched precision and detail, making it ideal for creating complex enclosure patterns. The resulting parts boast exceptional surface finish, requiring minimal post-processing. This translates to significant time and cost savings compared to traditional methods.
The Casting Process
Once you have your LCD 3D printed enclosure pattern, it’s time to create a silicon rubber mold. This mold can be used repeatedly, typically 15-25 times, to produce identical replicas of your enclosure. The silicon rubber casting process ensures accurate reproduction of even the finest details captured in the 3D printed pattern.
FacFox: Your Partner in Precision
FacFox specializes in high-quality LCD 3D printing services, offering a wide range of resin materials to suit your specific project requirements. Our expertise and advanced equipment guarantee exceptional results, making us your ideal partner for creating the perfect enclosure patterns for your silicon rubber casting needs.
Contact us today to discuss your project and discover how FacFox can help you achieve your design goals efficiently and cost-effectively.
Solution
- Step 1: Design Creation. The design for the enclosure was created using Solidworks software.
- Step 2: 3D Printing. The design was then printed using an LCD 3D printer with resin material. The printed enclosure exhibited excellent quality and required minimal polishing.
- Step 3: Polishing. The printed enclosure was lightly polished to ensure a smooth surface, making it suitable for use as a casting pattern.
- Step 4: Mold Preparation. The polished enclosure pattern was placed in a mold box, and a release agent was applied to prevent sticking.
- Step 5: Silicone Mixing. Silicone rubber was mixed according to the manufacturer’s instructions, ensuring a thorough blend.
- Step 6: Pouring Silicone. The mixed silicone rubber was carefully poured over the enclosure pattern in the mold box, ensuring all details were captured.
- Step 7: Curing. The silicone rubber mold was left to cure for the recommended time, allowing it to solidify and take the shape of the enclosure pattern.
- Step 8: Mold Removal. Once cured, the silicone rubber mold was gently removed from the mold box and the enclosure pattern was extracted.
- Step 9: Casting Replicas. The silicone rubber mold was then used to cast replicas of the enclosure by pouring casting material into the mold.
- Step 10: Demolding. After the casting material had set, the replicas were carefully removed from the silicone rubber mold.
- Step 11: Reuse of Mold. The silicone rubber mold was reused for casting additional replicas, with a typical lifespan of 15-25 uses.