
Gallery

About Project
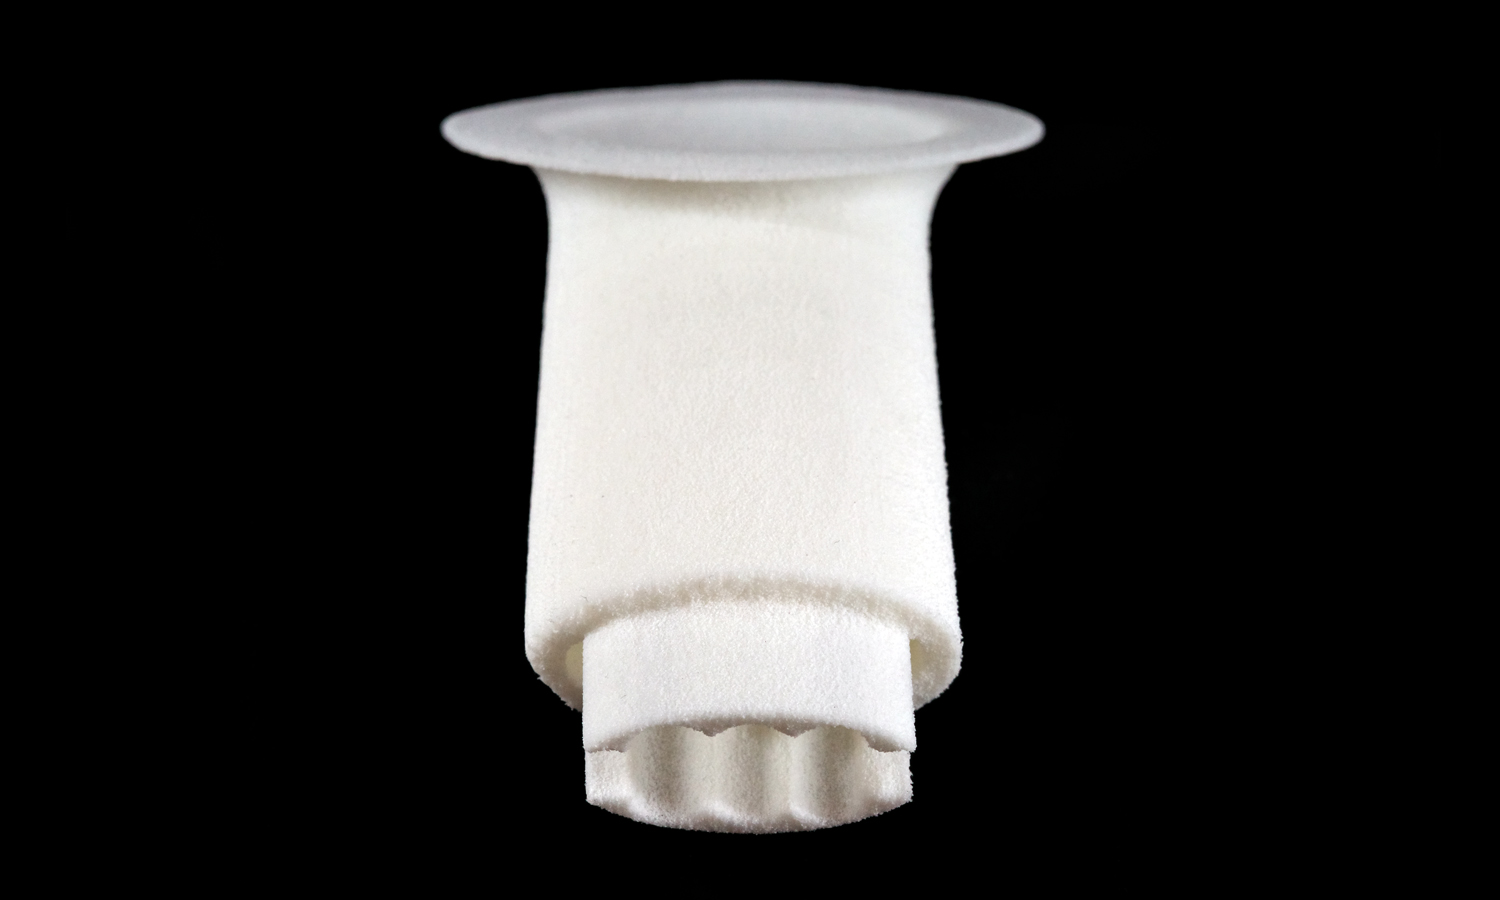
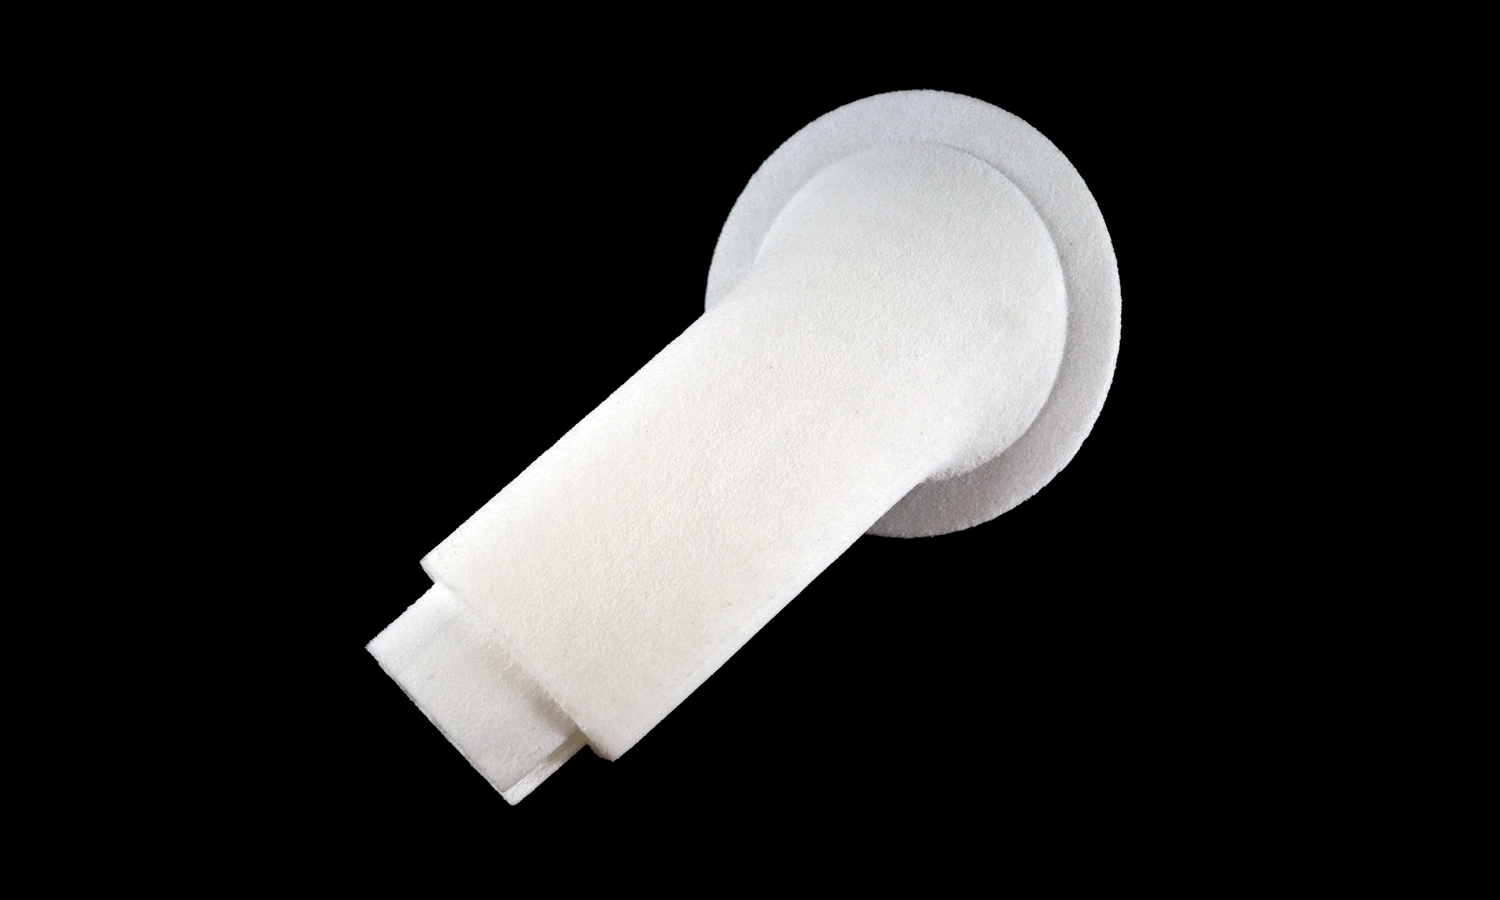
If you are looking for an accessory for your compact vacuum cleaner, you may be interested in our 3D printed nozzle prototype. We used SLS 3D printing to create a flexible and durable nozzle with an insert structure that can adapt to different cleaning needs.
SLS 3D printing is a process that uses a laser to fuse small particles of polymer powder into a solid part. It can produce accurate and functional parts in a short time. One of the materials we used for our nozzle prototype is TPU, which is a thermoplastic polyurethane that has high elasticity, abrasion resistance, and impact strength.
Our nozzle prototype is 3D printed in TPU. It has a white color and a coarse and furry texture, which is typical for SLS 3D printed parts. This nozzle prototype and has two ends: a base end and an insert end. The insert end can be easily attached to the vacuum cleaner hose, and the base end has a suction cup-like structure to collect the dirts.
The nozzle prototype is 3D printed with the help of FacFox, a leading online platform for 3D printing services. FacFox offers high-quality SLS 3D printing with various materials, such as TPU, nylon, PA11, PA12, etc. FacFox also provides fast delivery, competitive pricing, and professional support. If you want to learn more about FacFoxŌĆÖs TPU manufacturing services, please visit their website: https://www.facfox.com/.
Solution
- Step 1: A 3D model of the nozzle prototype was created using a Computer-Aided Design (CAD) program and split into thin layers.
- Step 2: The split design was sent to the SLS printer, which preheated the TPU powder to a temperature slightly below its melting point.
- Step 3: A high-power laser traced a cross-section of the 3D model on the powder bed, heating and fusing the powder particles together to form a solid layer.
- Step 4: The platform lowered by one layer and a new layer of powder was spread on top of the previous layer.
- Step 5: The process repeated for each layer until the nozzle prototype was complete.
- Step 6: The nozzle prototype was removed from the build chamber and de-powdered.

