Material Resin
Quantity 1 pcs
Price Range $1-100
Lead Time 2 workdays
Gallery
About Project
Transform your electronic devices with FacFox’s exceptional SLA 3D-printed clear resin enclosures. Our state-of-the-art technology brings your design visions to life with unparalleled clarity and precision.
Showcase Your Device in Style
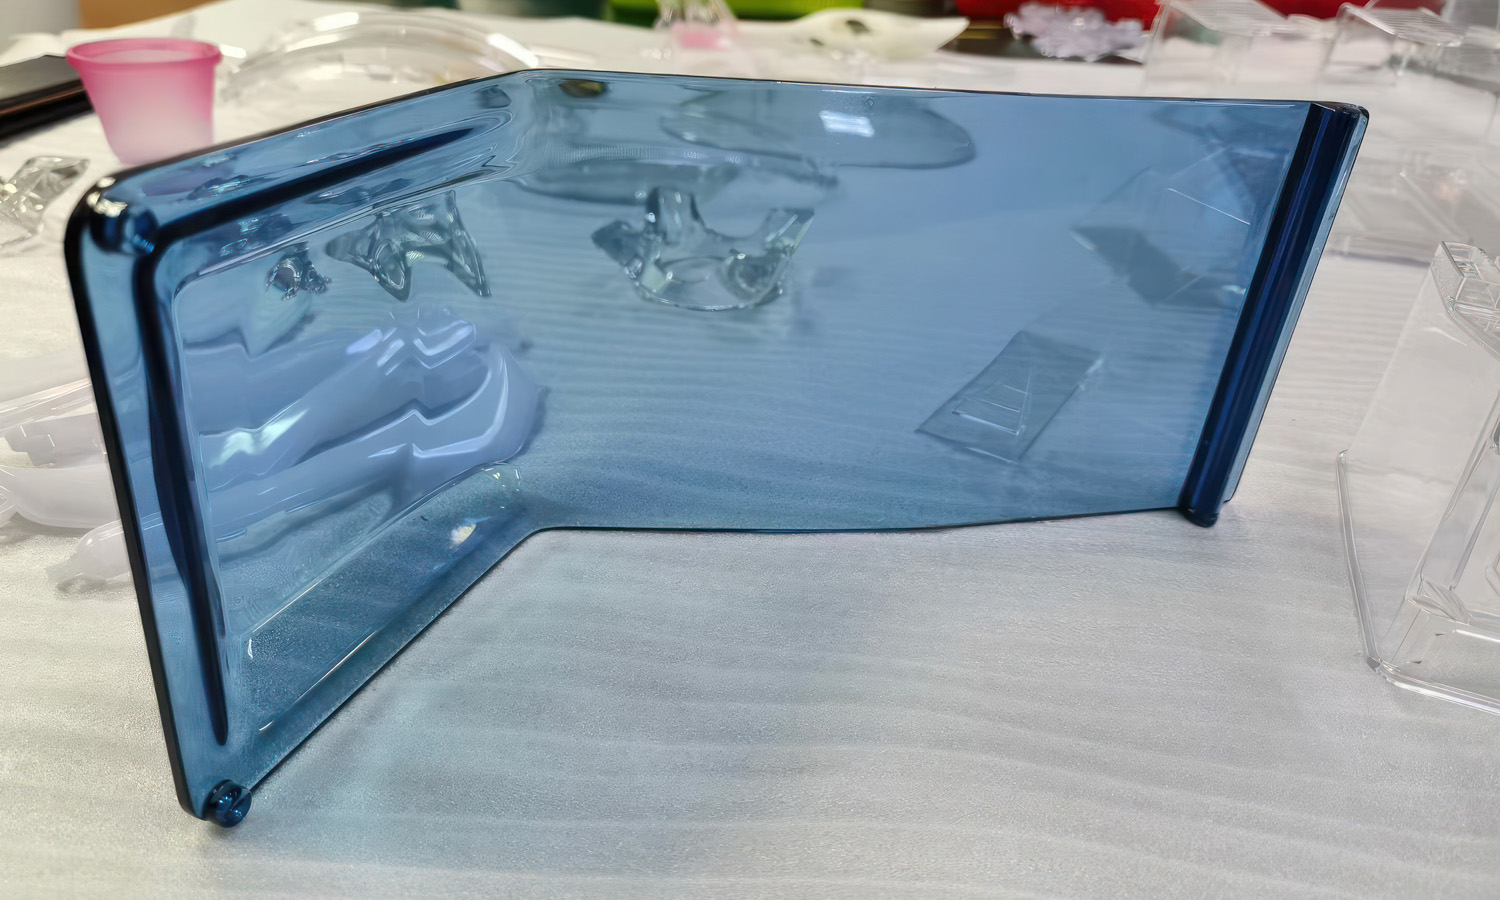
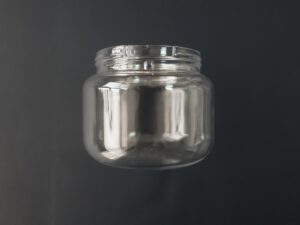
Imagine a sleek, rectangular enclosure with a captivating obtuse angle bend. Our clear resin showcases the beauty of your device while adding a touch of modern elegance. The smooth edges, rounded corners, and glossy finish create a mesmerizing visual experience.
Unleash Your Creativity
FacFox’s clear resin printing offers endless possibilities. From intricate circuit board covers to unique display windows, we can help you create custom enclosures tailored to your exact specifications. Whether you’re a hobbyist or a business, our expertise will bring your ideas to life.
Benefits of Clear Resin Enclosures:
- Enhanced Aesthetics: Showcase your device’s inner workings and create visually stunning products.
- Durability: Our clear resin enclosures are strong and built to last.
- Customization Freedom: Design and create unique enclosures with unmatched precision.
Partner with FacFox
As a leader in SLA 3D printing, FacFox is committed to delivering exceptional quality and service. Let us help you transform your electronics with our stunning clear resin enclosures.
Solution
- Step 1: Designing the Model. Initially, a digital 3D model was created, tailored to the specifications of a rectangle resin part bent at an obtuse angle with smooth edges and rounded corners.
- Step 2: Preparing the Printer. The SLA printer was set up, ensuring the resin tank was filled with SLA Clear Resin and the build platform was calibrated correctly.
- Step 3: Printing the Base Layer. The build platform was lowered into the resin vat, and a UV laser was employed to cure the first layer of the resin, adhering it to the build platform.
- Step 4: Building the Object. Subsequent layers were then cured on top of the previous ones, with the build platform moving upward after each layer was solidified.
- Step 5: Forming the Part. As the layers built up, the part gradually took shape, the full part was formed together with the detailed structures.
- Step 6: Post-Processing. After printing, the object was rinsed with isopropyl alcohol to remove any uncured resin and then post-cured under UV light to ensure thorough hardening. Then it was soaked in blue solution to be dyed into blue color.
- Step 7: Finishing Touches. Finally, the part was sanded to smooth out any imperfections, and a glossy coating was applied to give it a reflective finish.

