SLA 3D Printed Resin Airplane Plastic Model Kit Wall Decoration
Posted on 2024-03-28 in Art ┬Ę Ķē║µ£»
Process 3D Print, Support Removal, Post Curing, Primer Coating, Polish, Paint
Material Resin
Quantity 1 pcs
Price Range $100-1,000
Lead Time 5 workdays
Material Resin
Quantity 1 pcs
Price Range $100-1,000
Lead Time 5 workdays
Gallery
About Project
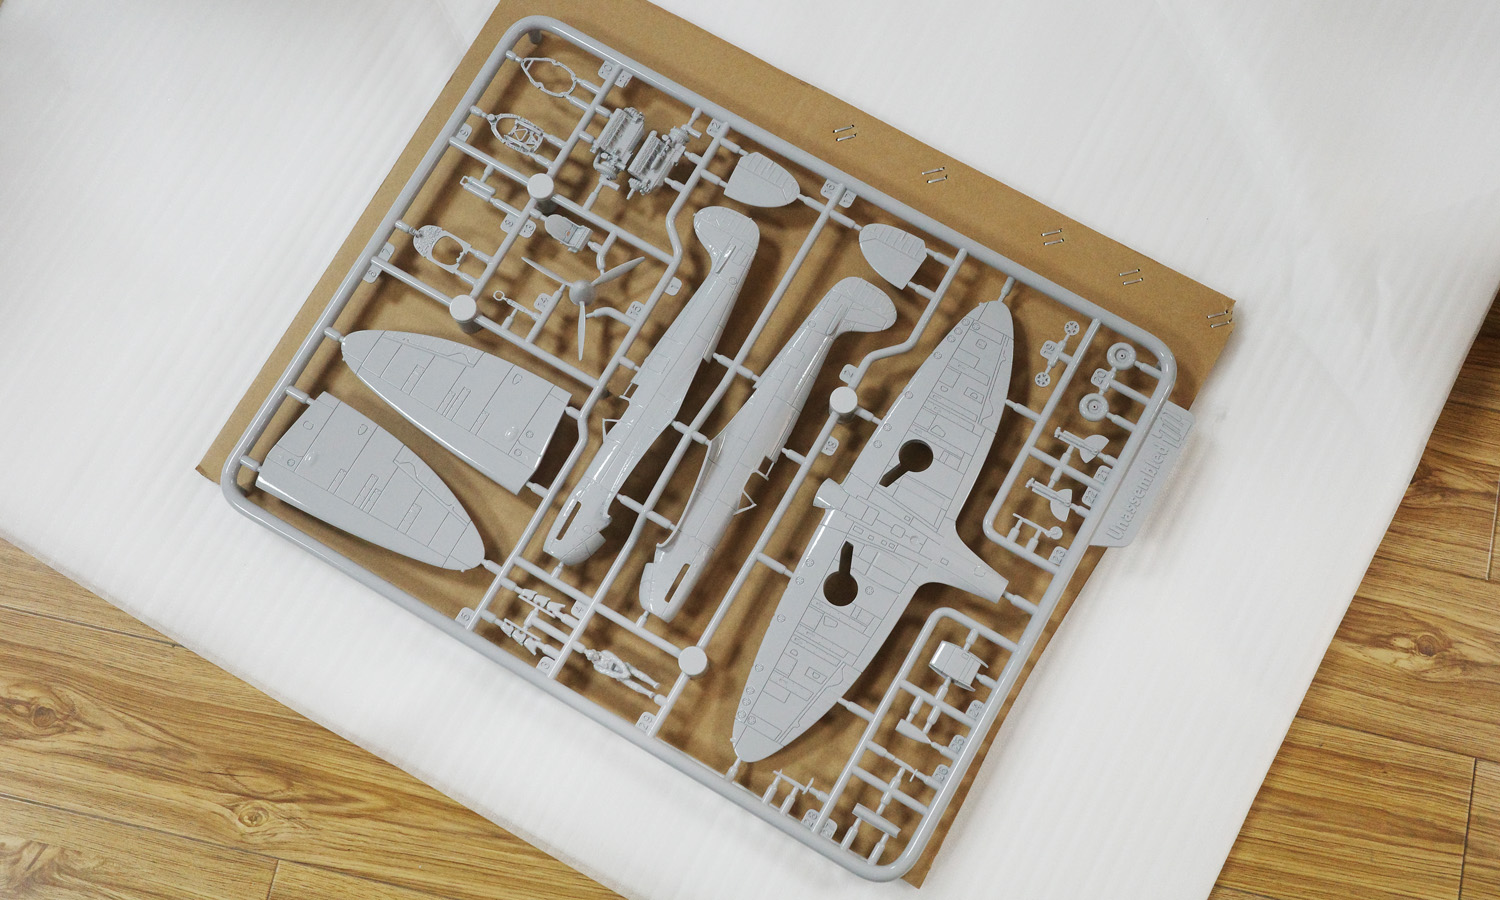
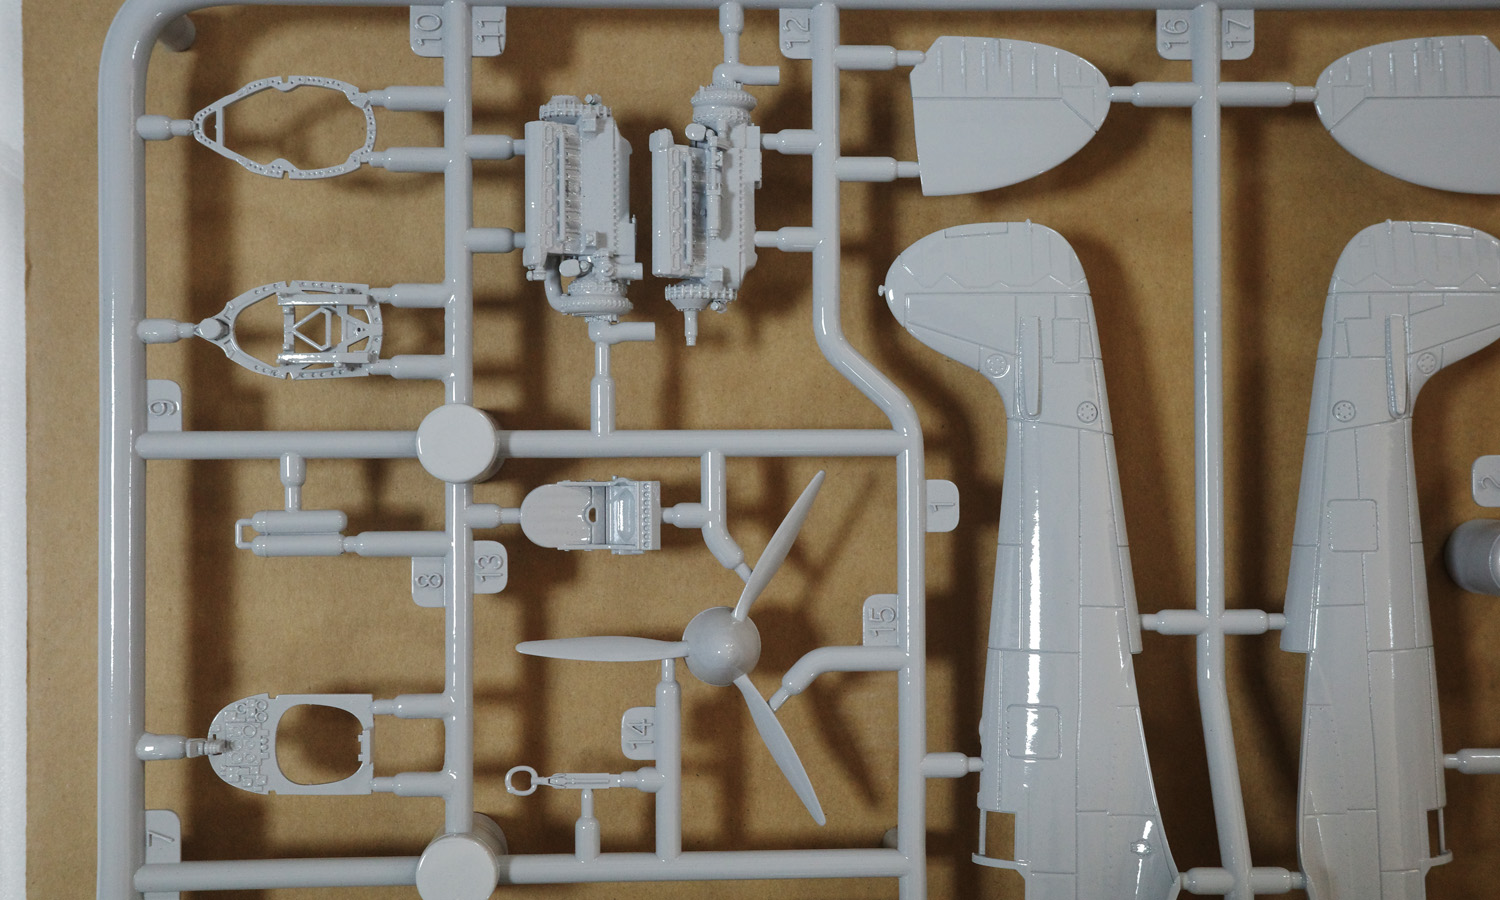
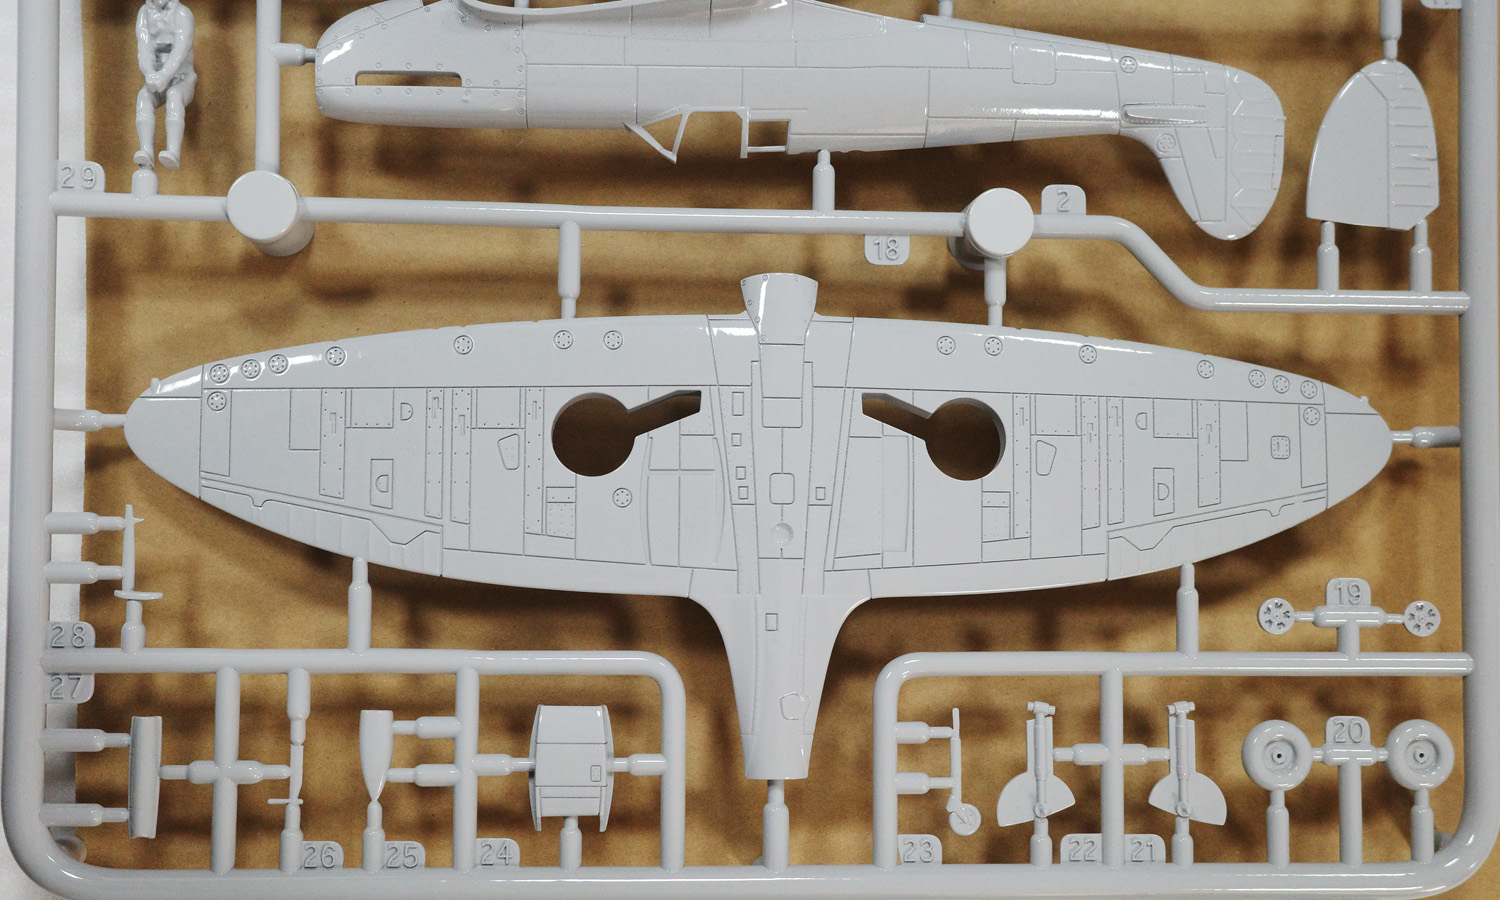
Elevate your space with FacFox’s captivating SLA 3D printed airplane wall decorations. These aren’t ordinary prints; they’re meticulously crafted replicas that capture the essence of real airplanes while maintaining the intrigue of a plastic model kit.
A Unique Display Piece
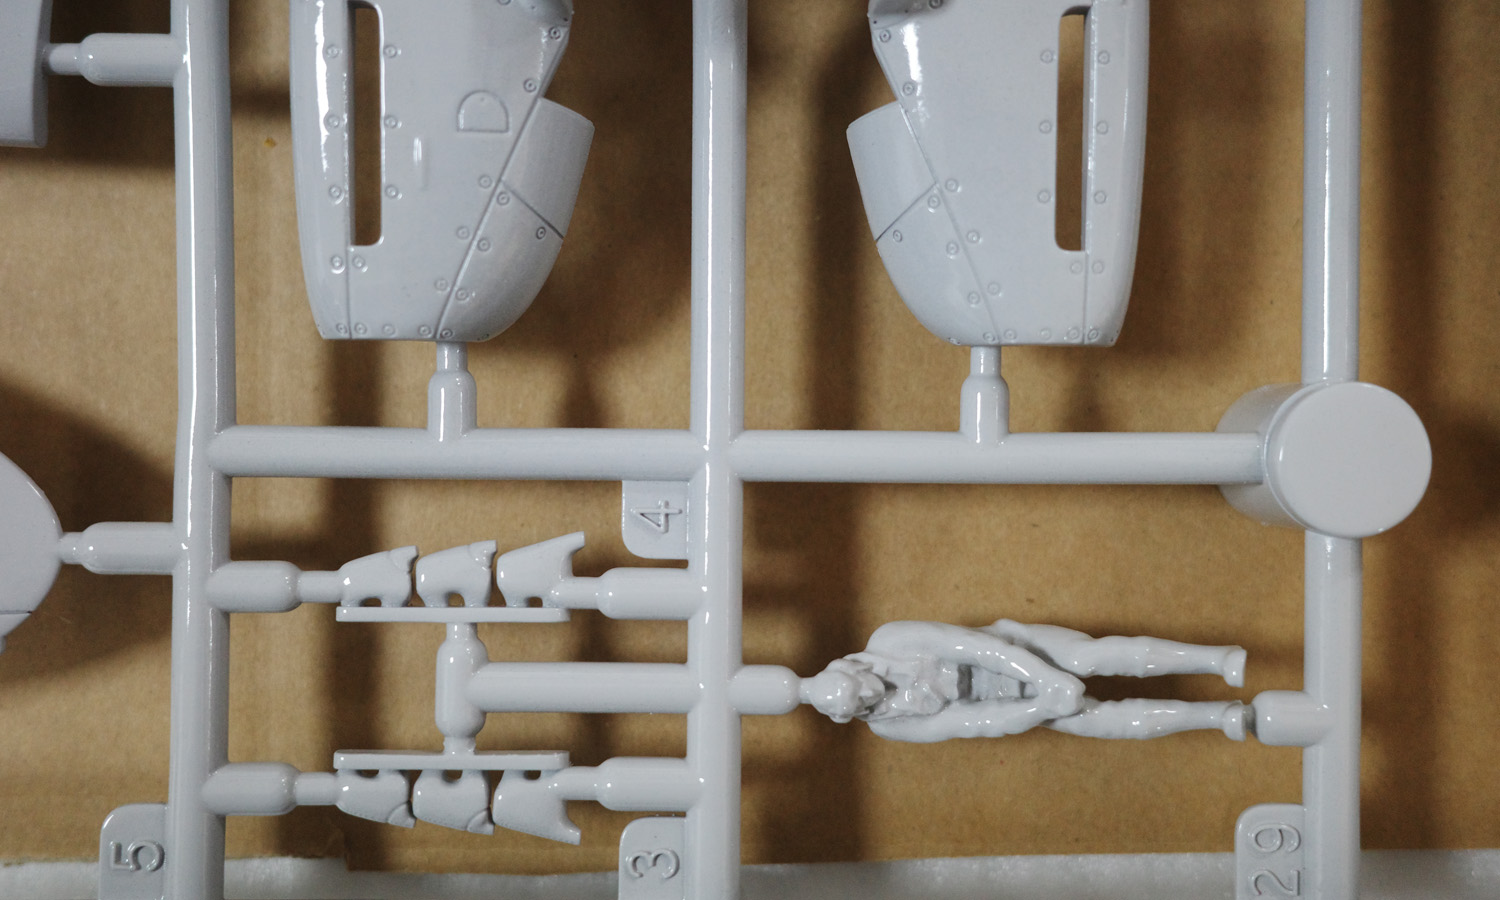
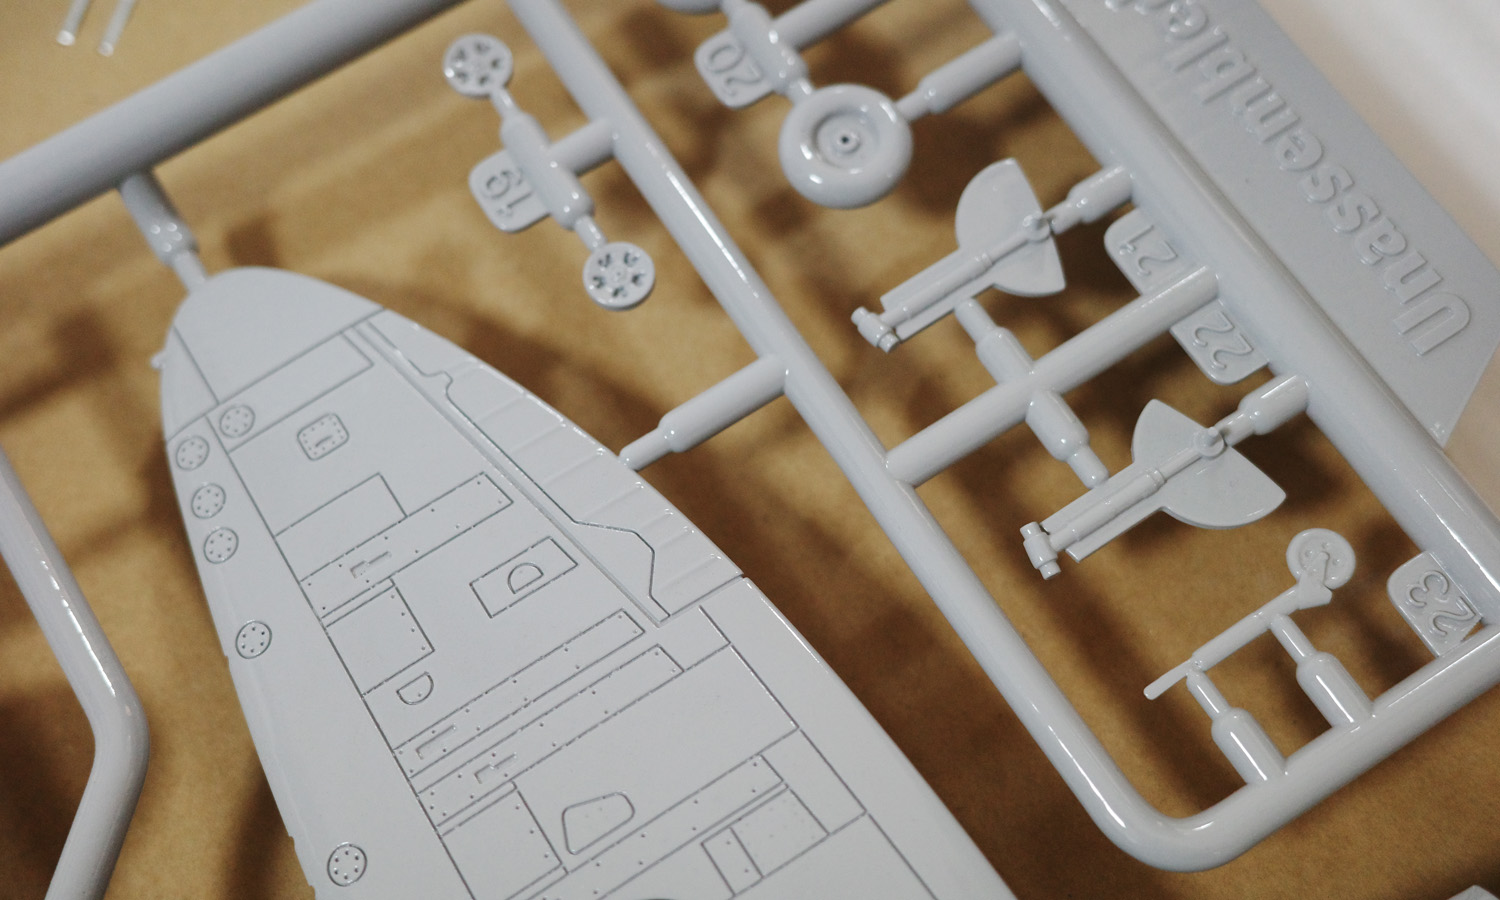
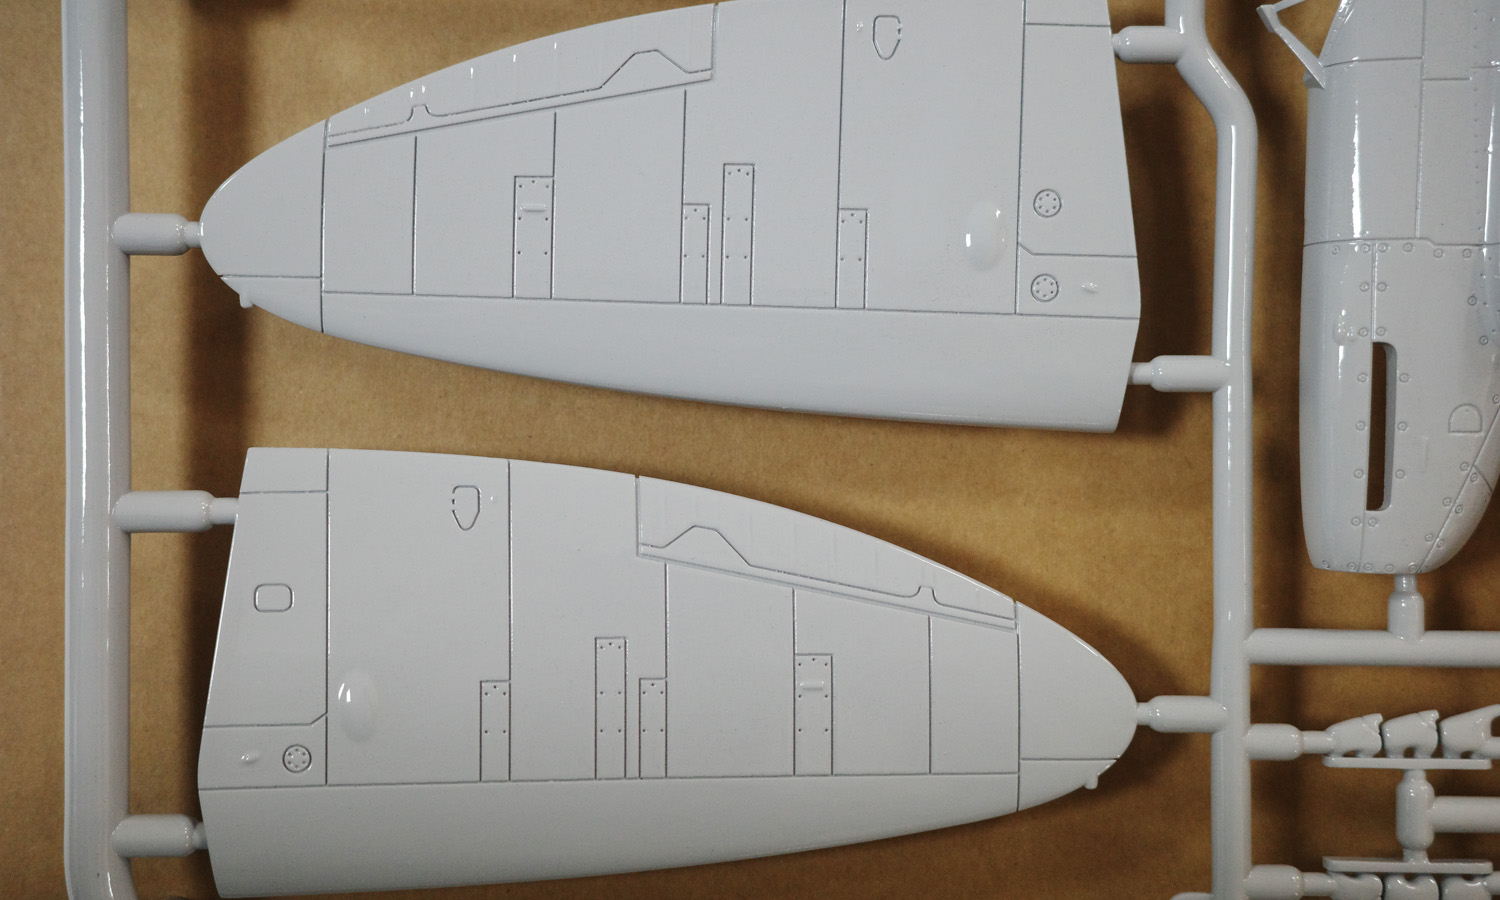
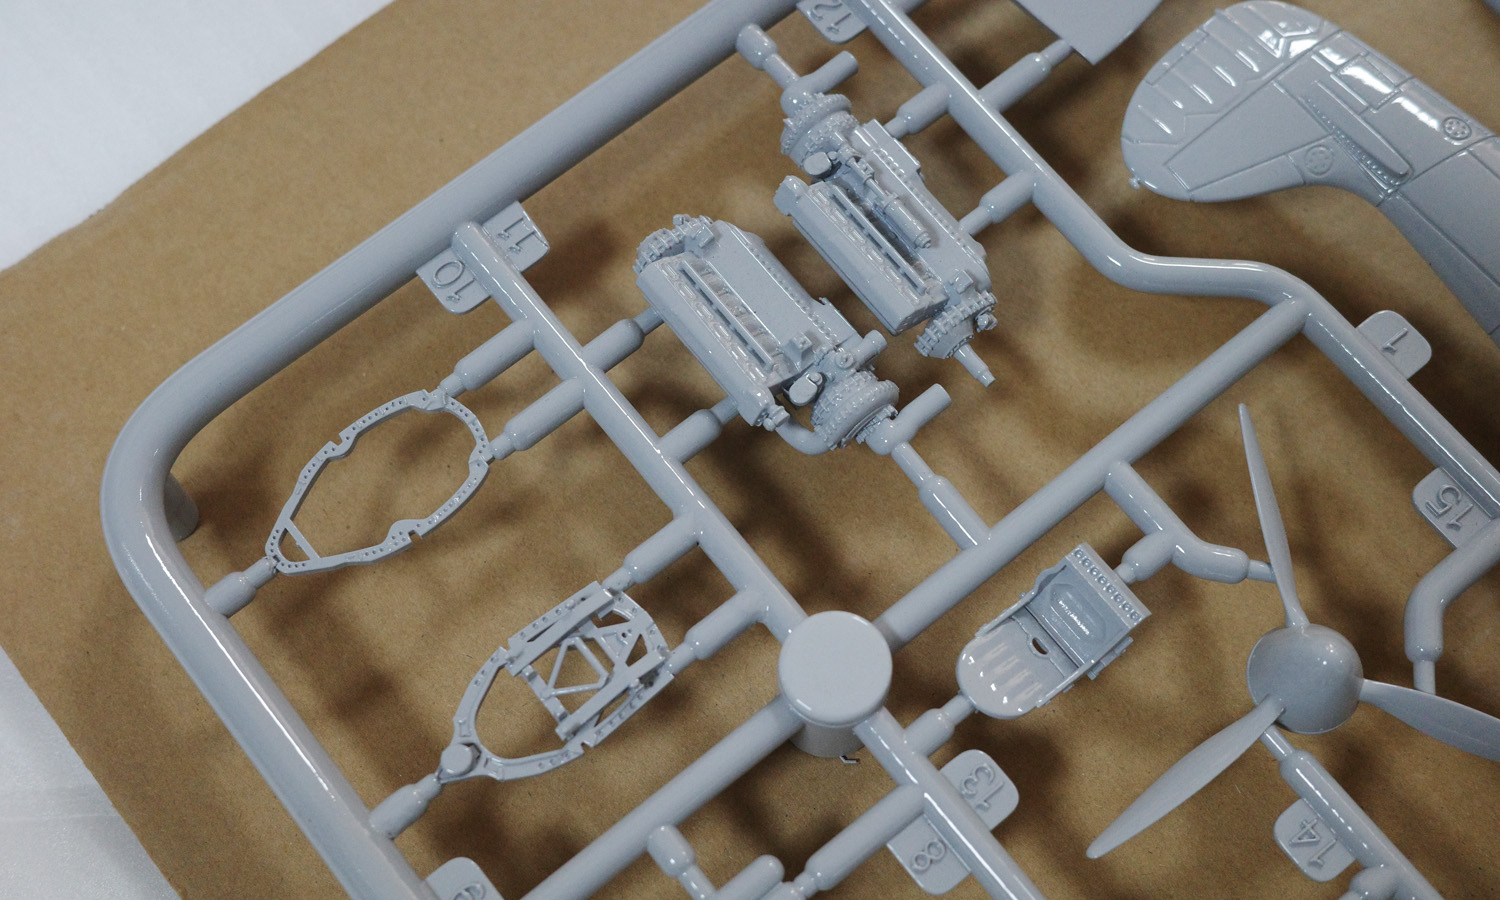
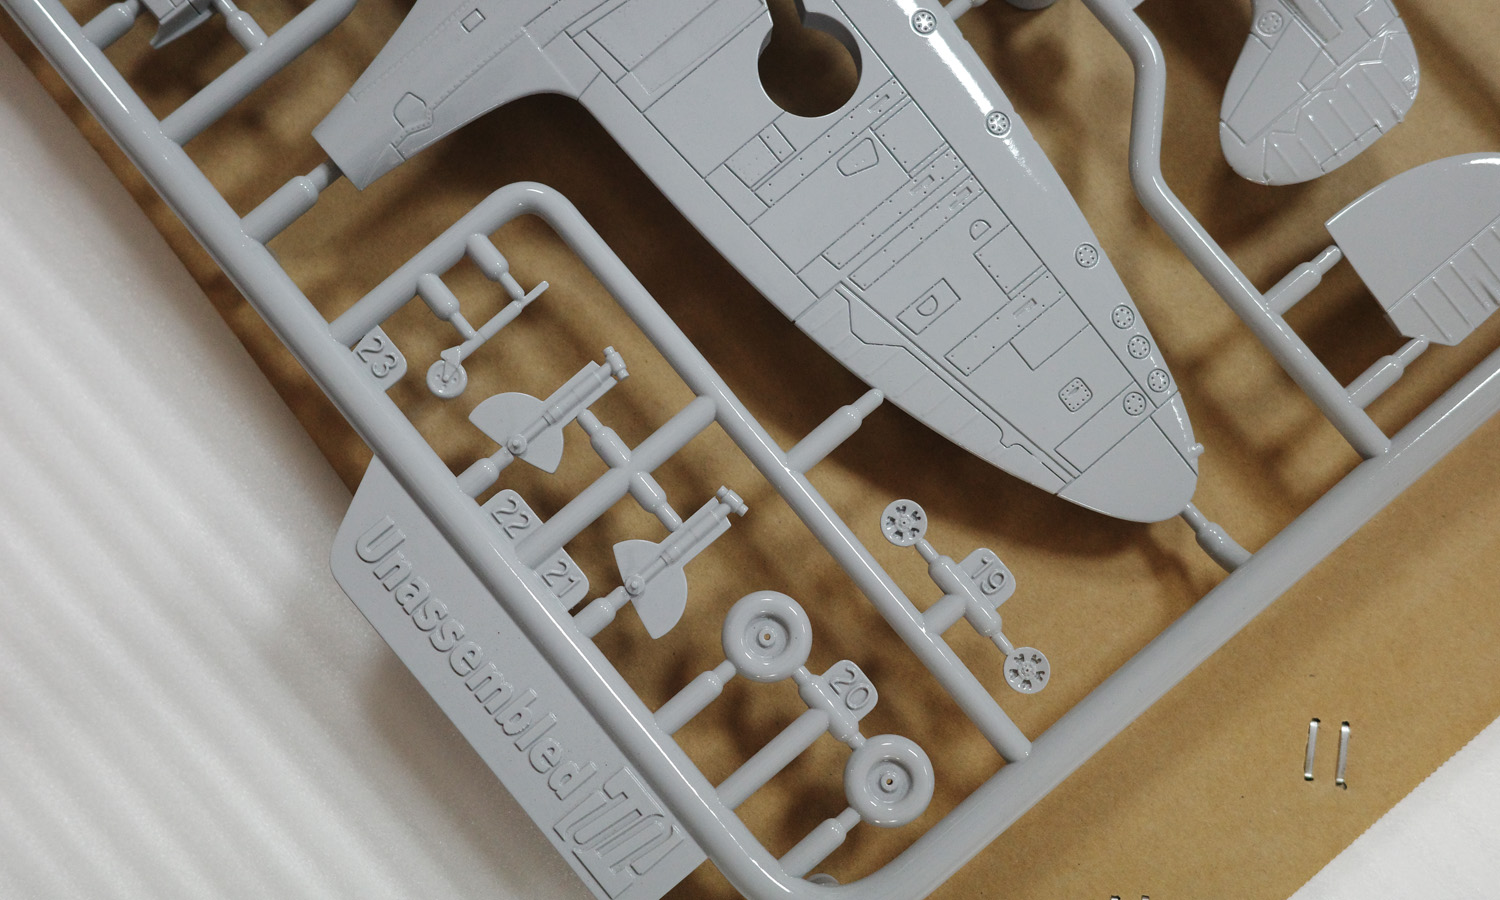
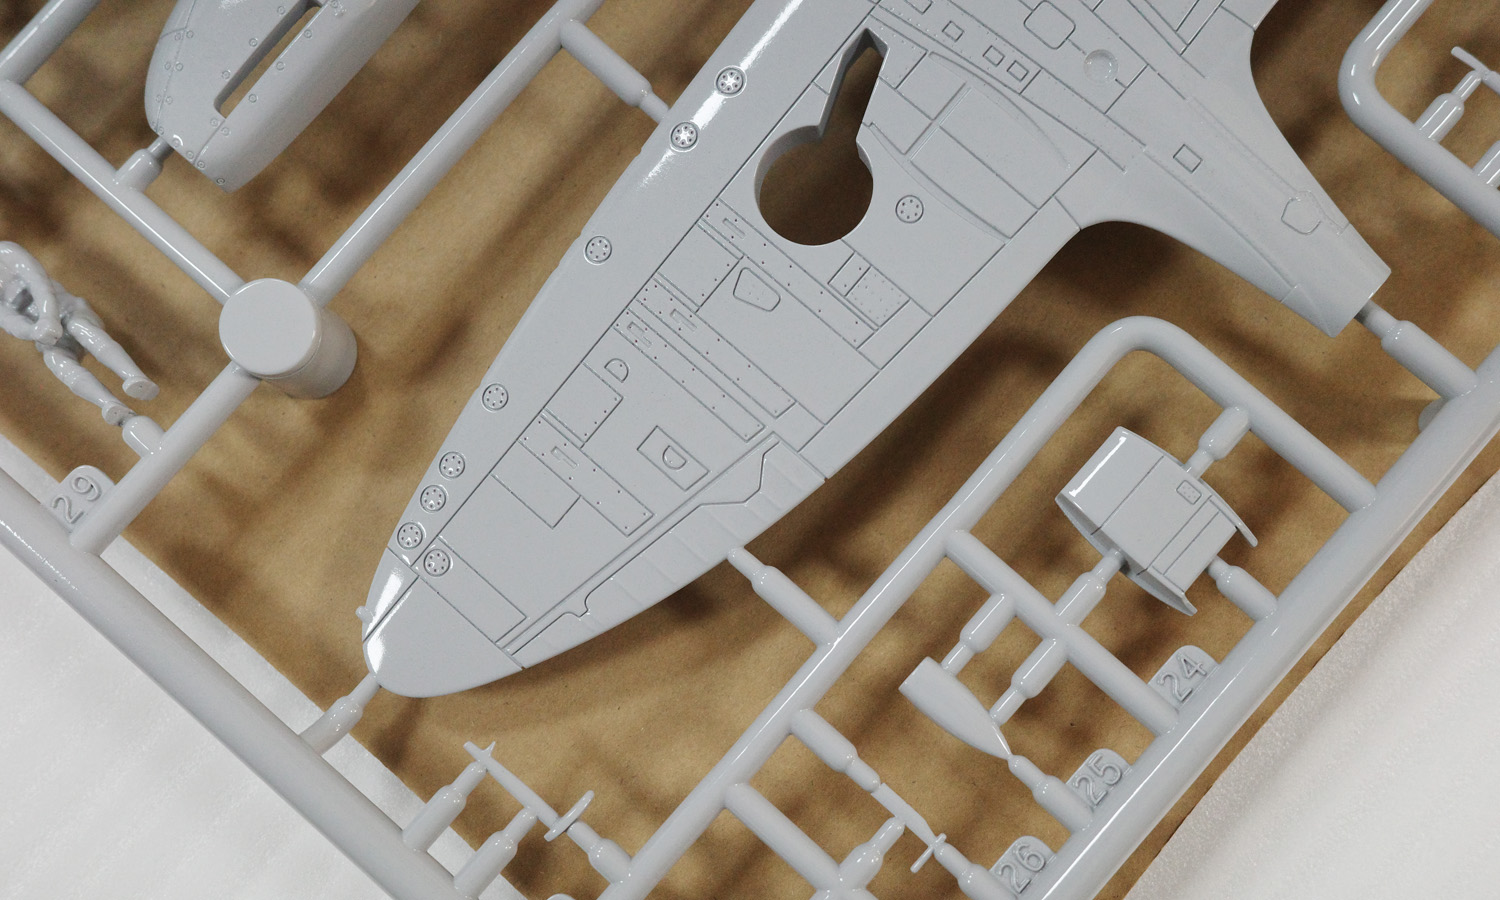
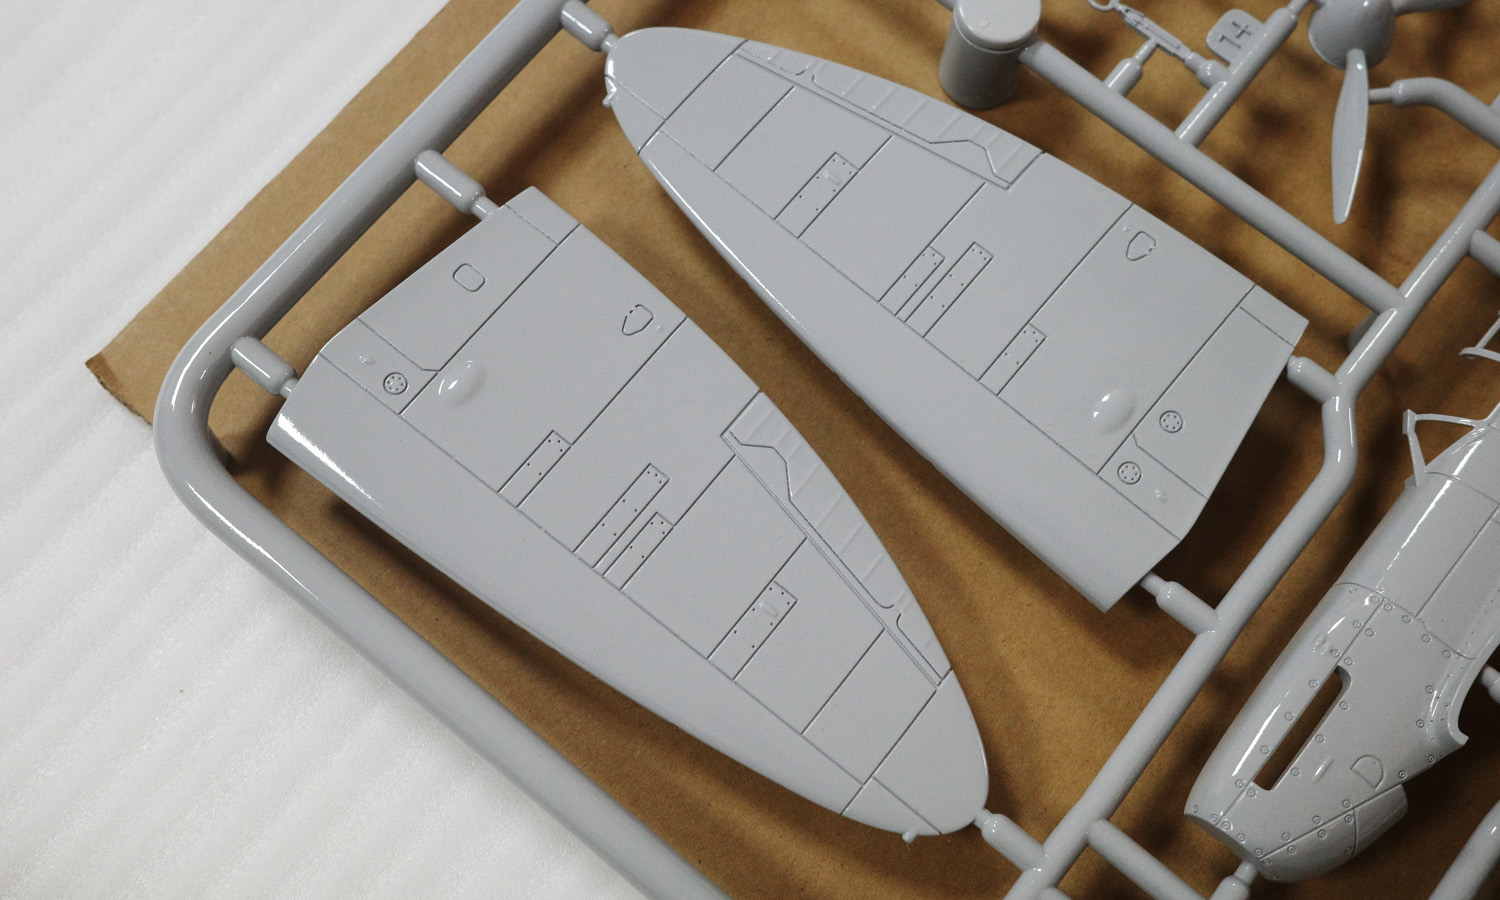
- Unmatched Detail: Our high-resolution SLA 3D printing technology ensures stunning accuracy, from the sleek fuselage to the tiniest rivets.
- Pre-Assembled Convenience: Enjoy the finished look without the hassle. These airplanes arrive fully formed, ready to hang and admire.
- Sleek Light Gray Finish: The subtle light gray coating accentuates the intricate details and adds a touch of sophistication.
- Smooth to the Touch: The smooth 3D printed surface is both visually appealing and pleasant to touch.
Perfect for Aviation Enthusiasts
These airplane wall decorations are a dream come true for aviation lovers. The unique model-kit-inspired design is a conversation starter that will impress guests and ignite imaginations.
Custom Creations
While our current design is unavailable for purchase, FacFox offers custom SLA 3D printing services. Bring your airplane vision to life with our expert craftsmanship.
Elevate Your Space Today
Contact FacFox to discuss your custom airplane wall decoration or explore other SLA 3D printing options.
Solution
- Step 1: Design Phase. The 3D model of the airplane was meticulously designed by the client, ensuring that all parts were correctly structured and detailed. The layout was crafted to resemble a traditional model kit, with parts attached to sprues.
- Step 2: Preparation. Before printing, the design file was processed using specialized software, which sliced the model into thin, printable layers and generated the necessary support structures.
- Step 3: Printing. The SLA (Stereolithography) 3D printer was prepared with a vat of liquid resin. The model was then printed layer by layer. A UV laser was used to selectively cure and solidify the resin, building the model from the bottom up.
- Step 4: Post-Processing. After printing, the model was carefully removed from the build platform. The supports were detached, and the model was washed in isopropyl alcohol to remove any uncured resin.
- Step 5: Curing. The model was further cured under UV light to ensure all resin was fully solidified, providing additional strength and stability.
- Step 6: Finishing Touches. The entire piece was sprayed with light grey paint to achieve a uniform color and a smooth surface finish. This step was performed with precision to maintain the modelŌĆÖs intricate details.
- Step 7: Quality Check. The final product was inspected for any flaws or defects. The sprues remained intact, as they were not meant to be broken, preserving the modelŌĆÖs appearance as a wall decoration.
- Step 8: Packaging. The completed model was securely packaged to protect it during transportation, making it ready to be gifted to airplane enthusiasts.


