Material Resin
Quantity 1 pcs
Price Range $1-100
Lead Time 20 workdays
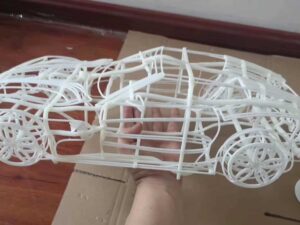
Gallery

About Project
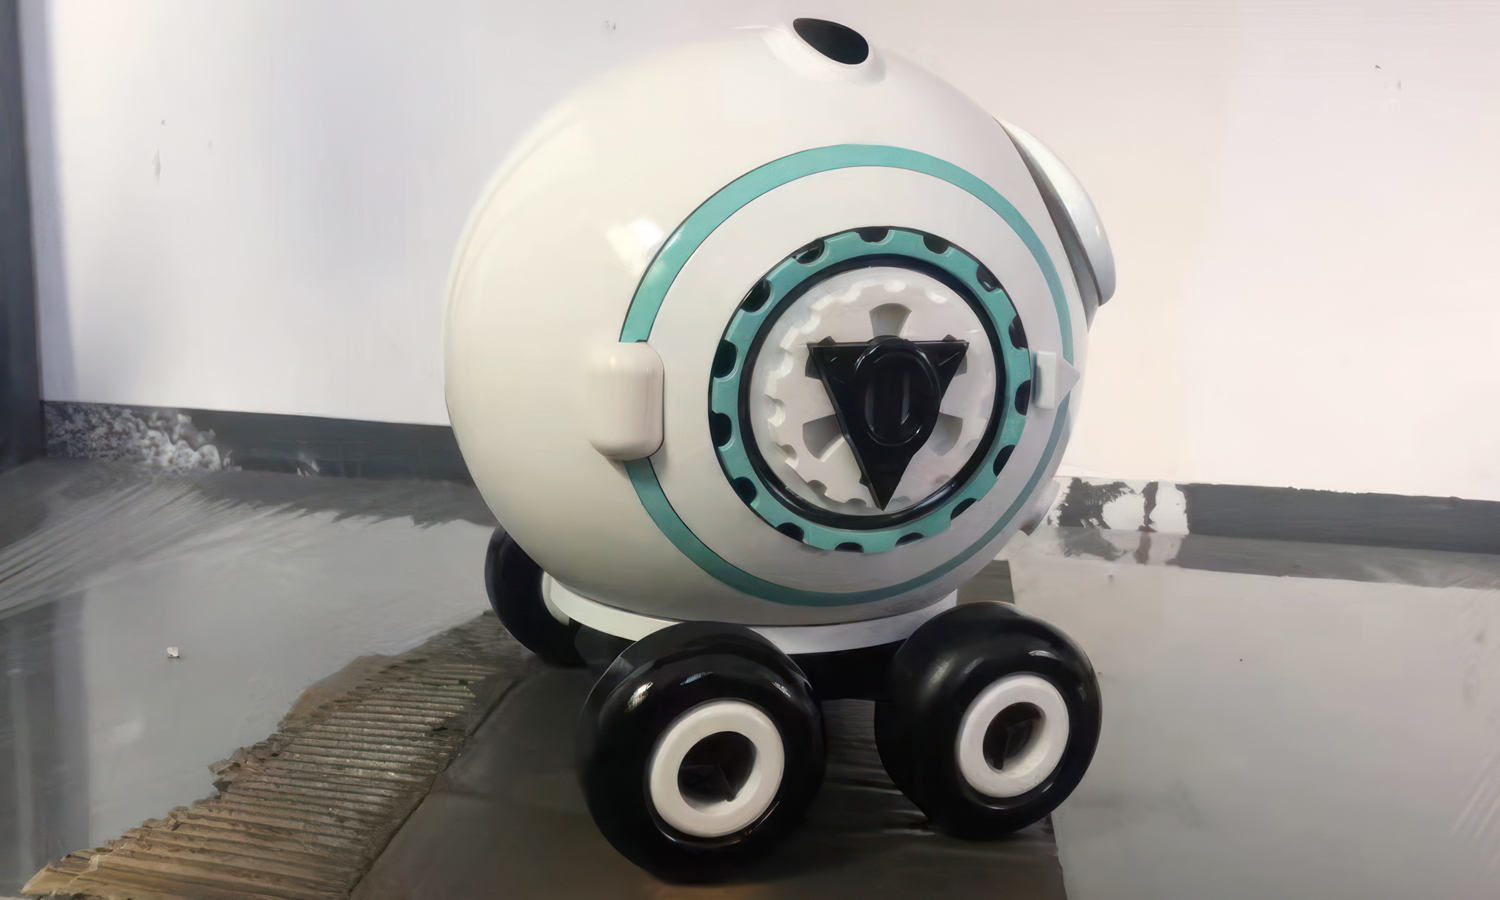
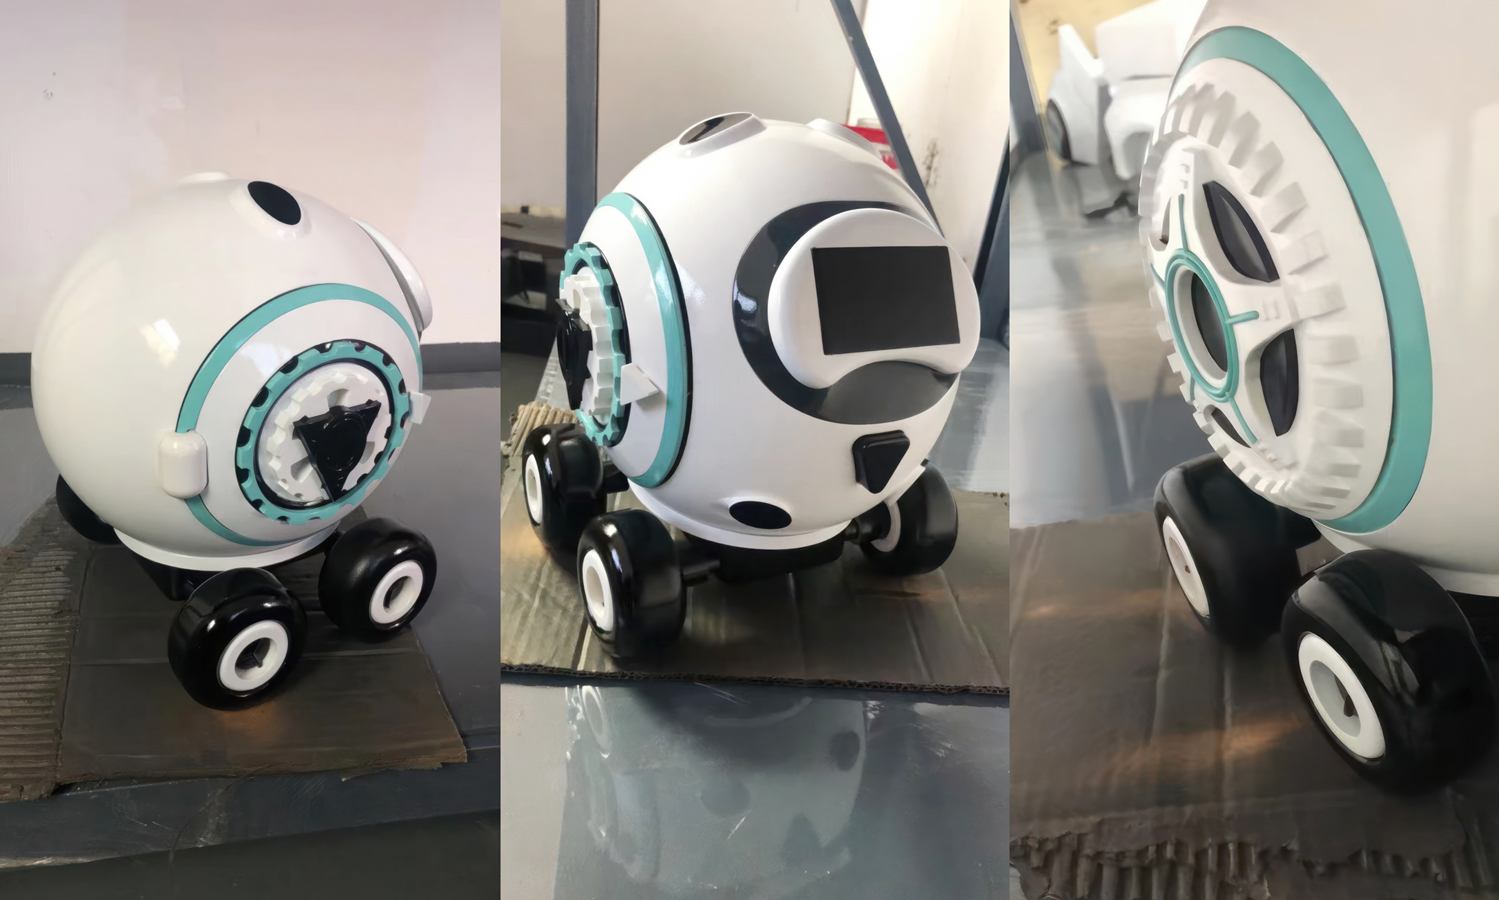
Dust swirls gently across the simulated lunar surface as a sphere-shaped rover emerges from the shadows. Its sleek, futuristic form gleams under the harsh spotlights, revealing a complex network of panels and struts held together with breathtaking precision. This is no mere model; it’s a fully functional prototype, born from the innovative world of SLA 3D printing, ready to conquer the lunar terrain.
This remarkable project began with a daring vision: a spherical lunar rover with a cabin that swings open like a hatch. The client sought not just functionality, but also an aesthetic that captured the otherworldly beauty of the moon. Our 3D printing expertise rose to the challenge.
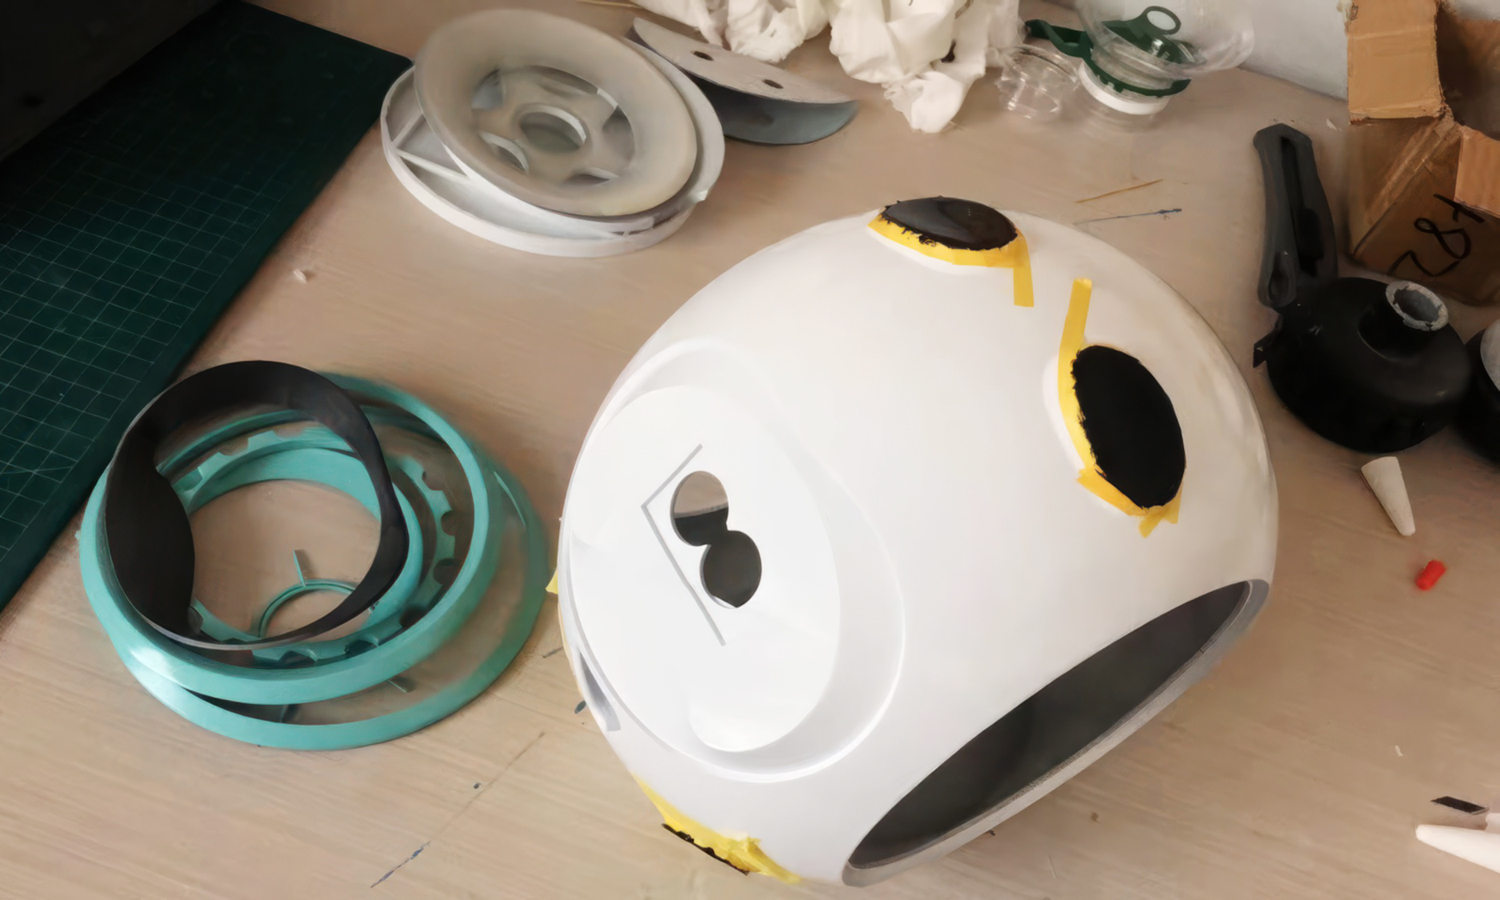
Using high-fidelity SLA technology, we meticulously crafted every piece of this intricate puzzle. Each panel, strut, and wheel came to life with remarkable accuracy and precision, ensuring seamless assembly and smooth movement. The complex geometry posed no obstacle, as our expertise in SLA printing allowed us to translate every detail from digital blueprint to tangible reality.
But the moon is not just a land of stark contrasts; it also holds a subtle beauty. To capture this essence, the client desired a blueish-green glow emanating from the rover’s light strips, mimicking the ethereal lunar atmosphere. We embraced this challenge with equal enthusiasm, carefully painting the light strips to achieve the desired effect.
The result is a masterpiece of engineering and artistic expression. This functional prototype embodies the cutting edge of 3D printing technology, while its painted accents whisper of lunar serenity. It is a testament to our commitment to pushing boundaries and exceeding expectations.
Is your dream project as ambitious as this lunar rover? Whether you’re a seasoned engineer or a student with a groundbreaking idea, FacFox is here to help. Our cutting-edge 3D printing services specialize in vehicle prototyping and student projects, bringing your vision to life with unrivaled accuracy, precision, and creativity. Contact us today and let’s embark on your next innovative journey, together.
Solution
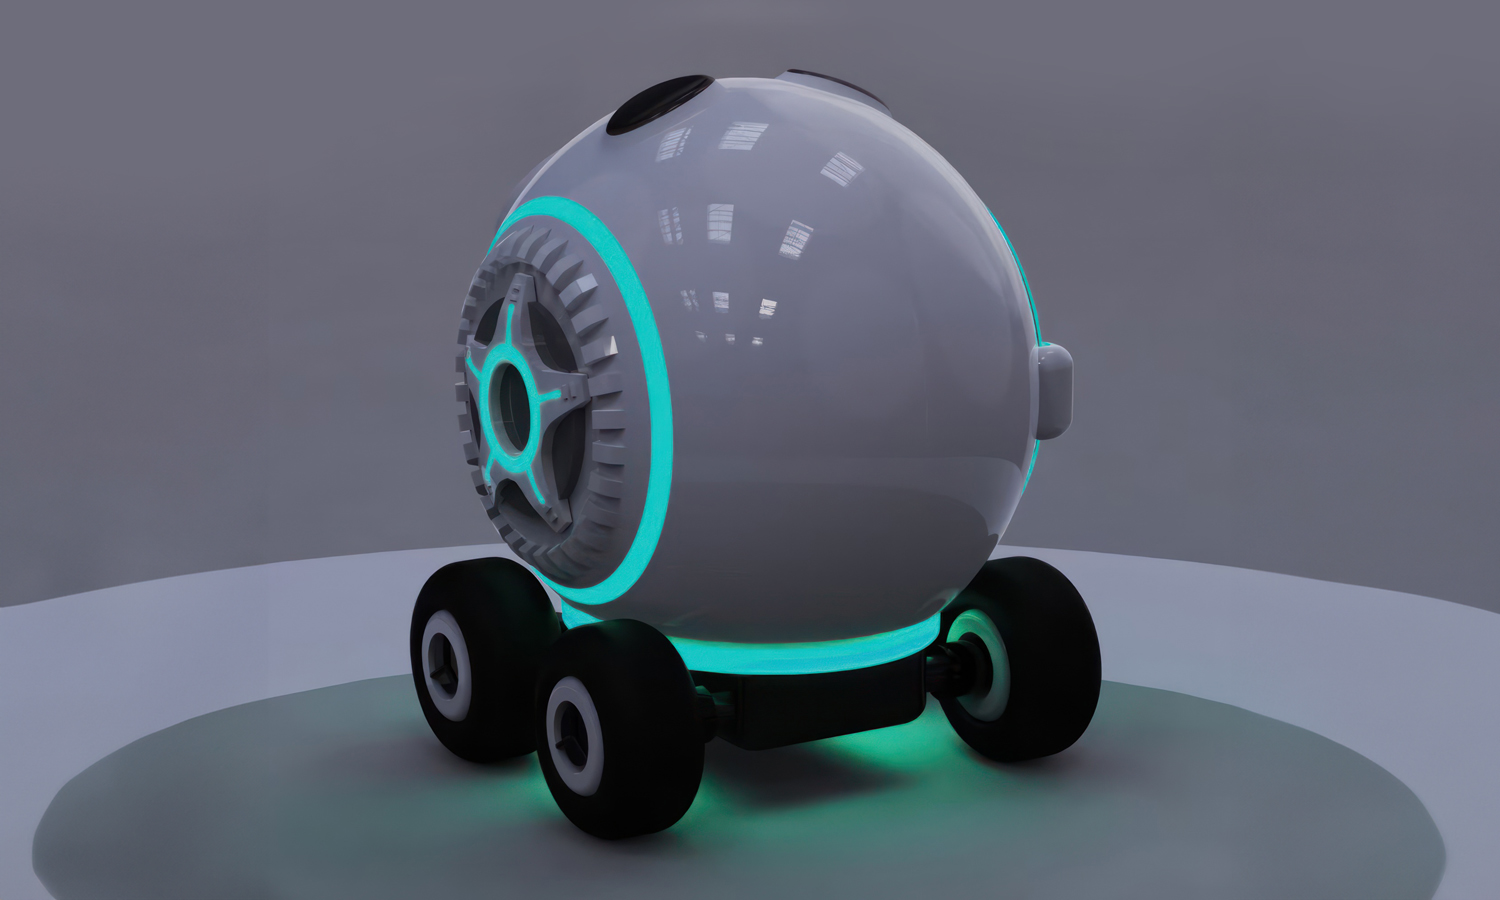
- Step 1: The initial stage involved the meticulous creation of a 3D model using specialized software. This model incorporated all desired features, including the spherical body, intricate paneling, movable cabin door, and wheel components.
- Step 2: Following meticulous slicing of the digital model into printable layers, the actual fabrication commenced. High-resolution SLA printers employed laser-polymerization technology to selectively solidify specific areas of resin within each layer, effectively building the prototype piece by piece.
- Step 3: Upon completion of the printing process, the printed parts underwent a post-curing phase. This crucial stage involved exposure to ultraviolet light in dedicated ovens, further strengthening the solidified resin and optimizing its mechanical properties.
- Step 4: The intricate lattice-like support structures, essential for maintaining structural integrity during printing, were carefully removed using specialized tools. This procedure required meticulous attention to detail to avoid damaging the delicate printed surfaces.
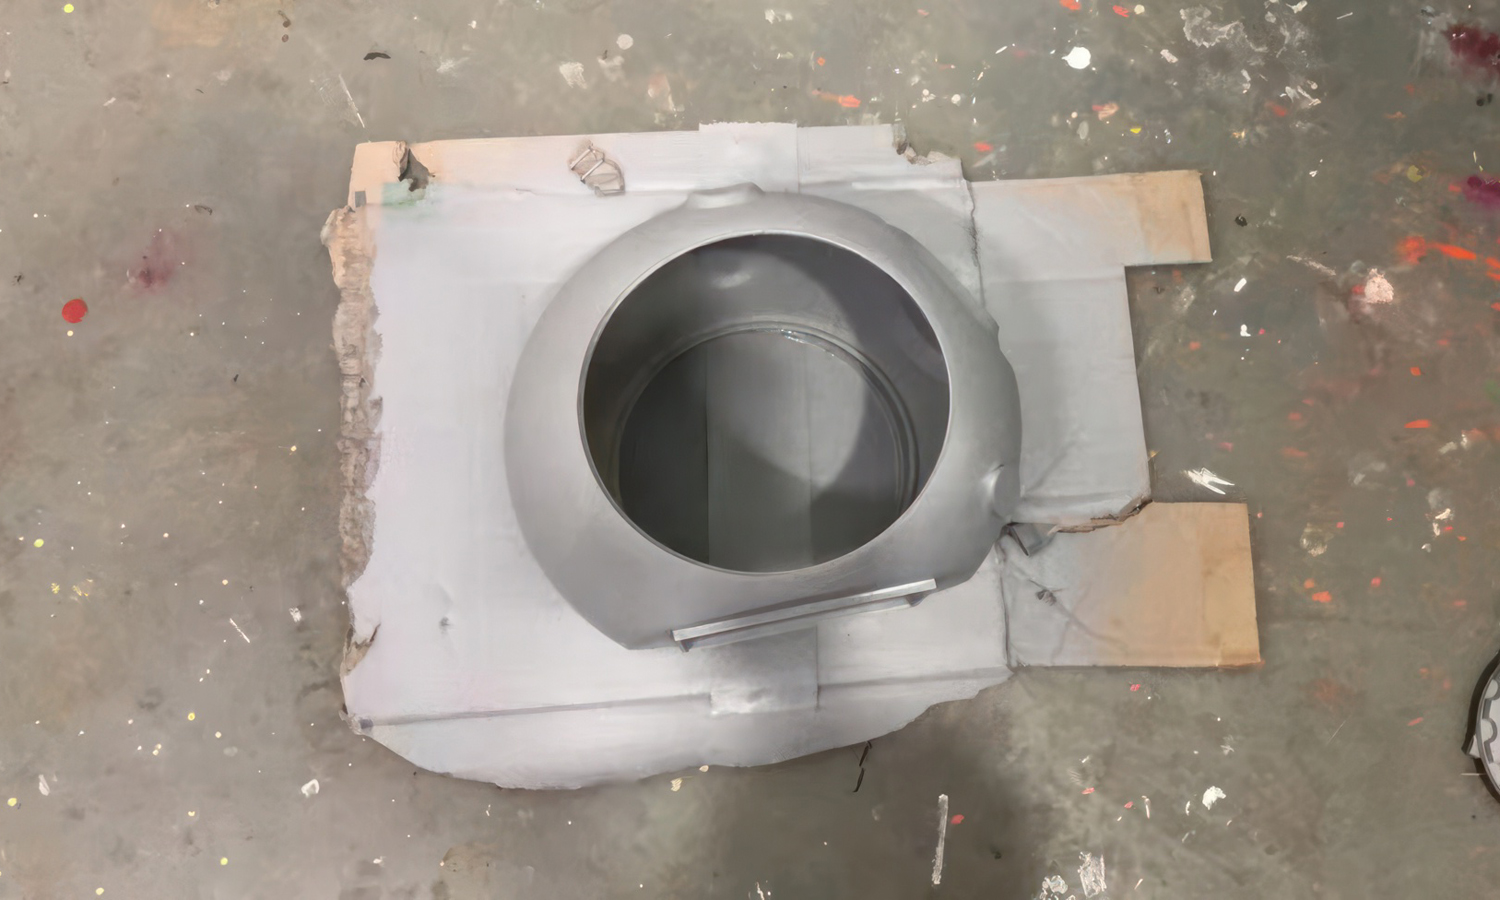
- Step 5: To achieve a smooth and visually appealing finish, the prototype underwent a meticulous polishing process. Techniques such as wet sanding with progressively finer grits were employed to eliminate any residual surface imperfections.
- Step 6: To address any remaining minor surface blemishes or imperfections, a thin layer of putty was applied and subsequently sanded to further refine the overall appearance of the prototype.
- Step 7: The client’s desired aesthetic of a blueish-green glow emanating from the rover’s light strips was brought to life through a dedicated painting process. The light strips were carefully masked and then airbrushed with custom-mixed acrylic paints to achieve the desired effect.
- Step 8: With all individual components meticulously prepared, the final stage involved their precise assembly according to the predefined design specifications. This included the proper alignment and secure attachment of wheels, cabin hinges, and internal electrical components.
- Step 9: To verify the prototype’s functionality and adherence to design specifications, it was subjected to a series of rigorous tests. These tests assessed aspects such as wheel movement, structural integrity, and performance of the electrical systems, ensuring the prototype’s capability to fulfill its intended role.

