Material Resin
Quantity 1 pcs
Price Range $1-100
Lead Time 2 workdays
Gallery
About Project
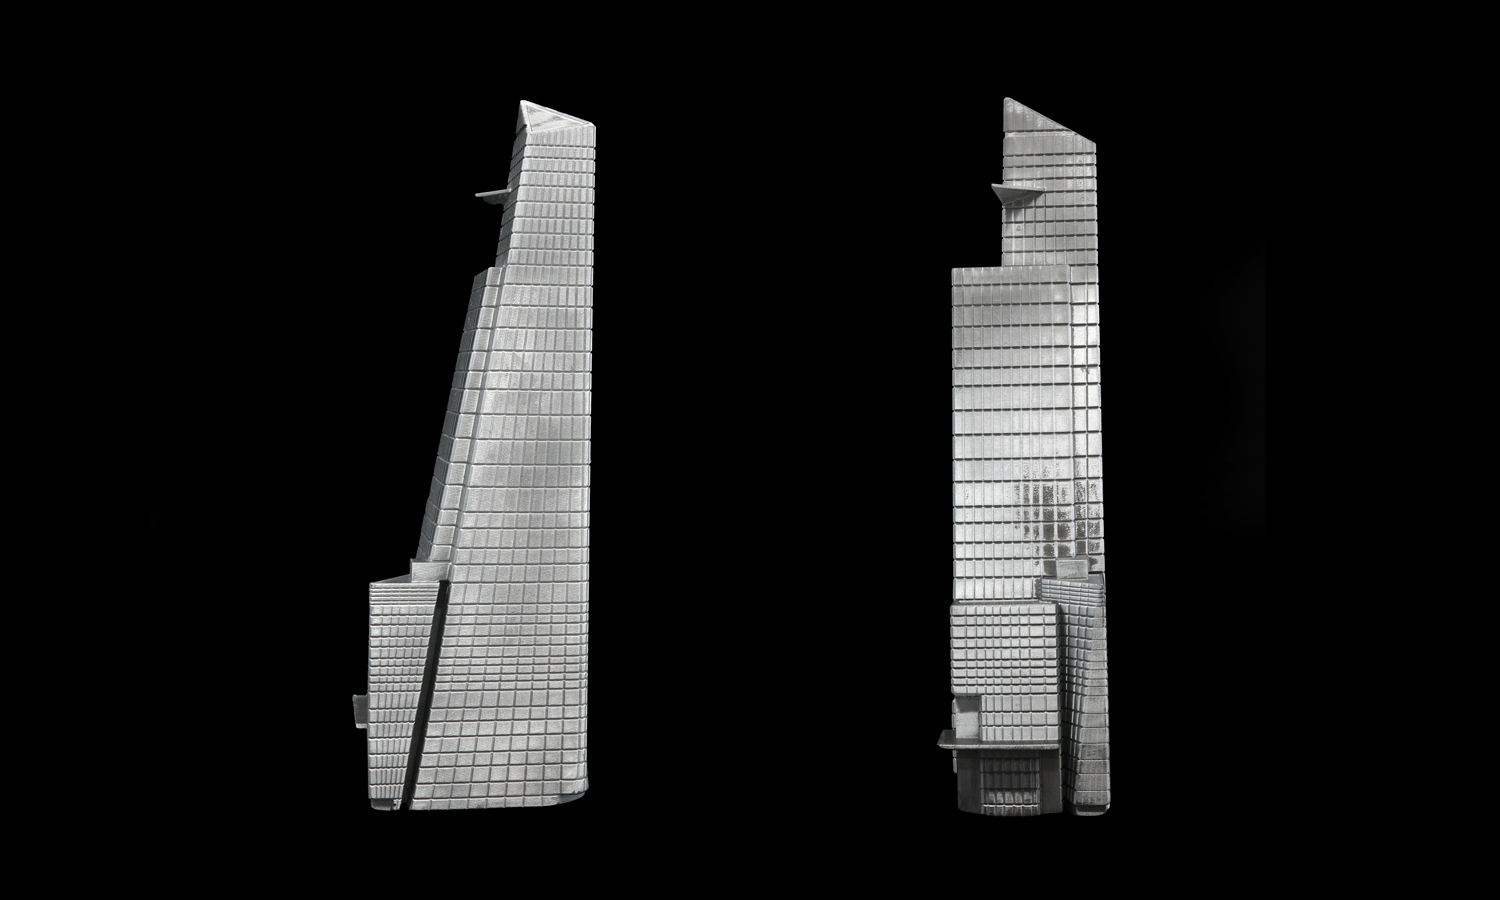
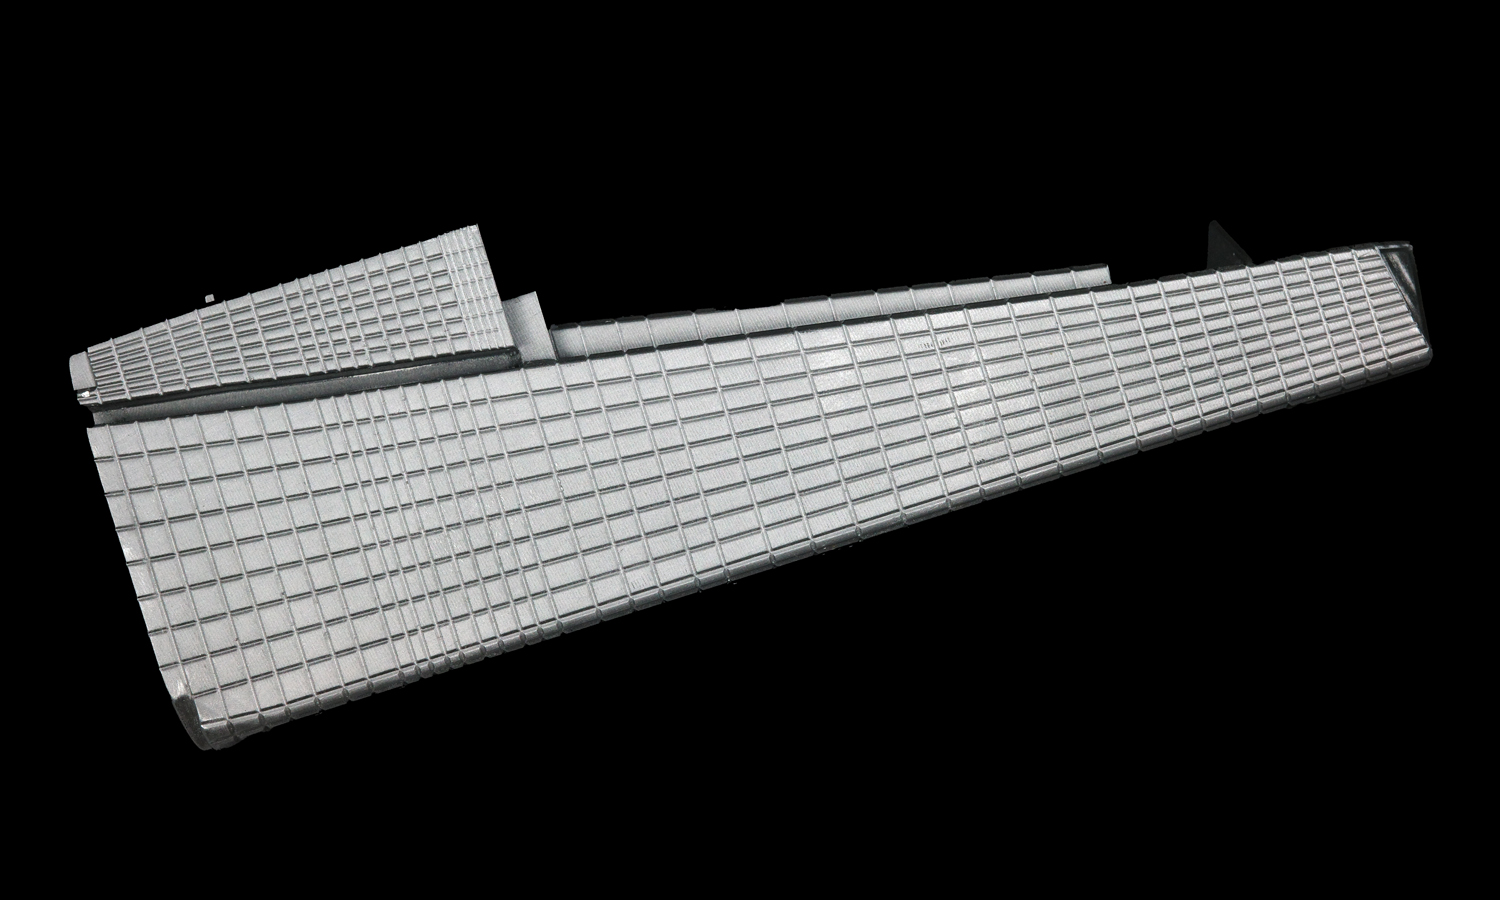
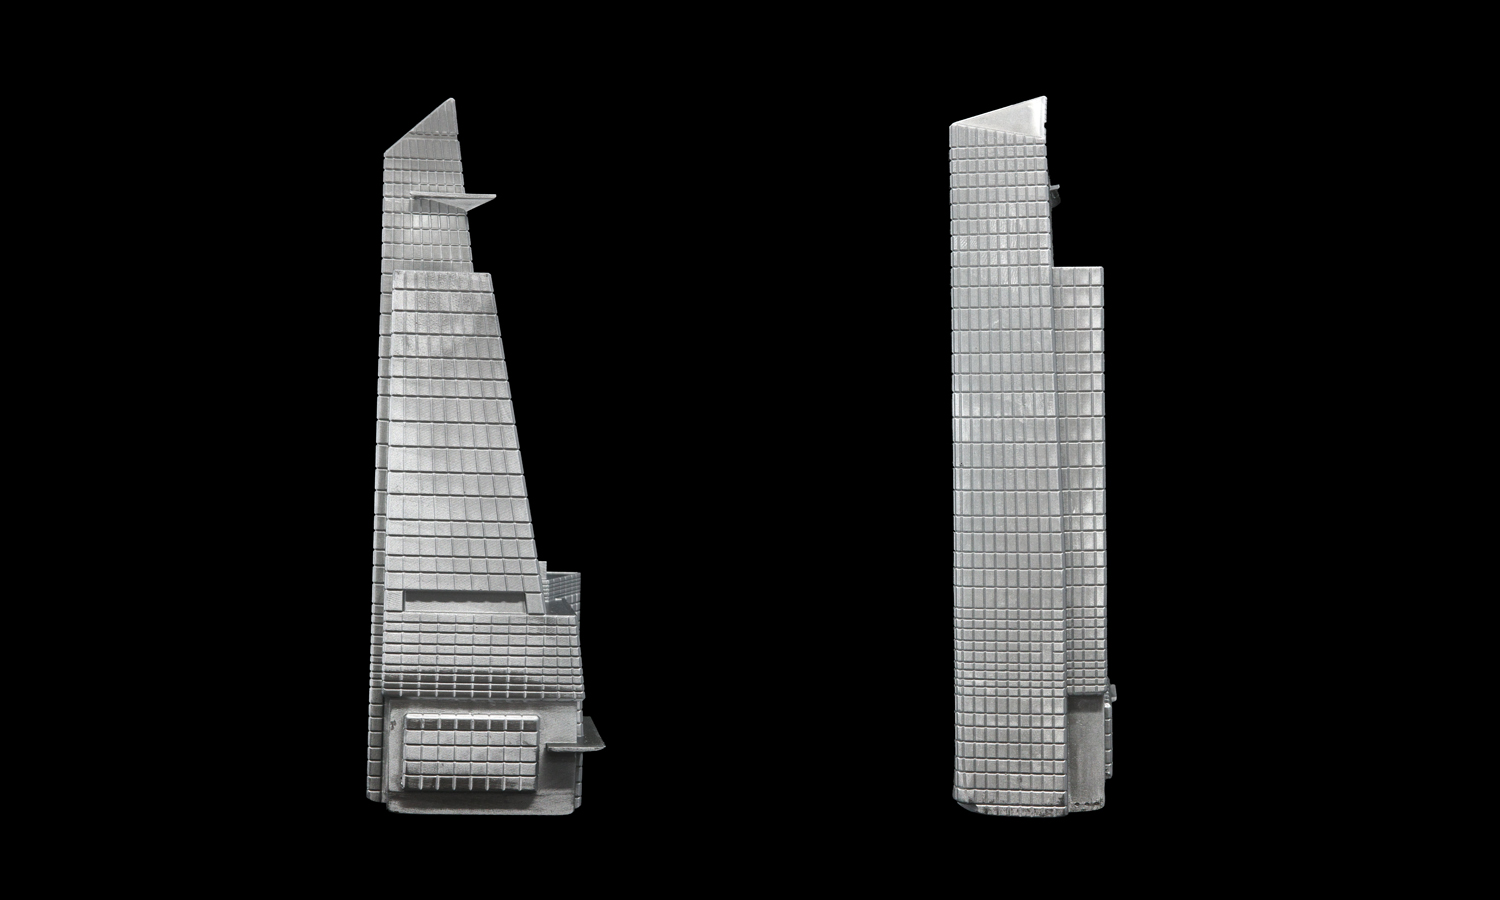
This project features an LCD 3D printed Hudson Yards architectural model made from resin and finished with silver-gray spray paint. The model captures the tall tower forms, angled roof profiles, layered building volumes, and dense façade grids that make the miniature immediately read as a modern high-rise complex. Tiny windows everywhere? Yes. A lot of them. Architectural models do love their grids.
LCD resin 3D printing was a practical choice for this type of miniature because the process can reproduce repeated surface details, sharp building outlines, and relatively fine façade patterns without requiring mold tooling. For architectural review, display mockups, or concept presentation models, resin printing allows designers to turn complex digital building forms into physical models quickly and at a lower cost than many traditional model-making workflows.
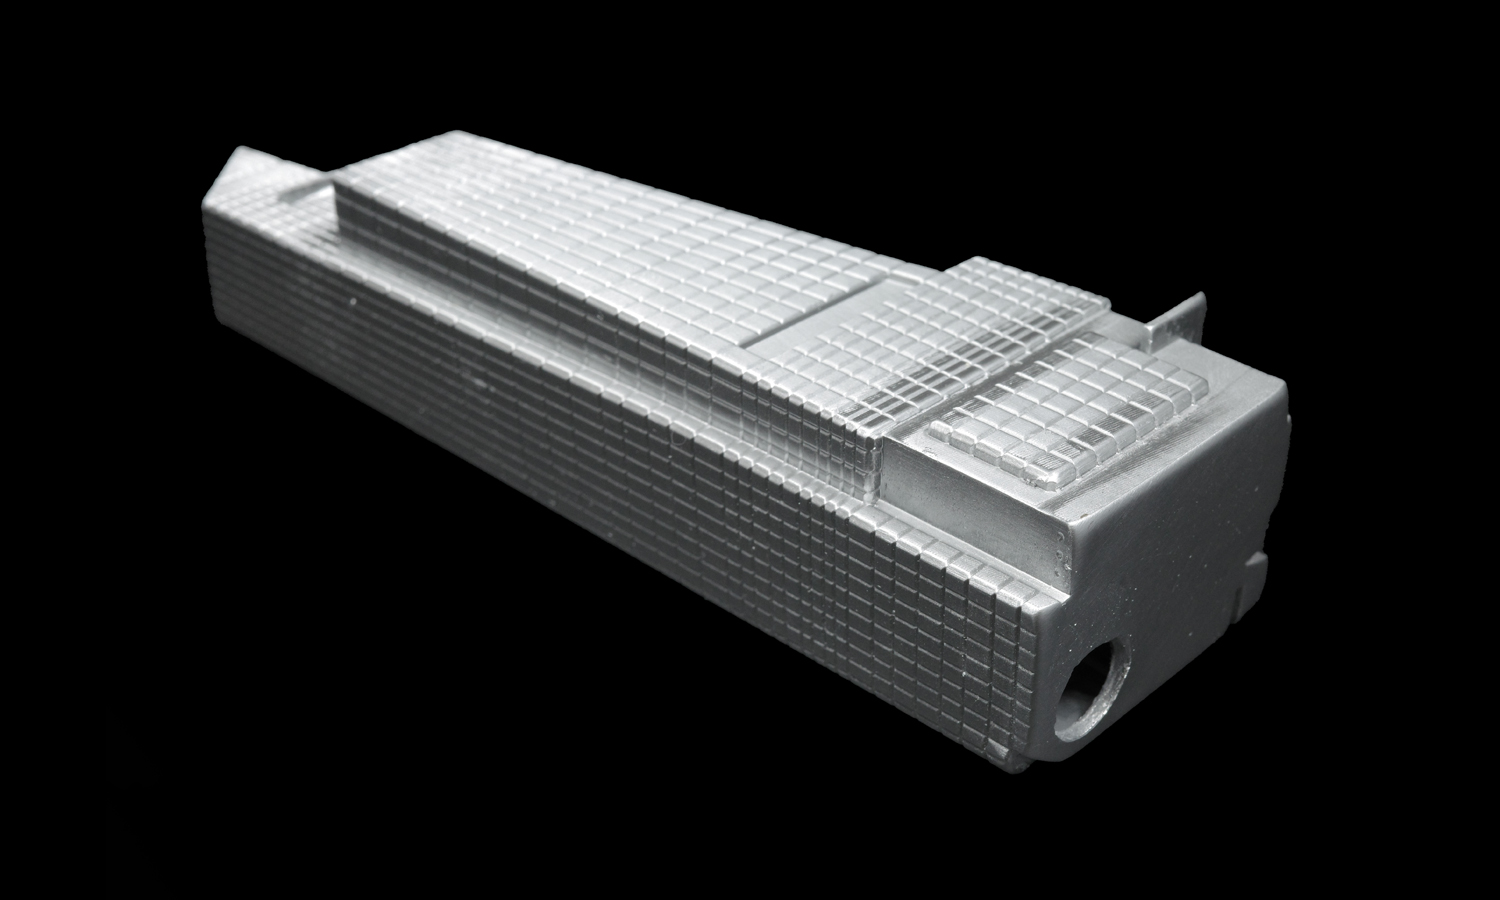
The model was printed hollow to save material, with drainage holes added on the bottom area. This is a common approach for larger resin prints, especially when the part does not need to be solid. After printing, the part was cleaned, support structures were removed, and the surface was spray painted in silver gray. The metallic-looking finish helps unify the many window grids and gives the model a clean architectural presentation effect.
From the available photos, the main building silhouettes are clear, the façade grids remain readable, and the silver-gray paint creates a consistent overall look from normal viewing distance. At the same time, this is an honest prototype-level finish: the part was not finely sanded or polished before painting, so some horizontal printing texture, local surface marks, and support removal traces are still visible, especially on the bottom and under strong lighting. For concept display, internal review, or architectural massing presentation, this level of finish can make sense. For a close-up museum-style display model, additional sanding, filling, primer work, and more refined coating would be recommended.
This workflow is suitable for architectural scale models, city landmark miniatures, concept presentation models, and hollow resin display prototypes. If you are developing an architectural model or display prototype, send your files to info@facfox.com or visit FacFox to discuss your project.
Solution
- Step 1: The architectural model file was reviewed before printing, including the tower volumes, angled roof profiles, façade grids, hollow structure, and bottom drainage hole locations.
- Step 2: The model was prepared for LCD resin 3D printing, with hollowing used to reduce resin consumption while keeping the visible architectural surfaces intact.
- Step 3: The resin model was printed layer by layer using LCD photopolymerization, forming the building volumes, repeated window grids, roof details, and hollow body structure.
- Step 4: After printing, uncured resin was drained through the bottom holes, and the part was cleaned to remove remaining resin from the surface and internal cavity.
- Step 5: Support structures were removed. Since this was a prototype-level architectural model, the bottom support marks were not fully refined through fine sanding or polishing.
- Step 6: The model was spray painted in silver gray to create a unified metallic architectural appearance and improve the overall presentation of the façade details.
- Step 7: The finished model was inspected for overall building silhouette, façade grid readability, drainage hole condition, paint coverage, and visible prototype-level surface traces.