Material Plastic
Quantity 1 pcs
Price Range $1-100
Lead Time 1 workdays
Gallery
About Project
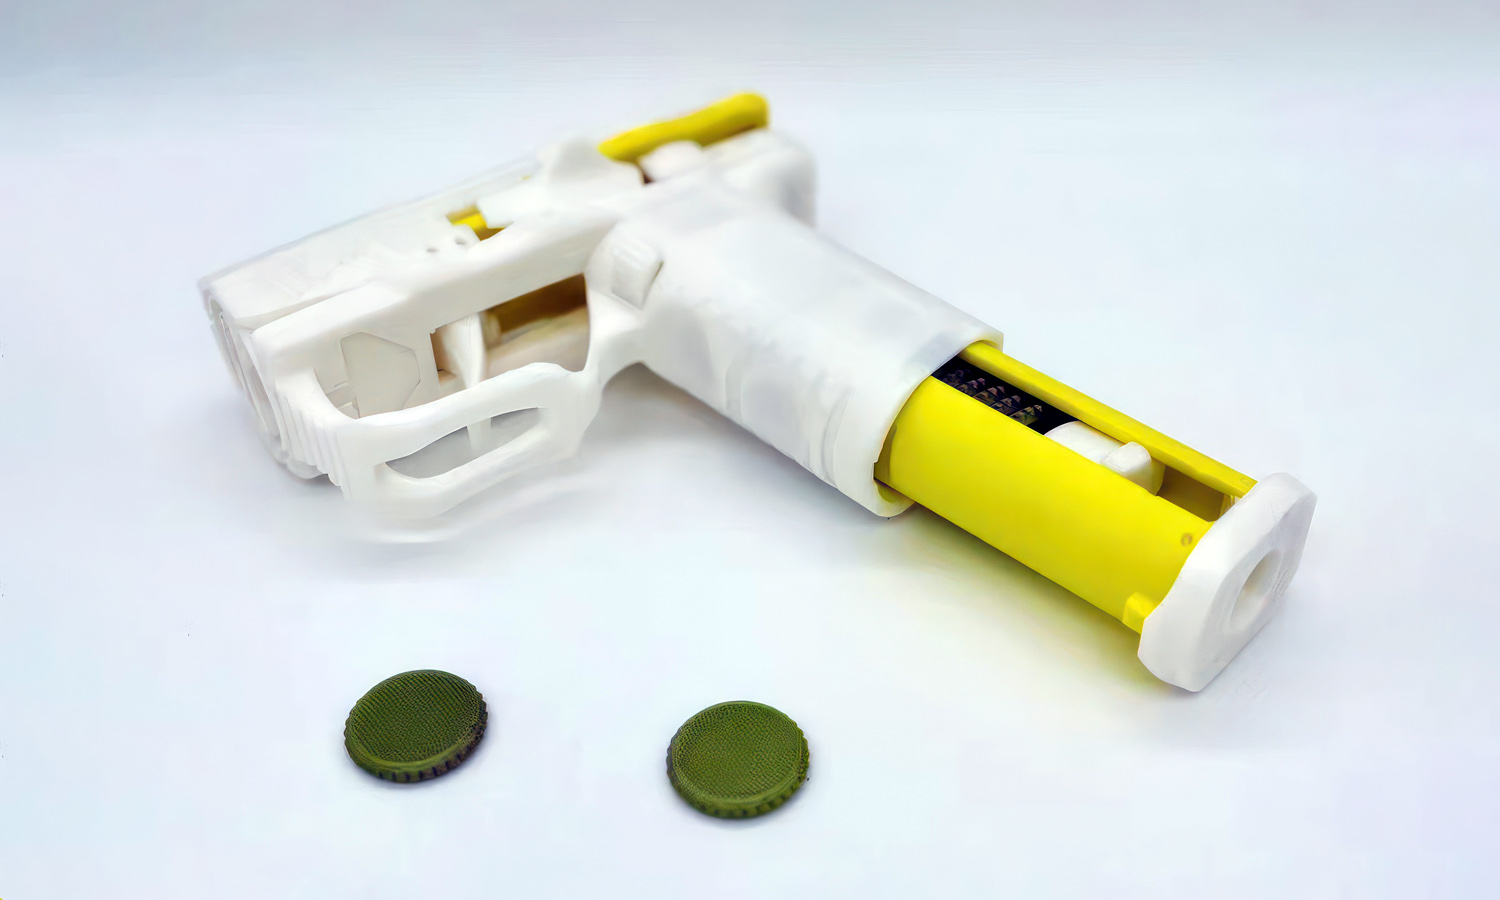
Calling all tinkerers and target tamers! Take aim at some fizzy fun with this adorable 3D printed bottle cap gun.
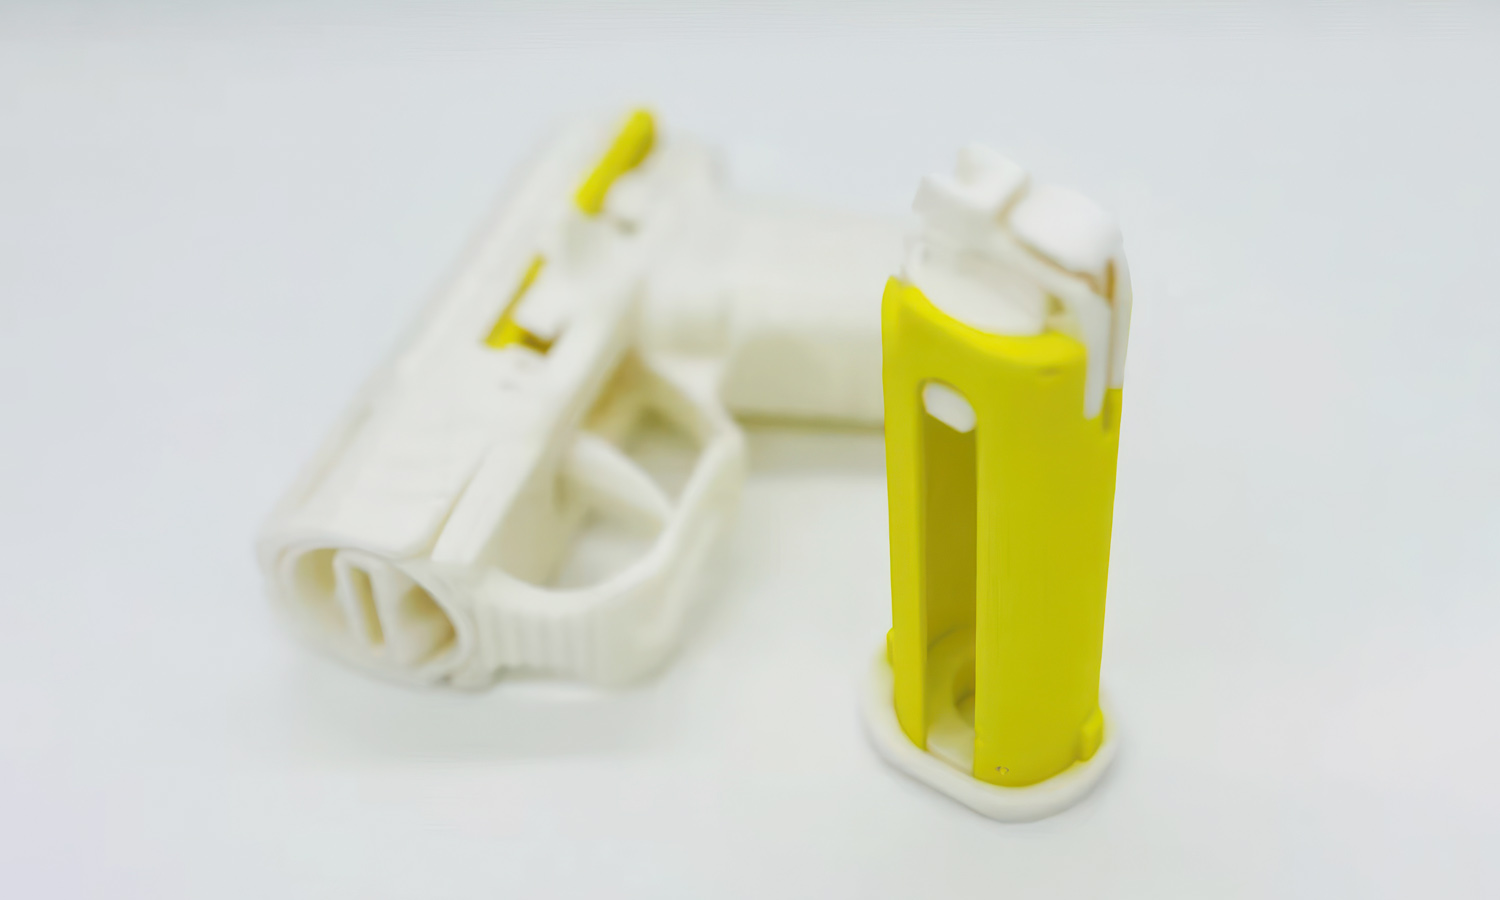
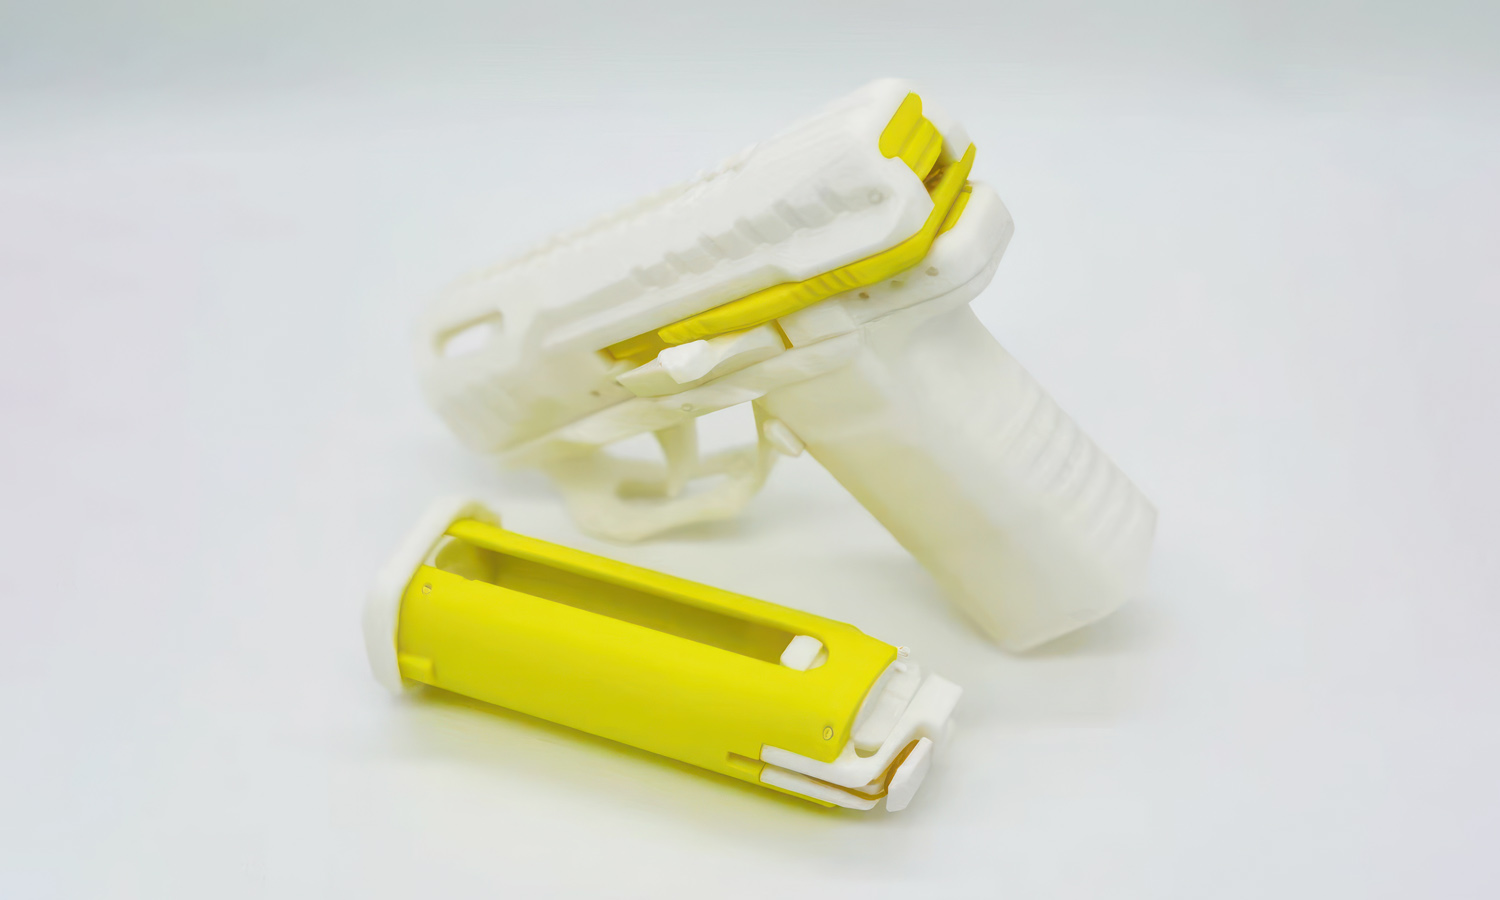
Crafted from sturdy white PLA filament, this cap gun boasts a bright yellow lever for easy cocking and firing. The cylindrical barrel is perfectly sized for the included green, 3D printed beer caps (don’t worry, these won’t open any bottles!).
This playful plinker is a fantastic conversation starter, a perfect desk companion for stress relief, or a charming addition to a costume. It’s also a great introduction to the world of 3D printing, showcasing the potential for creative and functional designs.
Looking to bring your own 3D dreams to life? FacFox can help! Our expert team offers top-notch 3D printing services using a variety of materials and colors. From playful cap guns to intricate prototypes, we can turn your ideas into reality. Contact FacFox today and get ready to pop some virtual bottles!
Solution
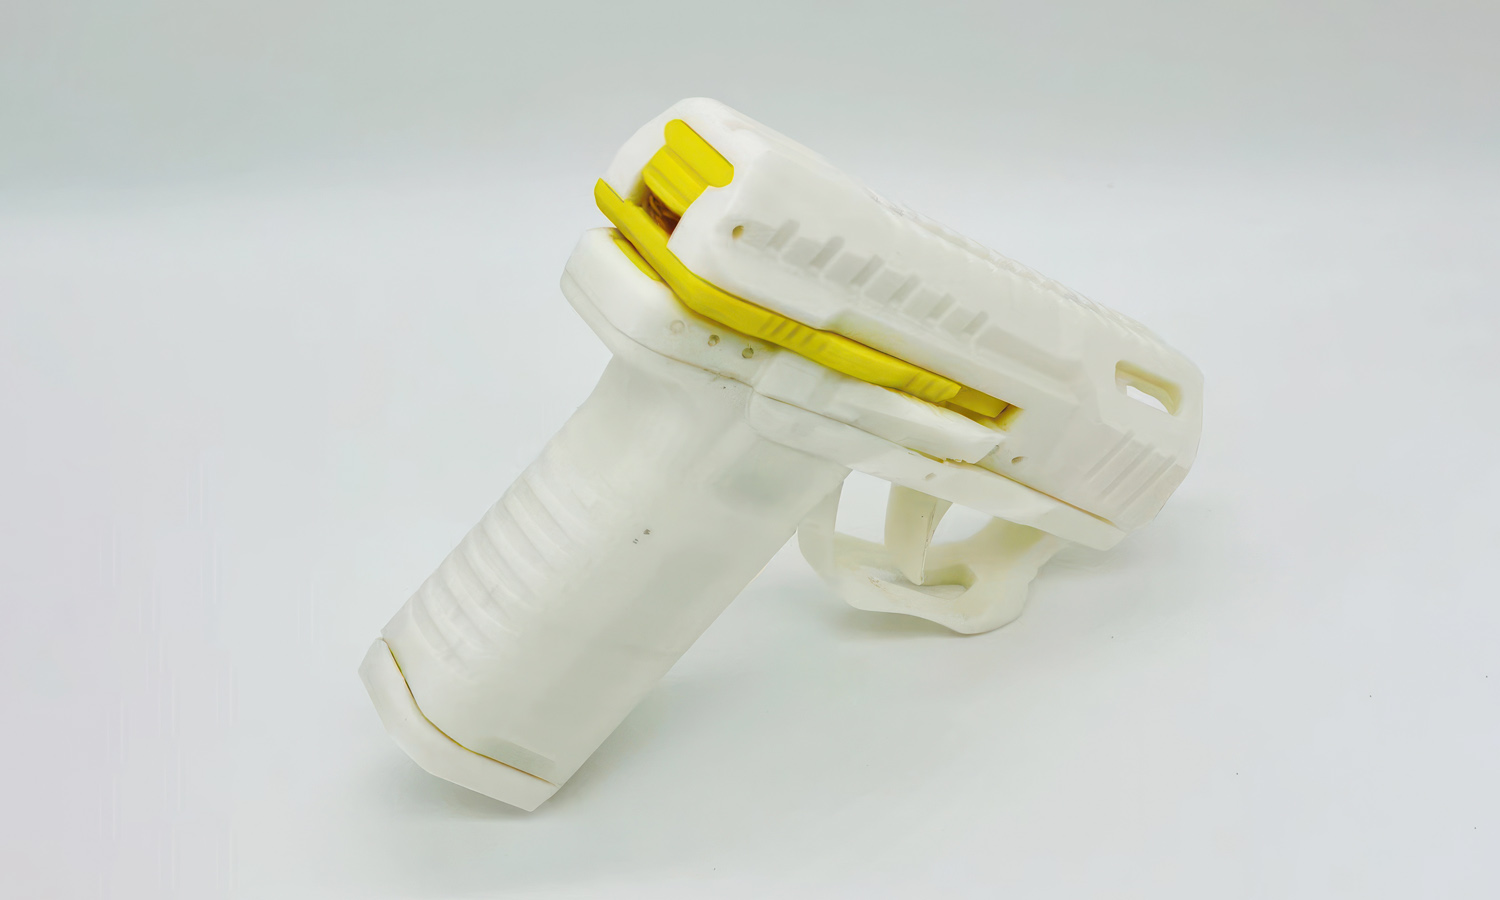
- Step 1: Design Creation.┬ĀThe 3D model of the toy gun and bottle caps was designed using CAD software. The gun was primarily white with a yellow lever and a cylindrical barrel.
- Step 2: Material Preparation.┬ĀPLA filament was selected for its ease of use and biodegradability. The filament was loaded into the 3D printer.
- Step 3: Printer Setup.┬ĀThe 3D printer was calibrated, and the print bed was leveled to ensure accurate printing.
- Step 4: Printing the Gun Parts.┬ĀThe 3D model of the toy gun was sliced into layers using slicing software. The sliced file was then sent to the 3D printer. The gun parts, including the main body, lever, and barrel, were printed layer by layer using FDM technology.
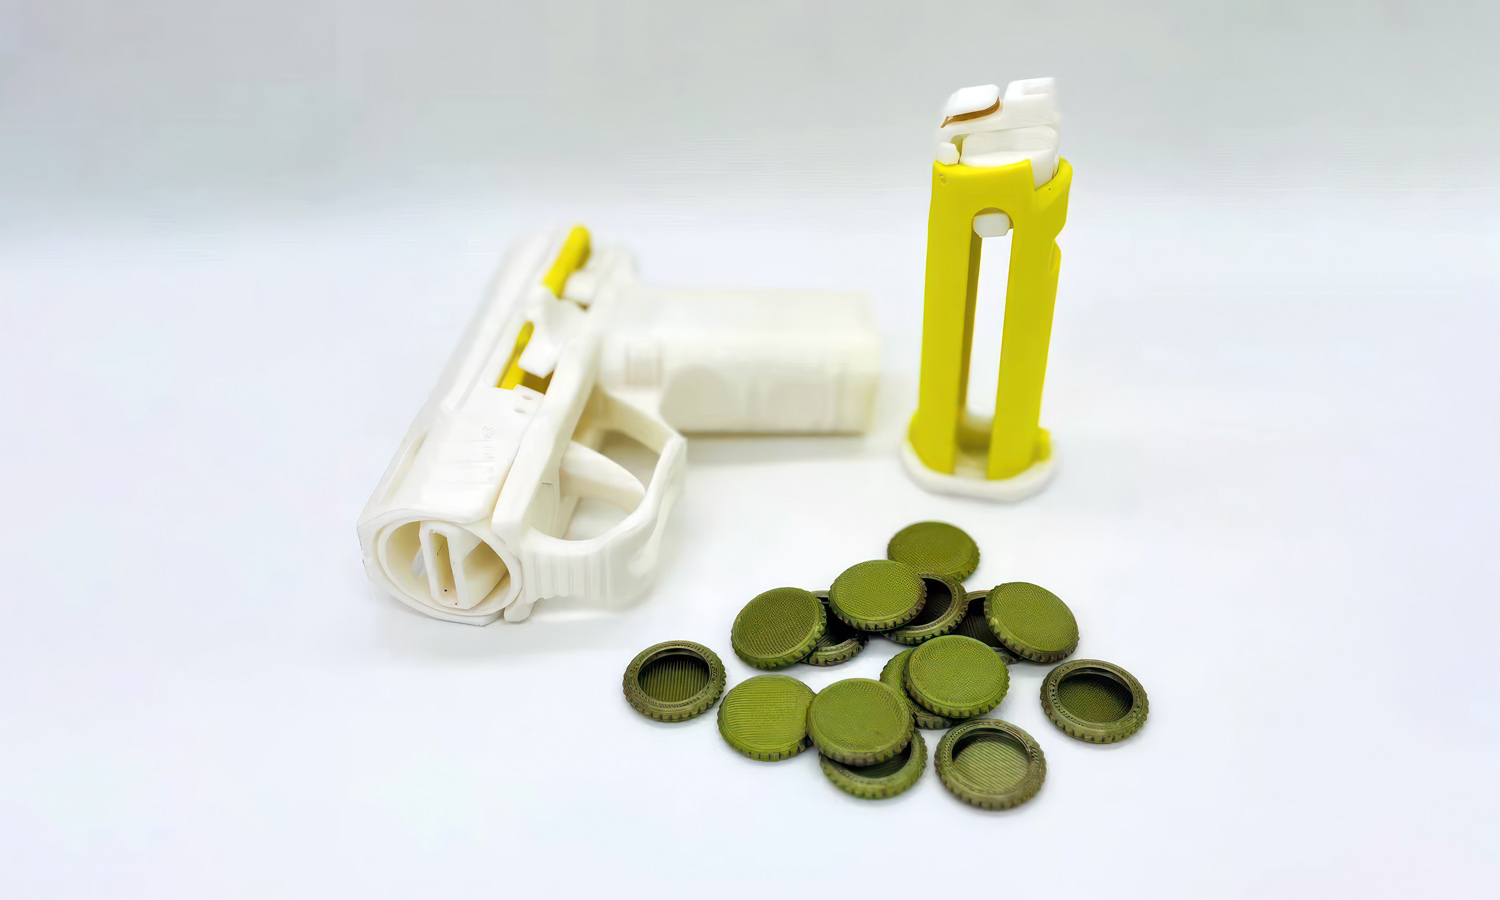
- Step 5: Printing the Bottle Caps.┬ĀThe 3D model of the bottle caps was also sliced and sent to the 3D printer. The green circular bottle caps were printed using the same FDM process.
- Step 6: Post-Processing: Once printing was completed, the gun parts and bottle caps were carefully removed from the print bed. Any support structures were trimmed away, and the parts were sanded to smooth out rough edges.
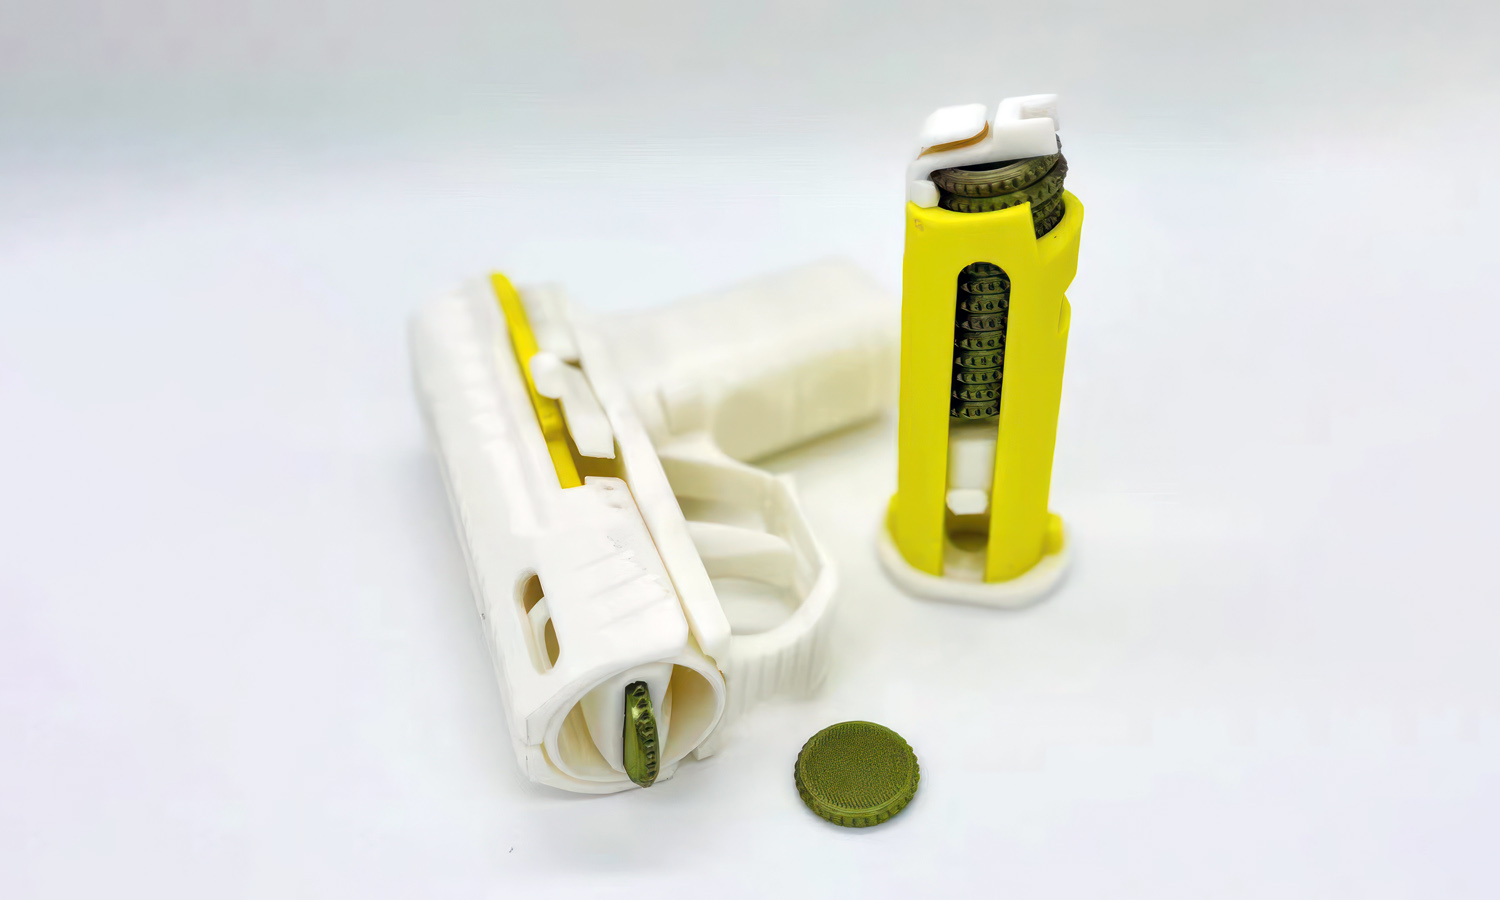
- Step 7: Assembly.┬ĀThe printed parts of the toy gun were assembled. The yellow lever was attached to the main body, and the cylindrical barrel was secured in place.
- Step 8: Function Testing.┬ĀThe assembled toy gun was tested to ensure that the bottle caps could be loaded into the cylindrical barrel and fired correctly.
- Step 9: Final Inspection.┬ĀA final inspection was conducted to check for any defects or issues. The toy gun was confirmed to be functional and ready for use.


