FDM 3D Printed Moive Niu Lai Fan Figurine

FDM 3D Printed Moive Niu Lai Fan Figurine

facfox-case-study
Process 3D Print, Paint
Material Plastic
Quantity 1 pcs
Price Range $1-100
Lead Time 1 workdays

Gallery

About Project

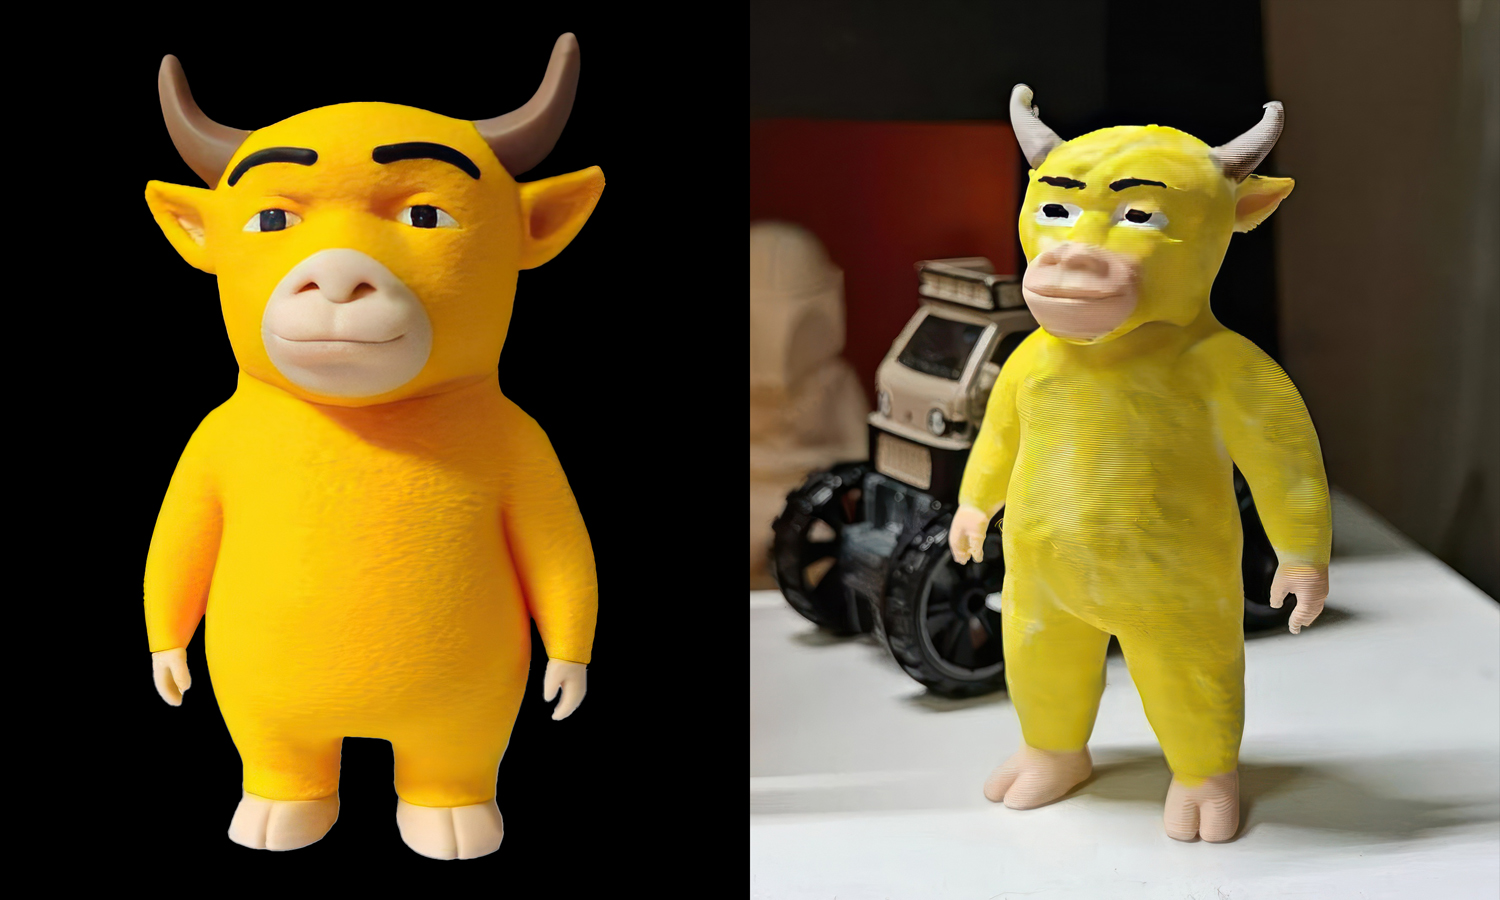
Released in China in August 2026, Niu Lai tells the story of a calf growing through hardship and learning responsibility. The film began almost unnoticed, then became an unlikely internet sensation after viewers turned its rough animation, unusual performances, and earnest storytelling into a collective comedy event.

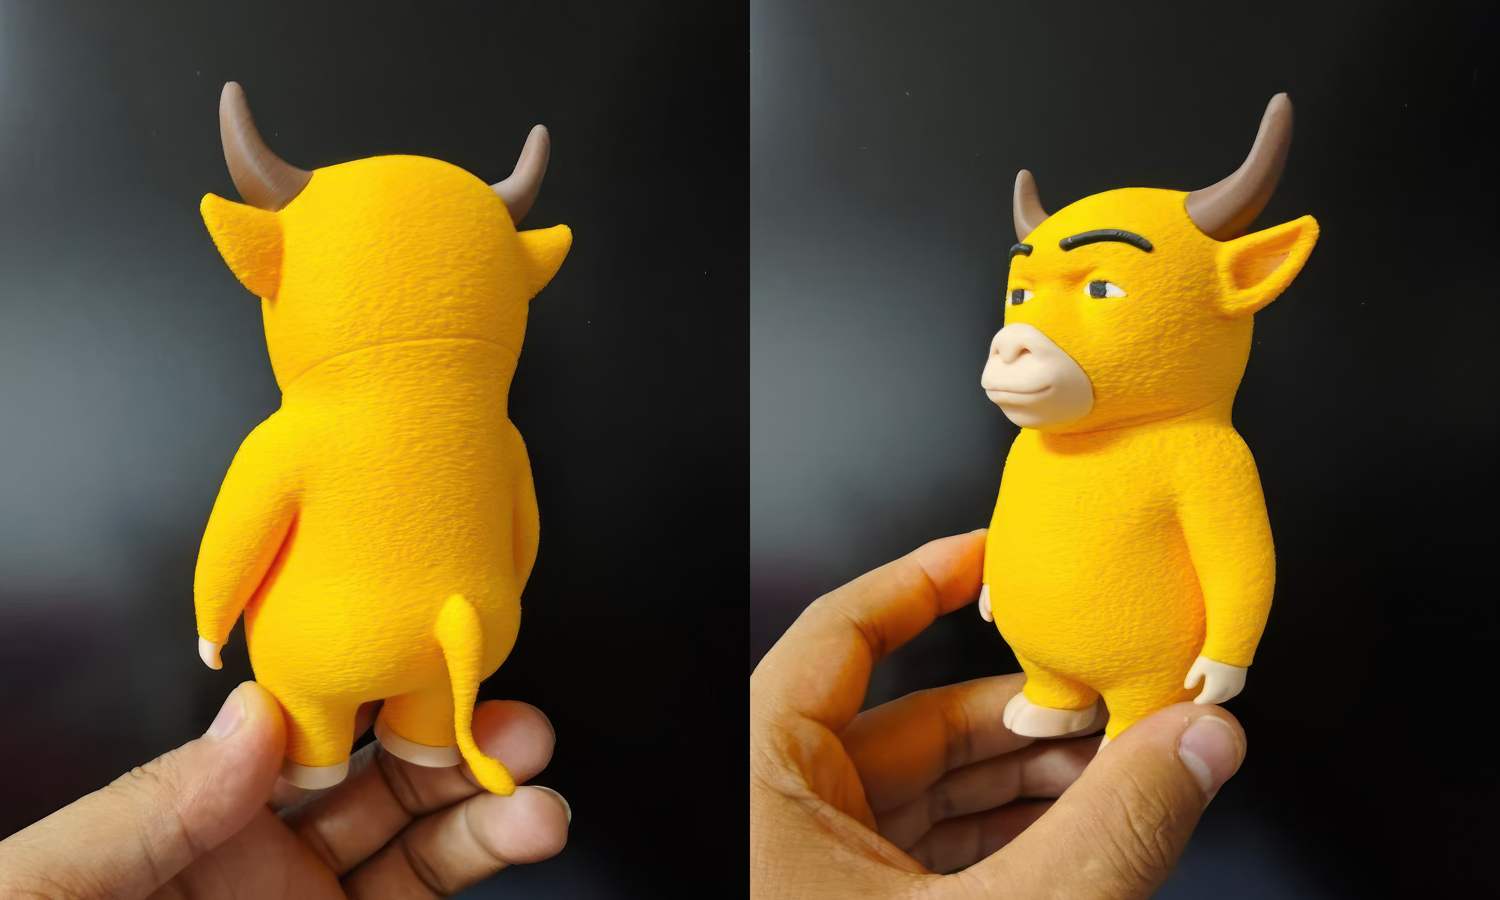
Once the film became popular, fans began modeling their own figurines and turning the on-screen character into a printable meme. This yellow fan-designed collectible captures that strange success perfectly: a movie criticized for looking unfinished inspired audiences to finish the merchandise themselves. Contact FacFox or upload your 3D files for a quote.
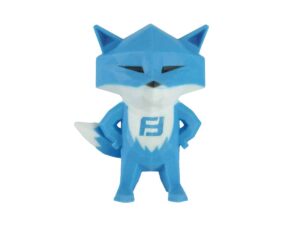
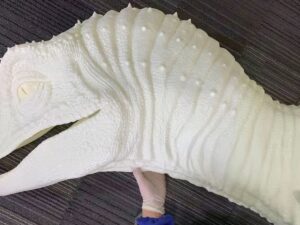
Solution

  • Step 1: Recommend a suitable process and material based on the client’s requirements and budget, assess printing and assembly risks, and discuss necessary model revisions with the client.
  • Step 2: Review the fan-created model for wall thickness, balance, overhangs, and fragile features, strengthening the horns, ears, fingers, feet, and tail where required without changing the character’s silhouette.
  • Step 3: Select a paintable FDM material and determine whether delicate features should be printed together with the body or separated to reduce support marks and breakage risk.
  • Step 4: Orient and slice the parts to keep the face clean, stabilize the rounded body, and place supports on less visible surfaces while maintaining sufficient layer bonding.
  • Step 5: Print the parts with controlled temperature, cooling, wall thickness, and speed, then inspect the body shape and all thin features before post-processing.
  • Step 6: Remove supports carefully, trim contact points, repair minor defects, and sand only the areas that affect assembly or paint quality so the intended surface texture remains visible.
  • Step 7: Apply primer and the yellow base color, then mask or hand-paint the muzzle, horns, hooves, eyes, eyebrows, and other contrasting details.
  • Step 8: Assemble any separately printed features, touch up the joints, apply a protective clear coat, and complete a final check of color, expression, stability, and surface cleanliness.