FDM Batch-Printed Modular Compartment Housings

FDM Batch-Printed Modular Compartment Housings

facfox-case-study
Process 3D Print
Material Plastic
Quantity 80 pcs
Price Range $100-1,000
Lead Time 3 workdays

Gallery

About Project

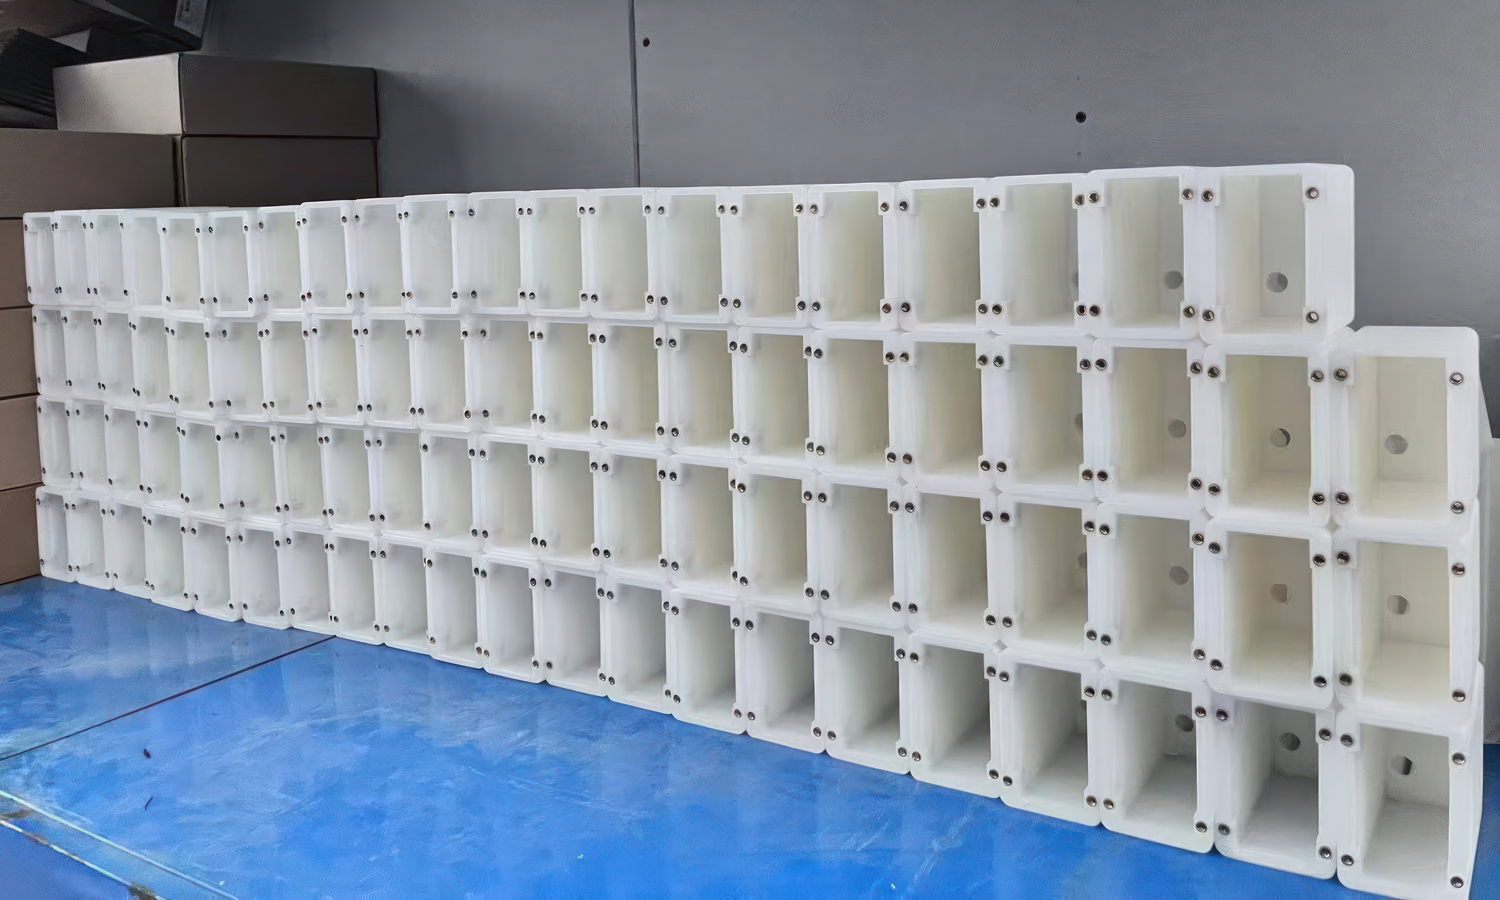
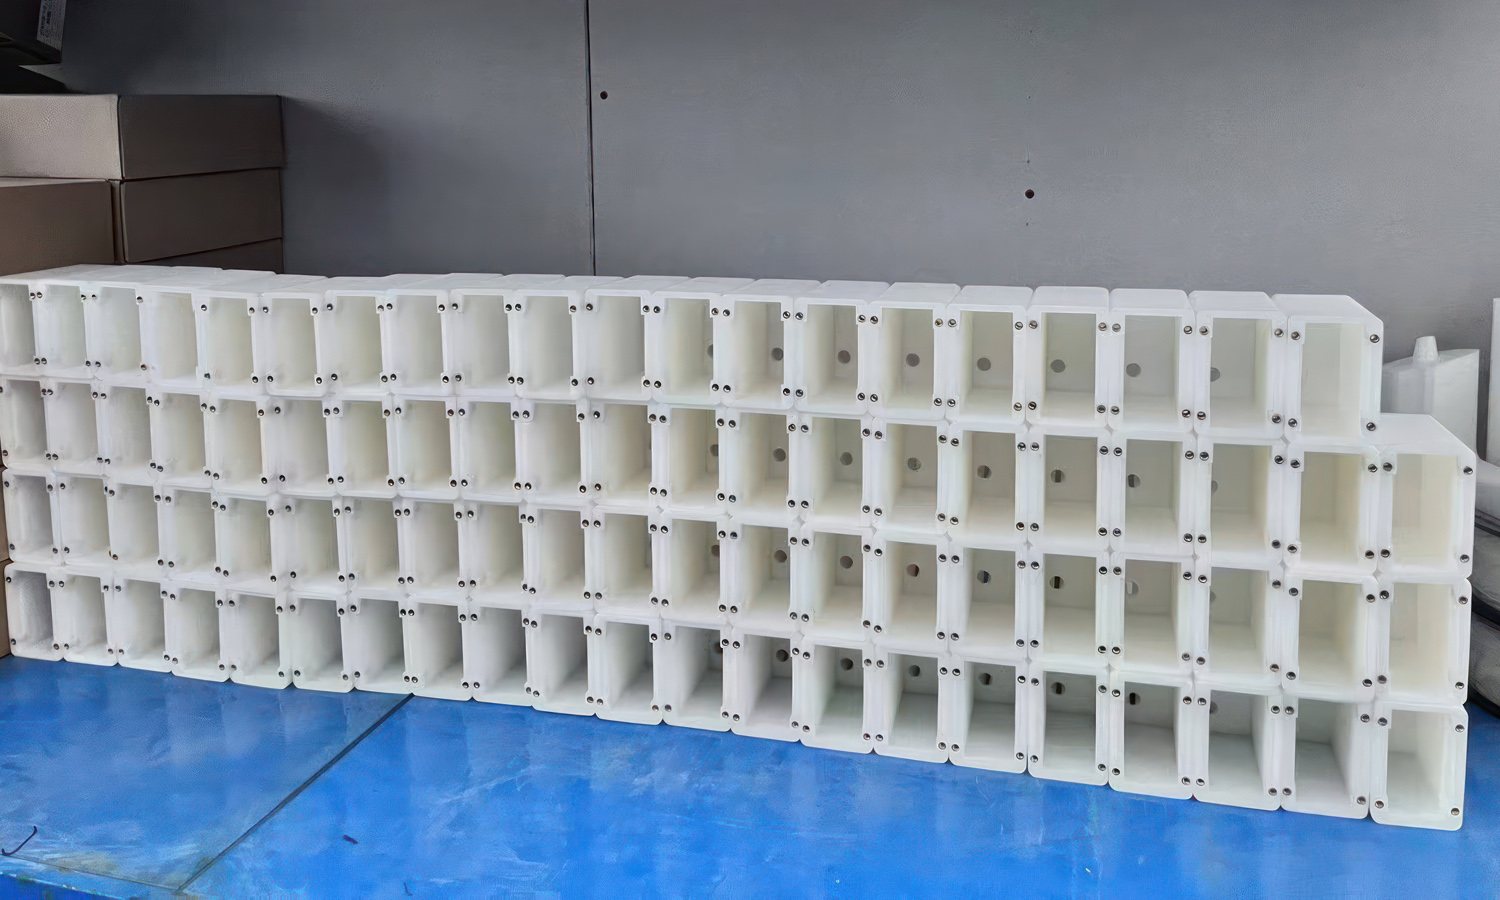
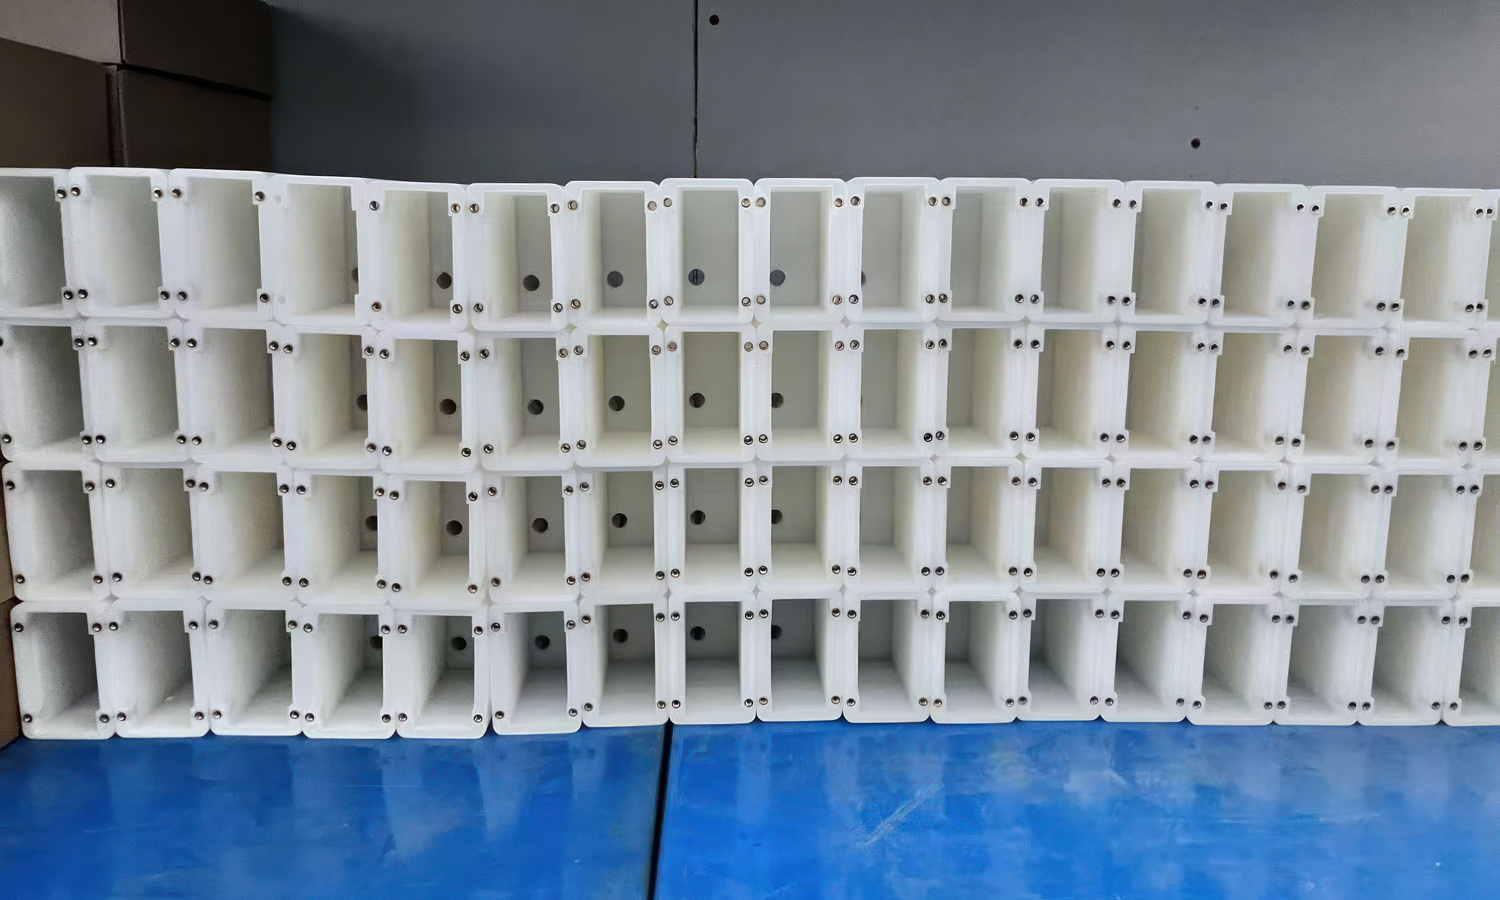
Each FDM printed unit is a deep rectangular compartment with a front flange and six fastening positions. Standardized modules can be connected side by side, stacked vertically, or fitted with front panels and doors. A rear through-hole supports routing, ventilation, sensing, or a mechanical ejector, depending on the final system design.

FDM was selected for economical low-volume production without dedicated tooling. The same digital master could be repeated, revised, and reprinted as needed, making the system suitable for automated storage, smart pickup cabinets, charging cabinets, and other modular equipment. Metal fasteners provide a practical assembly method while allowing individual compartments to be replaced. Contact FacFox or upload your 3D files for a quote.

Solution

  • Step 1: Recommend a suitable process and material based on the client’s requirements and budget, assess printing and assembly risks, and discuss necessary model revisions with the client.
  • Step 2: Establish one controlled master model, standardizing the compartment depth, flange outline, wall thickness, hole pattern, rear opening, and module-to-module pitch.
  • Step 3: Add suitable radii and reinforcement around the flange and fastening areas, and reserve machining allowance where critical holes may require drilling or countersinking after printing.
  • Step 4: Select the build orientation and support strategy to control tube straightness, flange flatness, internal surface quality, and accessibility of the rear through-hole.
  • Step 5: Produce and inspect a first article before batch printing, verifying dimensions, hardware fit, stacking pitch, neighboring-module clearance, and the intended rear-hole function.
  • Step 6: Plan the batch by machine and build cycle, using consistent material conditioning and validated wall, infill, temperature, speed, and cooling settings to reduce variation.
  • Step 7: Print the production quantity while monitoring warping, layer bonding, flange lift, and dimensional drift, keeping traceability for parts from different build batches.
  • Step 8: Remove supports and surface artifacts, finish the fastening holes to specification where required, install the metal hardware, and inspect each compartment with gauges or a reference fixture.
  • Step 9: Assemble a representative matrix to verify row straightness, stacking alignment, cumulative pitch, access to the rear openings, and replaceability before final batch acceptance and packing.