Material Resin
Quantity 1 pcs
Price Range $1-100
Lead Time 3 workdays
Gallery
About Project
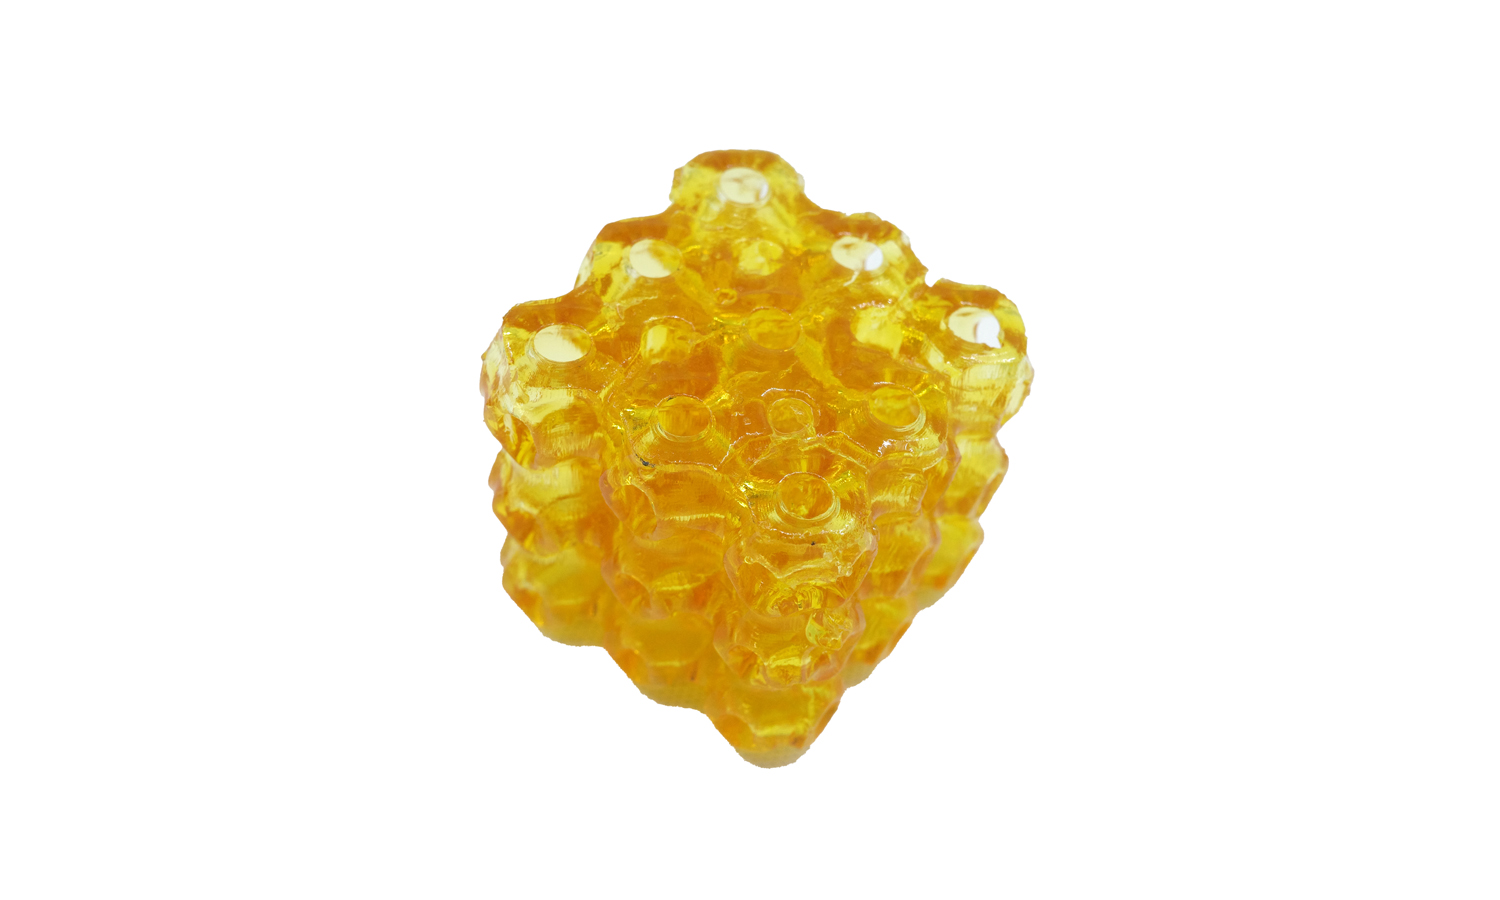
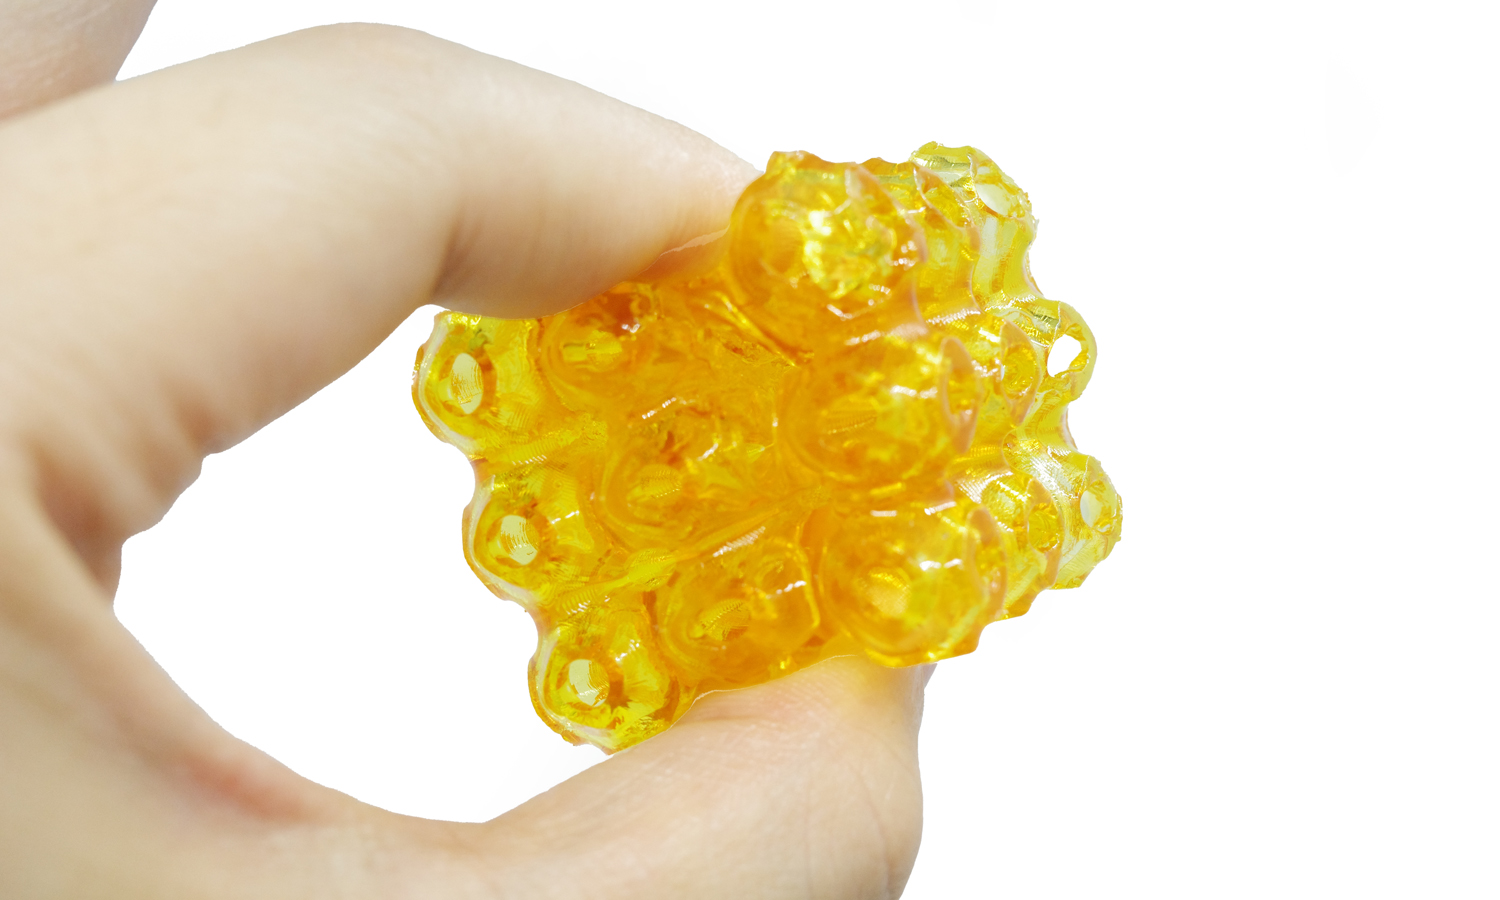
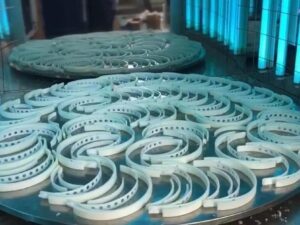
When it comes to fabricating ultra-complex, delicate structures like this orthogonal lattice block, traditional 3D printing completely falls short. This piece was brought to life using Digital Light Processing (DLP)ŌĆöa high-resolution vat photopolymerization technology. Unlike filament extrusion printers that trace paths layer-by-line using a hot nozzle, a DLP printer utilizes a high-definition projector screen underneath a vat of liquid polymer. It flashes an entire cross-sectional layer of the design at once, using ultraviolet (UV) light to instantly cure and solidify the liquid material.
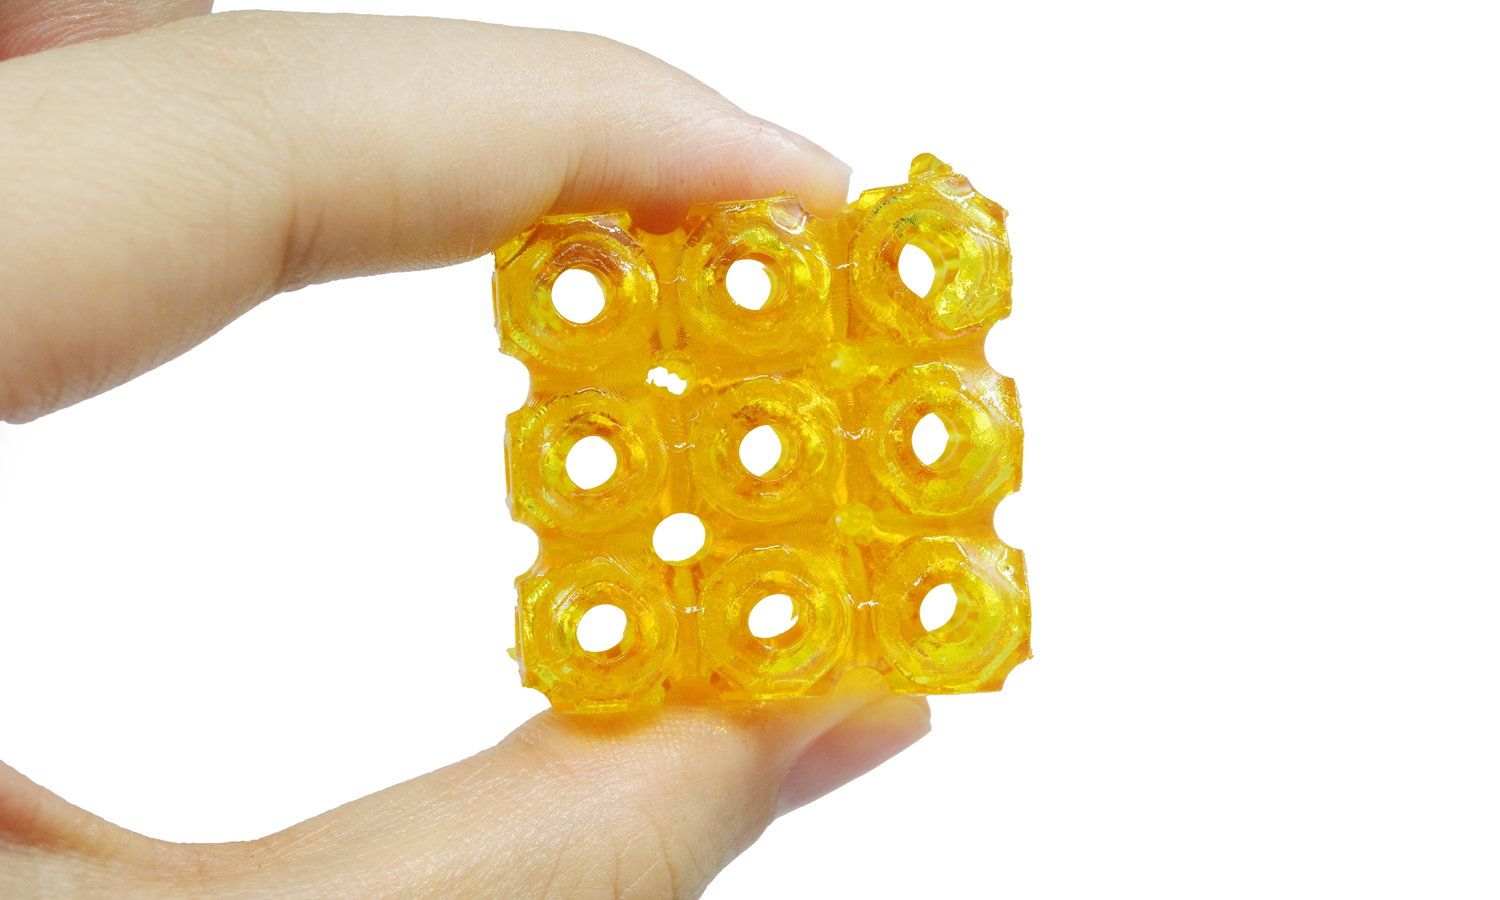
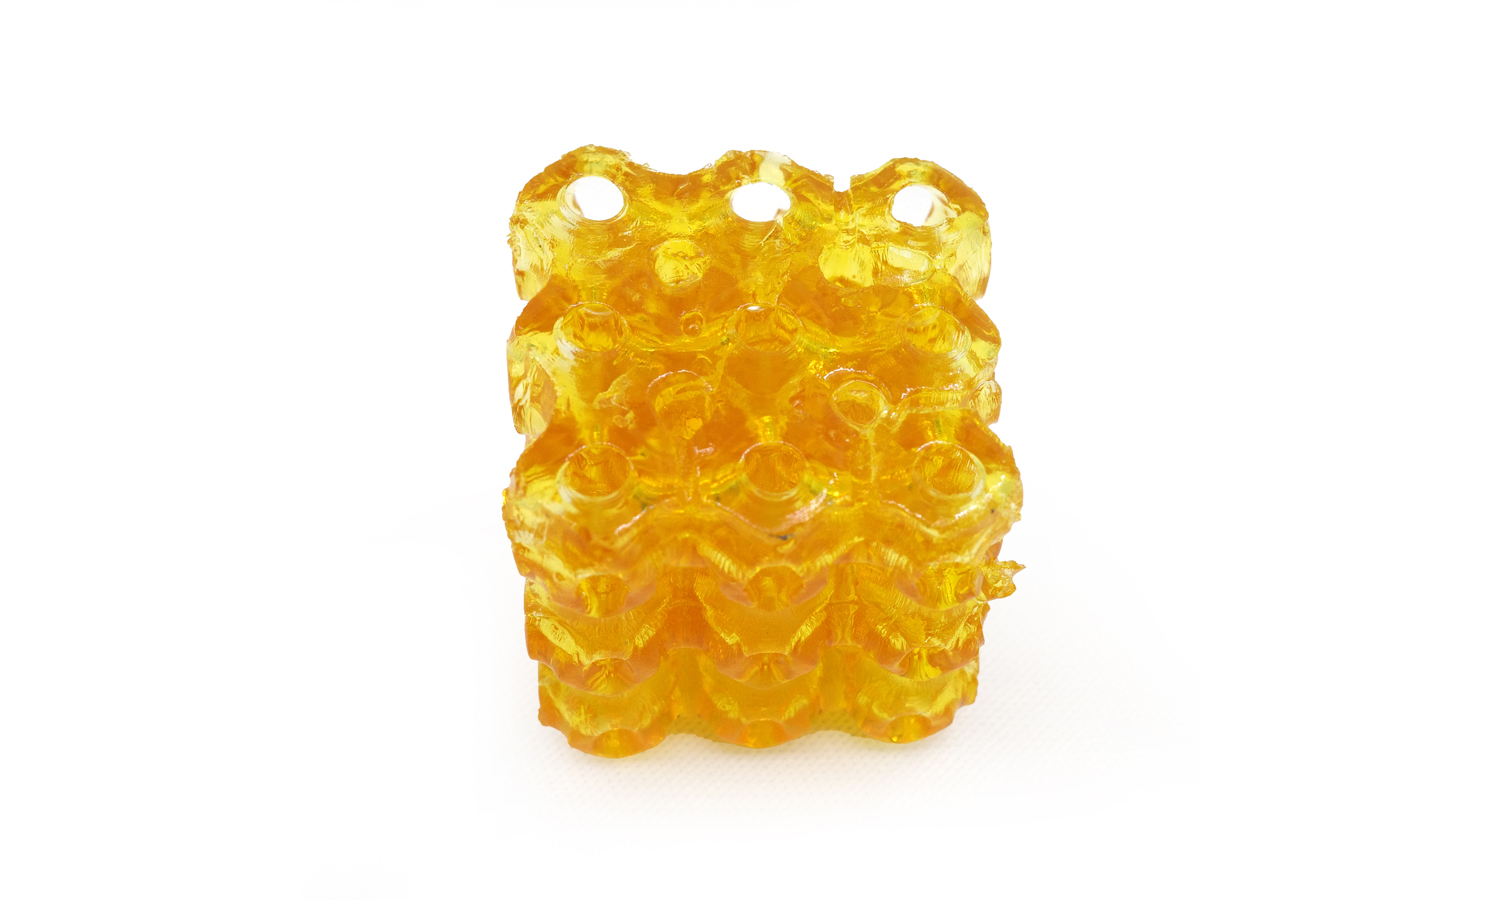
The engineering magic of DLP lies in its microscopic feature resolution (down to 20ŌĆō100 microns) and its capability to print completely isotropic components. Because the layer curing happens uniformly across the liquid boundary, the resulting block has no directional weak spots. This is why the tiny, hollow channels running through this block are flawlessly circular, completely unobstructed by sagging material, and smooth right out of the printer. This level of microscopic fidelity makes DLP the gold standard for parts requiring absolute geometric perfection.
Turn Your Advanced Concepts Into Reality with FacFox
Are you looking to push the boundaries of design with complex lattices, microfluidic chips, or high-definition components? FacFox is your premier industrial manufacturing partner. As a leading online 3D printing platform, we provide access to state-of-the-art DLP, SLA, and SLS machinery capable of achieving microscopic accuracy on your most ambitious projects. From rapid functional prototypes to low-volume production runs, our team ensures unmatched detail, clean internal channels, and rapid global shipping. Upload your CAD files to FacFox today for an instant quote, and letŌĆÖs engineer the future together!
Solution
- Step 1: The CAD model of the orthogonal grid block was digitally generated and sliced into hundreds of microscopic, two-dimensional horizontal layers using specialized software.
- Step 2: A photosensitive hydrogel precursor solution, containing specialized monomers and light-activated initiators, was formulated and poured into the clean resin vat of a DLP 3D printer.
- Step 3: The build platform was lowered into the liquid vat, establishing a precise, microscopic gap between the platform and the bottom window corresponding to the exact layer thickness.
- Step 4: An entire cross-sectional layer image was projected simultaneously from beneath the vat using an ultra-high-resolution UV light engine, causing the exposed liquid resin to instantly polymerize and solidify.
- Step 5: The build platform was raised to separate the newly cured layer from the vat window, allowing fresh, unpolymerized liquid hydrogel to flow underneath the part.
- Step 6: The exposure and separation cycles were repeated sequentially for hundreds of layers until the entire three-dimensional lattice structure was fully formed.
- Step 7: The completed block was removed from the build platform and thoroughly rinsed in a chemical solvent bath to dissolve any unreacted liquid monomer trapped within the fine internal channels.
- Step 8: Post-printing UV irradiation was applied to the washed part in a curing chamber to maximize polymer cross-linking density, followed by a hydration step to stabilize the hydrogel network.


