Gallery

About Project
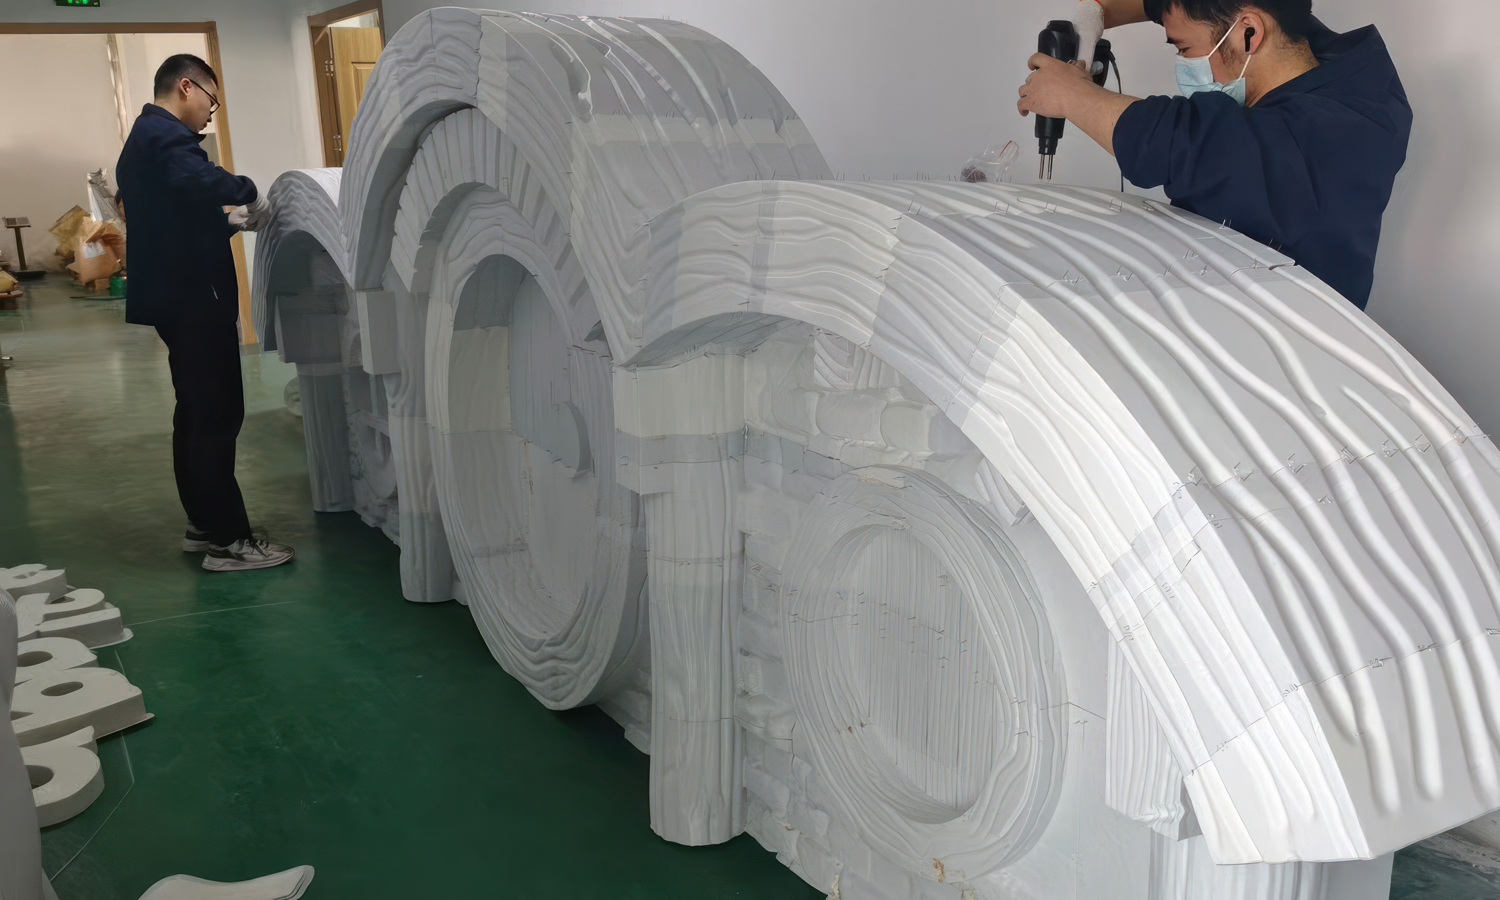
From the chaotic workshop to the shipping truck, these photos capture the “beast mode” of modern manufacturing: FGF (Fused Granular Fabrication) 3D Printing.
What youŌĆÖre looking at arenŌĆÖt just “giant plastic blocks”ŌĆöthey are the future of large-scale architecture. These pieces are likely custom door headers, ornate window surrounds, or molds for GRC (Glass Fiber Reinforced Concrete). In the world of traditional construction, carving these from stone or hand-shaping them from wood would take weeks of skilled labor. With a pellet printer, youŌĆÖre looking at a production speed of 4-5 square meters a day.
The secret? It skips the expensive 3D printing “wire” and goes straight for industrial plastic pellets. ItŌĆÖs faster, cheaper, and tough as nails. Yes, the surface looks like a stack of thick noodles right now, but thatŌĆÖs just the “raw” phase. After a quick session of sanding and coating, these parts will look like premium masonry or sleek futuristic panels, ready to be bolted onto a building facade.
Go Big with FacFox
When your project outgrows a desktop, you need industrial muscle. FacFox specializes in large-format FGF 3D printing, turning massive digital designs into physical reality with unmatched efficiency. Whether you need oversized architectural components, industrial molds, or custom landscape art, our fleet of pellet printers is ready to scale your vision. Upload your CAD files to FacFox today and letŌĆÖs build something massiveŌĆöfaster and more affordably than ever.
Solution
- Step 1: The digital 3D model was designed in CAD software and subsequently sliced into several manageable segments to fit the printerŌĆÖs build volume and facilitate transportation.
- Step 2: Raw plastic pellets were loaded into the hopper, where they were melted and pressurized by a rotating screw inside the industrial extruder.
- Step 3: The molten material was extruded through a large-diameter nozzle and deposited layer-by-layer onto a massive print bed, following the programmed toolpath.
- Step 4: Once the printing was finalized, each individual segment was removed from the build plate and inspected for structural integrity.
- Step 5: The separate sections were aligned and fused together by technicians using industrial adhesives and heat-welding tools to create the complete architectural form.
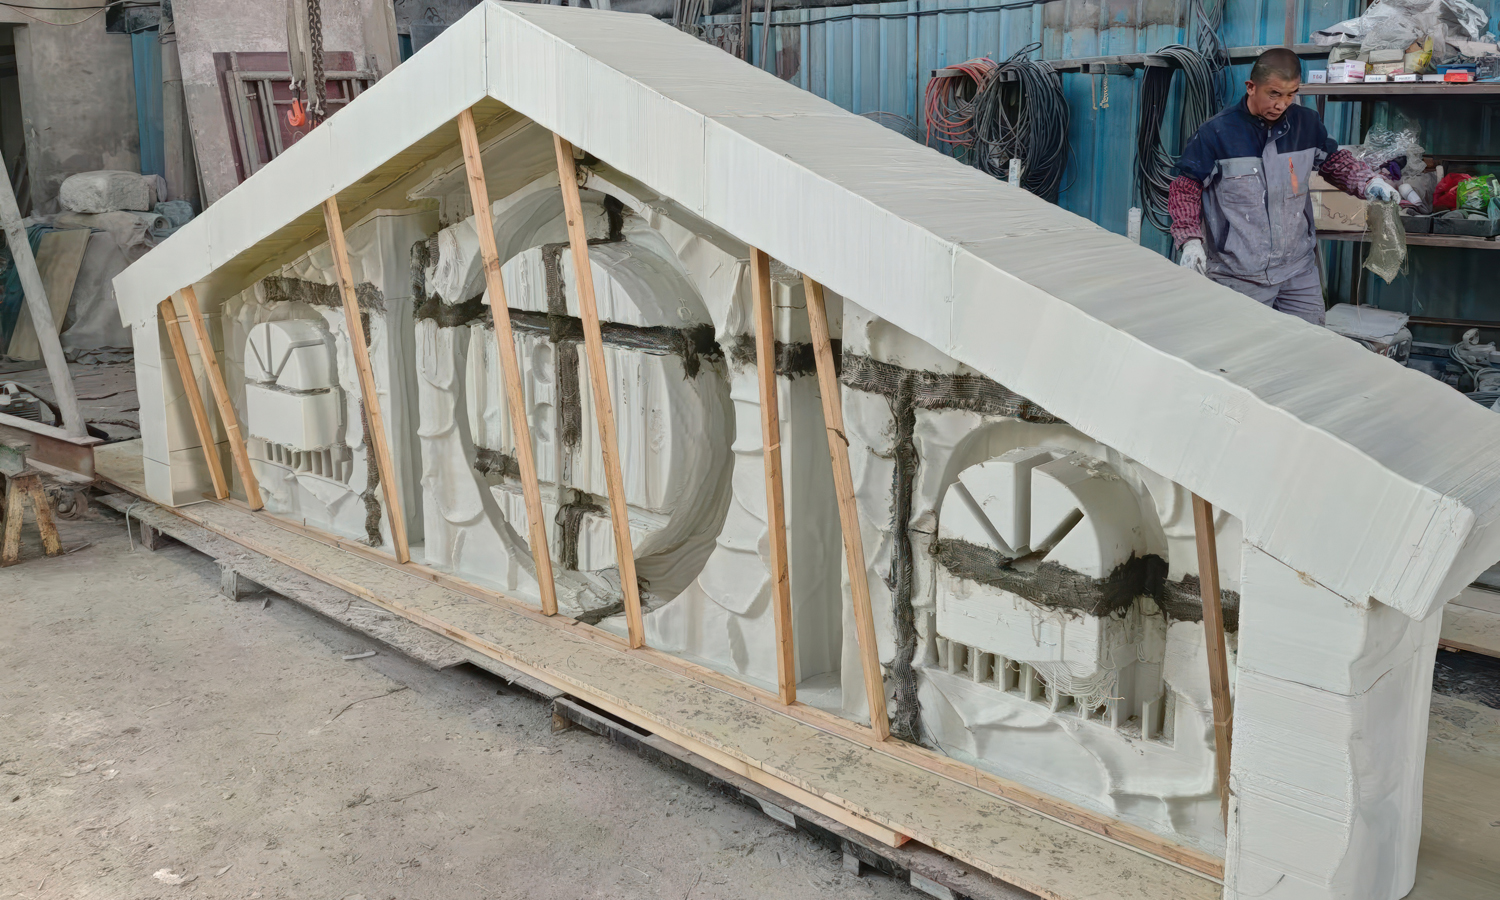
- Step 6: A structural support system, consisting of wooden bracing and mortar, was installed on the rear side of the component to provide necessary rigidity for installation.
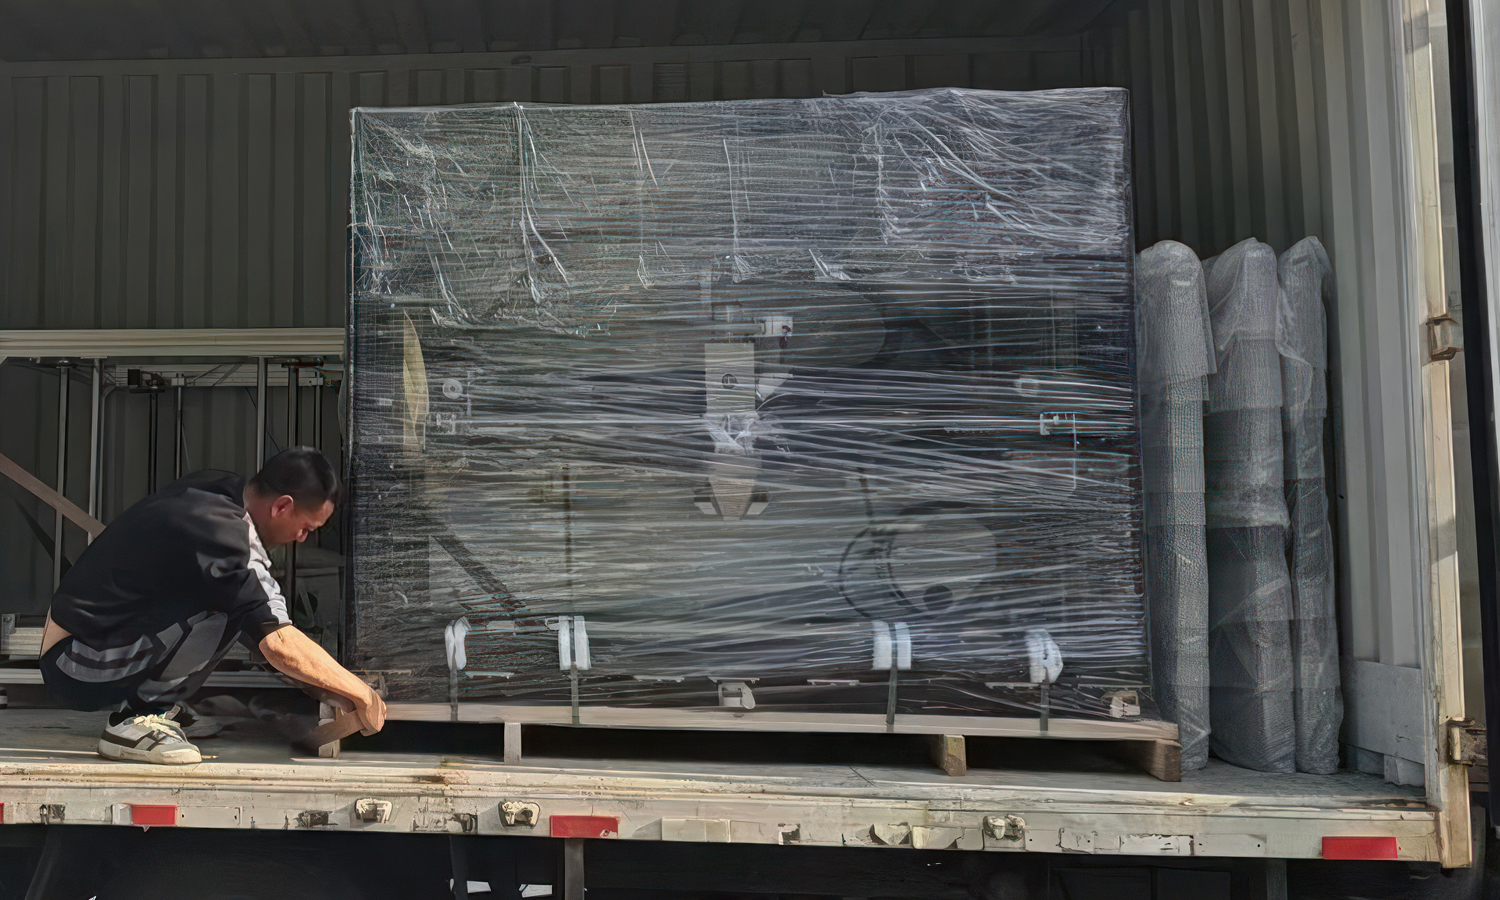
- Step 7: The final assembly was wrapped in protective film and loaded onto a transport vehicle for delivery to the construction or finishing site.


