Material Resin
Quantity 1 pcs
Price Range $100-1,000
Lead Time 3 workdays
Gallery
About Project
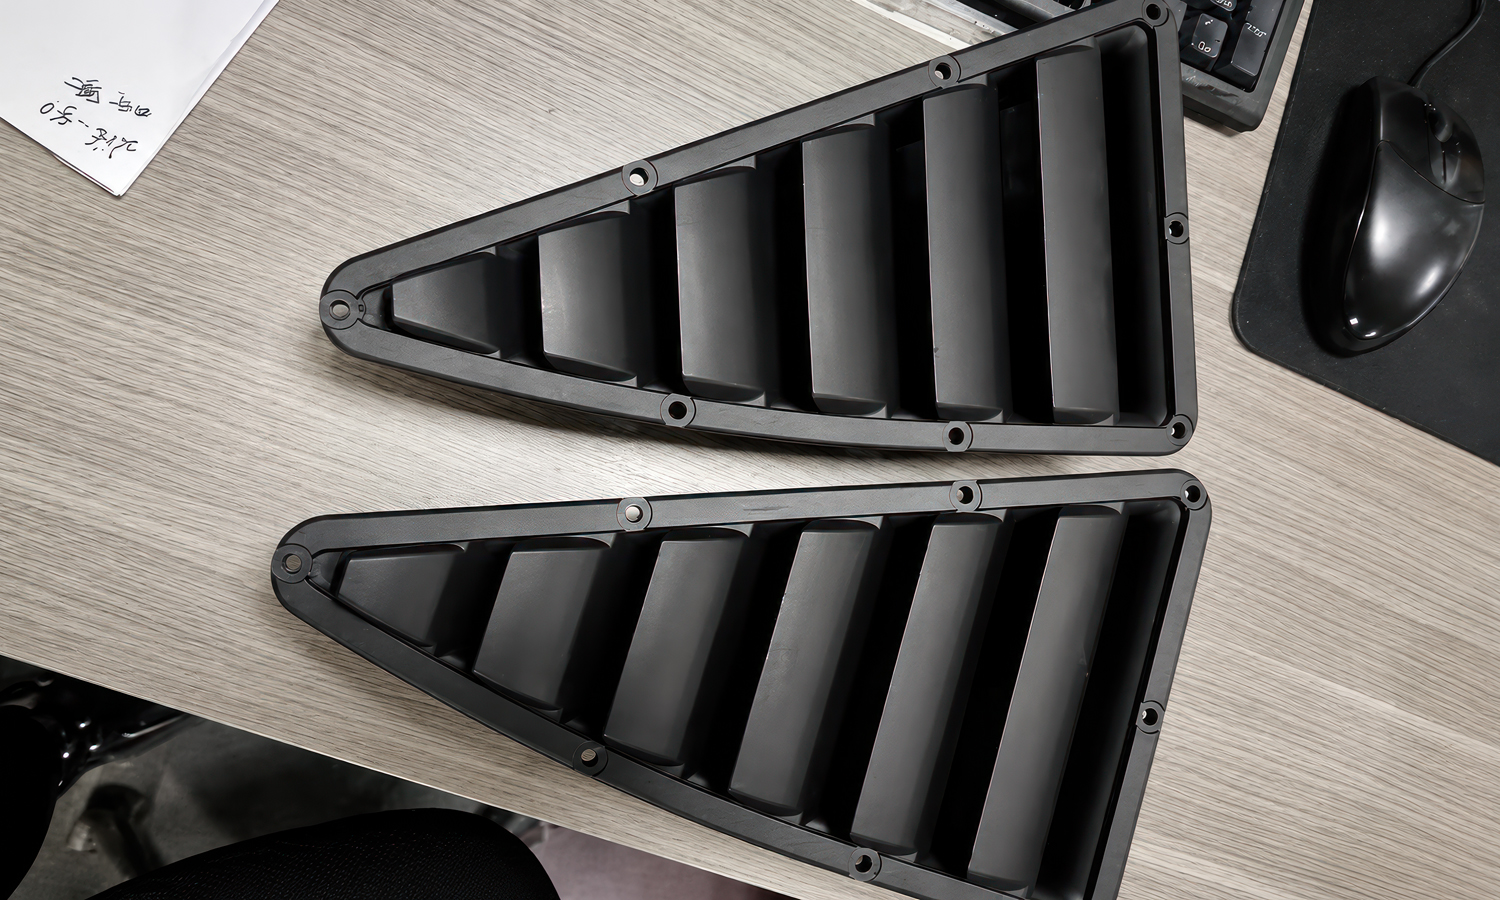
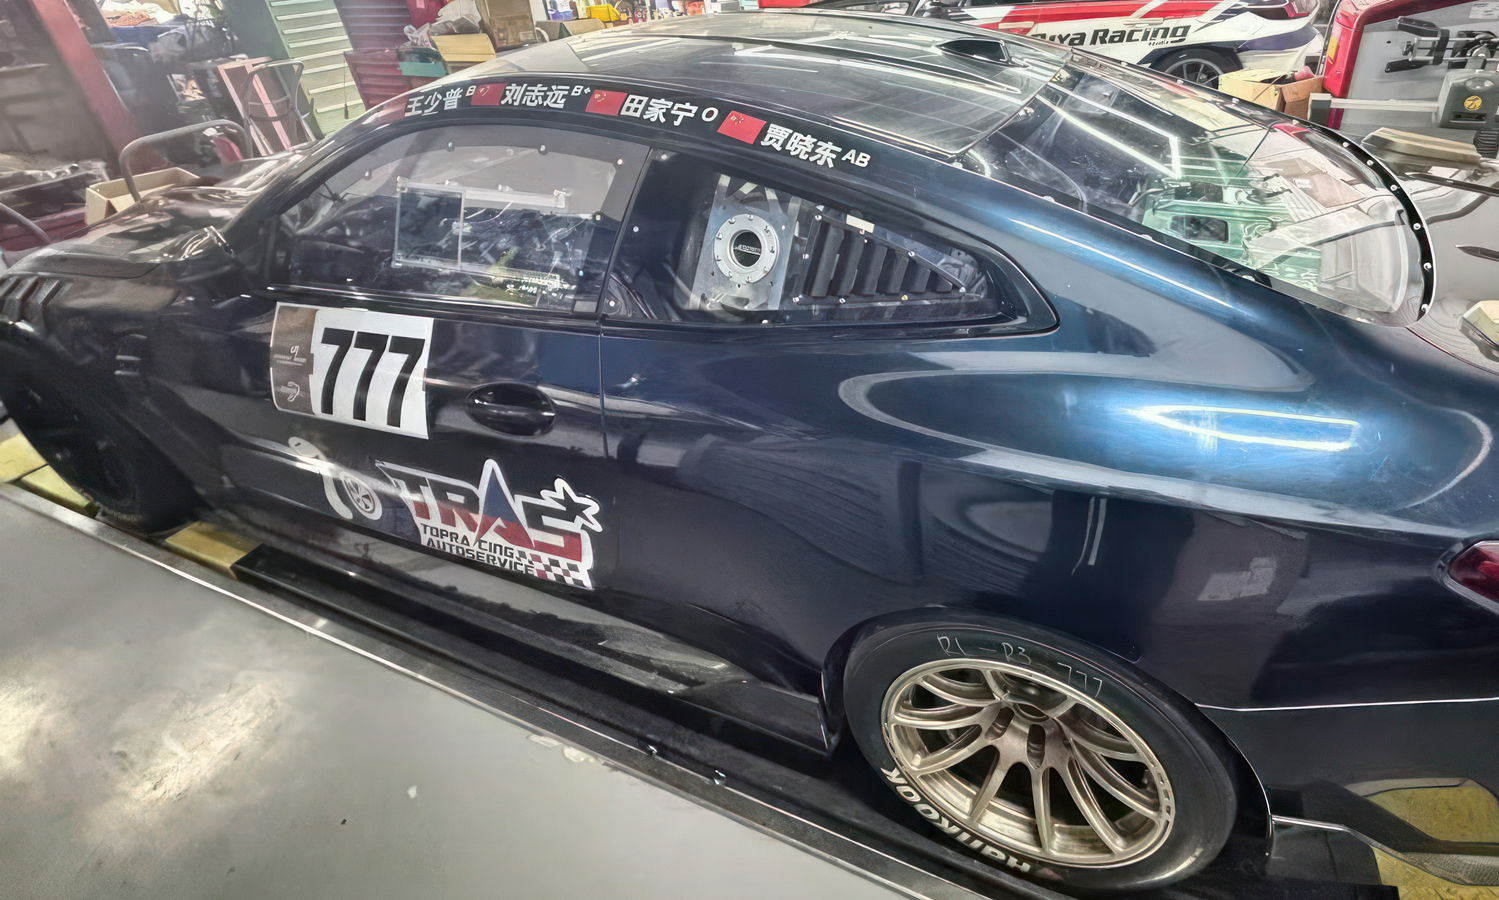
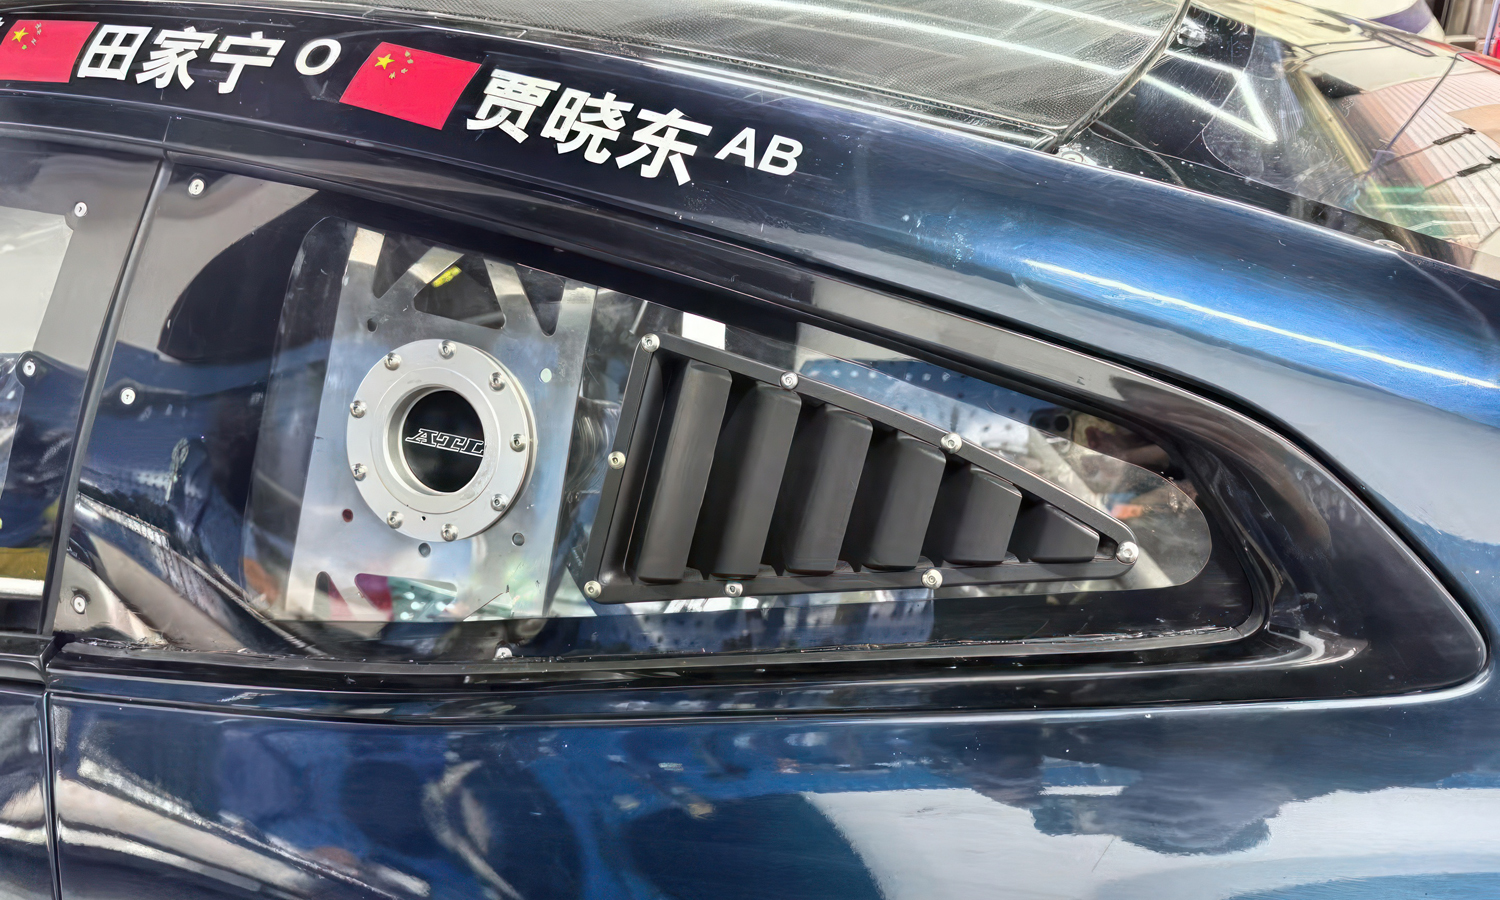
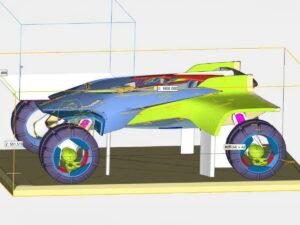
When a track car needs better cabin ventilation, the rear quarter window is a surprisingly useful place to start. In this case, the component was a triangular louver vent designed to mount inside a polycarbonate/Lexan side window panel. Its job is simple: help hot air, pressure, and race-day discomfort escape from the cabin. It is not glamorous, but neither is sitting in a sealed cockpit that feels like a greenhouse with a roll cage.
The part geometry included a slim outer frame, multiple angled louvers, and several screw mounting points around the perimeter. For early development, SLA 3D printing was a practical choice. The process can produce clean surfaces, sharp edges, and fine details , which are helpful when checking how the vent sits against a curved window opening. After sanding and painting, the prototype looked close to a finished motorsport component.
However, appearance is only half the story. A resin-printed and painted part may be excellent for design review, fitment testing, photography, or short-term evaluation , but ordinary SLA resin is usually too brittle and heat-sensitive for long-term racing use . Mounting holes, thin louver roots, and frame corners are the areas most likely to crack under vibration, heat, and repeated installation .
The prototype still delivered real value. It confirmed the shape, screw positions, louver spacing, visual style, and installation method before committing to a stronger production material. For final track use , the design could be upgraded to PA12, nylon carbon fiber, ASA, PC, or another engineering-grade material , depending on strength, temperature, and durability requirements.
This is exactly where rapid prototyping shines: test fast, learn cheaply, and avoid turning ŌĆ£almost rightŌĆØ into ŌĆ£expensively wrong.ŌĆØ FacFoxŌĆÖs rapid prototyping service helps teams move from concept to functional prototype with SLA, SLS, MJF, CNC , and other manufacturing options for automotive and motorsport parts.
Solution
- Step 1: The design requirements were reviewed, including the mounting position, window shape, louver direction, screw locations, and expected visual appearance.
- Step 2: The rear quarter window opening was measured, and the overall vent profile was defined according to the available installation space.
- Step 3: A 3D CAD model was created with an outer frame, angled louver blades, rounded corners, and reinforced screw-mounting areas.
- Step 4: The CAD model was checked for wall thickness, clearance, hole alignment, and possible weak points around the louver roots and mounting holes.
- Step 5: SLA 3D printing was selected for the prototype because a smooth surface finish and fine detail reproduction were required.
- Step 6: The model was oriented in the build preparation software, and support structures were added to protect the frame and louver geometry during printing.
- Step 7: The part was printed with photosensitive resin using the SLA process, layer by layer, until the full louver vent geometry was formed.
- Step 8: The printed part was removed from the build platform, and uncured resin was washed away with a cleaning solution.
- Step 9: The support structures were carefully removed, and the supported areas were trimmed to avoid damaging the thin frame or louver edges.
- Step 10: The part was post-cured under UV light so that the resin could reach its intended hardness and dimensional stability.
- Step 11: The surface was sanded and refined, especially around the screw holes, outer frame, and visible louver faces.
- Step 12: A primer layer was applied to improve paint adhesion and to reveal small surface defects.
- Step 13: Minor surface imperfections were corrected, and the part was sanded again before final coating.
- Step 14: A black paint finish was applied to give the prototype a clean motorsport-style appearance.
- Step 15: The mounting holes were inspected, cleaned, and test-fitted with screws or fasteners.
- Step 16: The finished prototype was installed on the polycarbonate/Lexan rear quarter window panel for fitment validation.
- Step 17: The louver angle, screw alignment, visual integration, and cabin ventilation layout were evaluated on the vehicle.
- Step 18: Design feedback was recorded, and material upgrades were recommended for final track use, such as PA12, nylon carbon fiber, ASA, or PC, instead of ordinary SLA resin.


