Material Resin
Quantity 1 pcs
Price Range $100-1,000
Lead Time 8 workdays
Gallery
About Project
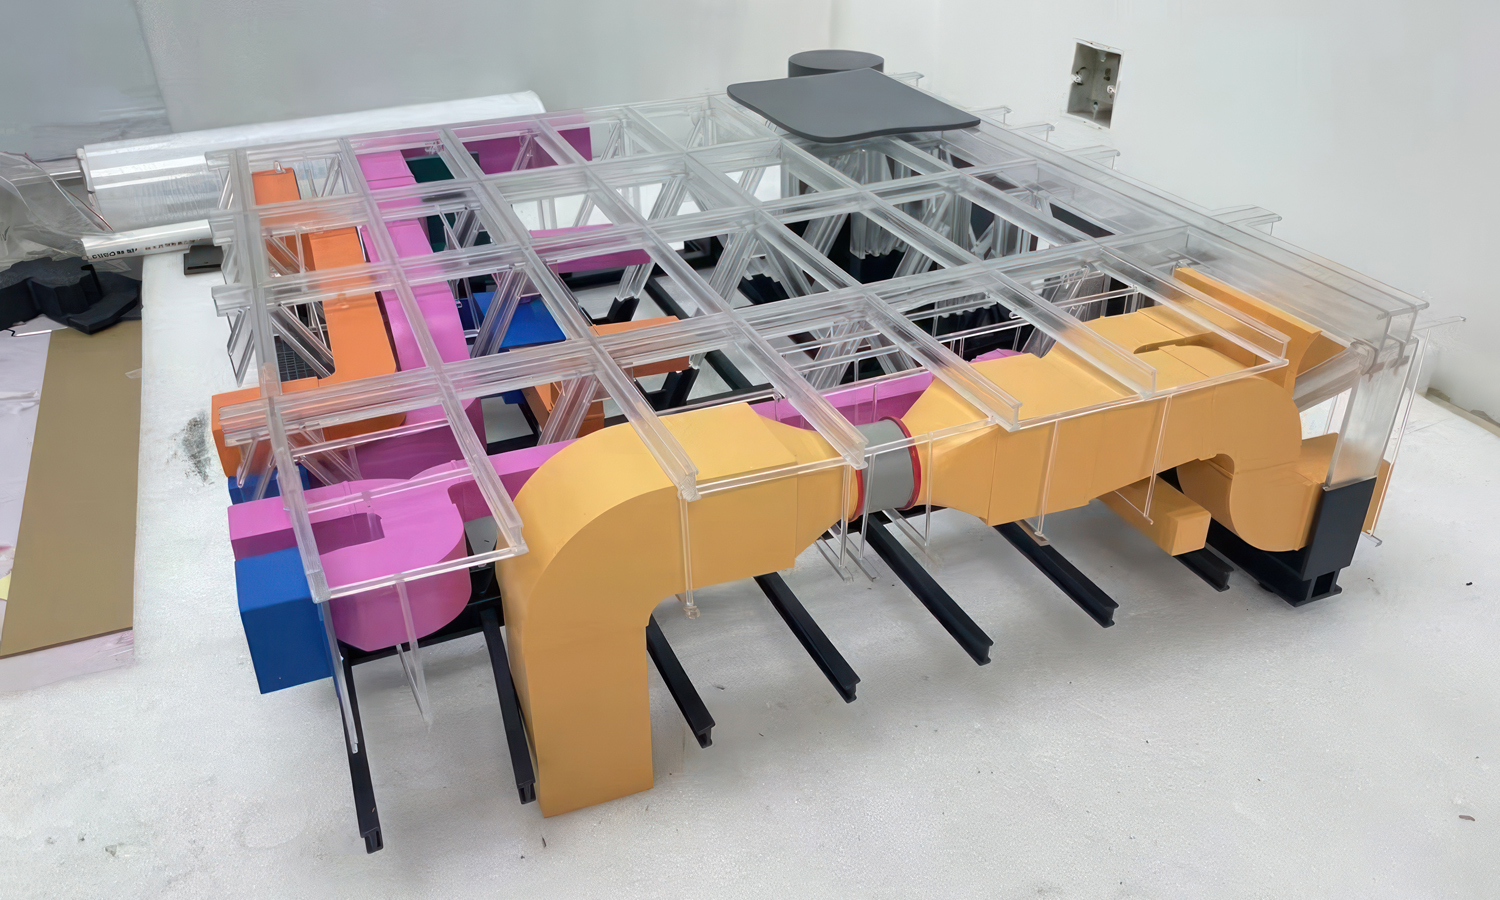
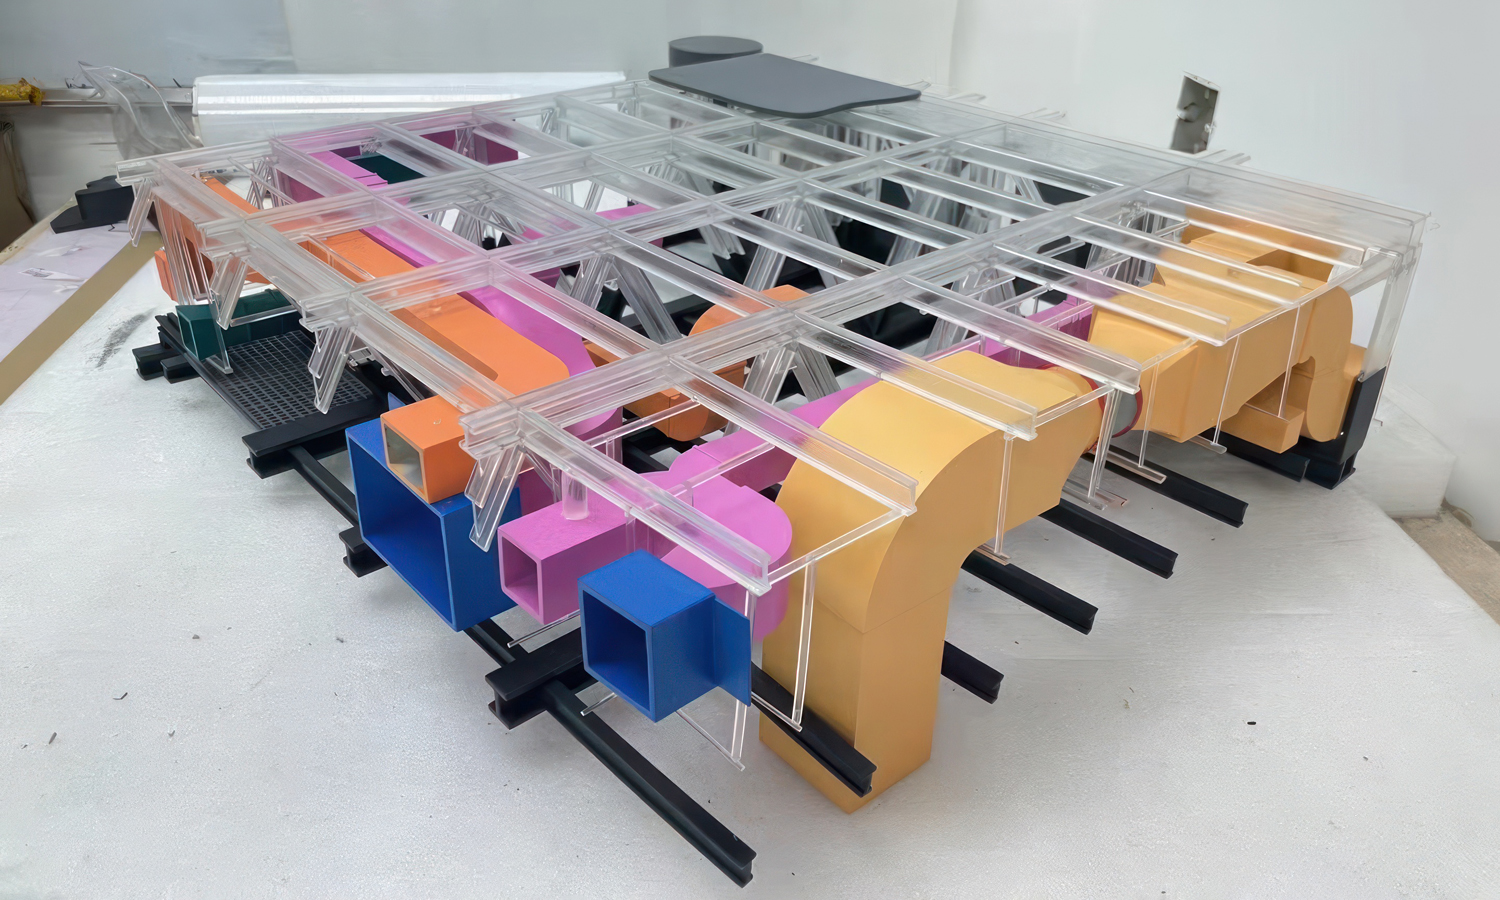
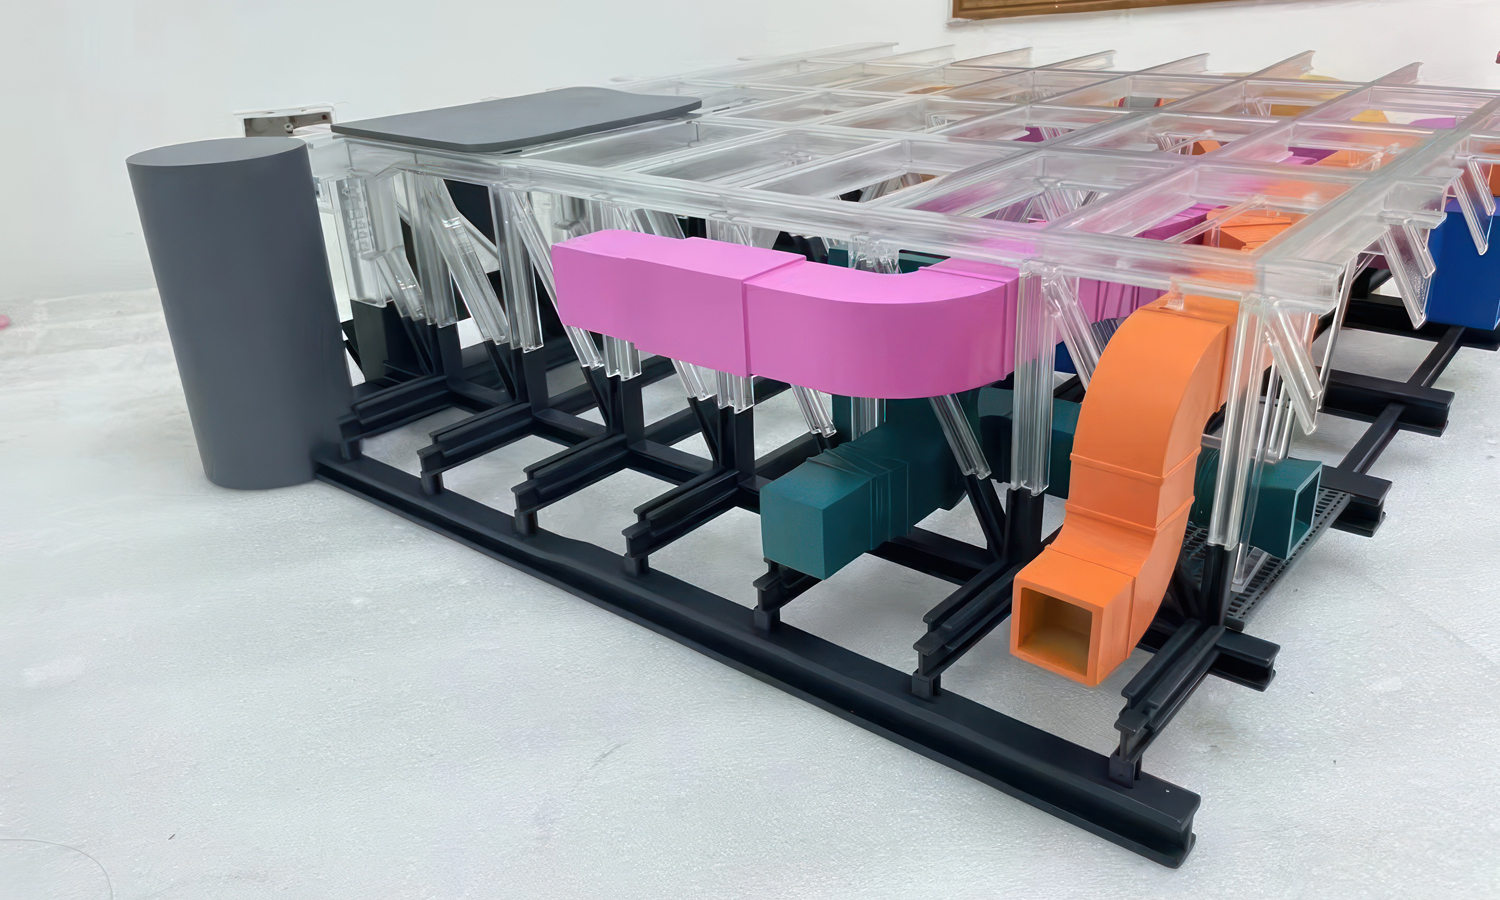
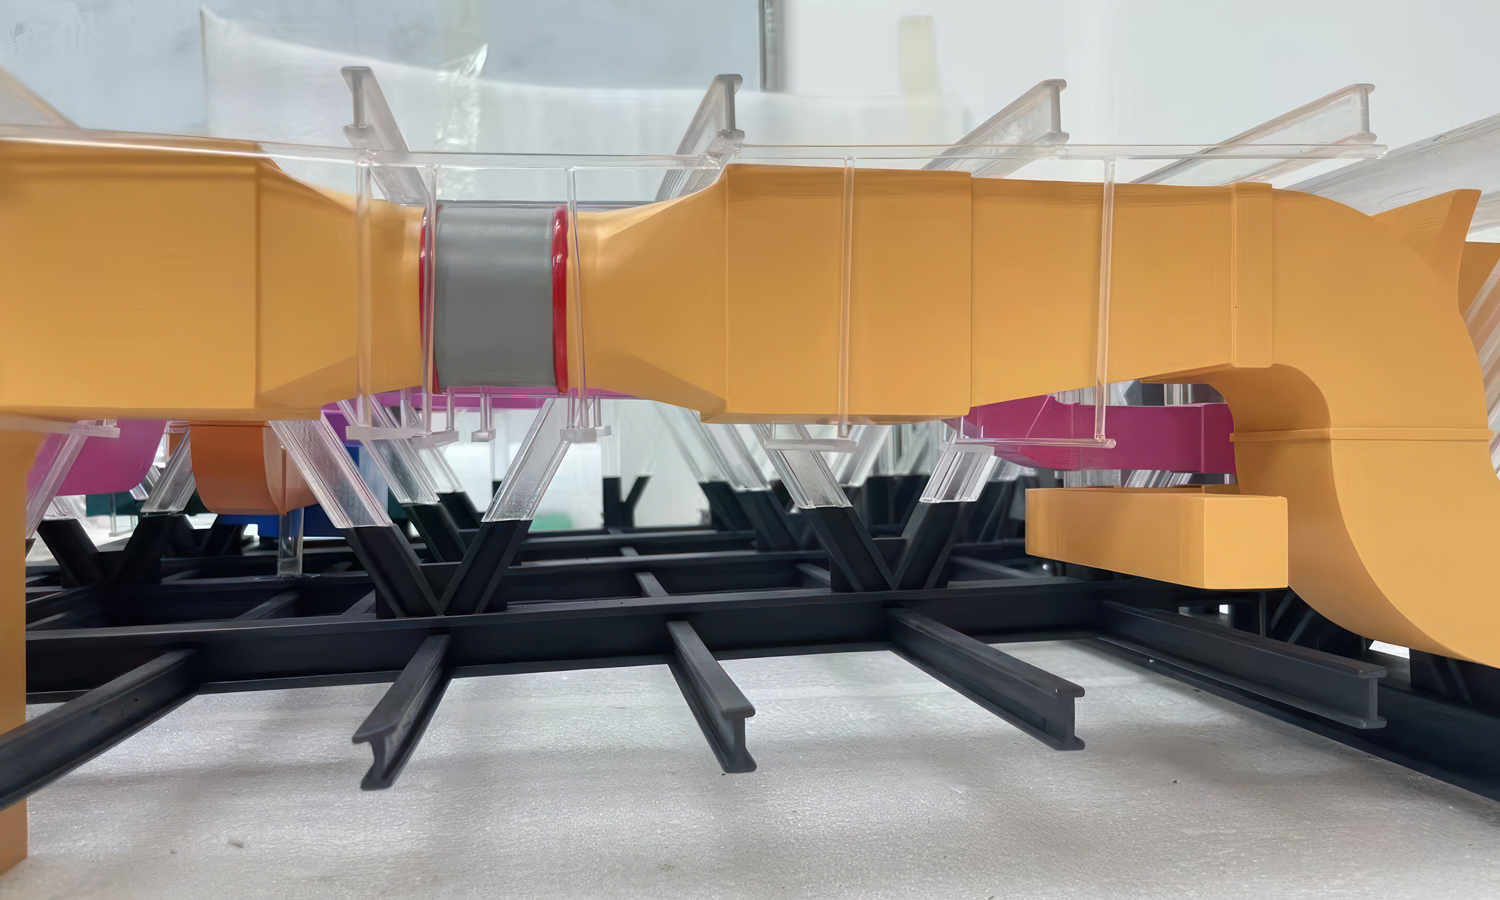
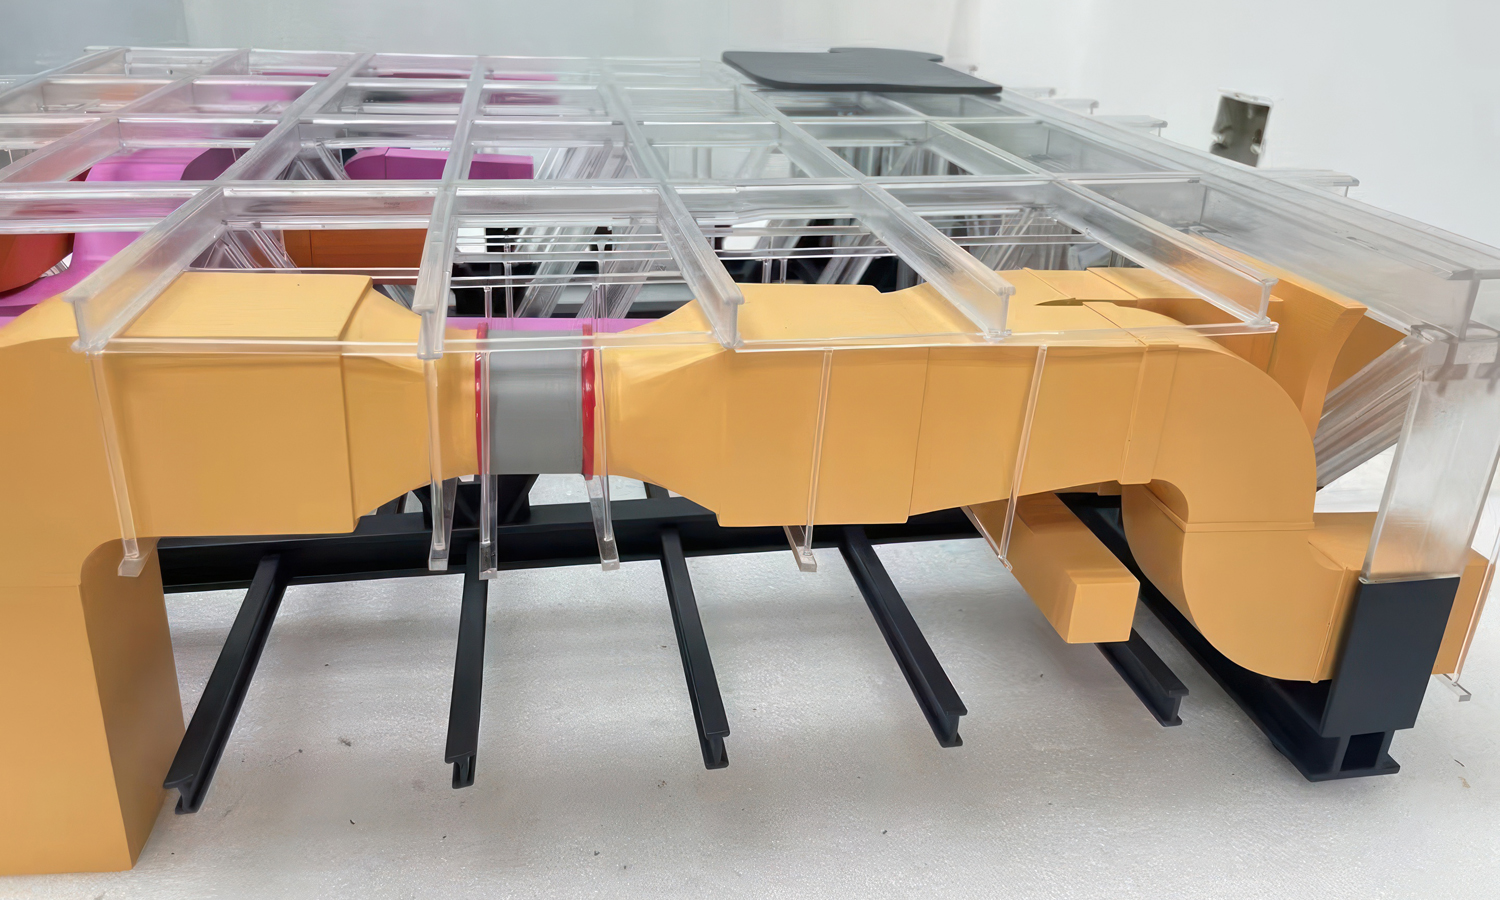
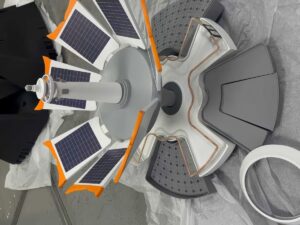
This vibrant and intricate venting system demonstration model is a testament to the capabilities of SLA 3D printing. The model, featuring an array of colorful square venting tubes supported by contrasting black and clear racks, is a captivating display of both form and function.
The clear rack in the front provides an unobstructed view of the tube arrangement, highlighting the meticulous design and precision engineering involved. The thin, delicate nature of the racks demands exceptional accuracy in the 3D printing process, a hallmark of FacFox’s SLA services.
The dark grey column and corner cube add depth and dimension to the model, potentially serving as structural supports or functional elements within the system. These components further demonstrate the versatility and complexity achievable through SLA 3D printing.
FacFox: Your Partner in Precision Prototyping
This demonstration model is a prime example of how SLA 3D printing can be utilized to create visually striking and functional prototypes. FacFox specializes in delivering high-quality, rapid prototyping solutions to bring your ideas to life.
Whether you need a complex assembly like this venting system or a simple concept model, our SLA 3D printing services provide the precision and detail you require.
Contact us today to discuss your project and experience the FacFox difference.
Solution
- Step 1: Design Creation.┬ĀThe design for the colorful venting system demonstration model was created using CAD software. The design included colorful square venting tubes, two supporting racks (one black and one clear), a dark grey thick column, and a cube.
- Step 2: Preparation of the SLA Printer. The SLA 3D printer was prepared by ensuring the resin tank was filled with the SLA Generic Resin and SLA Clear Resin and the build platform was clean and properly aligned.
- Step 3: Printing of Components.┬ĀThe components were printed layer by layer using the SLA 3D printer. The colorful venting tubes, racks, column, and cube were all printed with high precision to ensure proper assembly later.
- Step 4: Post-Processing. After printing, the components were carefully removed from the build platform. Excess resin was cleaned off using isopropyl alcohol, and the parts were cured under UV light to achieve full strength. The clear resin rack was covered with a thin layer of clear acrylic oil. The other rack was painted into black and the column was painted into dark grey.
- Step 5: Assembly of the Racks. The colorful square venting tubes were inserted into the slots of the black racks, then the clear racks were assembled. Each tube was carefully positioned to ensure a visually interesting structure. The clear rack was placed in the front to showcase the arrangement and design of the tubes more clearly, while the black rack was positioned at the back for support.
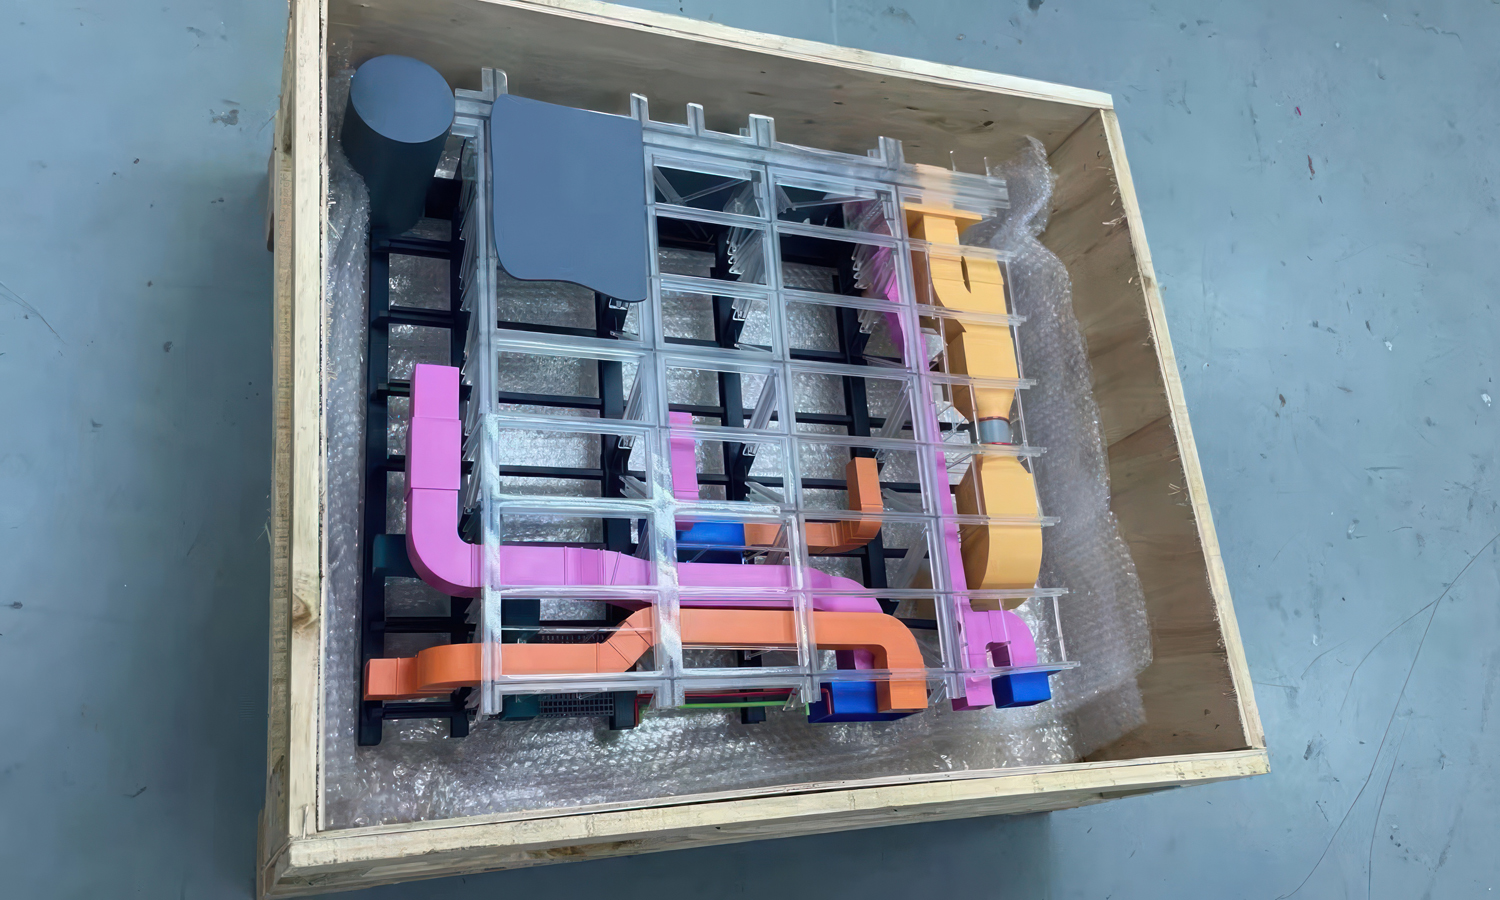
- Step 6: Final Inspection.┬ĀThe assembled model was inspected for any defects or misalignments. Any necessary adjustments were made to ensure the model was stable and accurately represented the design.
- Step 7: Presentation.┬ĀThe completed colorful venting system demonstration model was presented, showcasing the arrangement and design of the venting tubes supported by the two racks.

