Material Plastic
Quantity 1 pcs
Price Range $1-100
Lead Time 2 workdays
Gallery
About Project
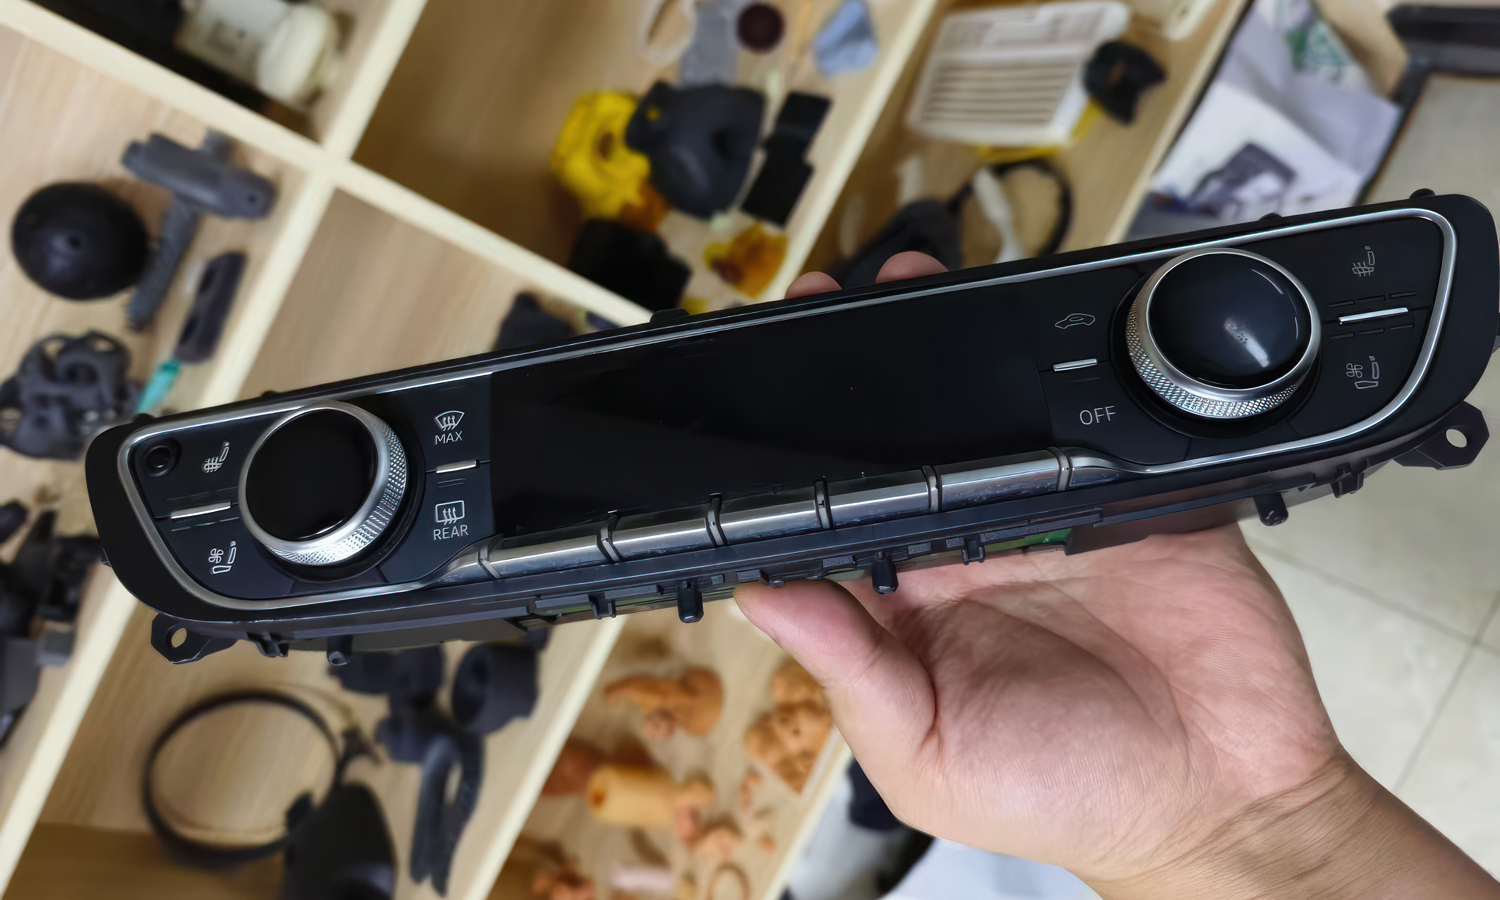
In the realm of automotive customization and innovation, 3D printing is rapidly emerging as a game-changer. A prime example is this MJF 3D Printed Audi A4 Climate Control Unit Nylon Housing. Precision-crafted with Selective Laser Sintering (SLS) technology, this housing exemplifies the potential of 3D printing to create intricate and functional components for your vehicle.
Key Features:
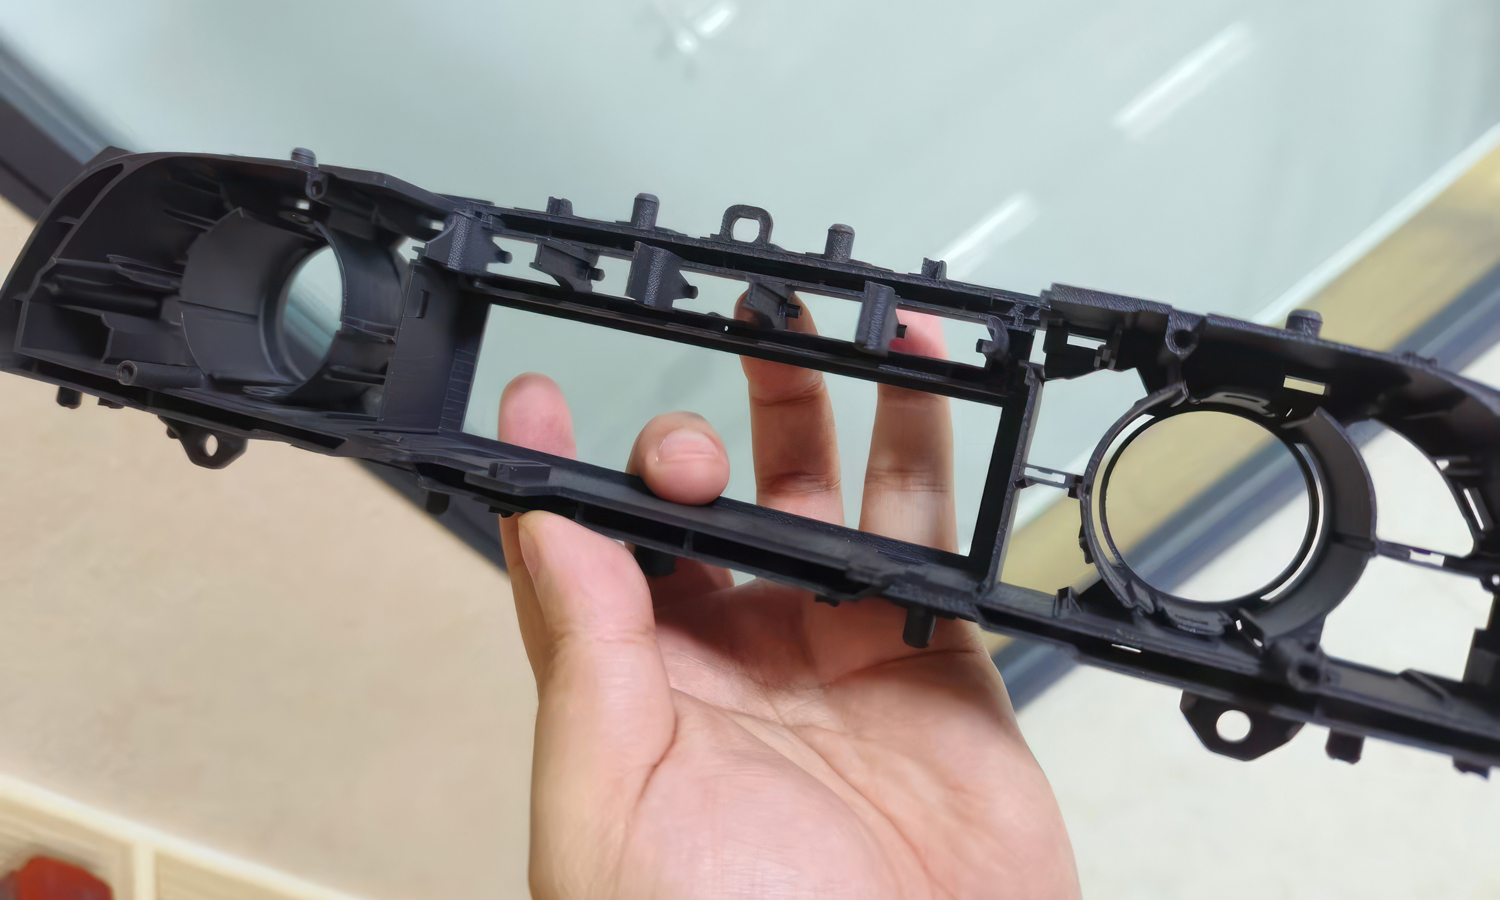
- Exceptional Detail: The housing boasts remarkable detail, with precise cutouts and openings for buttons, screens, and connectors, ensuring a seamless fit and operation.
- Durability: Manufactured from high-quality nylon, this housing offers exceptional strength and resistance to wear and tear, guaranteeing long-lasting performance.
- Customization: Tailor this housing to your exact specifications, including color, texture, and design elements, to perfectly complement your vehicle’s interior.
FacFox: Your Partner in Automotive 3D Printing
At FacFox, we specialize in delivering top-notch 3D printing services for automotive accessories. Our state-of-the-art technology and experienced team enable us to bring your automotive vision to life. From concept to reality, we provide comprehensive support, ensuring your project is executed flawlessly.
Contact us today to explore how 3D printing can revolutionize your automotive experience!
Solution
- Step 1: Design Creation. The design for the climate control unit housing was created using CAD software. The dimensions and features were carefully modeled to ensure a precise fit with the control unit.
- Step 2: 3D Scanning. The original control unit was scanned using a 3D scanner. The scan data was used to refine the CAD model, ensuring that all cutouts and openings aligned perfectly with the buttons, screens, and connectors.
- Step 3: Preparation for Printing. The finalized CAD model was converted into a format compatible with the Multi Jet Fusion (MJF) 3D printer. The model was then oriented and positioned within the printer’s build volume to optimize the printing process.
- Step 4: Material Loading. Nylon powder was loaded into the MJF 3D printer. This material was chosen for its durability, flexibility, and ability to produce detailed and precise parts.
- Step 5: Printing Process. The MJF 3D printer was started, and the printing process began. Layers of nylon powder were selectively fused together using a combination of heat and a fusing agent. This process was repeated layer by layer until the entire housing was printed.
- Step 6: Cooling and Removal. Once the printing was completed, the printed part was allowed to cool down inside the printer. After cooling, the part was carefully removed from the build chamber.
- Step 7: Post-Processing. The printed housing was cleaned to remove any excess powder. This was done using compressed air and brushes. Additional post-processing steps, such as sanding or polishing, were performed to achieve the desired surface finish.
- Step 8: Quality Inspection. The finished housing was inspected for any defects or inaccuracies. Measurements were taken to ensure that all dimensions matched the original design specifications.
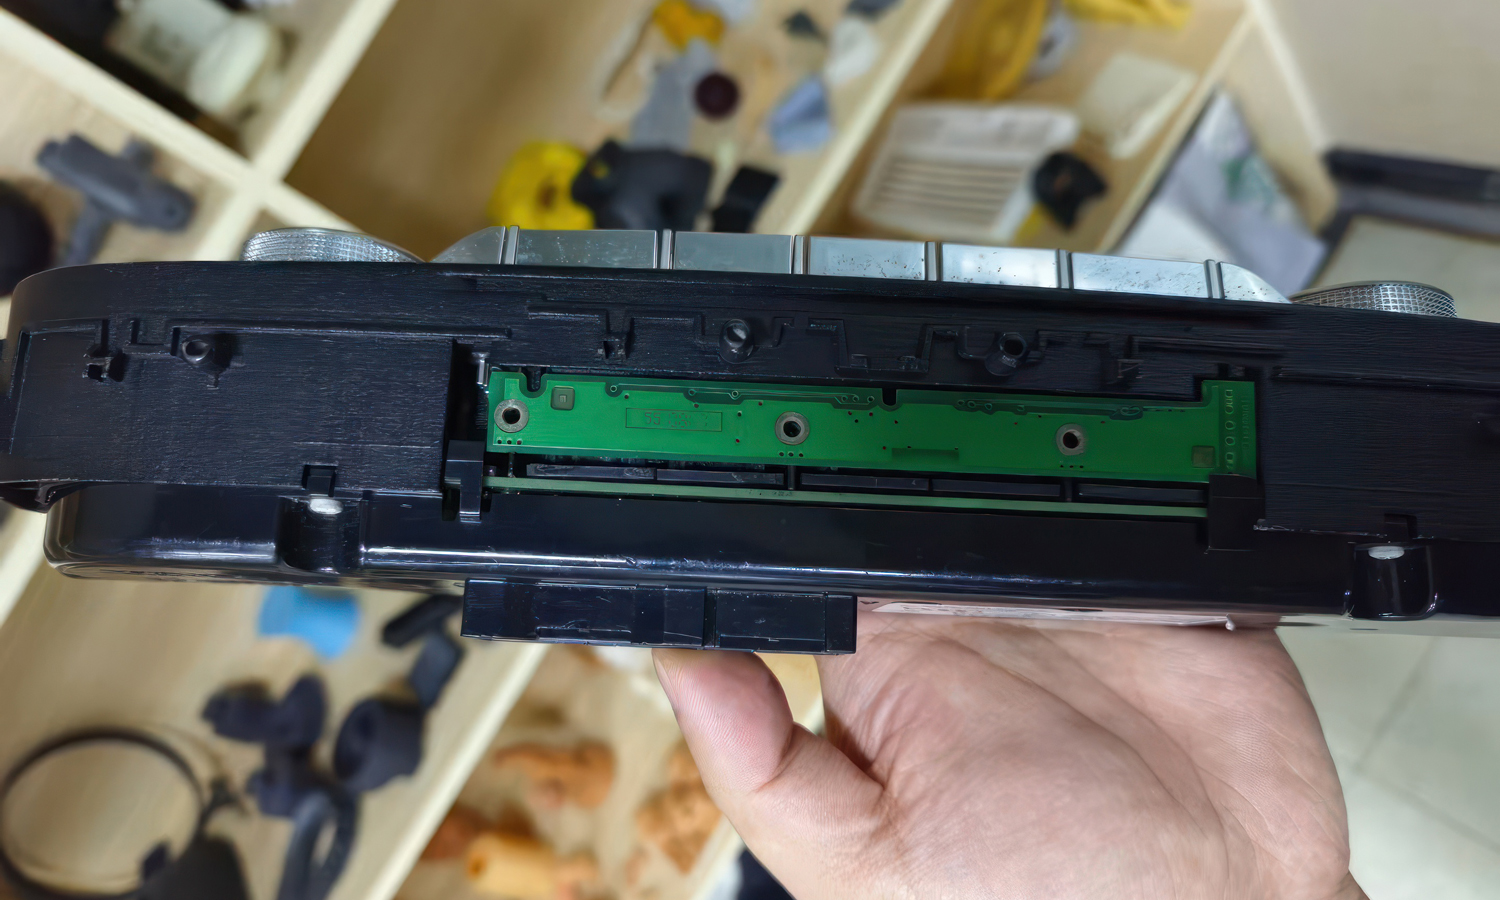
- Step 9: Assembly. The 3D printed housing was assembled with the climate control unit. The cutouts and openings were checked to ensure that all buttons, screens, and connectors fit perfectly.
- Step 10: Final Testing. The assembled unit was tested to verify its functionality. The climate control unit was powered on, and all controls were operated to ensure proper performance.


