Material Resin
Quantity 1 pcs
Price Range $1-100
Lead Time 3 workdays
Gallery

About Project
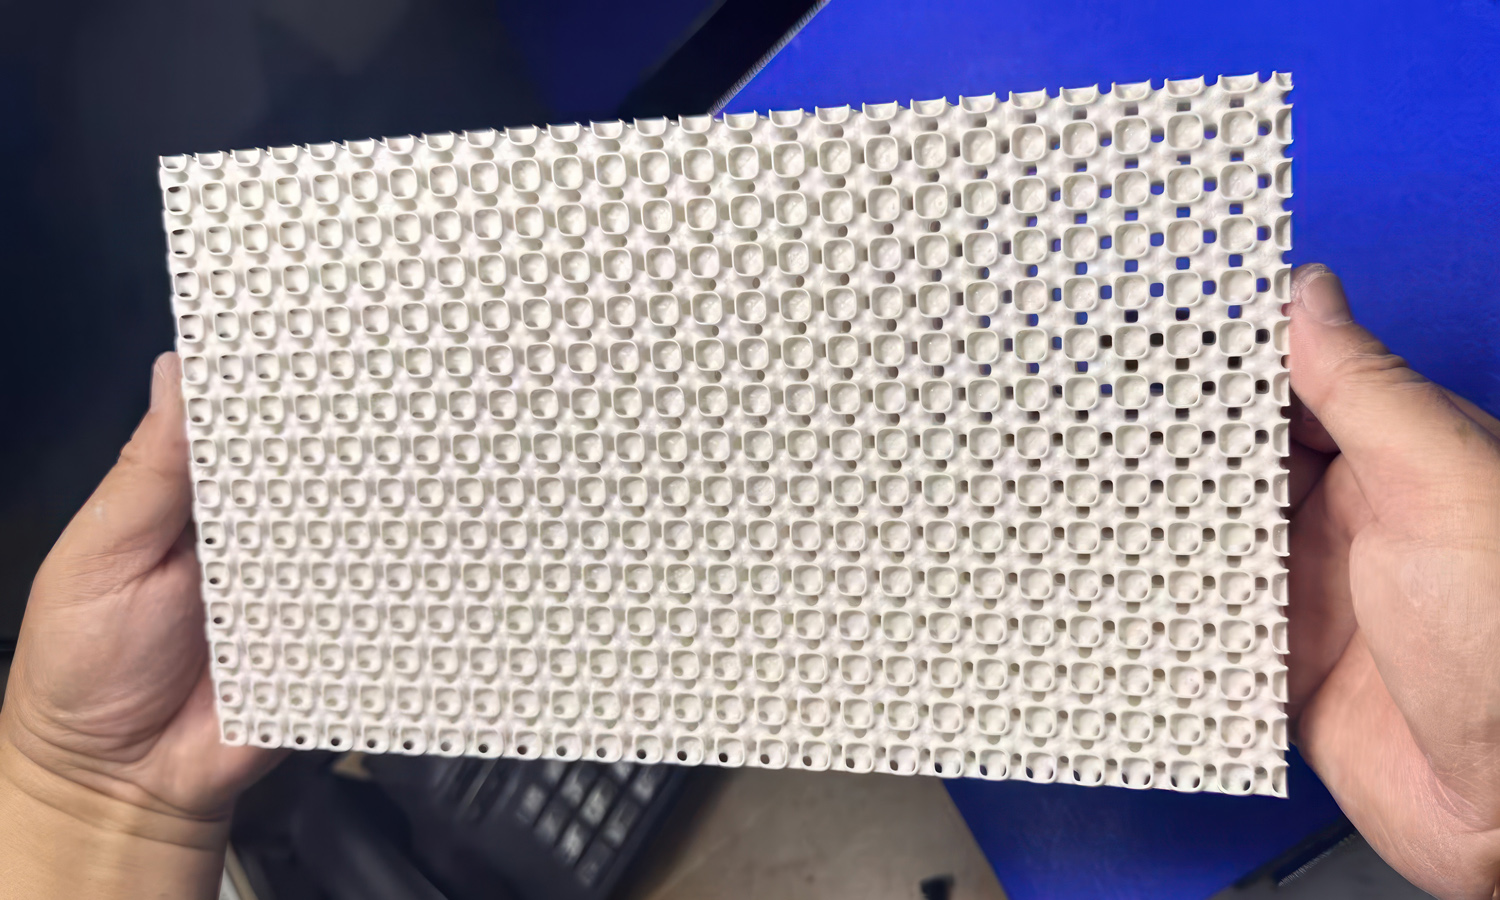
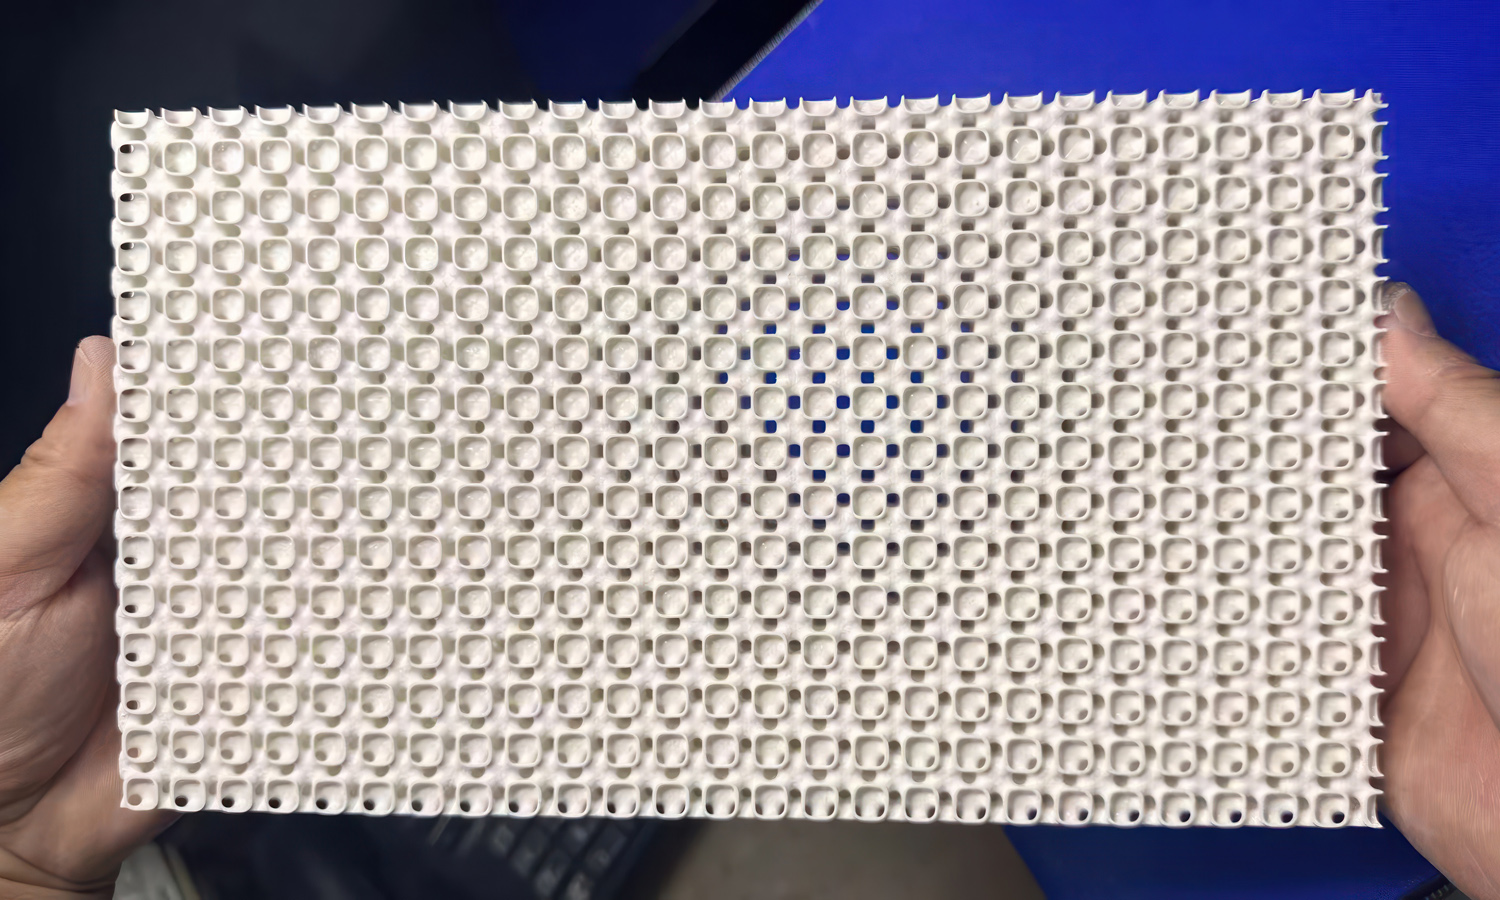
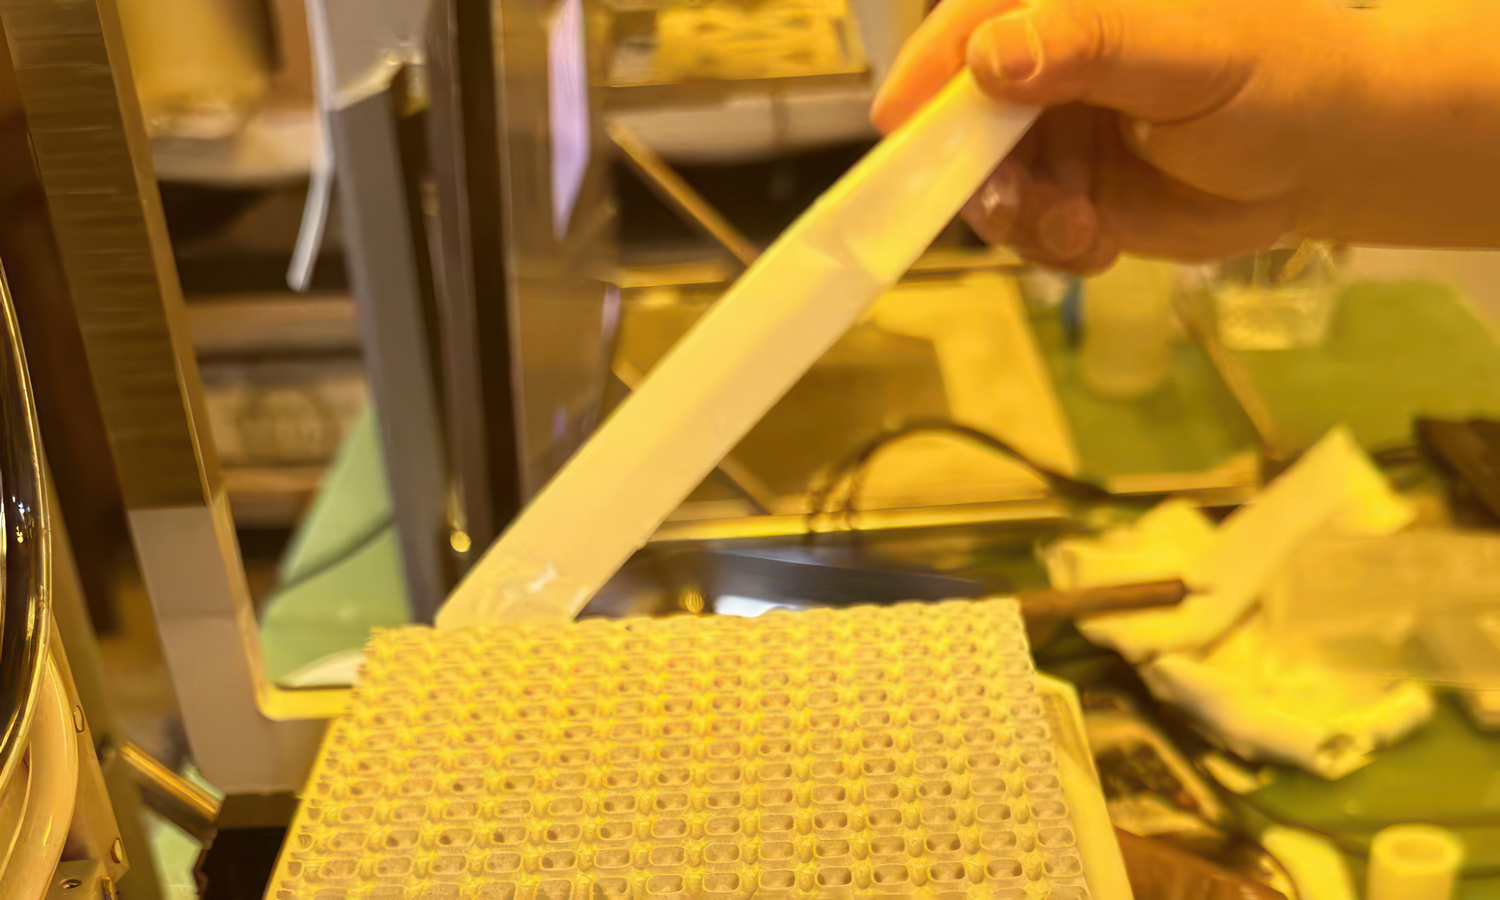
Have you ever encountered a 3D printed object that’s both visually striking and technologically impressive? Today, we’re diving into the fascinating world of DLP 3D printed ceramics with a unique example: a board featuring a Schwarz D space-filling curve infill pattern.
DLP Precision Meets Ceramic Potential
Digital Light Processing (DLP) is a 3D printing technology renowned for its exceptional accuracy and resolution. This makes it ideal for intricate ceramic prints like this board. The Schwarz D pattern itself is a mathematical marvel, creating a continuous loop that fills a plane entirely without overlapping.
The use of ceramic for this board is intriguing. While the specific purpose of this particular design remains unclear, it could be a:
- Functional Prototype: Testing the structural integrity of the Schwarz D infill pattern for future applications.
- Heat Resistant Component: Ceramics excel at withstanding high temperatures, making it a potential candidate for heat-related engineering.
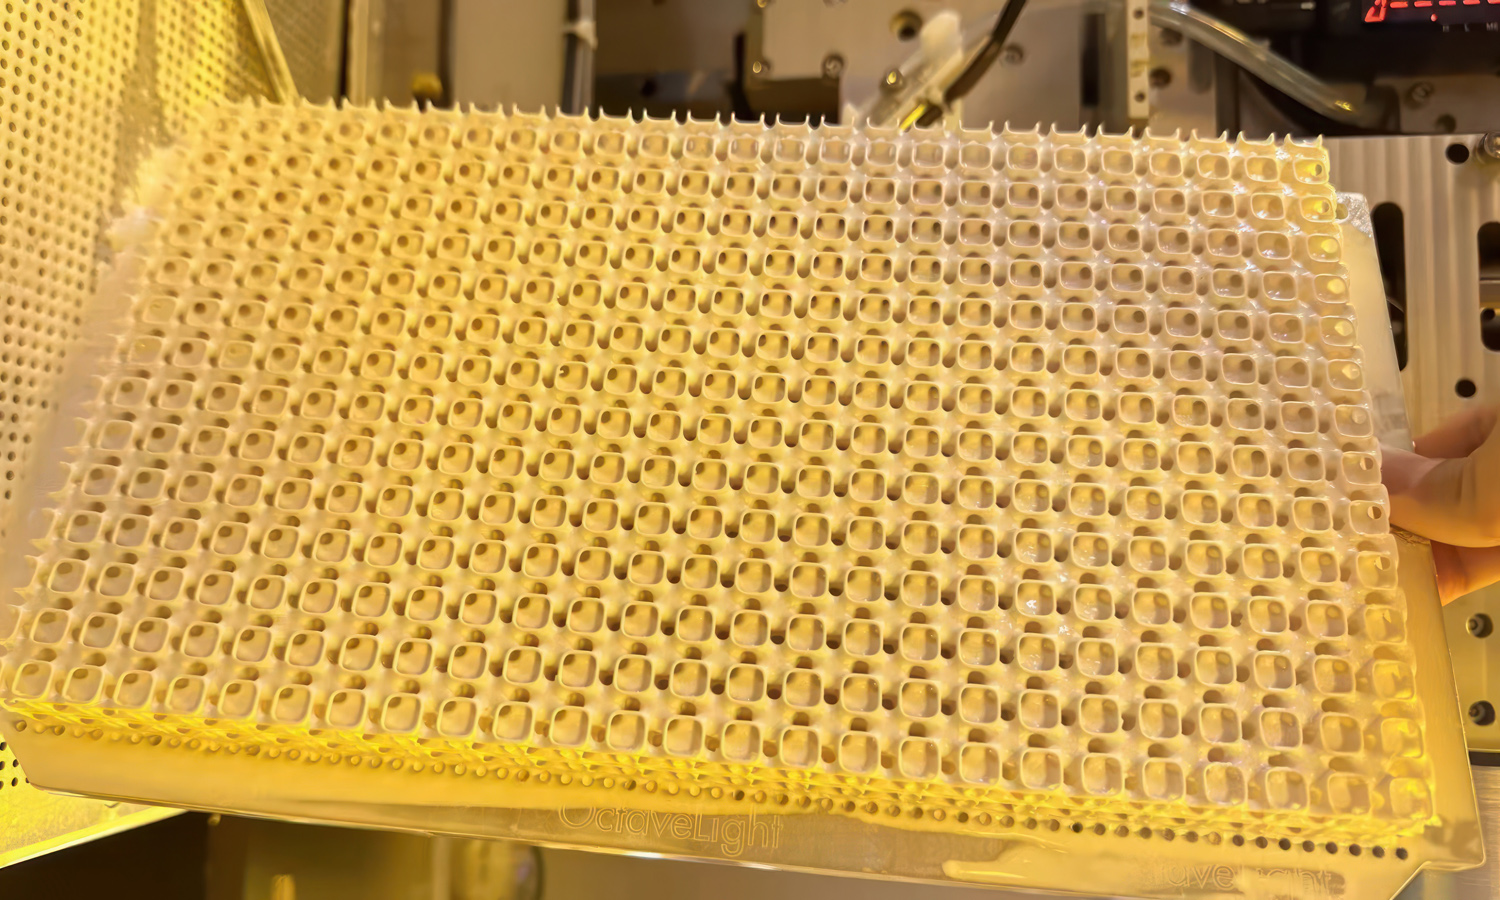
- Visually Appealing Sample: The combination of DLP precision and the intricate Schwarz D pattern creates a visually captivating piece showcasing the capabilities of both technology and design.
Post-Printing Processes for Flawless Results
Once the DLP printer finishes its magic, the ceramic board undergoes post-processing to achieve its final form. This may involve:
- Debinding: Removing any residual binders used in the printing process.
- Sintering: Exposing the ceramic to high temperatures, fusing the particles for maximum strength and rigidity.
- Finishing: Depending on the desired outcome, the board might be sanded, polished, or glazed for a specific aesthetic.
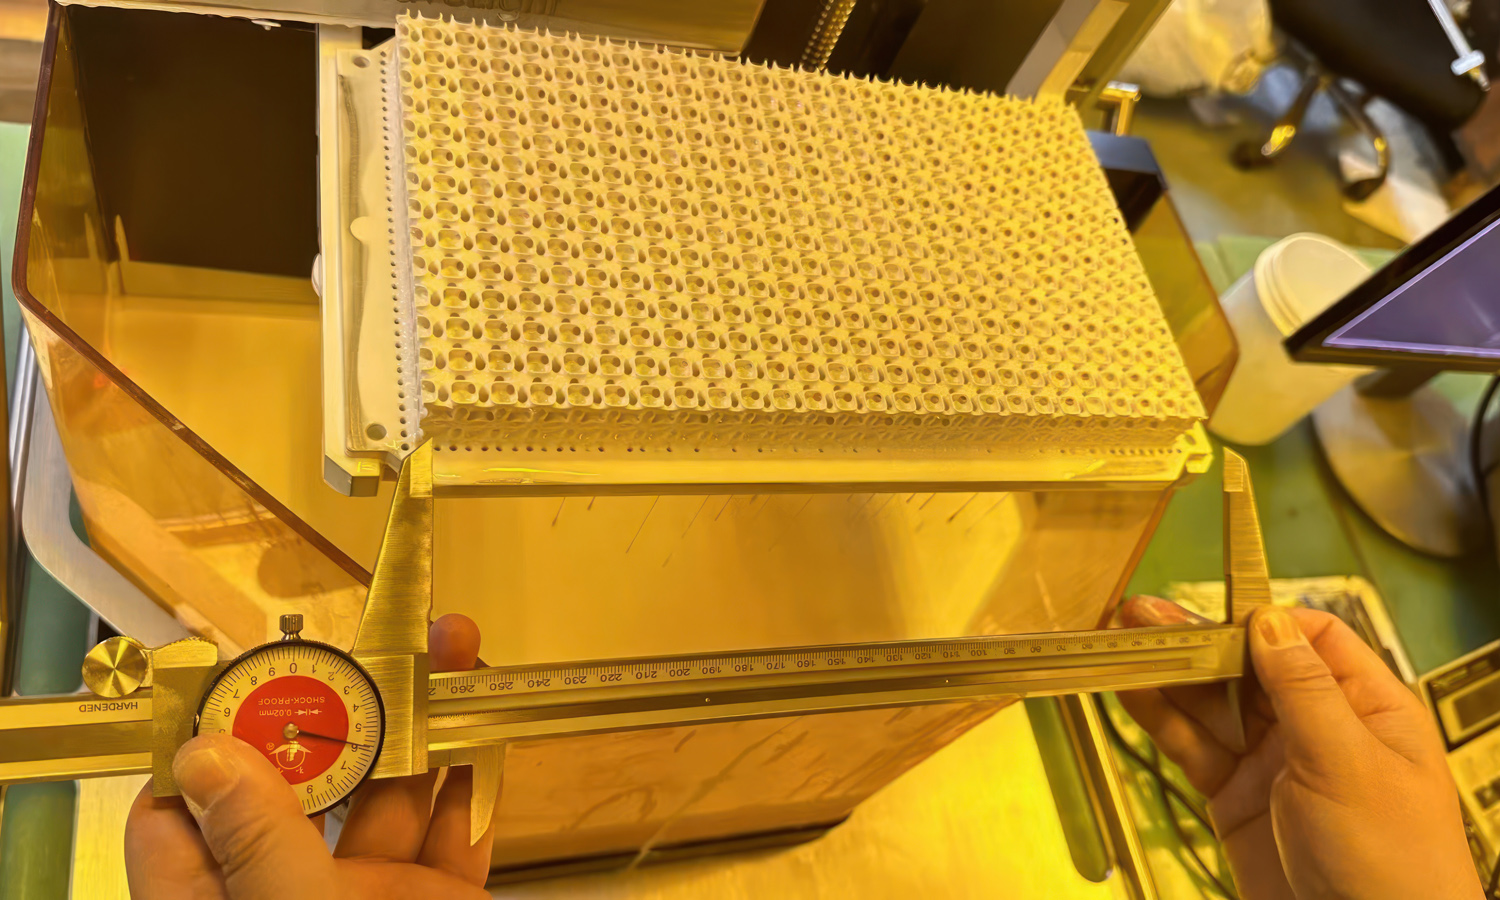
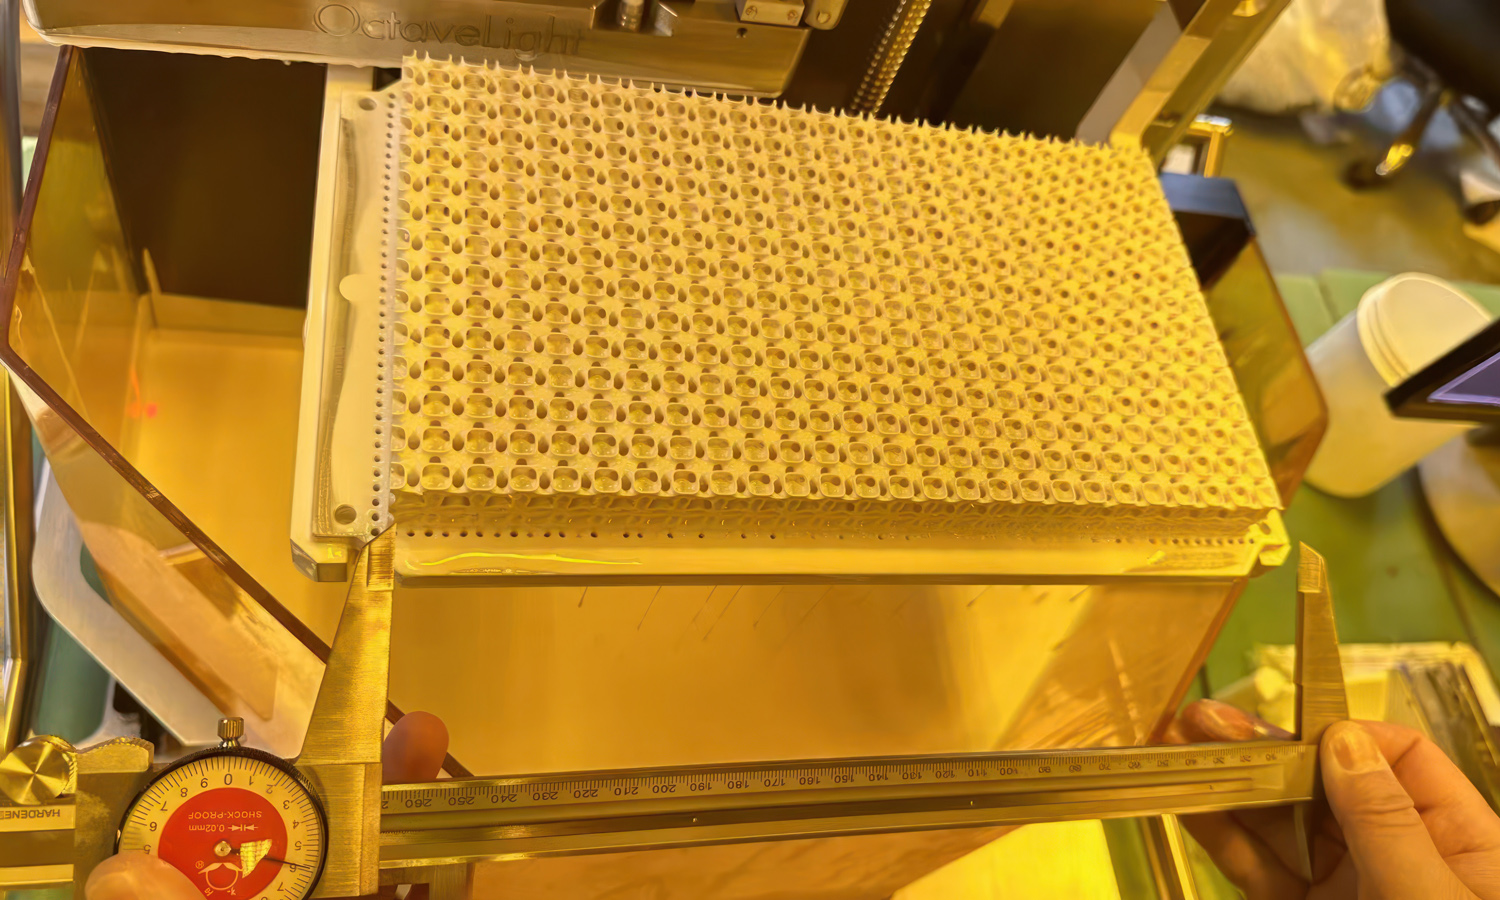
Verifying Dimensional Accuracy
After post-processing, the board’s dimensions are meticulously measured with a vernier caliper. This ensures the DLP printing process produced a piece that perfectly matches the original design specifications.
FacFox: Your Partner in Cutting-Edge 3D Printing
Intrigued by the possibilities of DLP 3D printed ceramics? At FacFox, we’re passionate about pushing the boundaries of 3D printing technology. With advanced DLP printers and a commitment to meticulous post-processing, we can turn your vision into a reality. Contact FacFox today to discuss your next 3D printing project and explore the potential of DLP ceramic printing!
Solution
- Step 1: Preparation of Ceramic Resin. A photosensitive resin loaded with ceramic powder was prepared. The resin was mixed thoroughly to ensure uniform distribution of the ceramic particles.
- Step 2: Design and Slicing.┬ĀThe 3D model of the ceramic board with Schwarz D pattern infill was designed using CAD software. The model was then sliced into thin layers using slicing software.
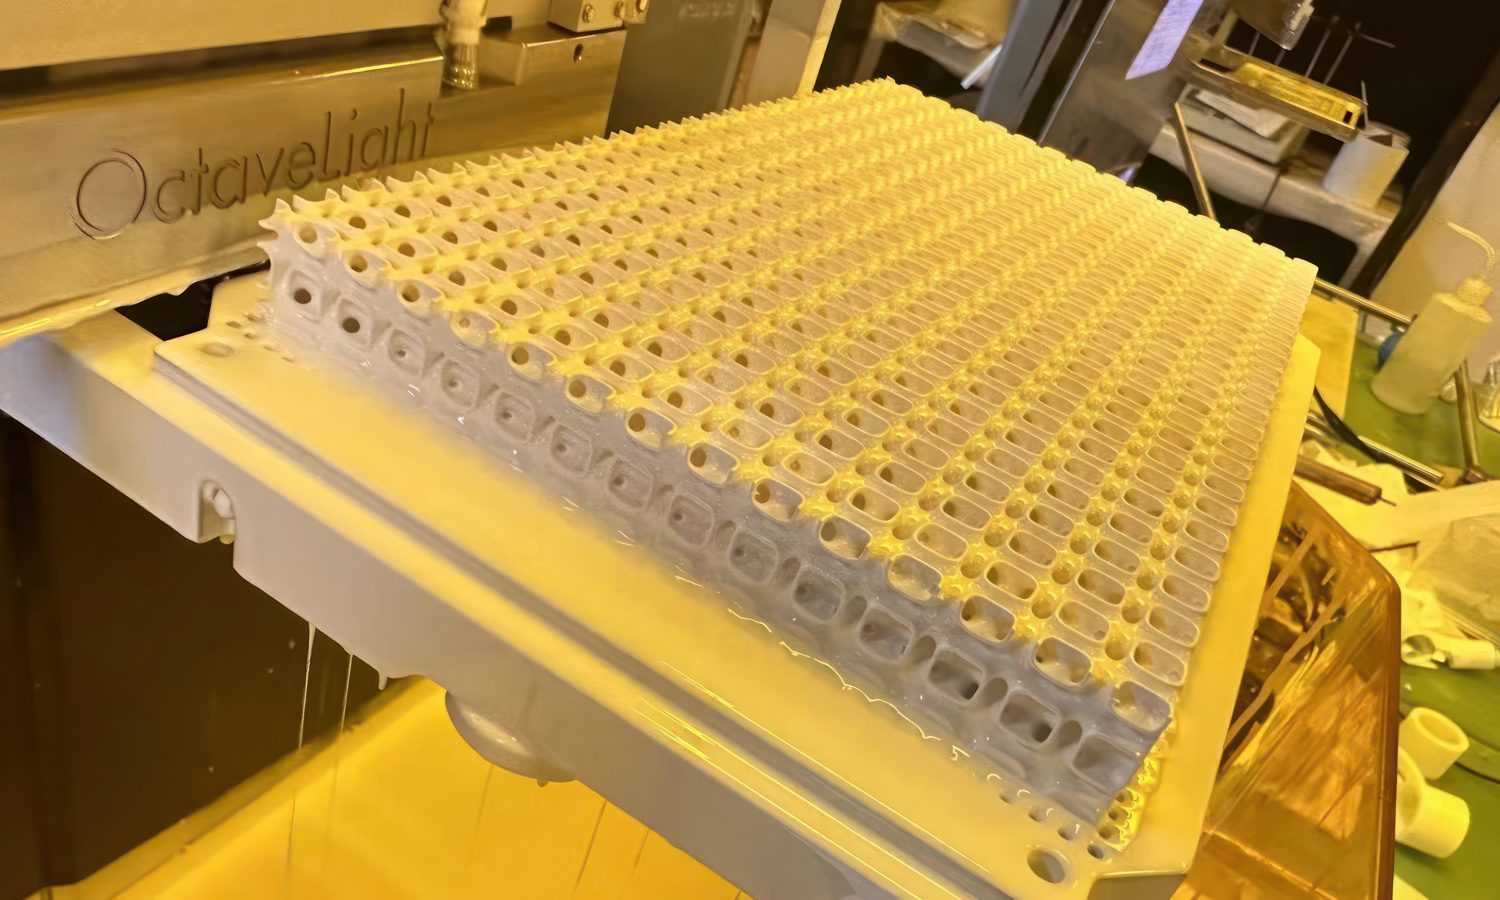
- Step 3: Printing.┬ĀThe sliced model was uploaded to the DLP 3D printer. The printer used a digital light projector to cure each layer of the photosensitive resin, building the ceramic board layer by layer.
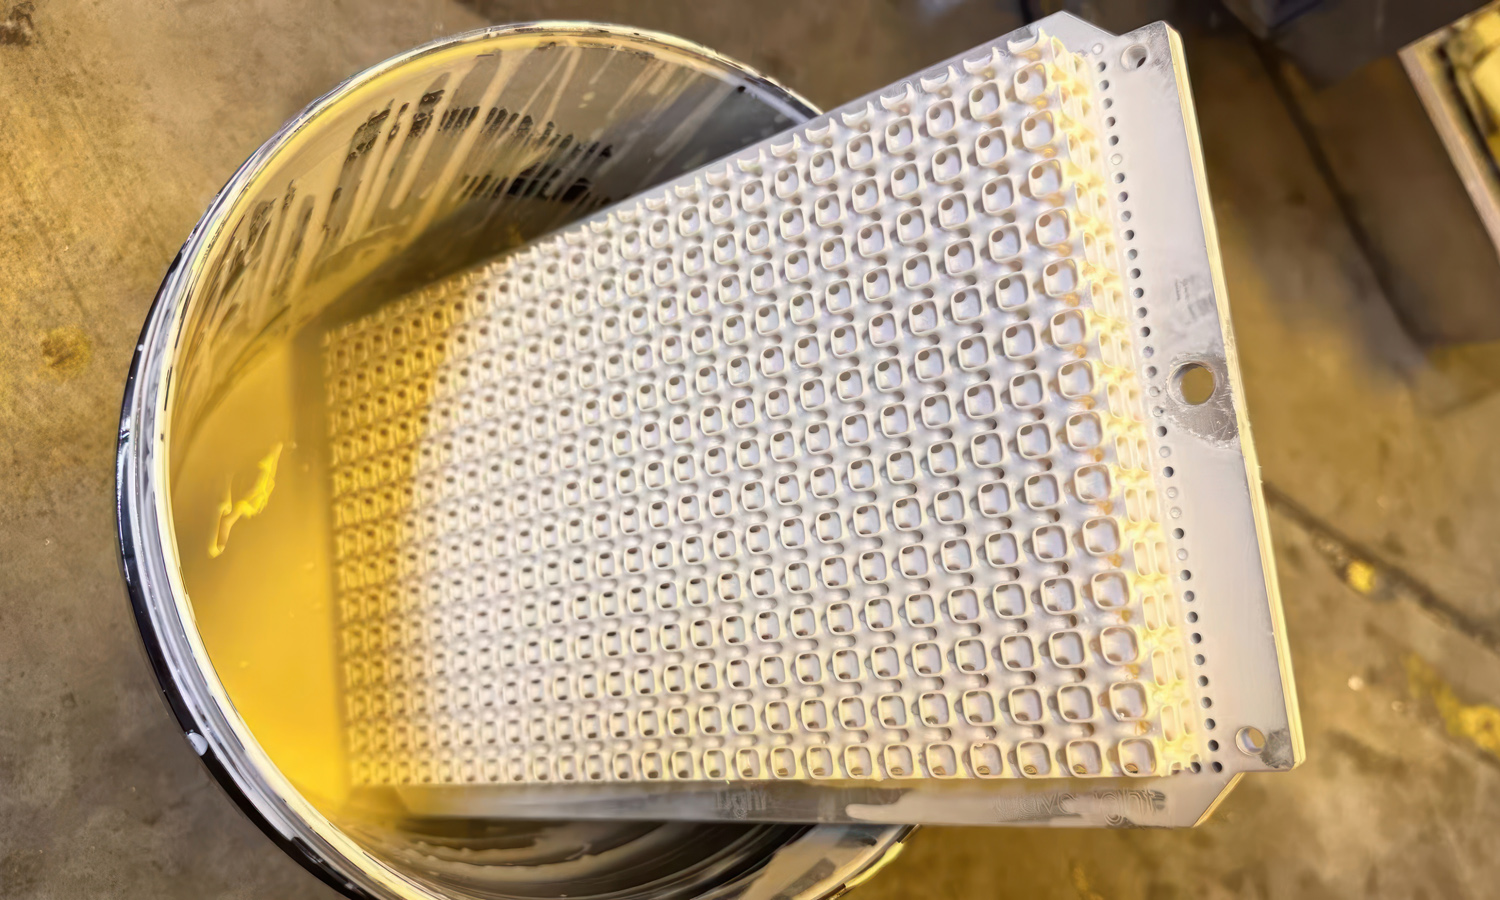
- Step 4: Post-Printing Curing.┬ĀAfter printing, the ceramic board was subjected to a post-curing process using UV light to ensure complete polymerization of the resin.
- Step 5: Debinding.┬ĀThe printed board was then placed in a furnace for the debinding process. This step involved heating the board to remove the binder material, leaving behind the ceramic particles.
- Step 6: Sintering.┬ĀThe debound board was sintered at a high temperature to fuse the ceramic particles together, resulting in a dense and strong ceramic structure.
- Step 7: Cooling.┬ĀThe sintered board was allowed to cool gradually to room temperature to prevent thermal shock and ensure structural integrity.
- Step 8: Surface Finishing.┬ĀThe cooled board was subjected to surface finishing processes such as sanding or polishing to achieve the desired surface texture and appearance.
- Step 9: Measurement.┬ĀFinally, the dimensions of the ceramic board were measured using a vernier caliper to ensure they were accurate and met the design specifications.


