Material Resin
Quantity 1 pcs
Price Range $100-1,000
Lead Time 7 workdays
Gallery
About Project
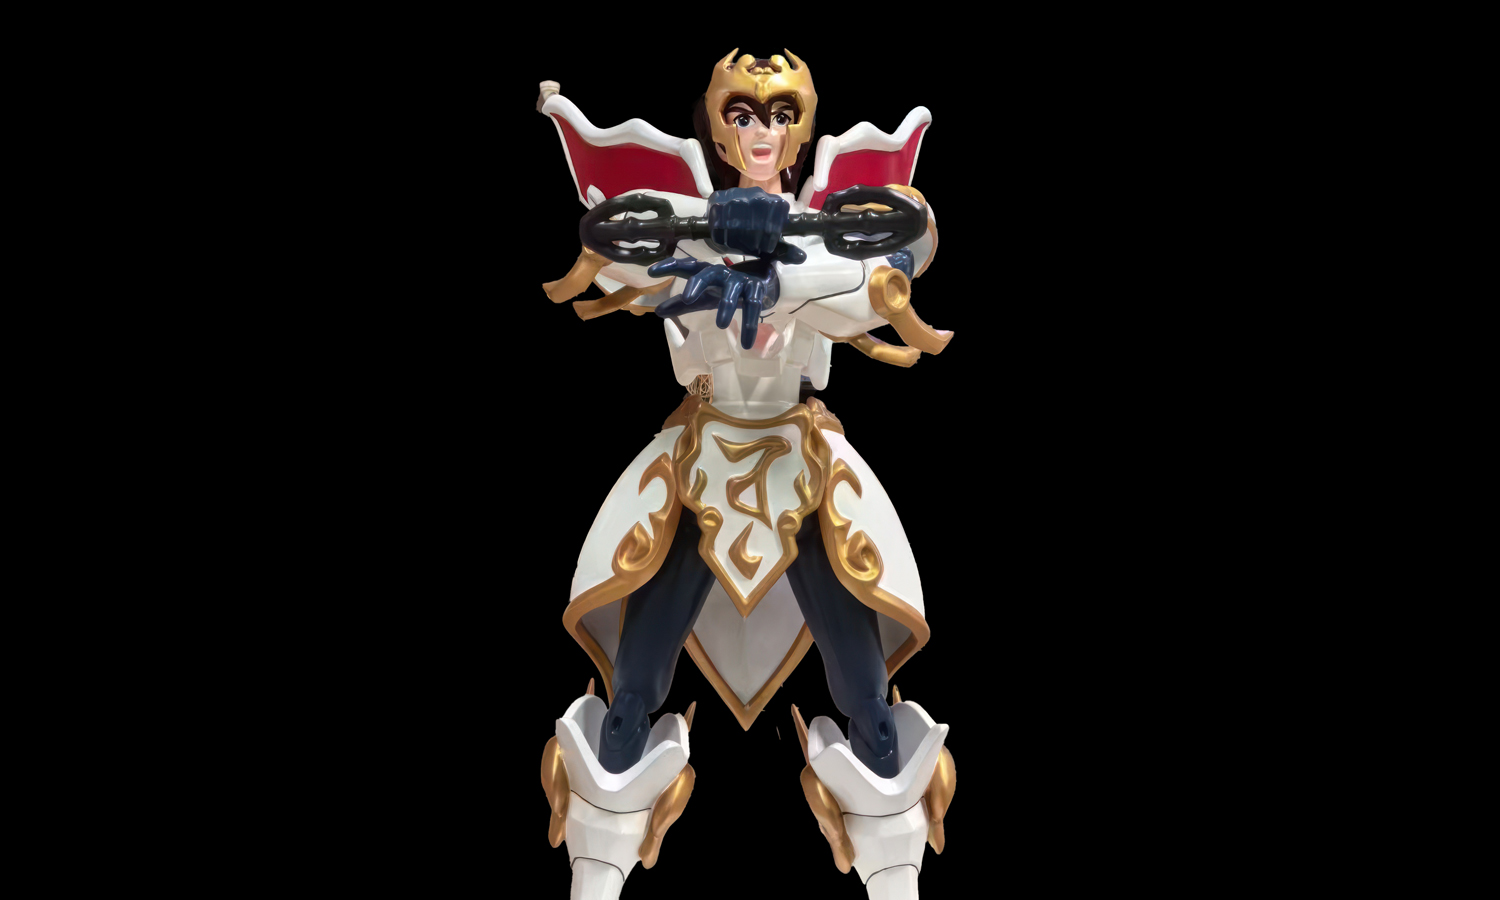
Introducing our latest 3D printed anime figure: Shurato Hidaka from Legend of Heavenly Sphere Shurato!
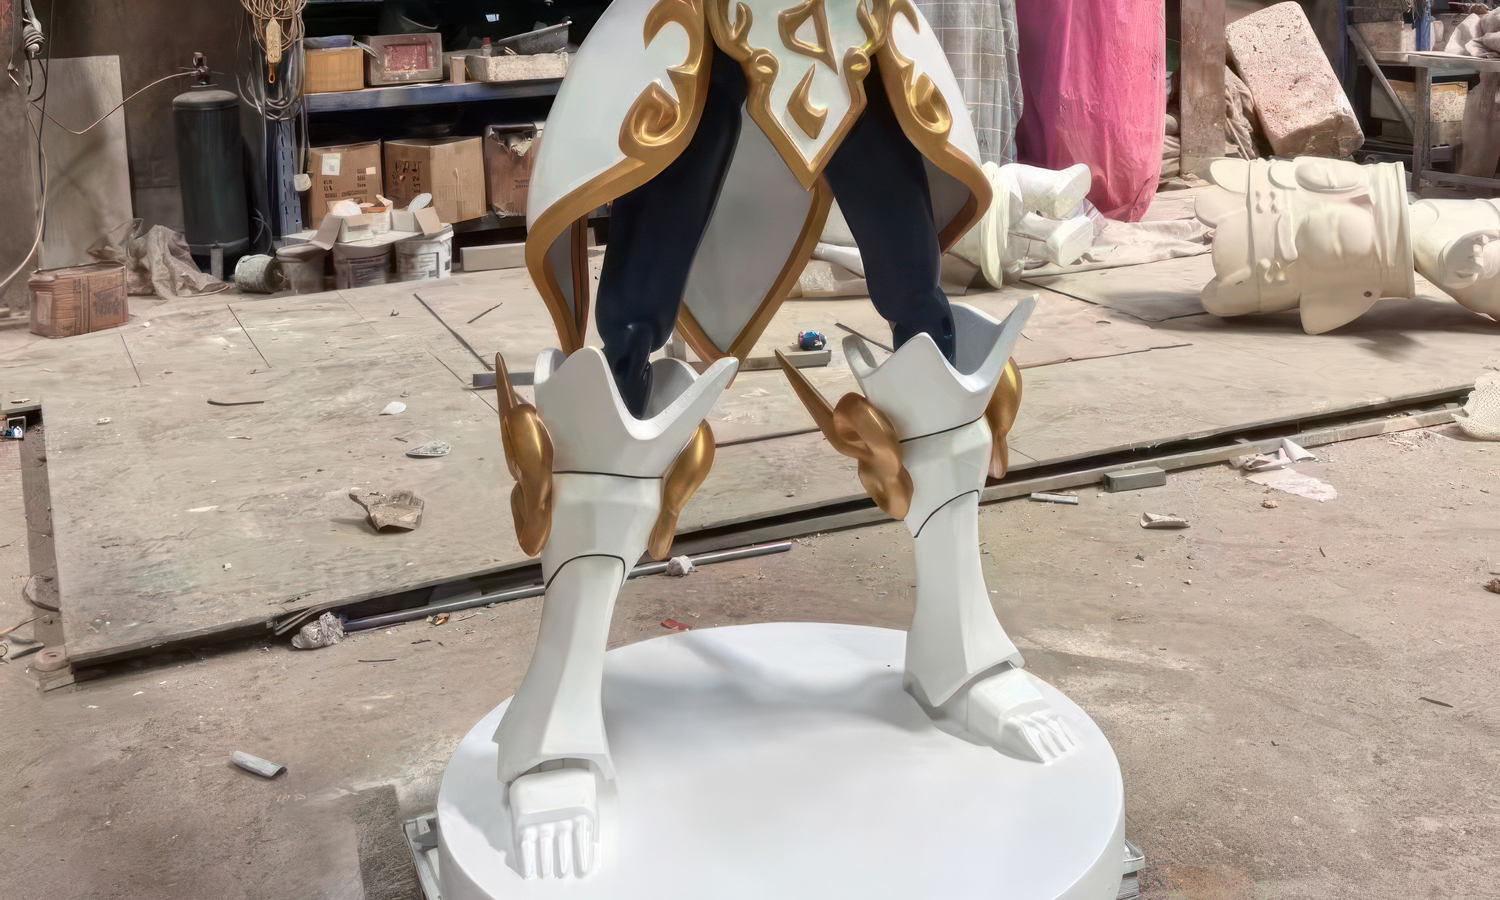
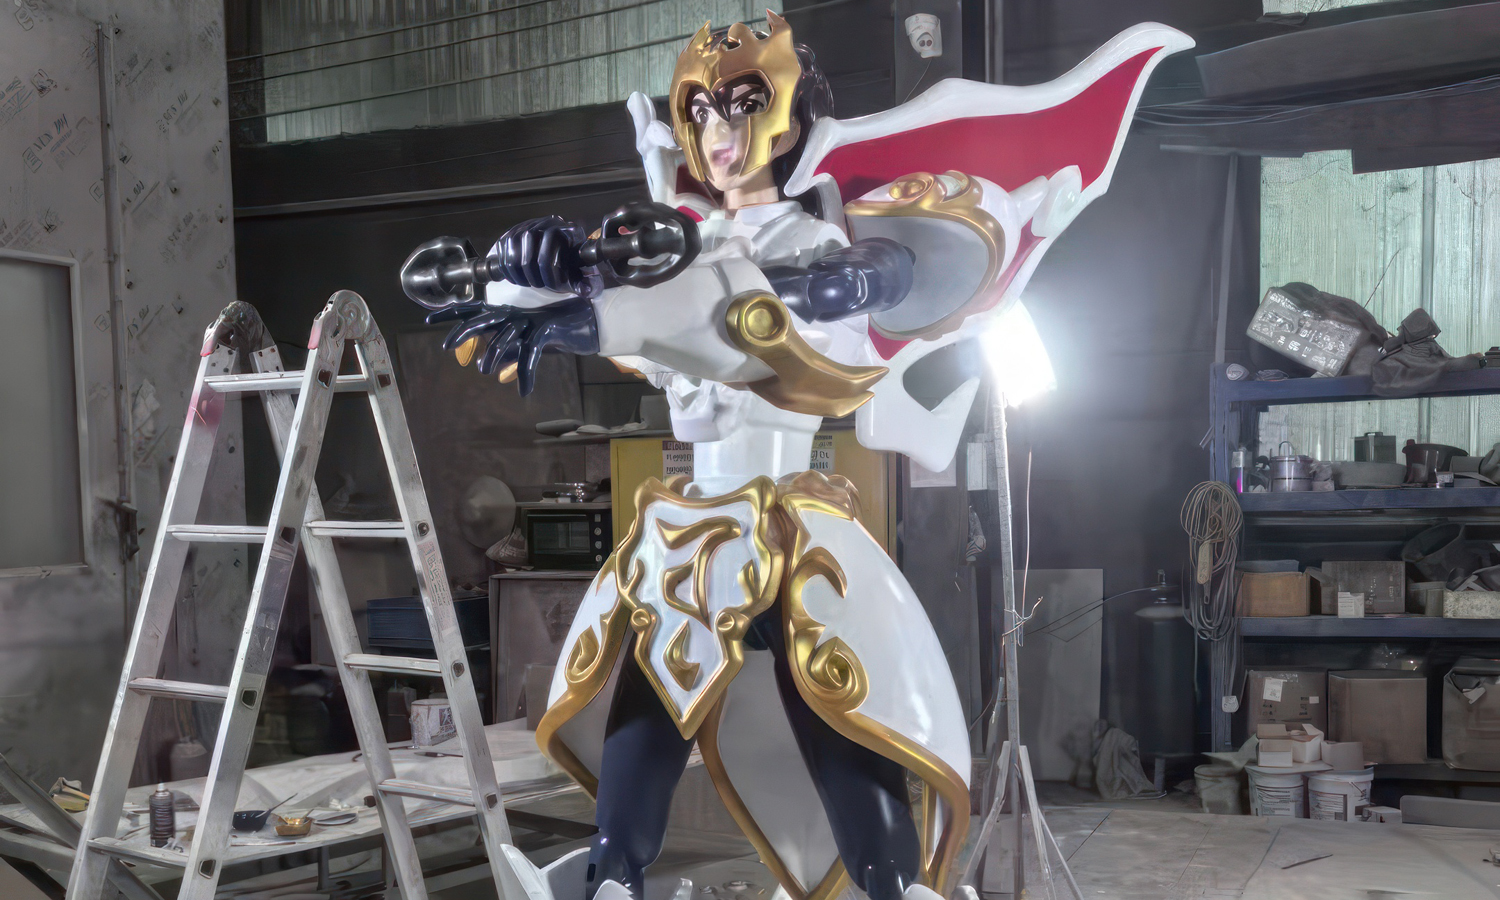
This 1.8m-tall iconic character is brought to life in all his heroic glory, standing tall at a substantial size. The intricate details of his armor, from the gleaming white base to the gold accents and the symbolic emblem on his chest, are faithfully captured in this 3D model.
Shurato’s dynamic pose, with his knees slightly bent as if ready for action, adds to his commanding presence. While this figure may not boast the level of detail and intricate painting found in some modern anime statues, it perfectly embodies the classic charm and style of the original series.
This 3D-printed Shurato Hidaka figure is a must-have for any fan of Legend of Heavenly Sphere Shurato or anime collectibles in general.
FacFox: Your Partner for Large-Scale Anime Figures
Looking to bring your favorite anime characters to life in 3D? FacFox offers professional 3D printing services for large-scale anime figures. Our advanced SLA technology ensures high-quality prints with exceptional detail and durability.
Whether you’re a collector, artist, or simply looking for a unique gift, FacFox can help you create stunning anime figures that capture the essence of your favorite characters. Contact us today to discuss your project and get started!
Solution
- Step 1: Design and Modeling. A detailed 3D model of Shurato Hidaka was created using Blender software. This model included all the intricate details of his iconic armor, such as the white and gold accents, the ornate symbol on the chest, and the helmet with wing-like elements. The blue circular details on the chest piece were also incorporated into the design.
- Step 2: Slicing the Model. Once the 3D model was completed, it was sliced into thin horizontal layers using slicing software. Each layer represented a cross-section of the final object, determining the resolution and quality of the print.
- Step 3: Preparing the SLA Printer. The SLA printer was prepared by filling the resin tank with SLA Tough Resin. The build platform was positioned just above the resin surface.
- Step 4: Printing Process. The SLA printer used a UV laser to cure the resin layer by layer. The laser traced the cross-section of the model on the resin surface, solidifying it. The build platform then moved up slightly, allowing a new layer of liquid resin to flow over the previously cured layer. This process was repeated until the entire figure was printed.
- Step 5: Post-Processing. After printing, the figure was carefully removed from the build platform. It underwent post-processing steps such as washing in isopropyl alcohol to remove any uncured resin and curing under UV light to ensure complete hardening. Any support structures used during printing were also removed.
- Step 6: Assembly and Finishing. As the figure was printed in multiple parts, they were assembled using adhesives. The joints, such as the knees, were fixed to ensure stability. The figure was then sanded and polished to achieve a smooth surface finish. Painting and detailing were done to enhance the appearance, reflecting the old anime style.
- Step 7: Quality Inspection. The final figure underwent a thorough quality inspection to ensure all details were accurate and the figure met the desired standards.
