SLA 3D Printed Gundam Zaku SD Figures Resin Garage Kits
Posted on 2022-09-06 in Toys ┬Ę ńÄ®ÕģĘ
Process 3D Print, Support Removal, Post Curing, Primer Coating, Polish, Paint
Material Resin
Quantity 4 pcs
Price Range $100-1,000
Lead Time 3 workdays
Material Resin
Quantity 4 pcs
Price Range $100-1,000
Lead Time 3 workdays
Gallery


About Project
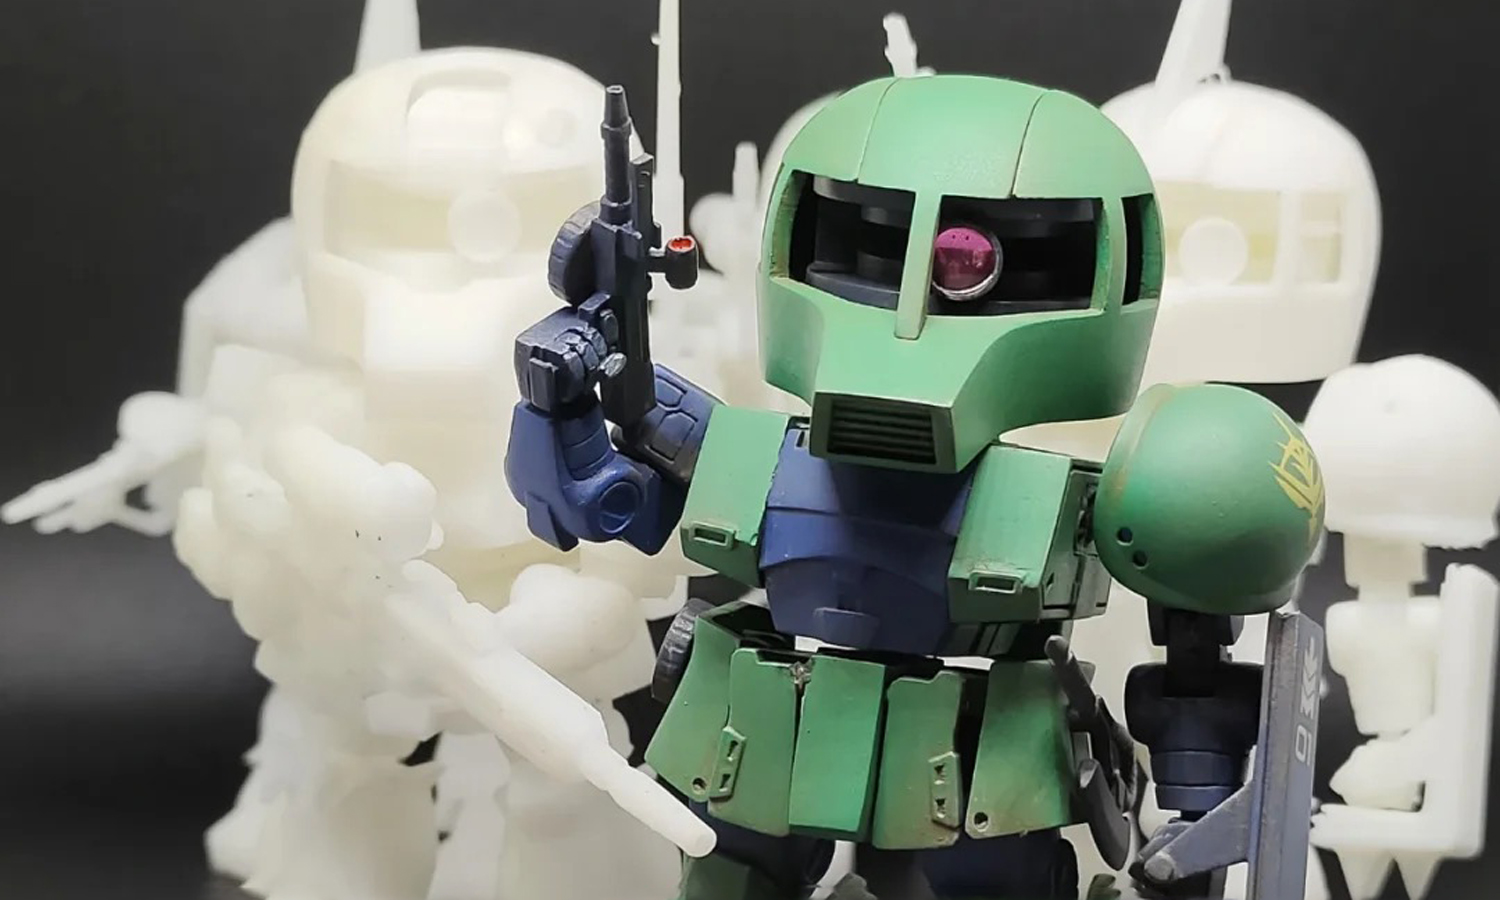
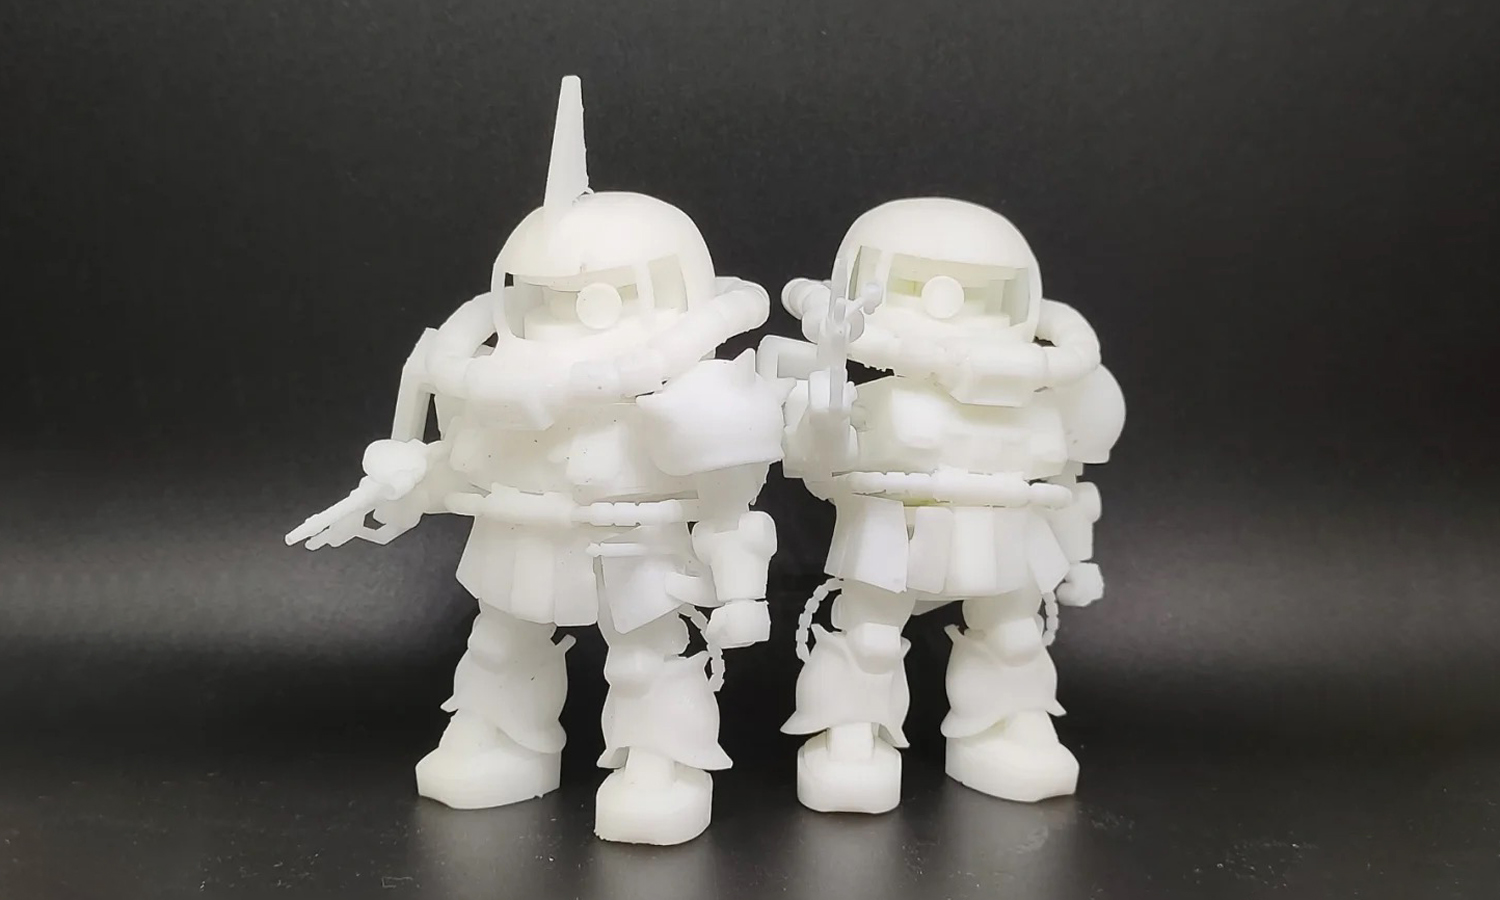
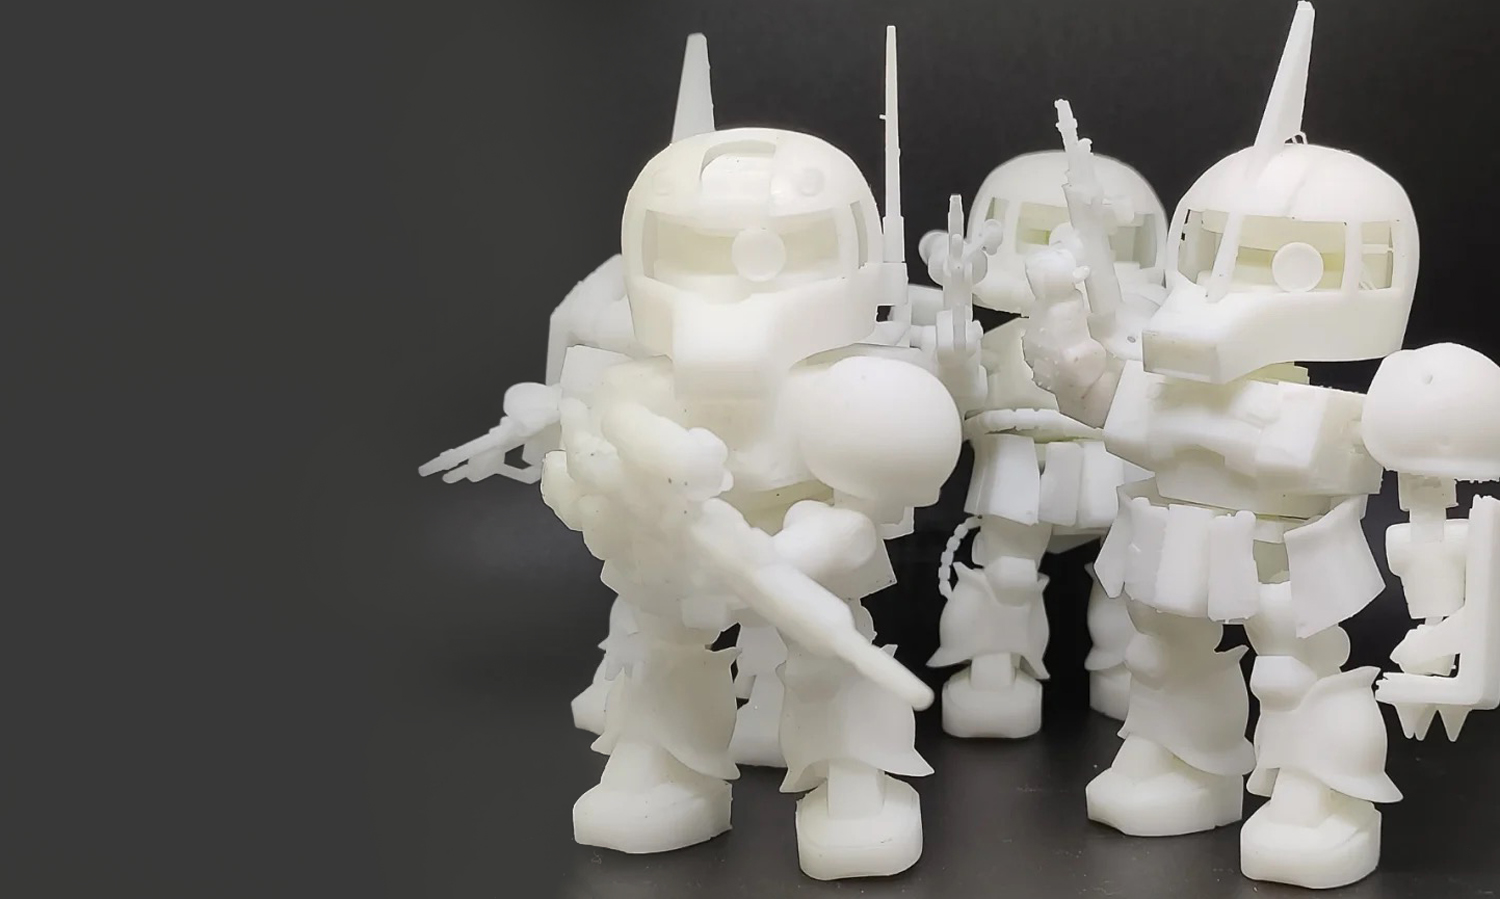
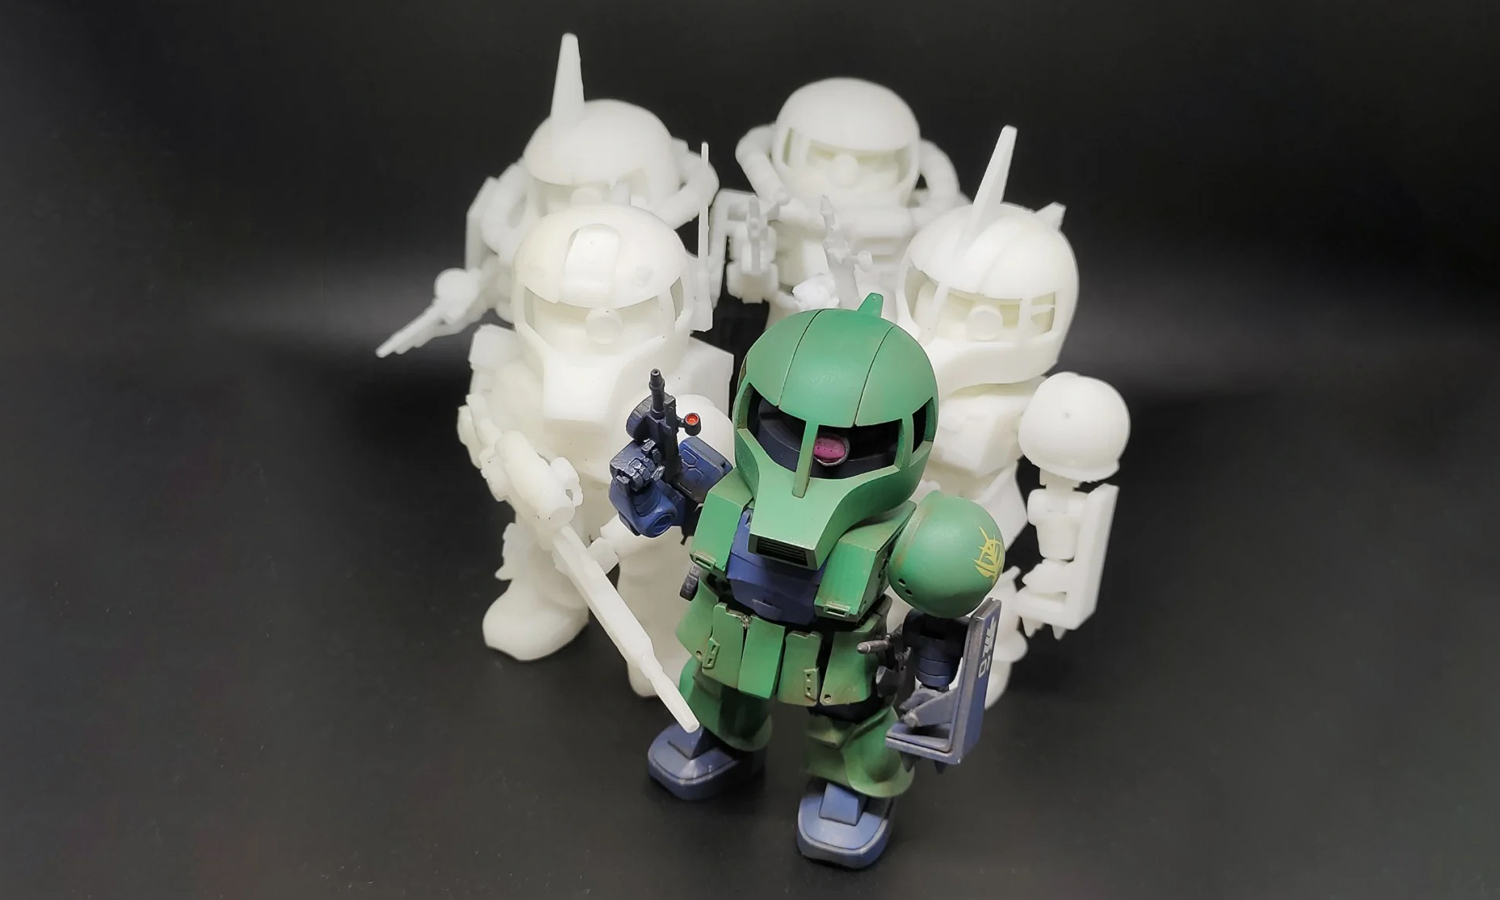
A Gundam fan planned to do some exercises and promoted his painting skills, so he ordered some white resin garage kits of Zaku in the SD version, which is his favorite character.
Solution
- Step 1: First of all, the action figure should be examined thoroughly and split into different parts so that the post-process can be much easier. All the parts need to be settled properly on the slicing software and add necessary supporting structures.
- Step 2: When the process starts, the laser ŌĆ£drawsŌĆØ the first layer of the print into the photosensitive resin. Wherever the laser hits, the liquid solidifies. The laser is directed to the appropriate coordinates by a computer-controlled mirror.
- Step 3: After the first layer, the platform is raised according to the layer thickness (typically about 0.1 mm) and the additional resin is allowed to flow below the already-printed portion. The laser then solidifies the next cross-section, and the process is repeated until the whole part is complete. The resin that is not touched by the laser remains in the vat and can be reused.
- Step 4: After finishing the material polymerization, the platform rises out of the tank and the excess resin is drained. At the end of the process, the model is removed from the platform, washed of excess resin, and then placed in a UV oven for final curing. Post-print curing enables objects to reach the highest possible strength and become more stable.
- Step 5: Finally, examine all the parts and check the numbers. Take photos of the garage kits and send it via express after the client’s permission.

