Material Resin
Quantity 1 pcs
Price Range $1-100
Lead Time 2 workdays
Gallery


About Project
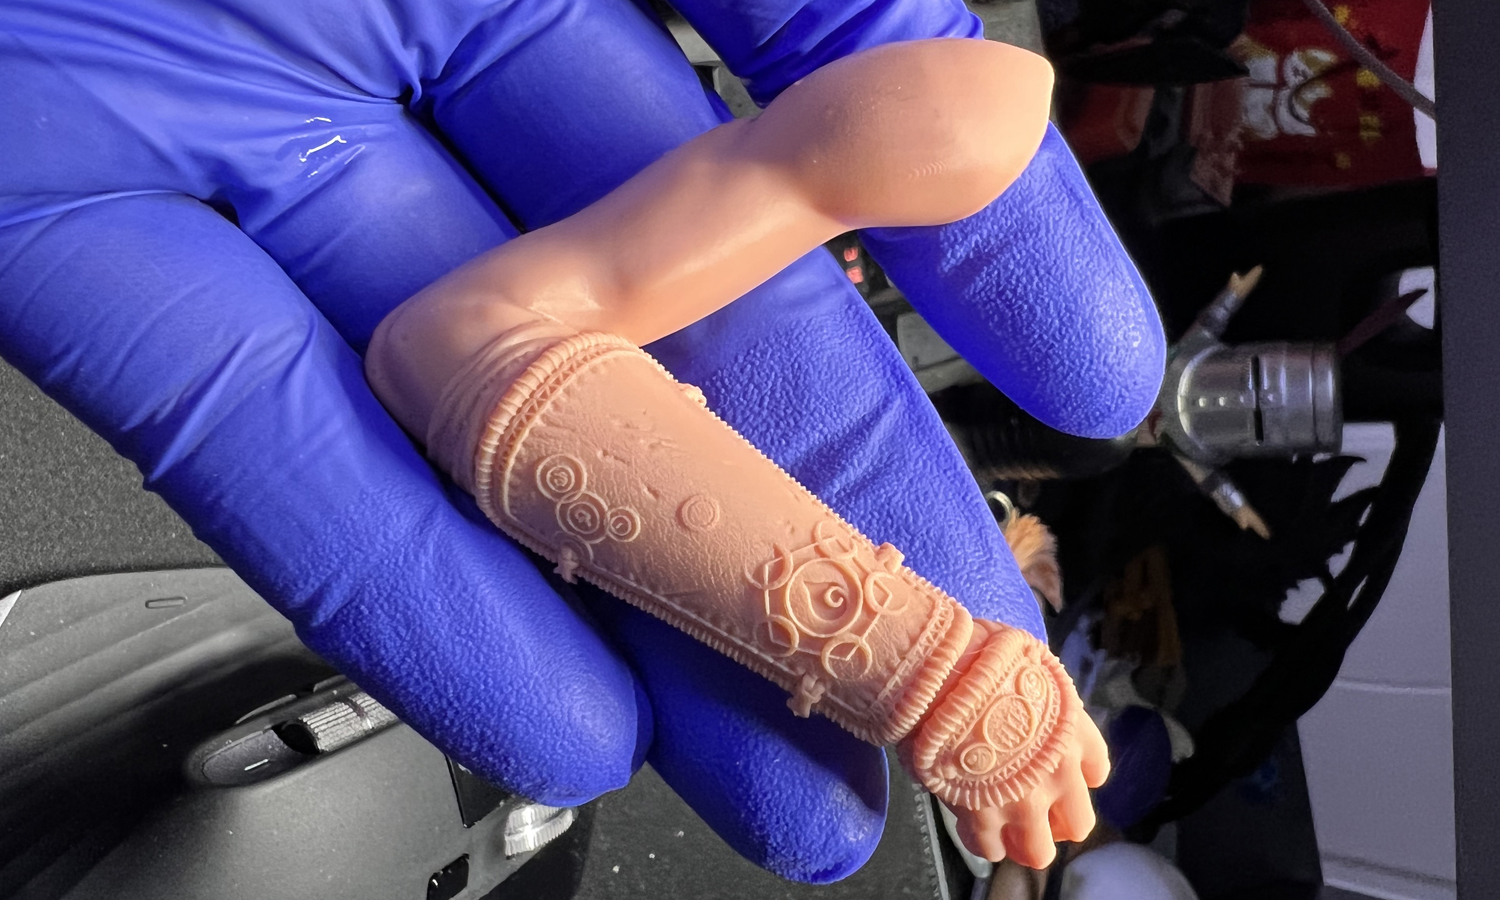
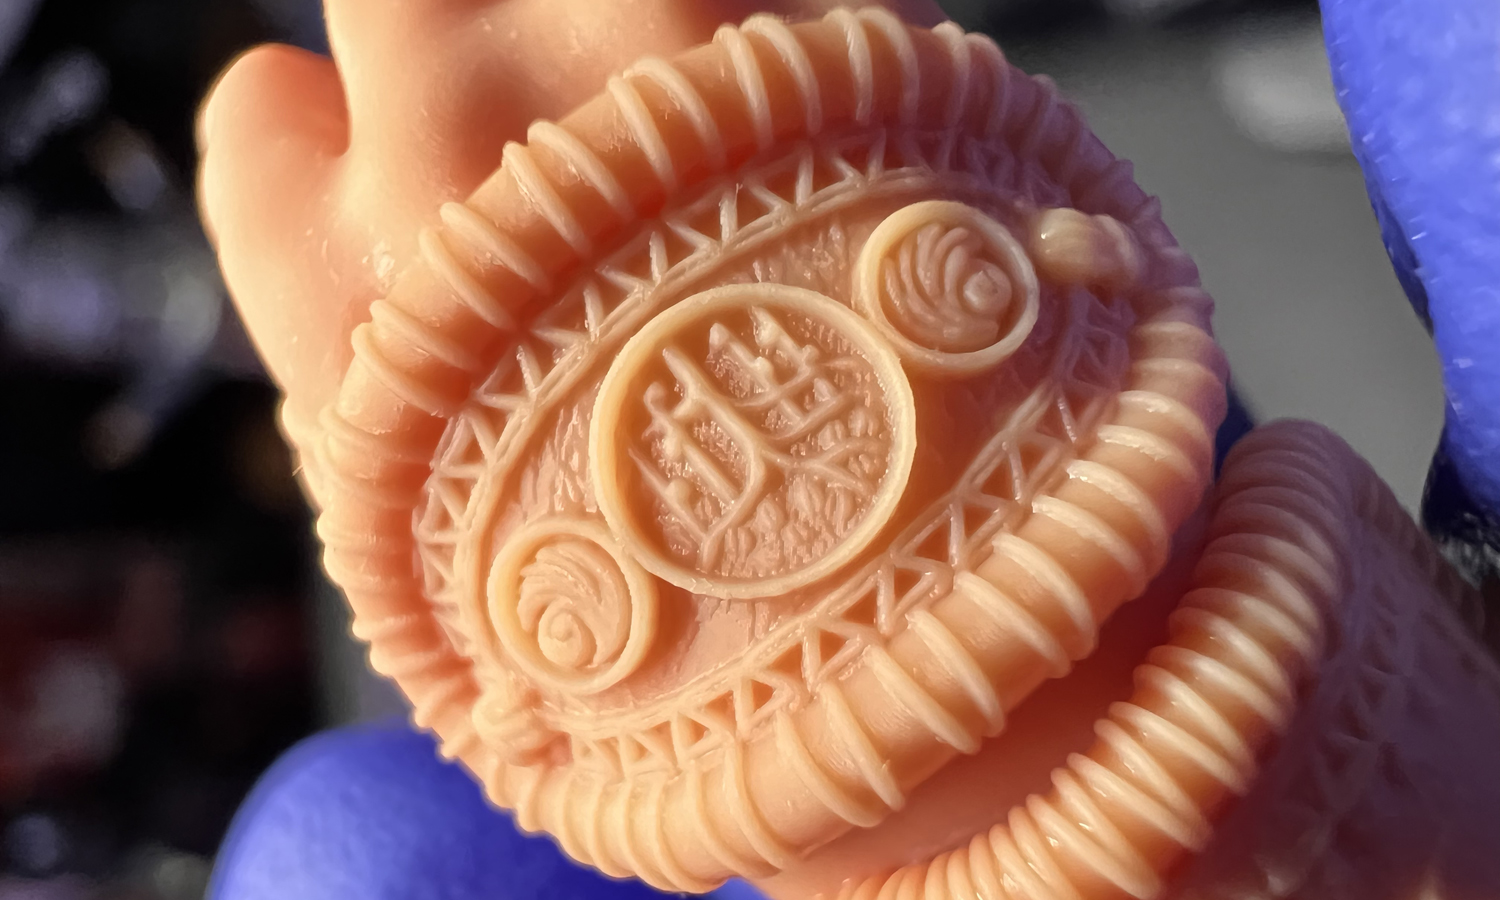
Are you a fan of garage kits? Do you love to collect and display miniature models of your favorite characters, scenes, or objects? If so, you might be interested in this amazing DLP 3D Printed Ultra-detail Resin Arm Garage Kit that we have created at FacFox.
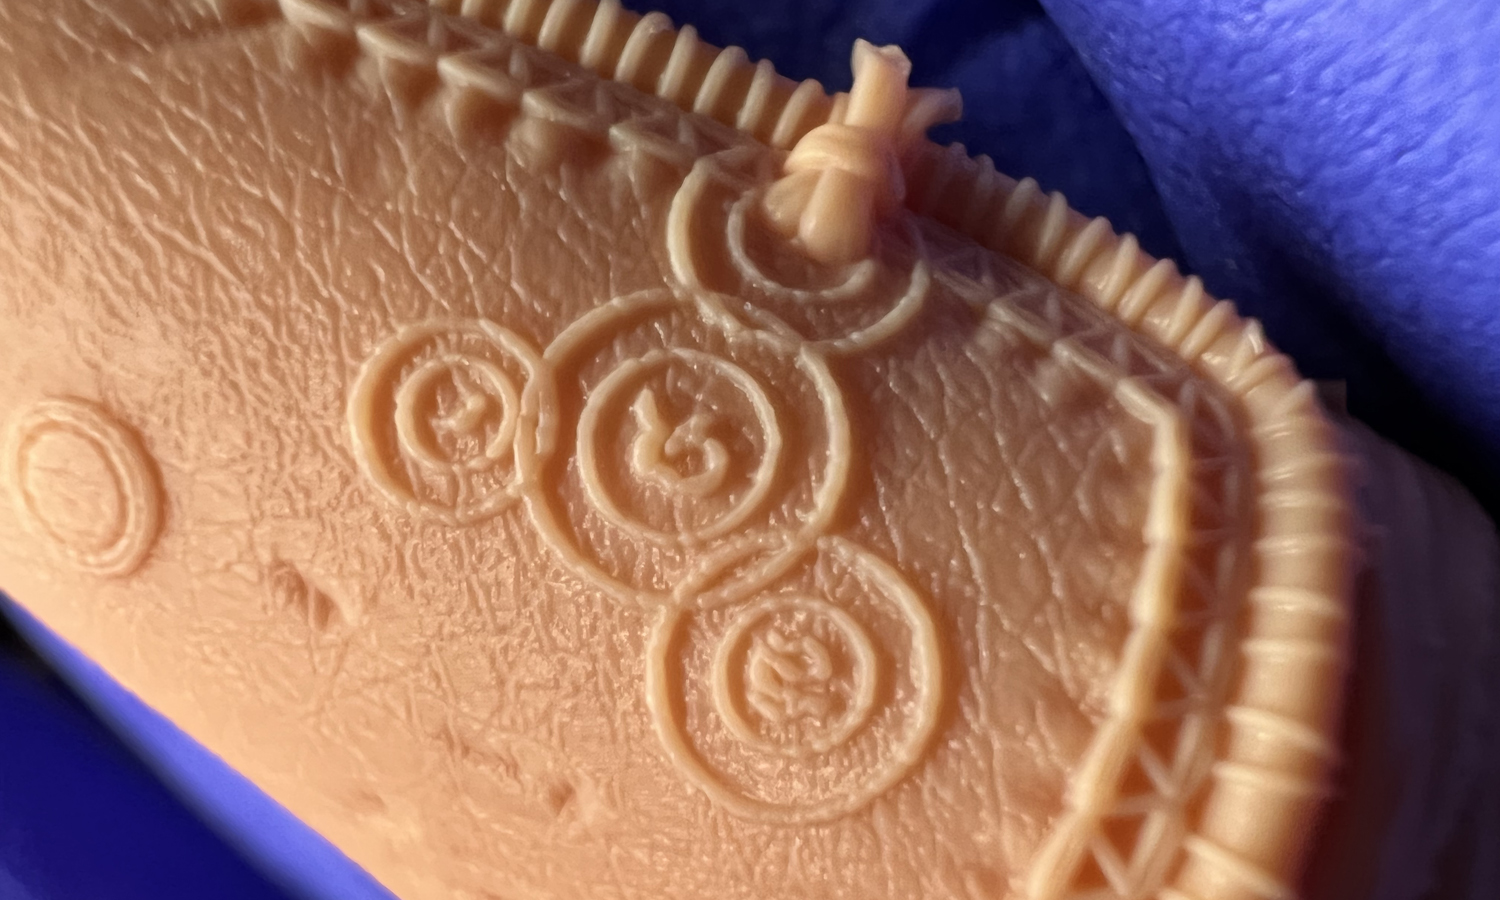
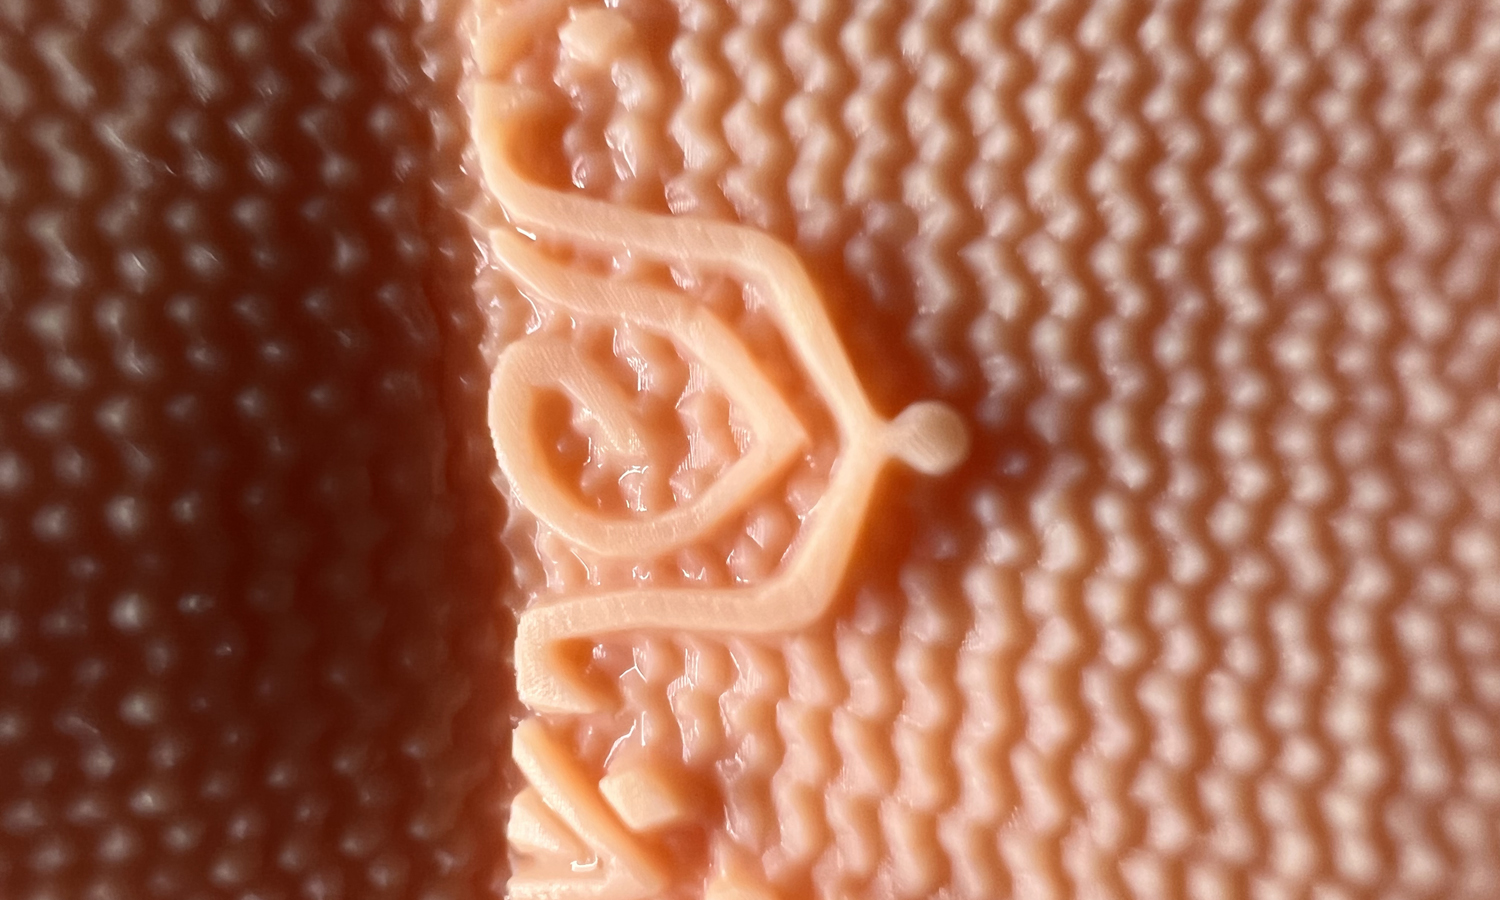
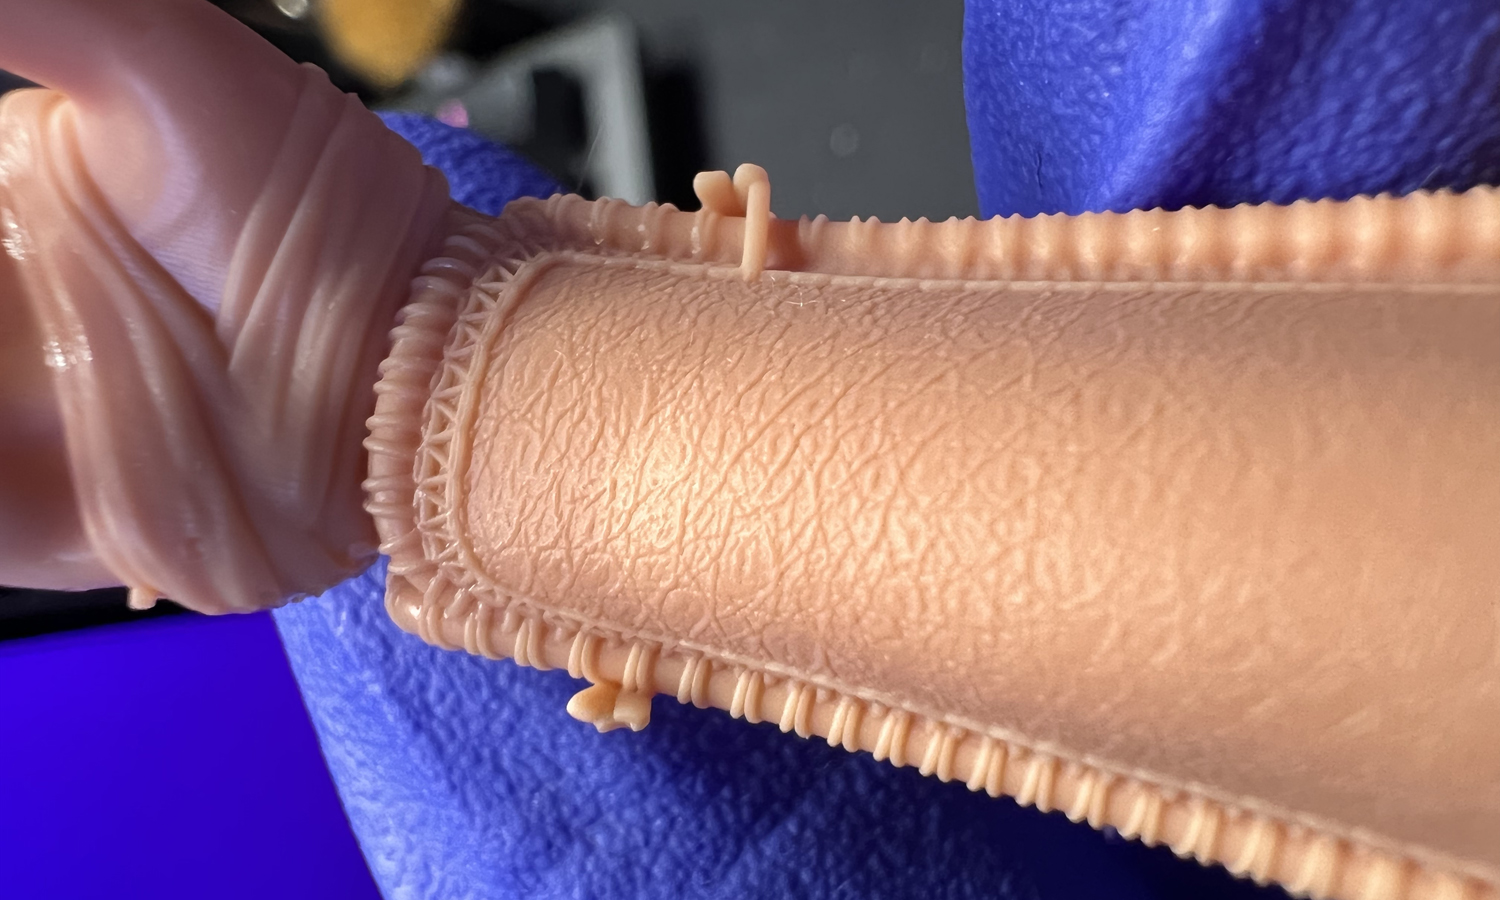
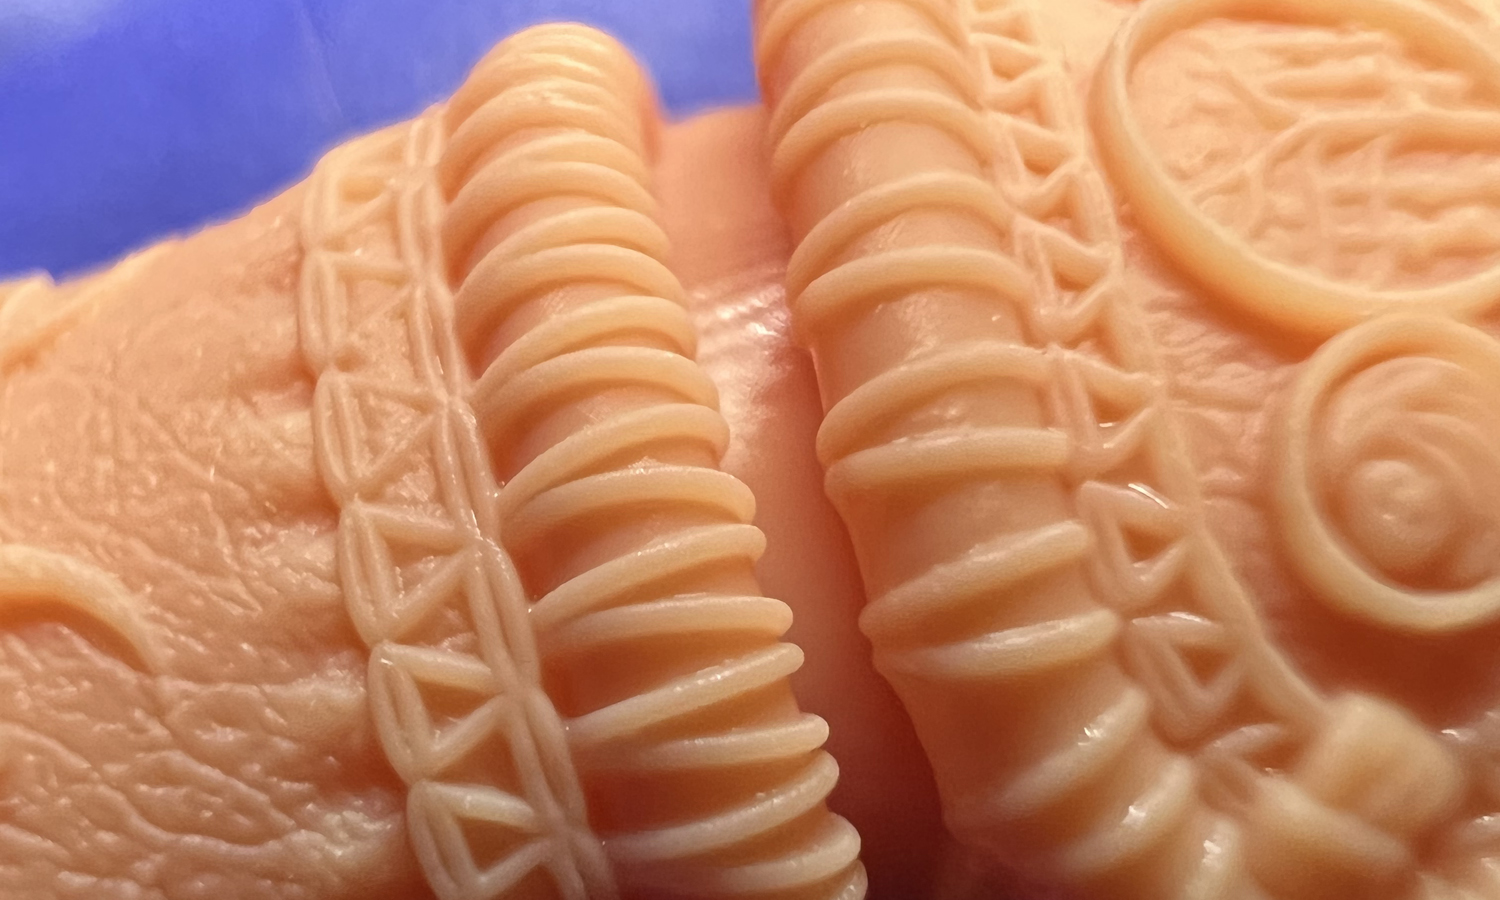
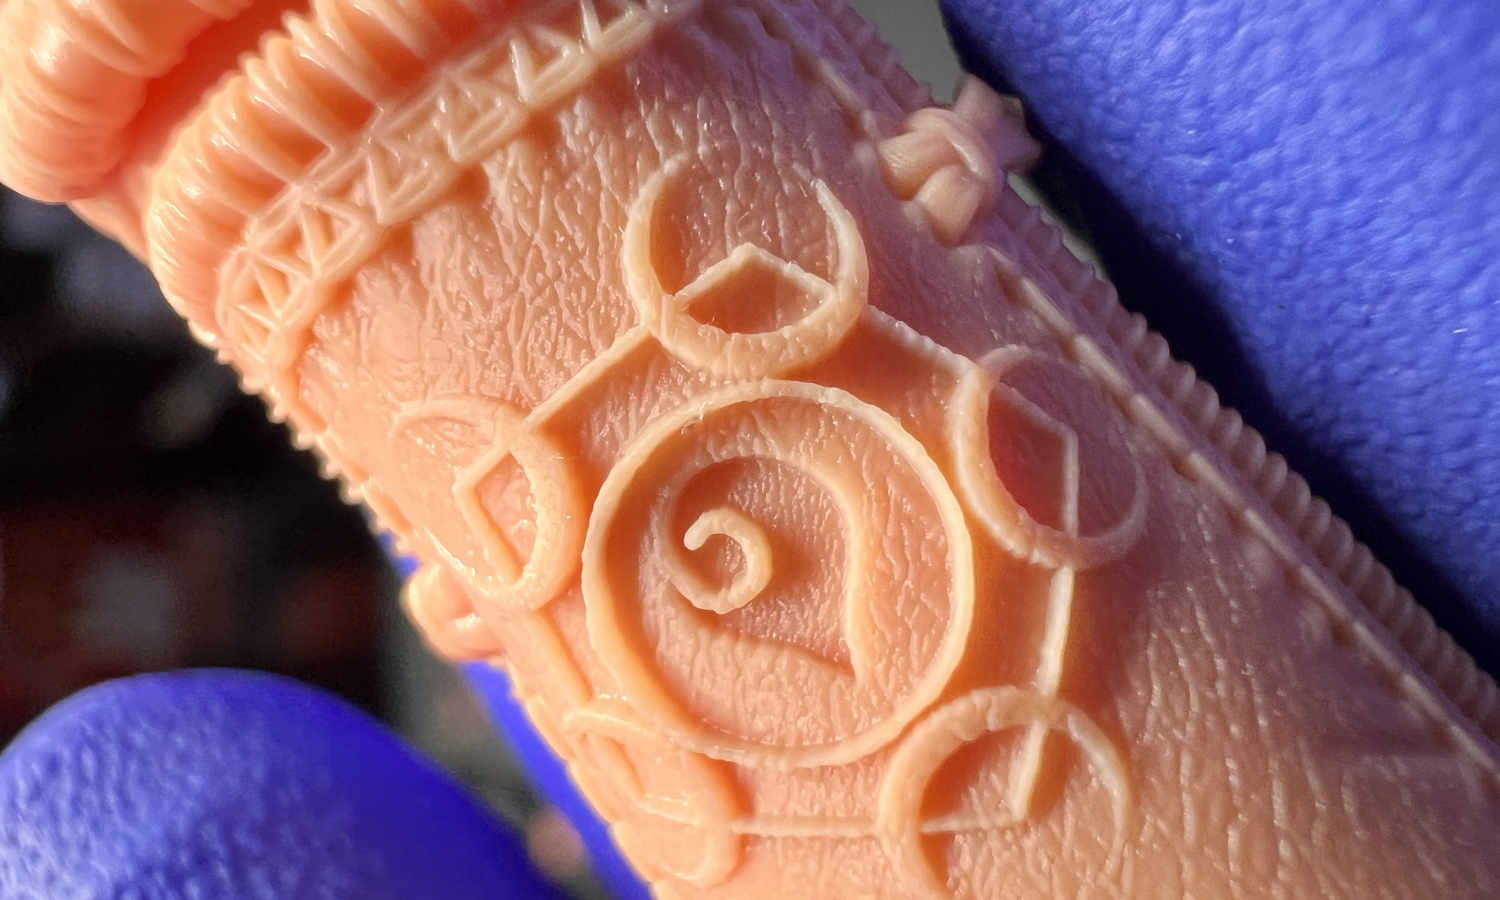
This arm garage kit is not just any ordinary arm. It is a masterpiece of art and craftsmanship, with delicate patterns and details that will blow your mind. You can clearly see the muscle on the upper arm, the folds of the cloth, the texture of the leather, the raised secret symbols, the stitches, and more. All these details are perfectly printed on the arm garage kit, which is smaller than a manŌĆÖs palm. How did we achieve such a high level of quality and precision? The answer is DLP 3D printing.
DLP stands for Digital Light Processing, a type of 3D printing technology that uses a projector to cure liquid resin layer by layer. DLP 3D printing is ideal for producing ultra-fine details and smooth surfaces, as well as complex geometries and intricate designs. DLP 3D printing is also faster and more efficient than other 3D printing methods, as it can cure an entire layer of resin in one flash of light.
At FacFox, we use the best DLP 3D printers and resins to create stunning garage kits that will impress even the most discerning collectors. We have a team of professional designers and engineers who can help you turn your ideas into reality. Whether you want to create your own original garage kit, or replicate an existing one, we can help you with the design, printing, post-processing, and shipping. You can choose from a variety of resin colors and finishes, and customize your garage kit to your liking.
If you are interested in ordering this DLP 3D Printed Ultra-detail Resin Arm Garage Kit, or any other garage kit, please visit our website [facfox.com] and contact us via [info@facfox.com] today. We offer competitive prices and fast delivery worldwide. You can also browse our gallery of previous projects and see what other amazing garage kits we have created for our customers. DonŌĆÖt miss this opportunity to own a unique and exquisite piece of art that will make your collection stand out. Order your DLP 3D Printed Ultra-detail Resin Arm Garage Kit from FacFox today!
Solution
- Step 1: The design of the arm garage kit was created using 3D modeling software. The design was based on the customerŌĆÖs specifications and preferences, such as the size, shape, color, and style of the arm. The design was then exported as an STL file, which is a standard format for 3D printing.
- Step 2: The STL file was imported into a slicing software, which is a program that prepares the 3D model for printing. The slicing software divided the model into thin layers, and generated a set of instructions for the DLP 3D printer. The instructions included the exposure time, the layer height, the support structures, and the printing orientation. The slicing software also calculated the amount of resin needed for the printing process.
- Step 3: The DLP 3D printer was set up and calibrated. The printer consisted of a resin tank, a build platform, a projector, and a control panel. The resin tank was filled with a high-quality resin that matched the color and finish of the customerŌĆÖs choice. The build platform was lowered into the resin tank, and the projector was turned on. The projector projected a series of images onto the resin, corresponding to the layers of the model. The images were based on the instructions from the slicing software.
- Step 4: The DLP 3D printing process was started. The projector flashed a light onto the resin, curing the first layer of the model. The build platform was then lifted slightly, and the resin was recoated. The projector flashed another light, curing the second layer of the model. This process was repeated until the entire model was printed. The printing time depended on the size and complexity of the model, but it was generally faster than other 3D printing methods.
- Step 5: The DLP 3D printed model was removed from the build platform and cleaned. The model was attached to a support structure, which was used to prevent deformation and ensure stability during the printing process. The support structure was carefully cut off using a pair of pliers or a knife. The model was then rinsed with isopropyl alcohol to remove any excess resin and improve the surface quality. The model was then dried with a paper towel or a hair dryer.
- Step 6: The DLP 3D printed model was post-processed and finished. The model was inspected for any defects or errors, and sanded or polished if needed. The model was then cured under a UV lamp or sunlight to enhance the strength and durability of the resin. The model was then painted or coated with a protective layer, such as a varnish or a wax, to achieve the desired look and feel. The model was then ready to be shipped to the customer or displayed in the showroom.


