Material Resin
Quantity 1 pcs
Price Range $1,000-5,000
Lead Time 15 workdays
Gallery
About Project
Are you looking for a way to create a realistic and functional humanoid robot prototype? Do you want to impress your clients, investors, or customers with a high-quality and detailed robot model? If so, you might be interested in FacFoxŌĆÖs robot prototyping services.
FacFox is a leading online platform that offers various 3D printing and prototyping solutions for different industries and applications. One of their specialties is SLA 3D printing, which is a technique that uses a laser to cure liquid resin into solid layers. SLA 3D printing can produce smooth and accurate parts with fine details and complex geometries.
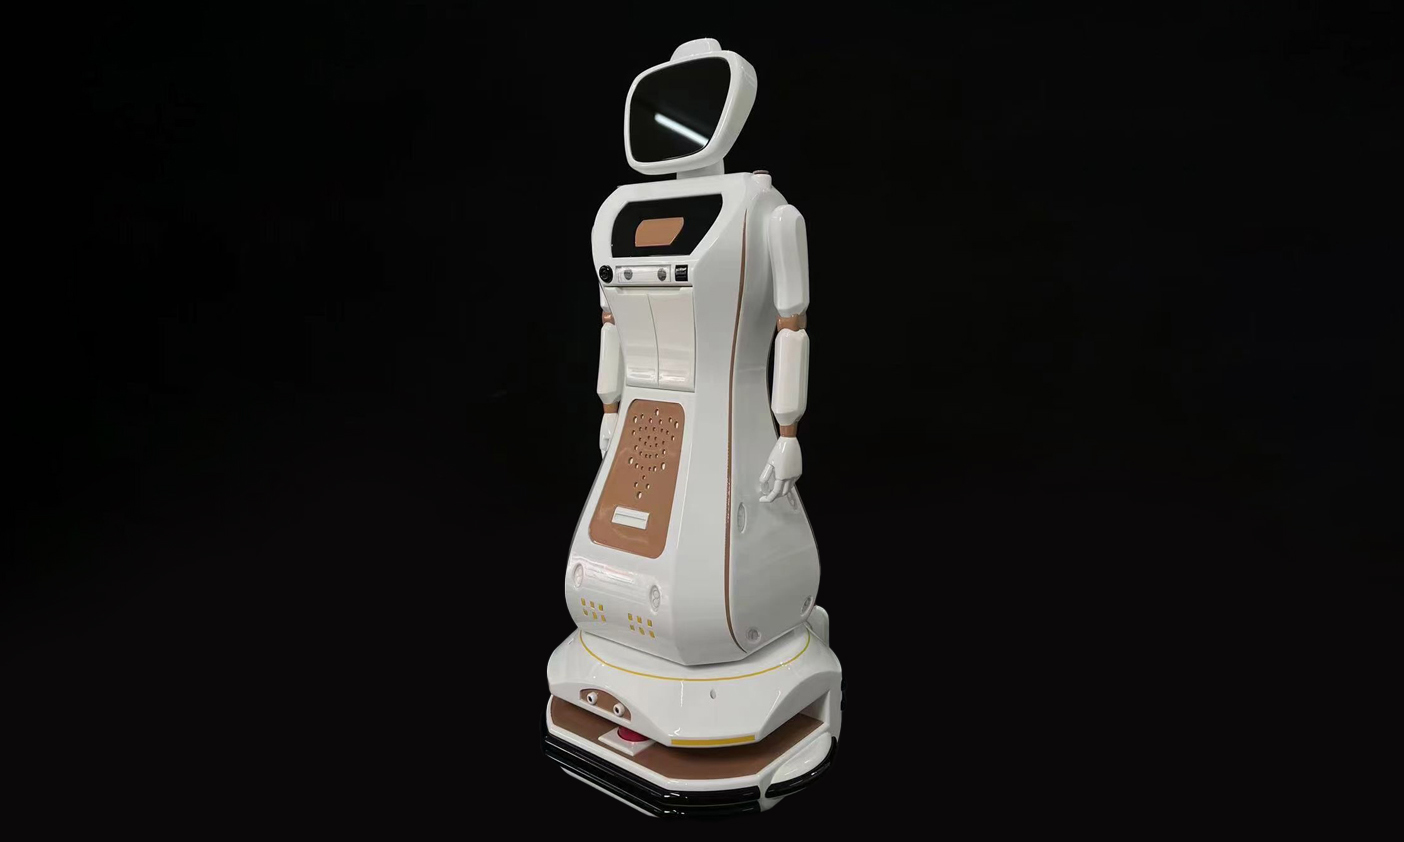
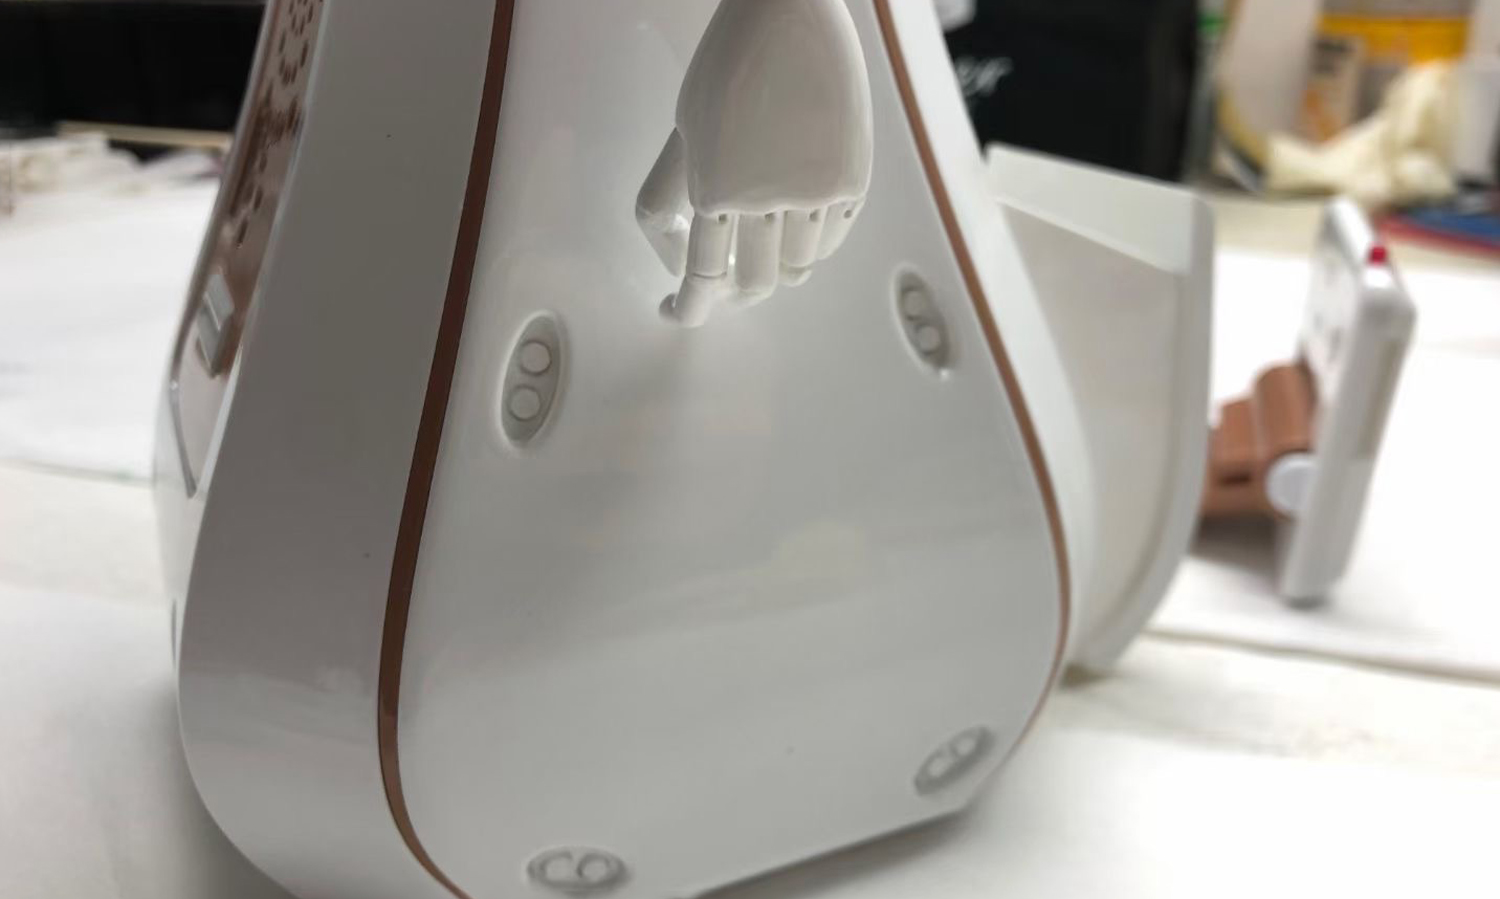
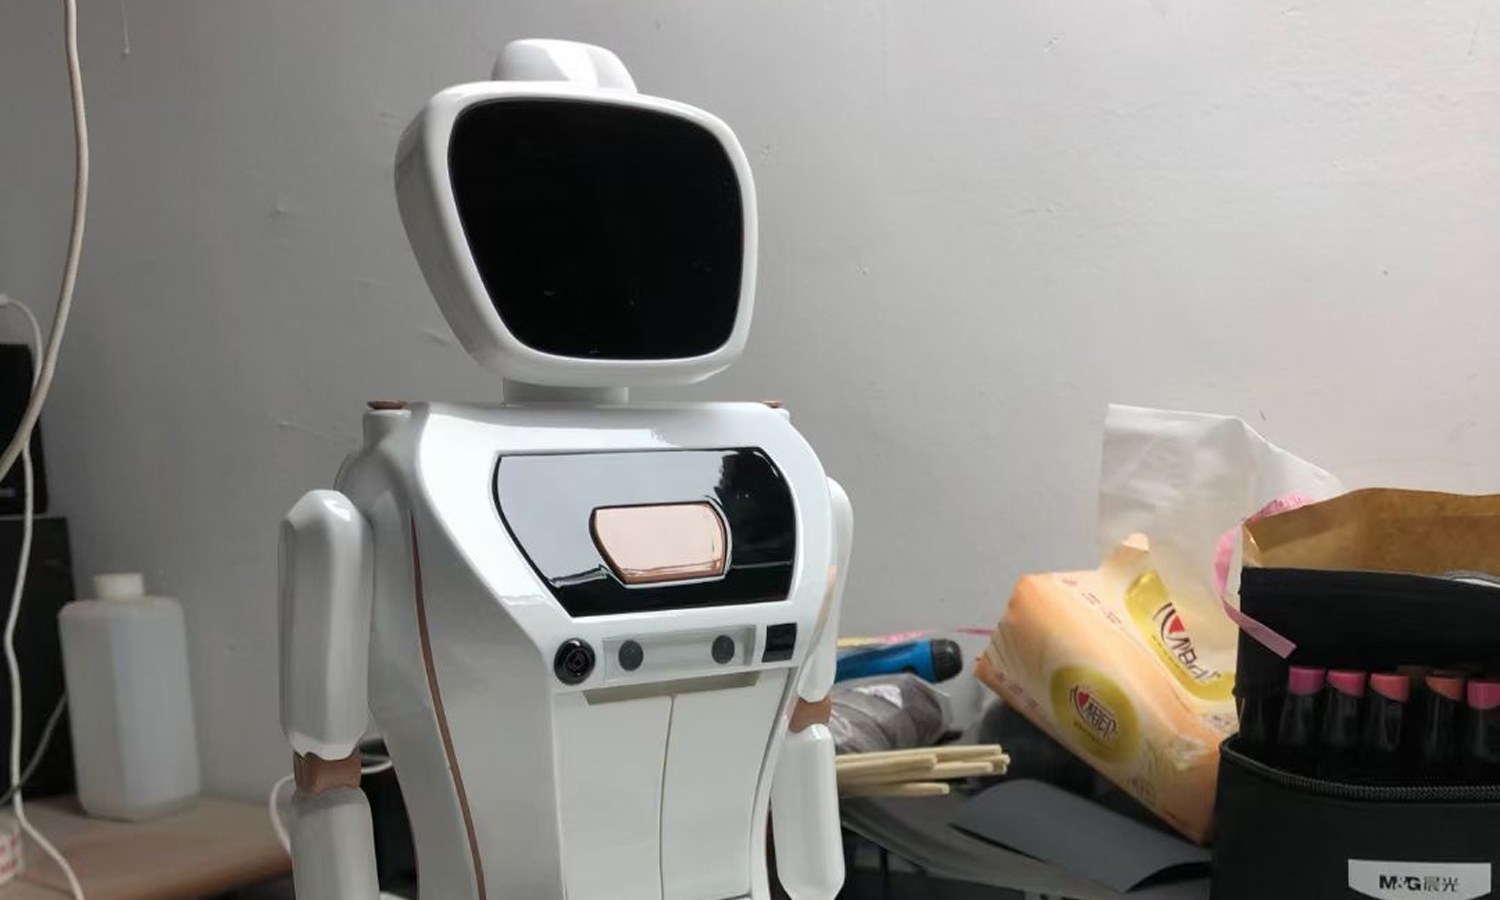
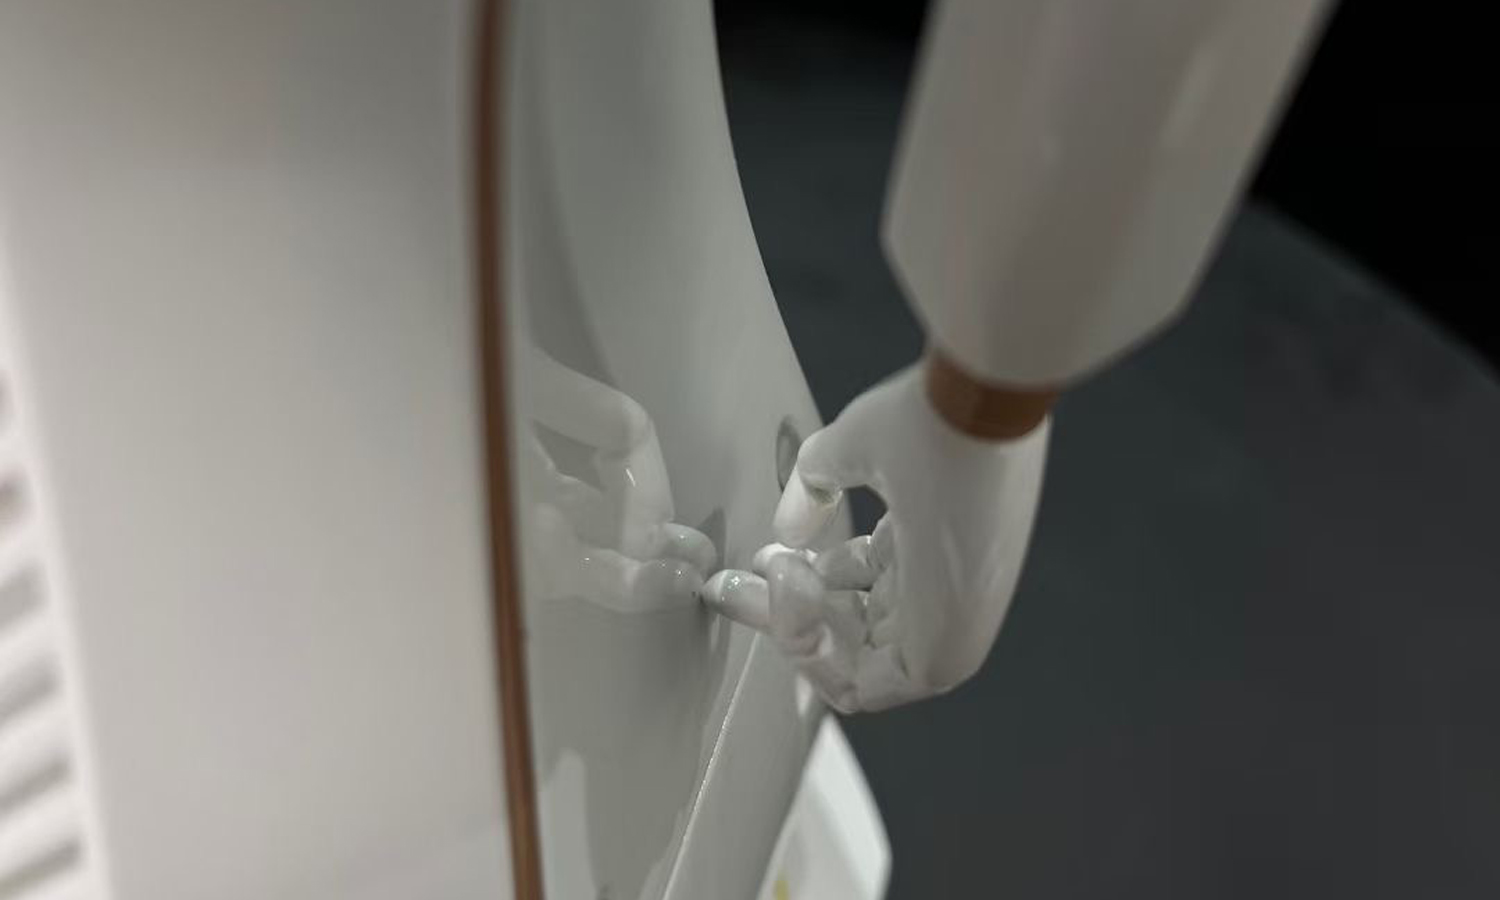
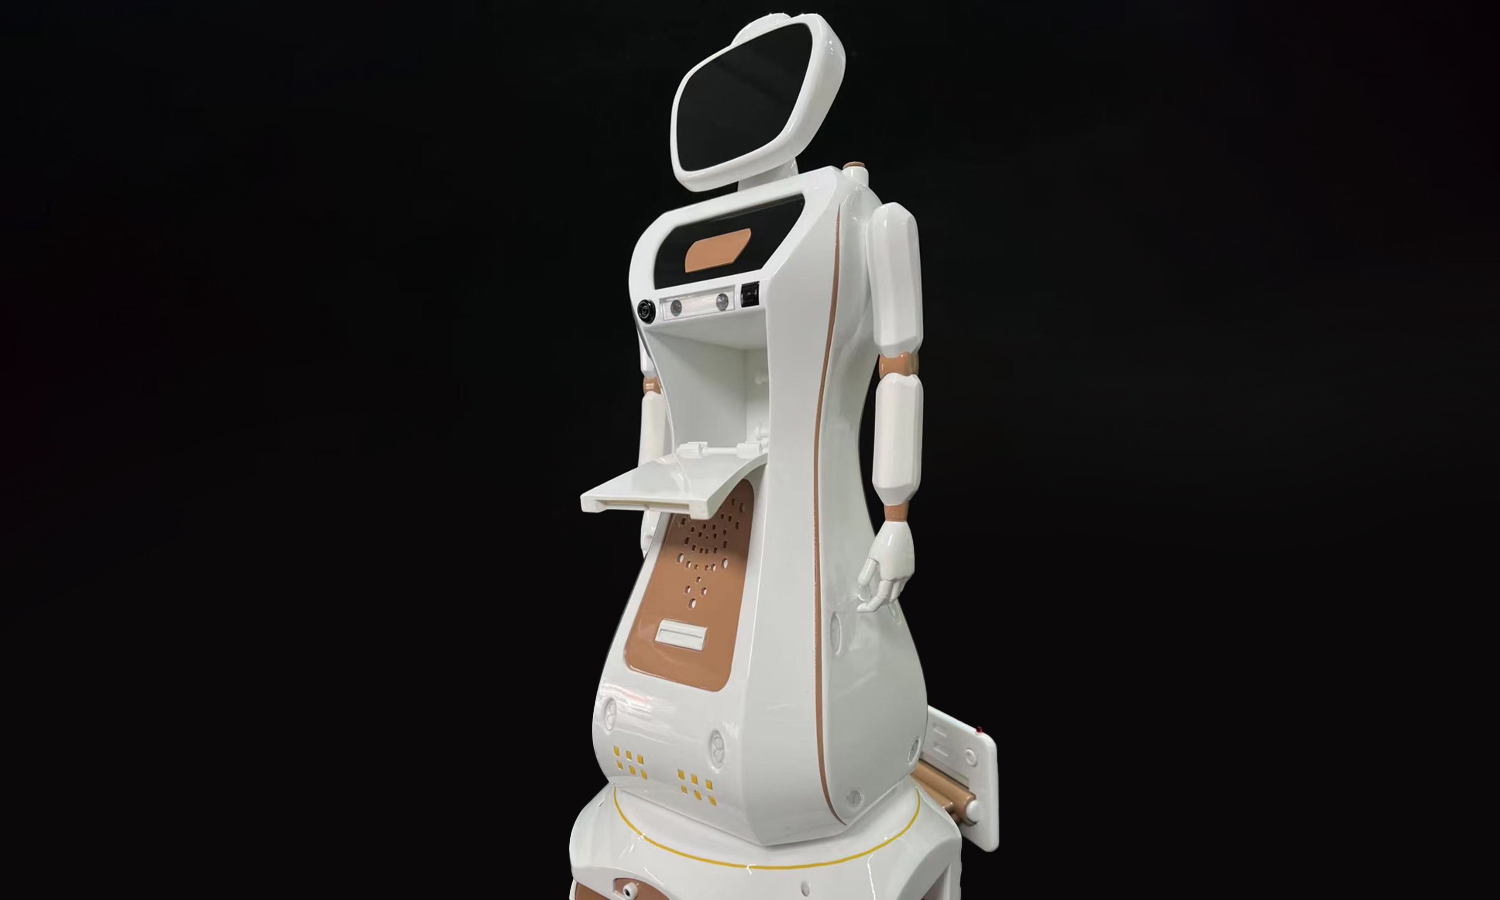
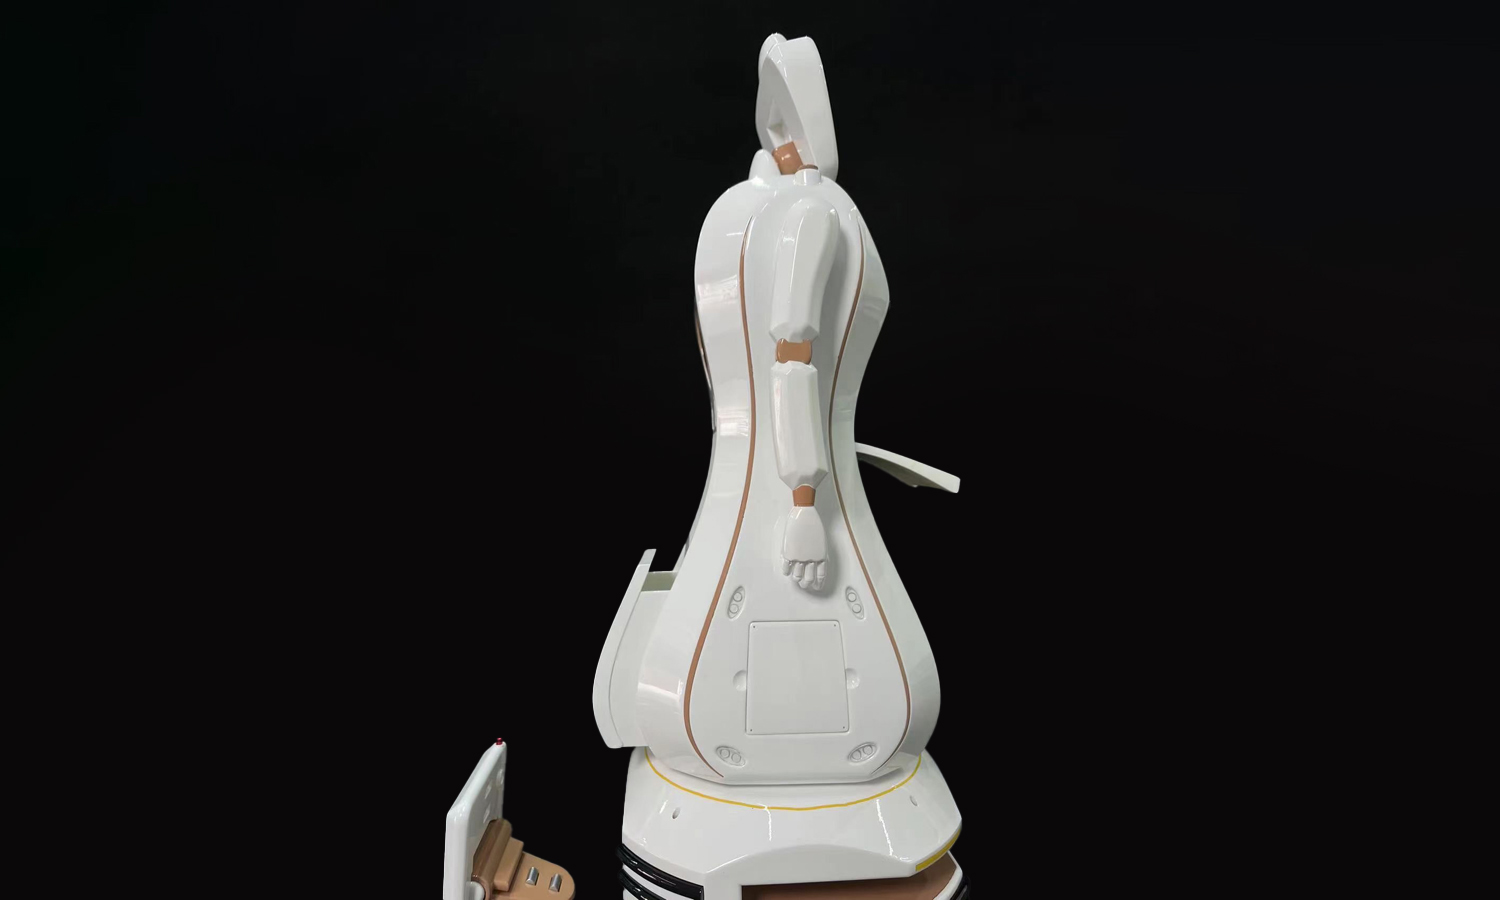
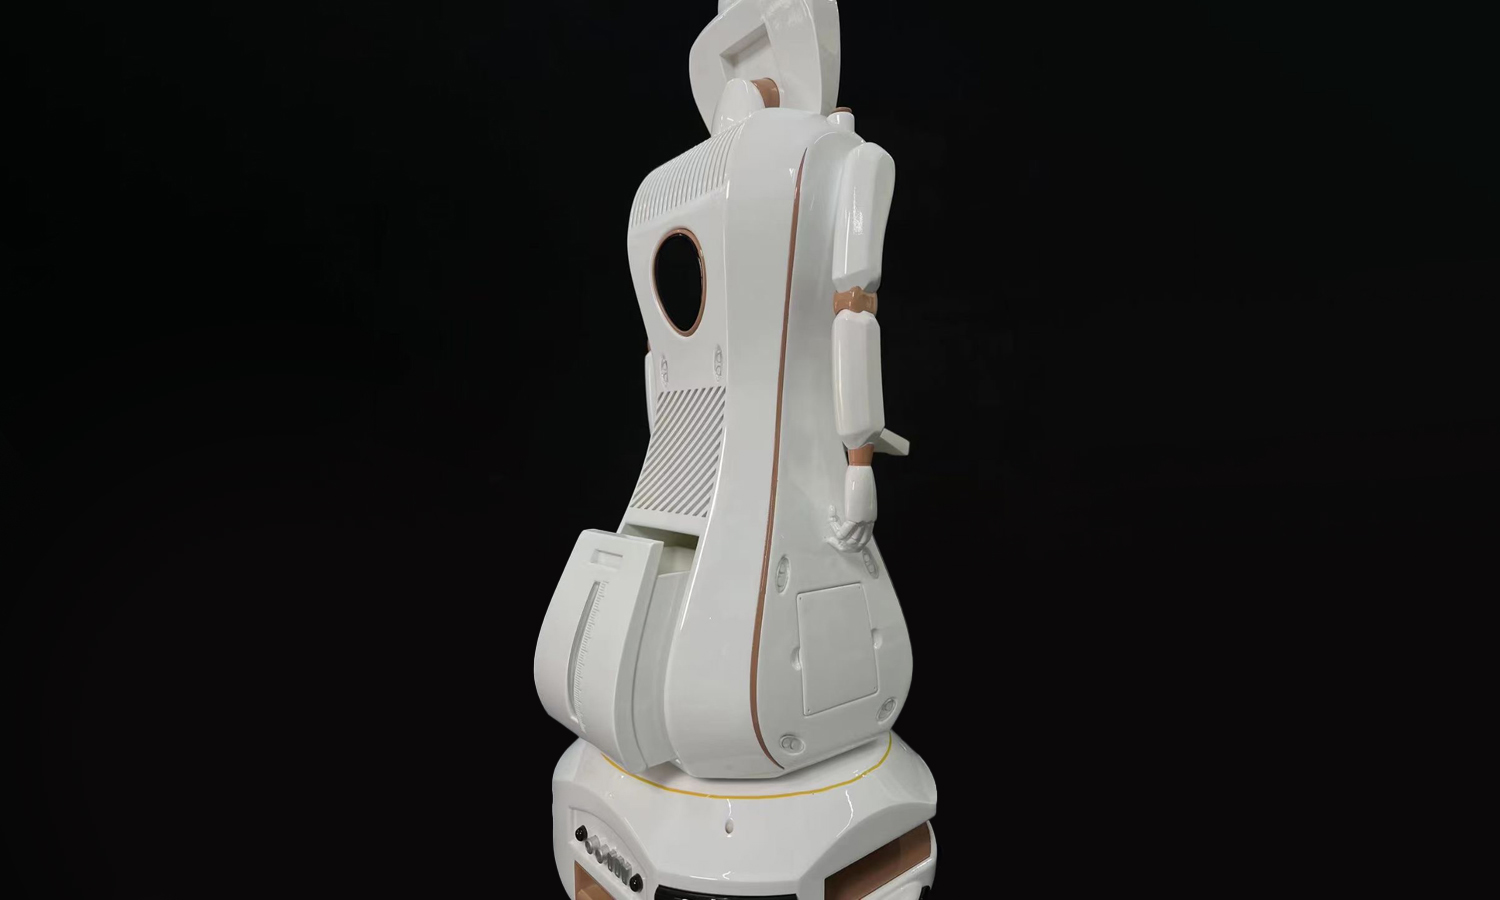
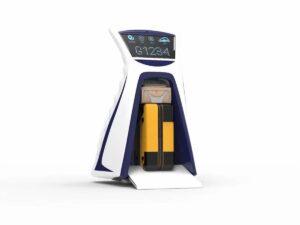
One of the recent projects that FacFox completed was a SLA 3D printed and painted humanoid robot resin prototype. This robot prototype has a humanoid shape with a curved and cylindrical torso. There is a screen on its head and chest, and its head is in a rounded rectangle shape. It has a pair of slim arms with elbow joint and wrist joint, and it has five fingers. In the front, its belly could be opened and store things, while in the back lower part it has a drawer which could also store things. The front lower body seems to have a voicer. The robot has no leg but it could move with wheels.
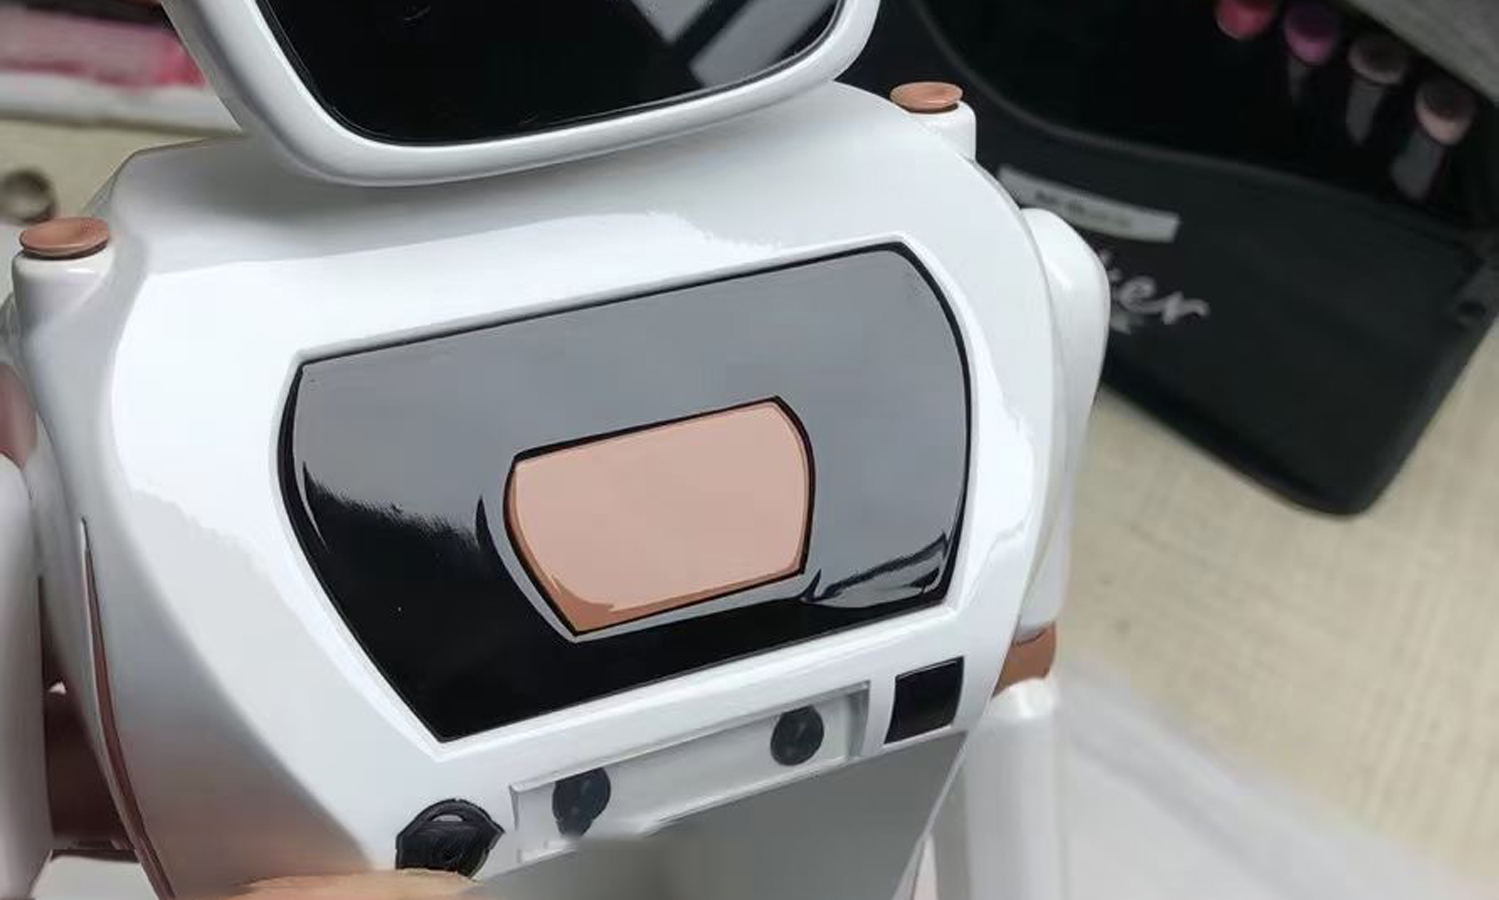
The color scheme of the robot prototype is mainly white and partially brown and black. The white parts give the robot a clean and futuristic look, while the brown and black parts add some contrast and texture. The screens on the head and chest can display different images and messages, depending on the robotŌĆÖs function and mood.
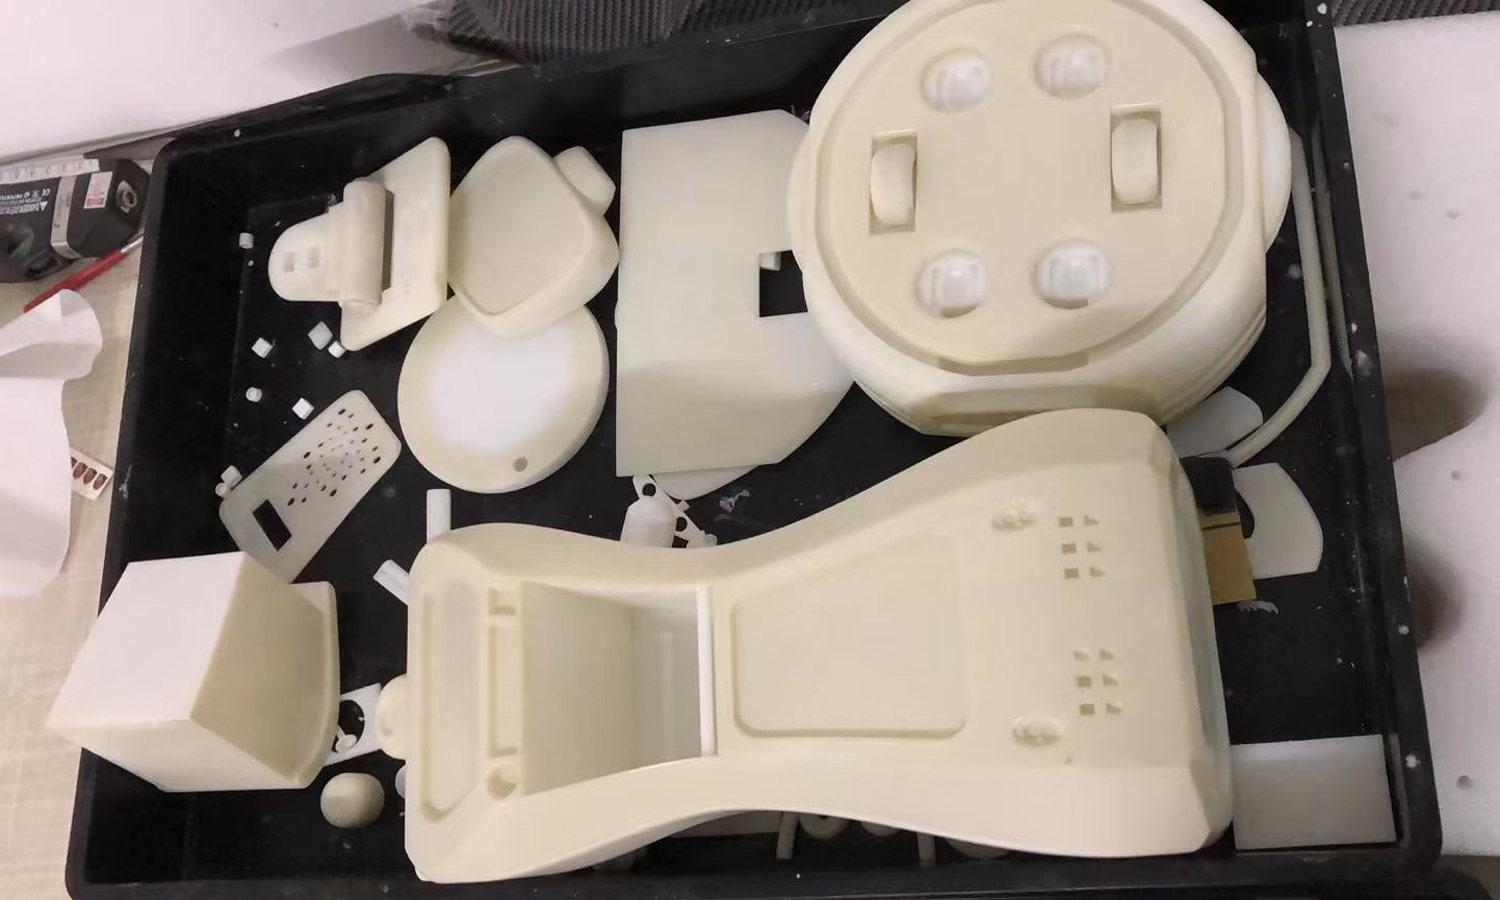
The robot prototype was created by splitting the 3D model and printing the parts separately, then assembling and gluing the parts together. This way, the robot prototype could have different colors and features without the need for painting or post-processing. The SLA 3D printing process ensured that the parts were smooth and precise, and the resin material was durable and flexible.
The robot prototype was a success and received positive feedback from the client. The client was impressed by the quality and detail of the robot prototype, and the functionality and interactivity of the robot. The client also appreciated the fast and reliable service from FacFox, and the affordable and competitive price of the project.
If you are interested in creating your own SLA 3D printed and painted humanoid robot resin prototype, or any other 3D printing and prototyping project, you can contact FacFox through their website [facfox.com] or email [info@facfox.com]. They will provide you with a free quote and consultation, and help you turn your idea into reality. FacFox is your trusted partner for 3D printing and prototyping solutions.
Solution
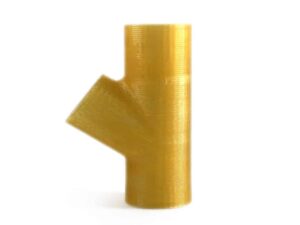
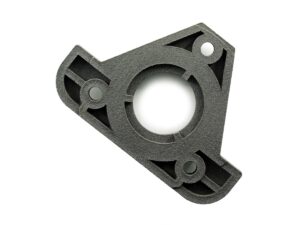
- Step 1: The 3D model of the robot was split into different parts according to the color scheme and features. Each part was assigned a unique name and number for easy identification and assembly.
- Step 2: The parts were uploaded to FacFoxŌĆÖs online platform and the SLA 3D printing parameters were set. The parts were arranged in the optimal orientation and layout to minimize the support structures and material usage.
- Step 3: The parts were 3D printed using a high-resolution SLA 3D printer. The printer used a laser to cure liquid SLA Genetic Resin into solid layers, creating smooth and accurate parts with fine details and complex geometries.
- Step 4: The parts were removed from the printer and the support structures were carefully cut off. The parts were then cleaned with alcohol and water to remove any excess resin and dirt.
- Step 5: The parts were cured under UV light to enhance the strength and durability of the resin material. The parts were then inspected for any defects or errors, and any necessary repairs or adjustments were made.
- Step 6: The parts were assembled and glued together according to the 3D model and the instructions. The voicer on the front lower body was also connected to the microcontroller and a speaker, and programmed to produce different sounds and voices.
- Step 7: The robot prototype was painted with white, brown, and black colors to match the color scheme and add some contrast and texture. The paint was applied with a spray gun and a brush, and dried under a fan. The paint was then sealed with a clear coat to protect it from scratches and stains.
- Step 8: The robot prototype was packed and shipped to the client. The client was notified of the delivery status and the tracking number. The client was also invited to share their feedback and experience with FacFox and the robot prototype.


