Material Rubber
Quantity 1 pcs
Price Range $1-100
Lead Time 3 workdays
Gallery
About Project
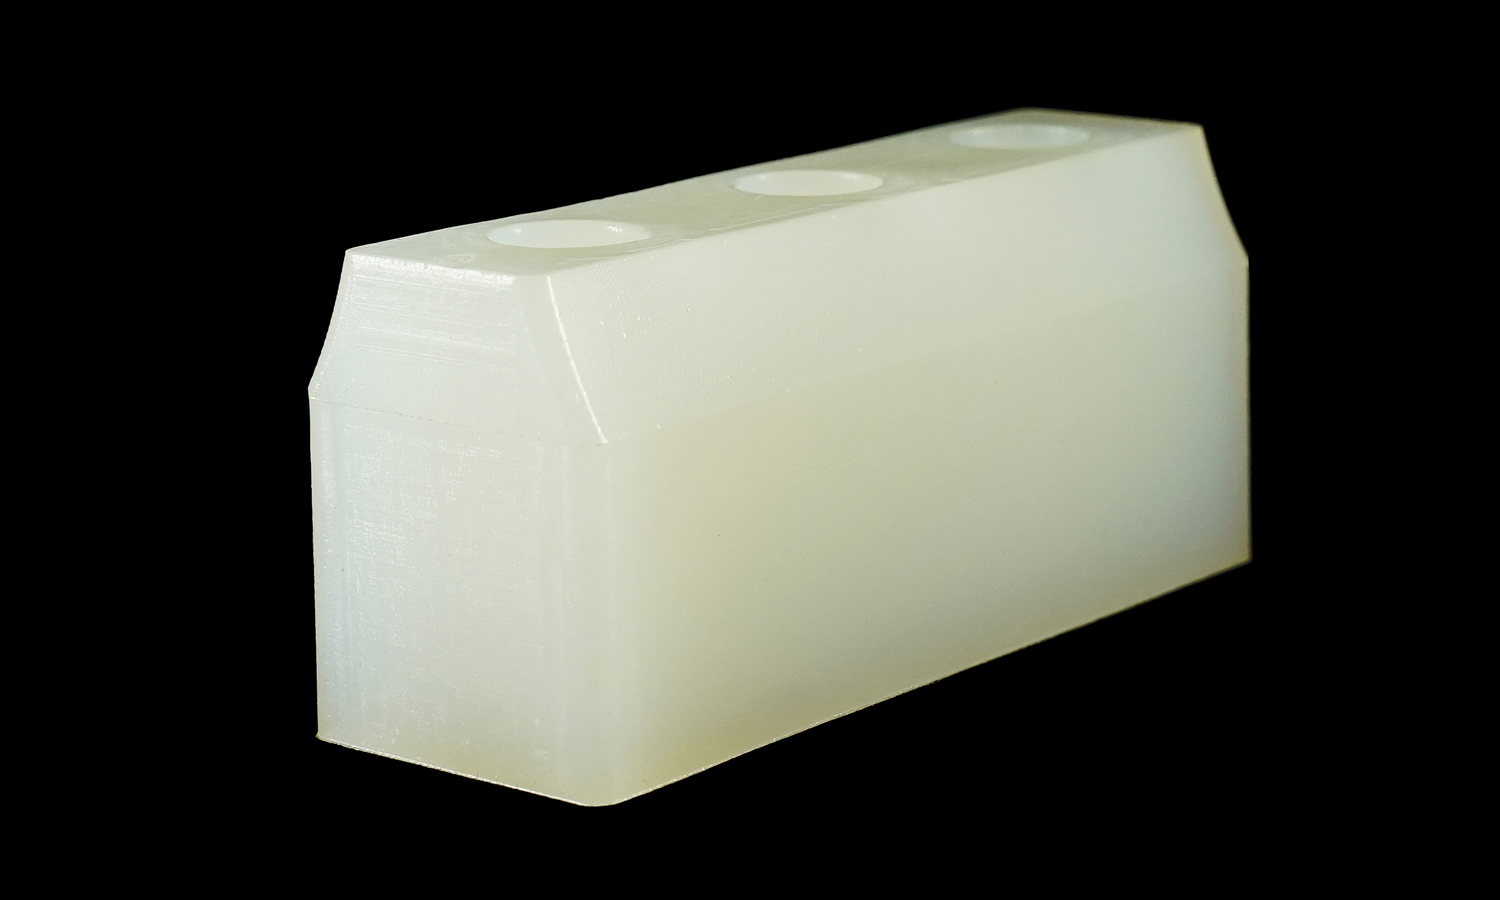
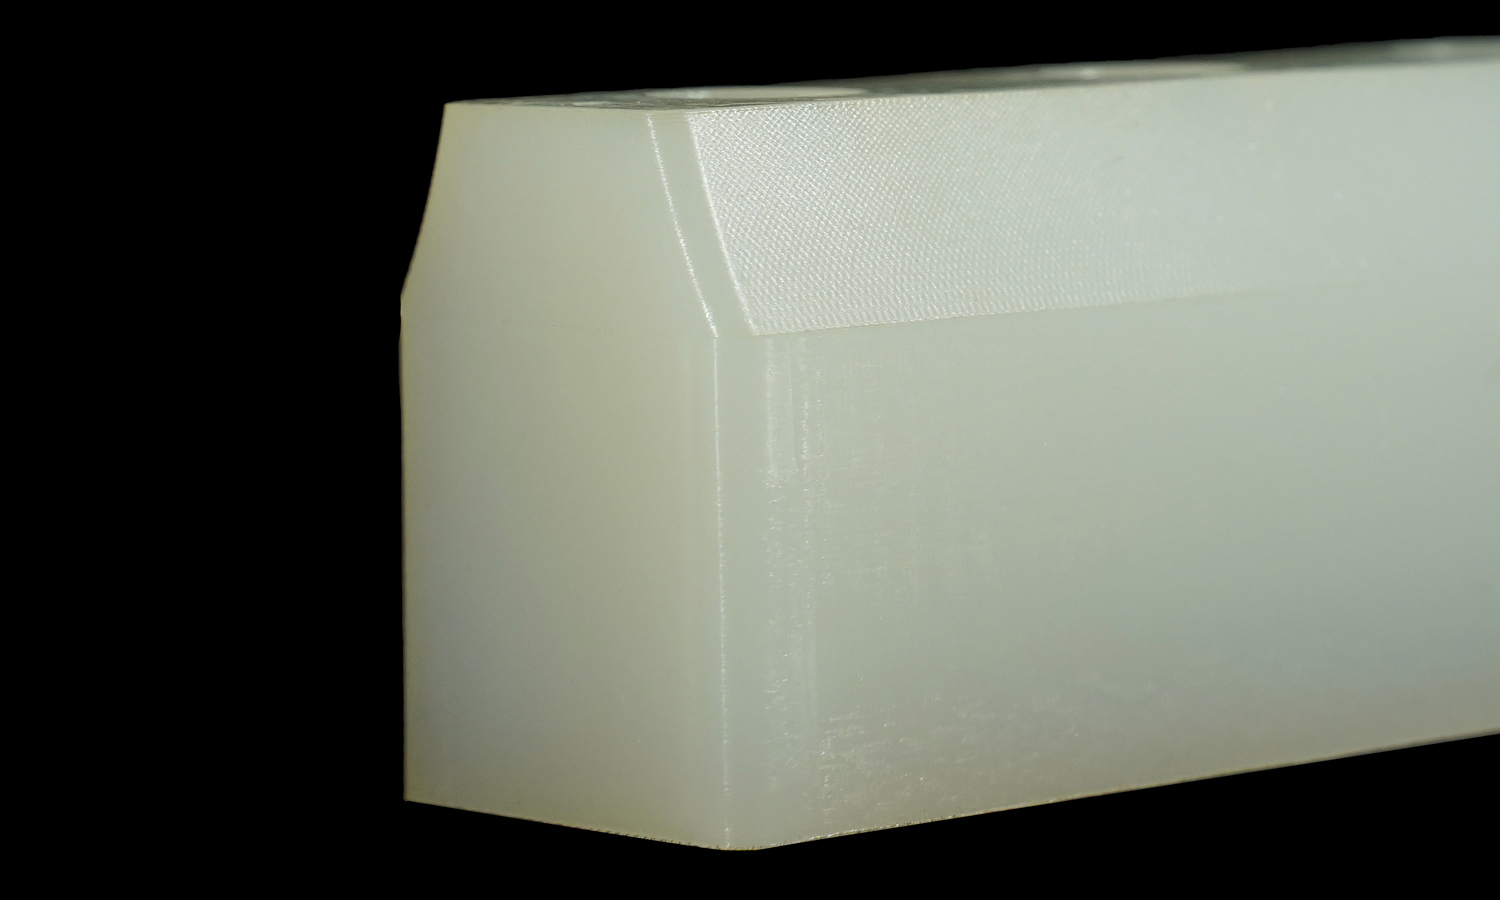
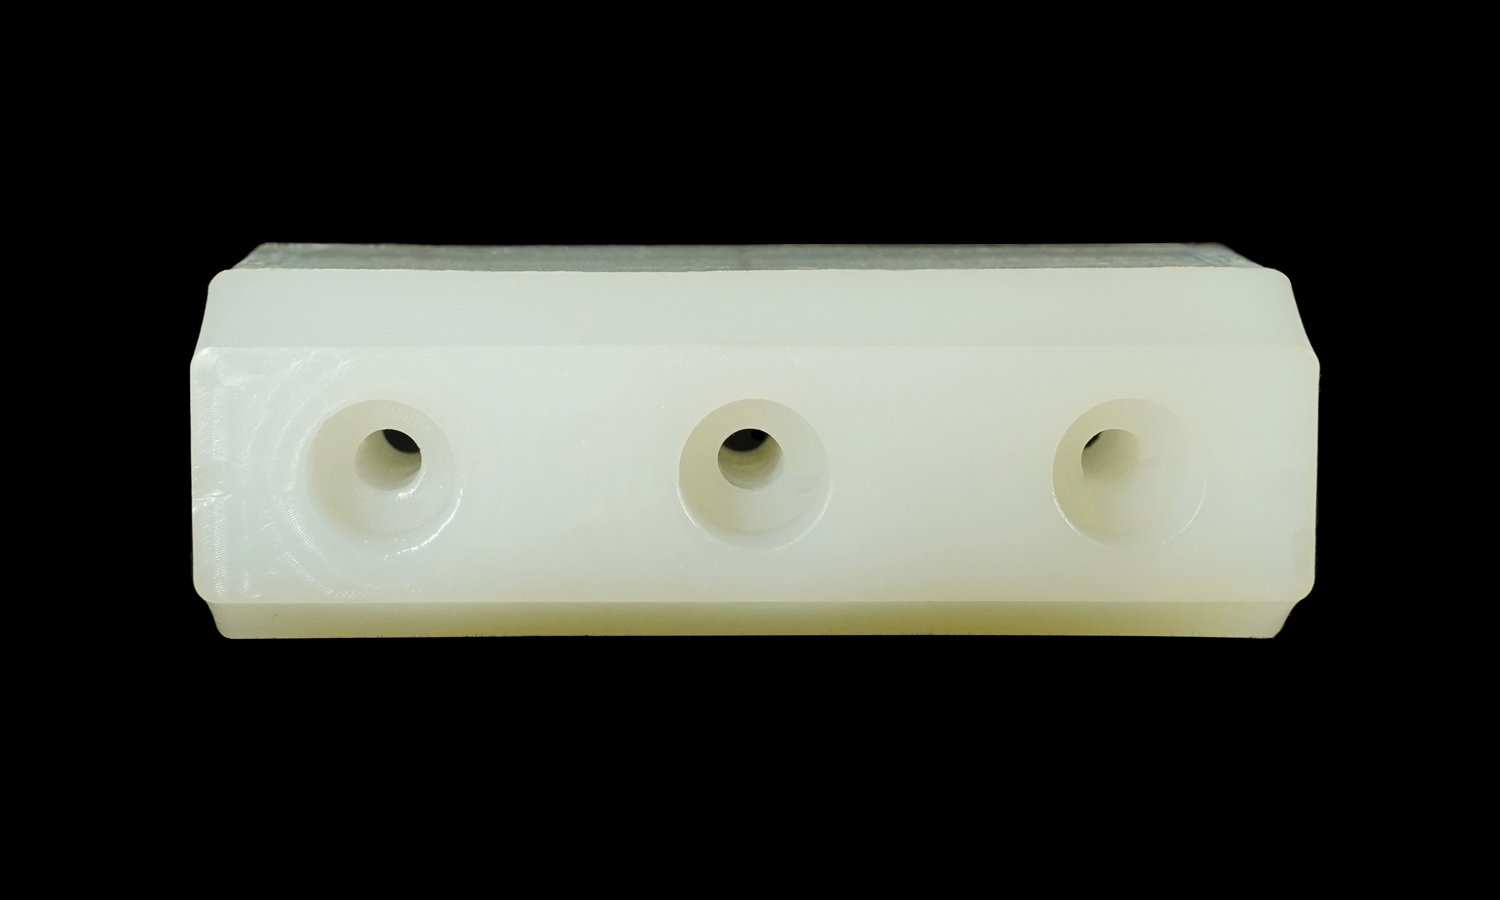
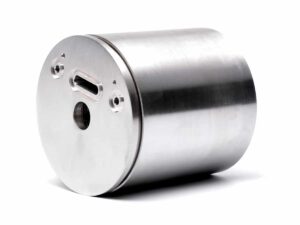
This milky, translucent block is a practical example of a polyurethane (PU) part used for prototyping and light-duty functional applications. The geometry is simple but intentional: a rigid rectangular body with chamfered edges for safer handling, plus three clean, concentric holes that suggest mounting, alignment, or fluid routing. Parts like this are commonly used as fixture blocks, spacers, test pieces, positioning components, or protective pads when fast iteration matters.
PU is a highly versatile polymer family formed by reacting two components that cure into a solid. Its biggest advantage is how widely it can be tuned: PU can range from soft rubber to rigid plastic. In rigid grades, PU offers good impact resistance, practical wear performance, and easy secondary machining for drilling, countersinking, and edge finishing. It also casts well, meaning you can replicate surfaces and details from a master pattern, then add machining where tolerances are critical. As with any material, performance depends on the exact grade: heat resistance, moisture stability, and chemical resistance vary, and some PU may yellow over long exposure.
If you need low-to-medium volume parts with fast turnaround, PU is a strong option for prototypes and functional samples that bridge concept to production. For PU parts like this, FacFox provides PU manufacturing services covering material selection, casting, post-processing, and optional precision machining. Send your CAD file with target hardness, tolerance requirements, and the working environment, and FacFox can recommend the right PU grade and deliver consistent, production-ready results.
Solution
- Step 1: A polyurethane casting mold was prepared, and the mold surfaces were cleaned and treated with a release agent.
- Step 2: The two-part PU resin system was measured and mixed to the specified ratio.
- Step 3: The mixed resin was degassed under vacuum to minimize trapped air, and the resin was then poured or injected into the mold cavity.
- Step 4: The filled mold was cured under controlled time and temperature until full hardness was achieved.
- Step 5: The part was demolded, and any gates, flash, or overflow material was trimmed off.
- Step 6: The main faces were lightly sanded or surface-finished to achieve a uniform appearance.
- Step 7: The holes were drilled and bored to size, and any countersinks or stepped features were machined to the required dimensions.
- Step 8: The edges were chamfered, and all sharp corners were deburred.
- Step 9: The part was inspected for key dimensions, hole alignment, and surface defects, and the final piece was cleaned and packaged.


