
Material Plastic
Quantity 1 pcs
Price Range $1-100
Lead Time 4 workdays
Gallery


About Project
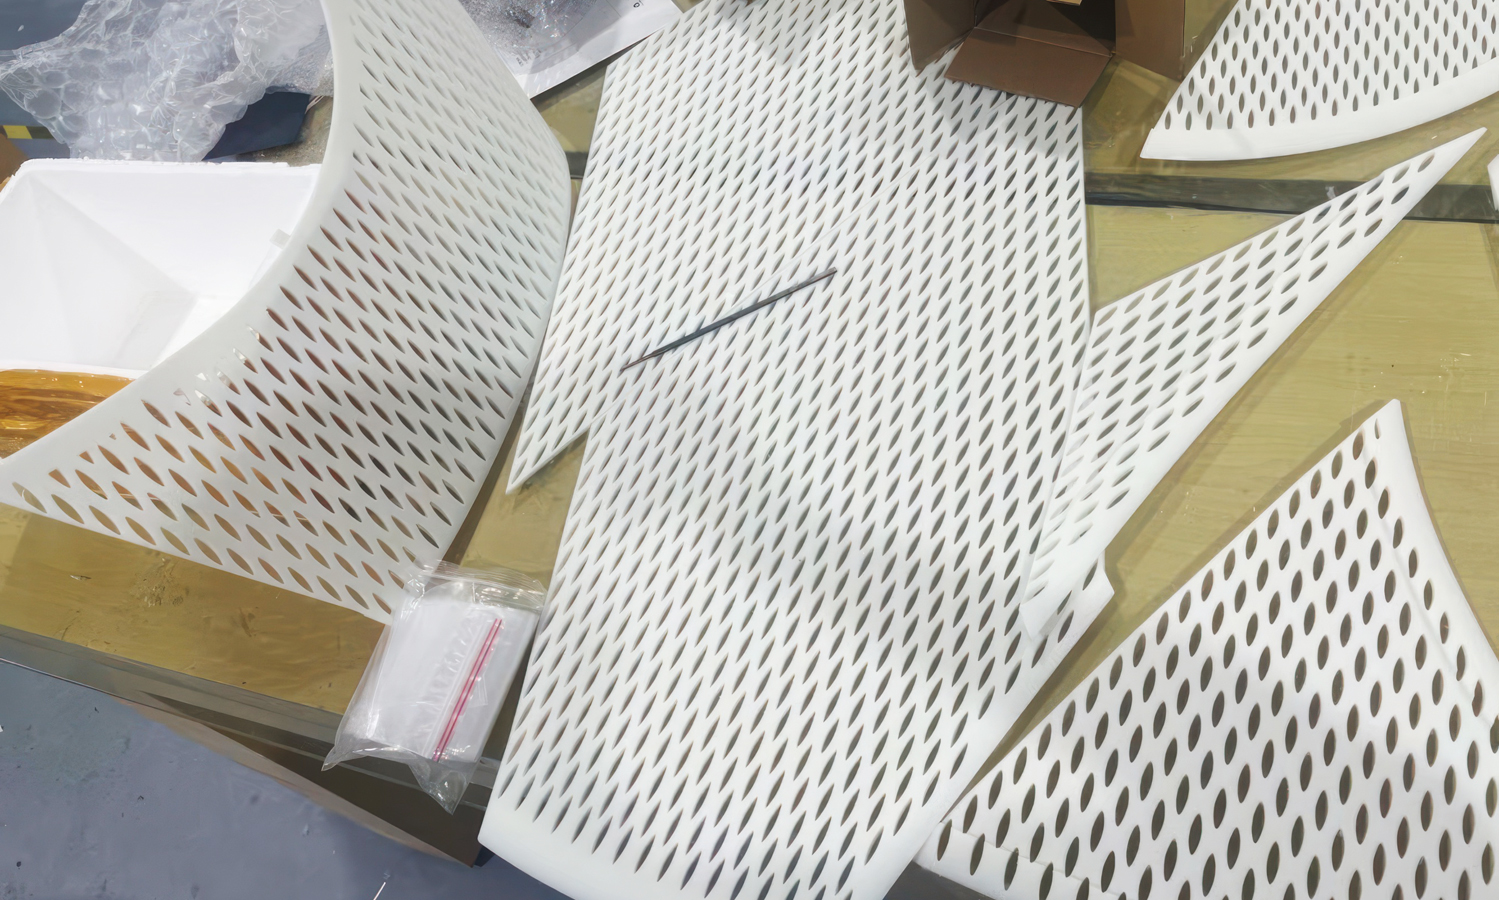
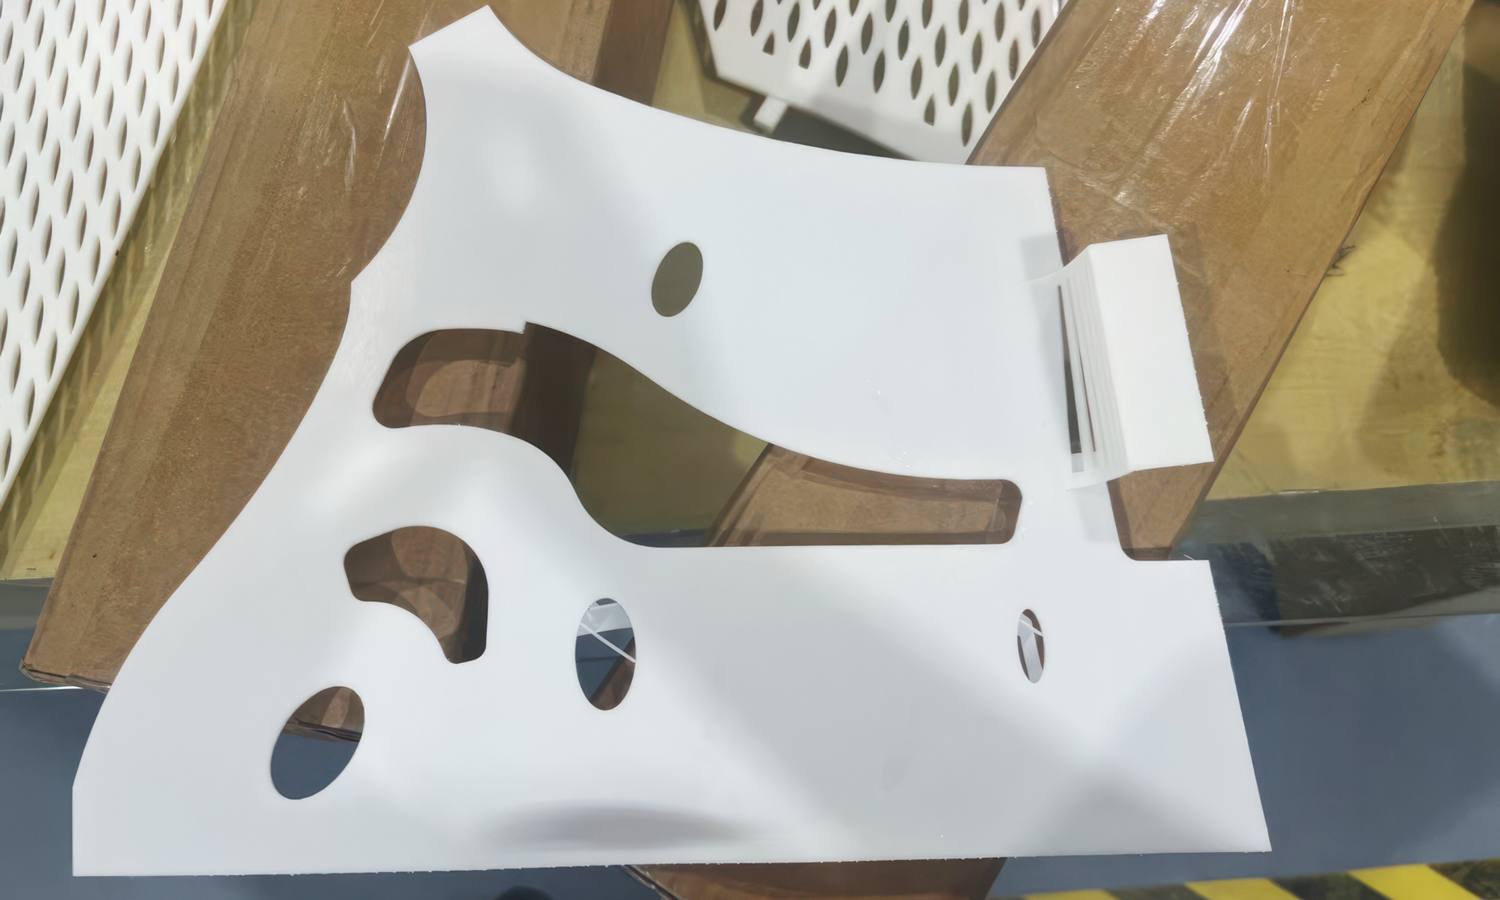
FacFox takes 3D-printed design to a whole new level with stunning SLA-printed white resin decorative panels featuring beautiful oval cut-outs. These panels are more than just aesthetically pleasing; they’re a perfect example of how form meets function.
The intricate latticework created by the oval cut-outs allows for airflow, making these panels ideal for ventilation needs in both architectural and industrial settings. They add a touch of modern elegance while promoting air circulation, a crucial element in a variety of applications.
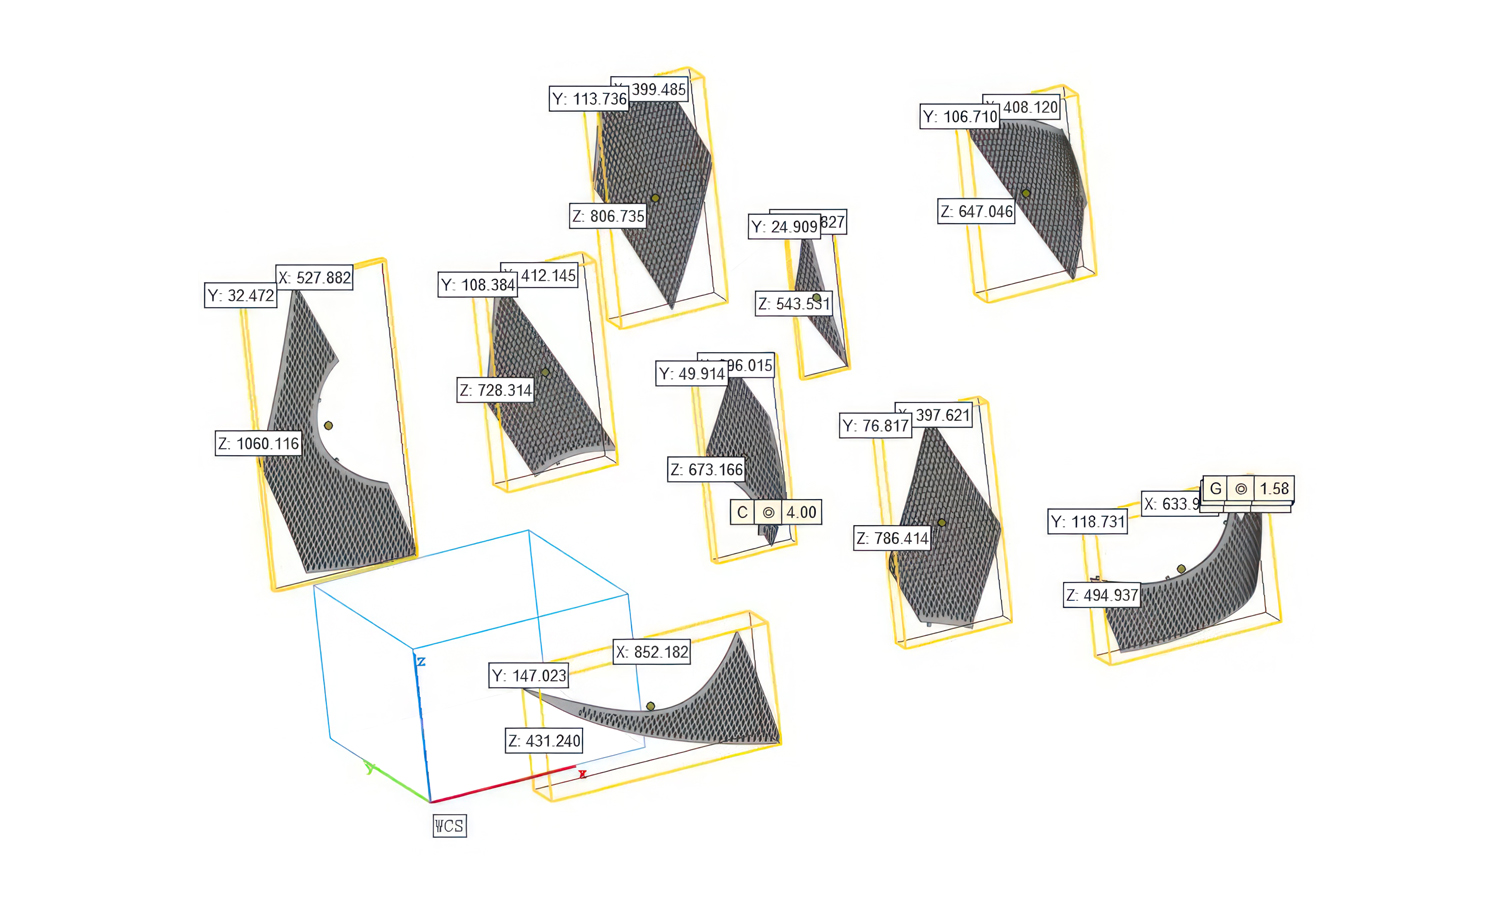
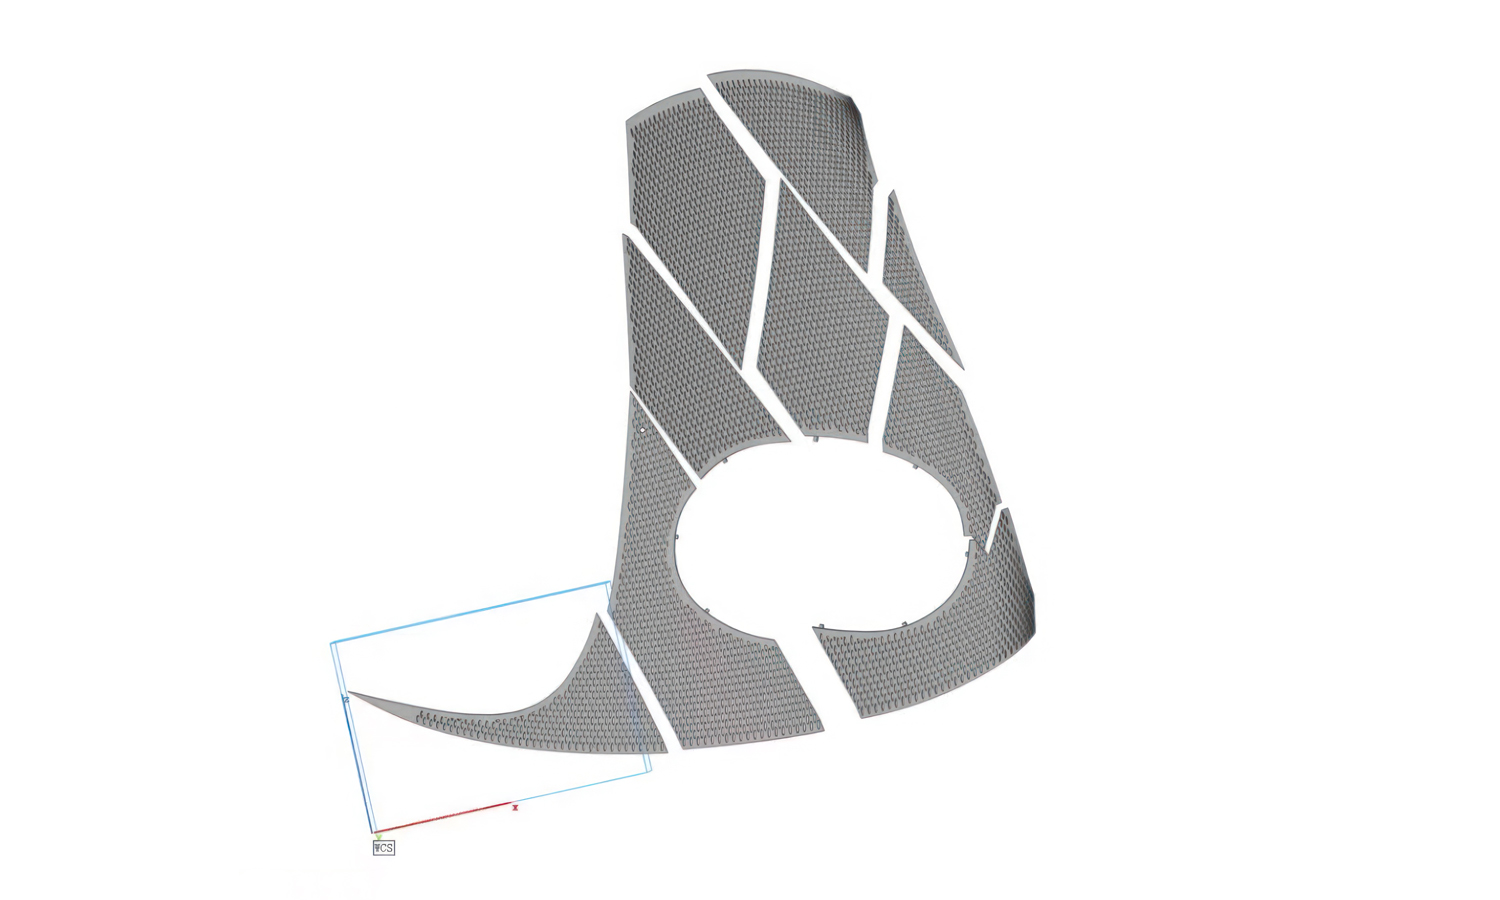
FacFox understands the importance of design flexibility. These geometric pieces are designed to be separated from a complete set and printed individually. This allows you to tailor the size and configuration of the panel to perfectly suit your space.
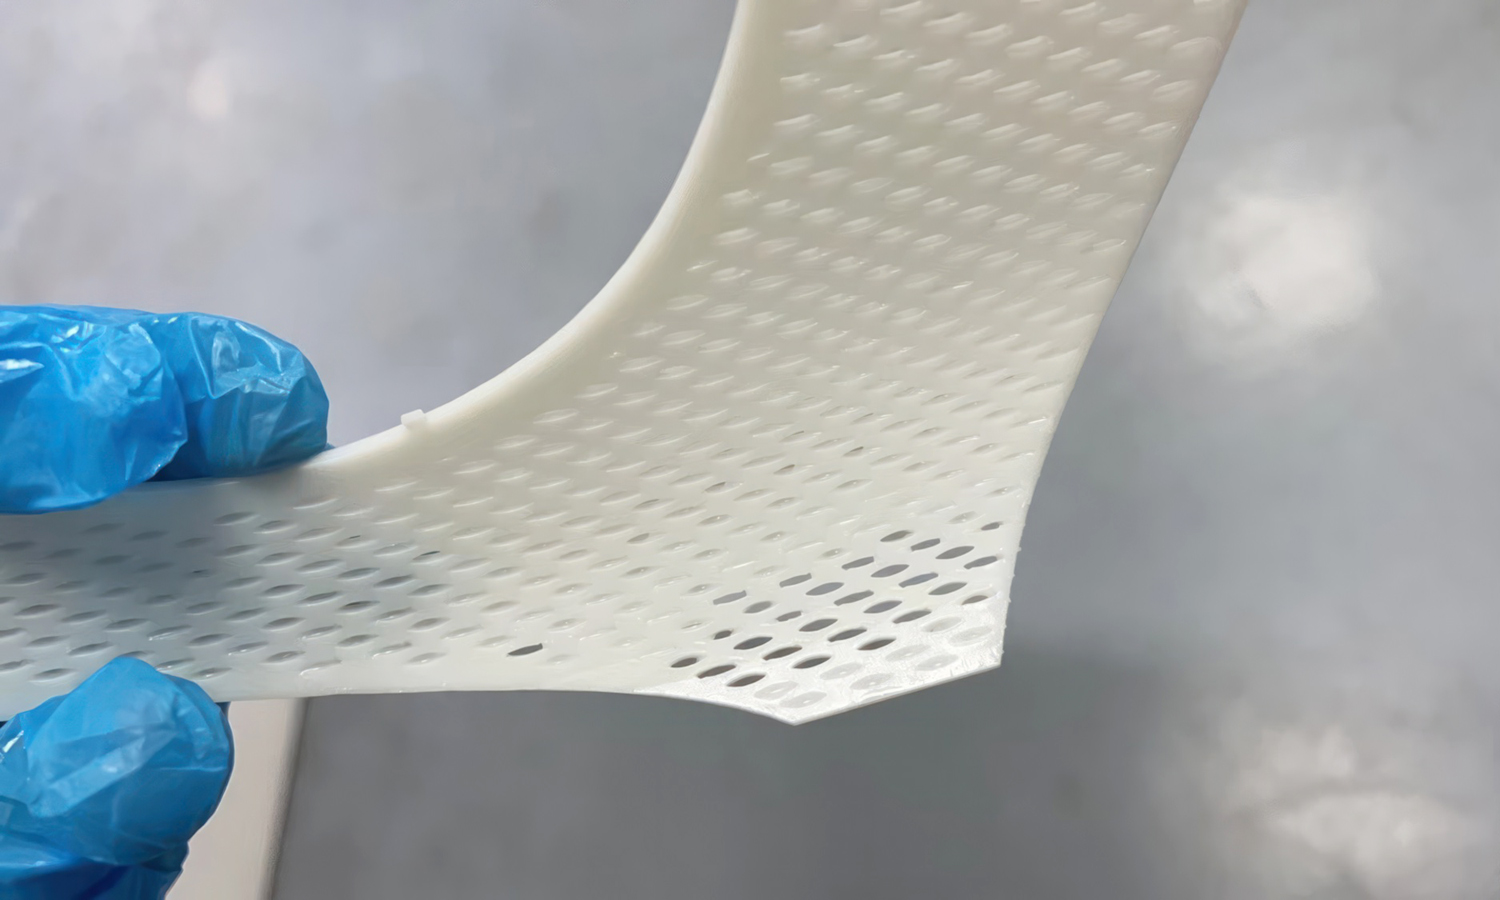
The beauty of these panels lies in their seamless design. The oval cut-outs are incorporated directly into the 3D model, eliminating the need for post-processing like drilling. This ensures a flawless finish and a truly unique design element.
At FacFox, we’re passionate about pushing the boundaries of 3D printing technology. We offer exceptional SLA printing services, perfect for creating intricate and high-quality geometric pieces like these decorative panels.
Ready to elevate your space with functional art? Contact FacFox today and let’s discuss your vision!
Solution
- Step 1: Designing the Model. Initially, a digital 3D model of the decorative panel was created. The model included oval-shaped cut-outs to allow for airflow and was designed to be split from a whole set for separate printing.
- Step 2: Preparing the Printer. The SLA 3D printer was prepared by ensuring the resin tank was filled with SLA Durable Resin, and the build platform was calibrated to the correct height.
- Step 3: Printing the Base Layer. The first layer of the panel was printed by exposing the liquid resin to a UV laser. The resin was cured and solidified into the desired shape of the base layer.
- Step 4: Building the Structure. Subsequent layers were added by repeating the curing process. The build platform was raised incrementally after each layer was completed, allowing new resin to flow beneath the solidified part.
- Step 5: Forming the Cut-outs. As the layers built up, the oval-shaped cut-outs were formed directly during the printing process, eliminating the need for post-print drilling.
- Step 6: Completing the Print. Once all layers were printed, the complete panel structure with the integrated cut-outs was finished.
- Step 7: Washing and Curing. The printed panel was then washed in an isopropyl alcohol bath to remove any uncured resin. After washing, it was post-cured under UV light to ensure the resin reached its final strength and stability.
- Step 8: Removing Supports. If any supports were used during the printing process, they were carefully removed from the panel.
- Step 9: Final Inspection. The final step involved inspecting the panel for any defects and ensuring the quality met the design specifications.


