Gallery
About Project
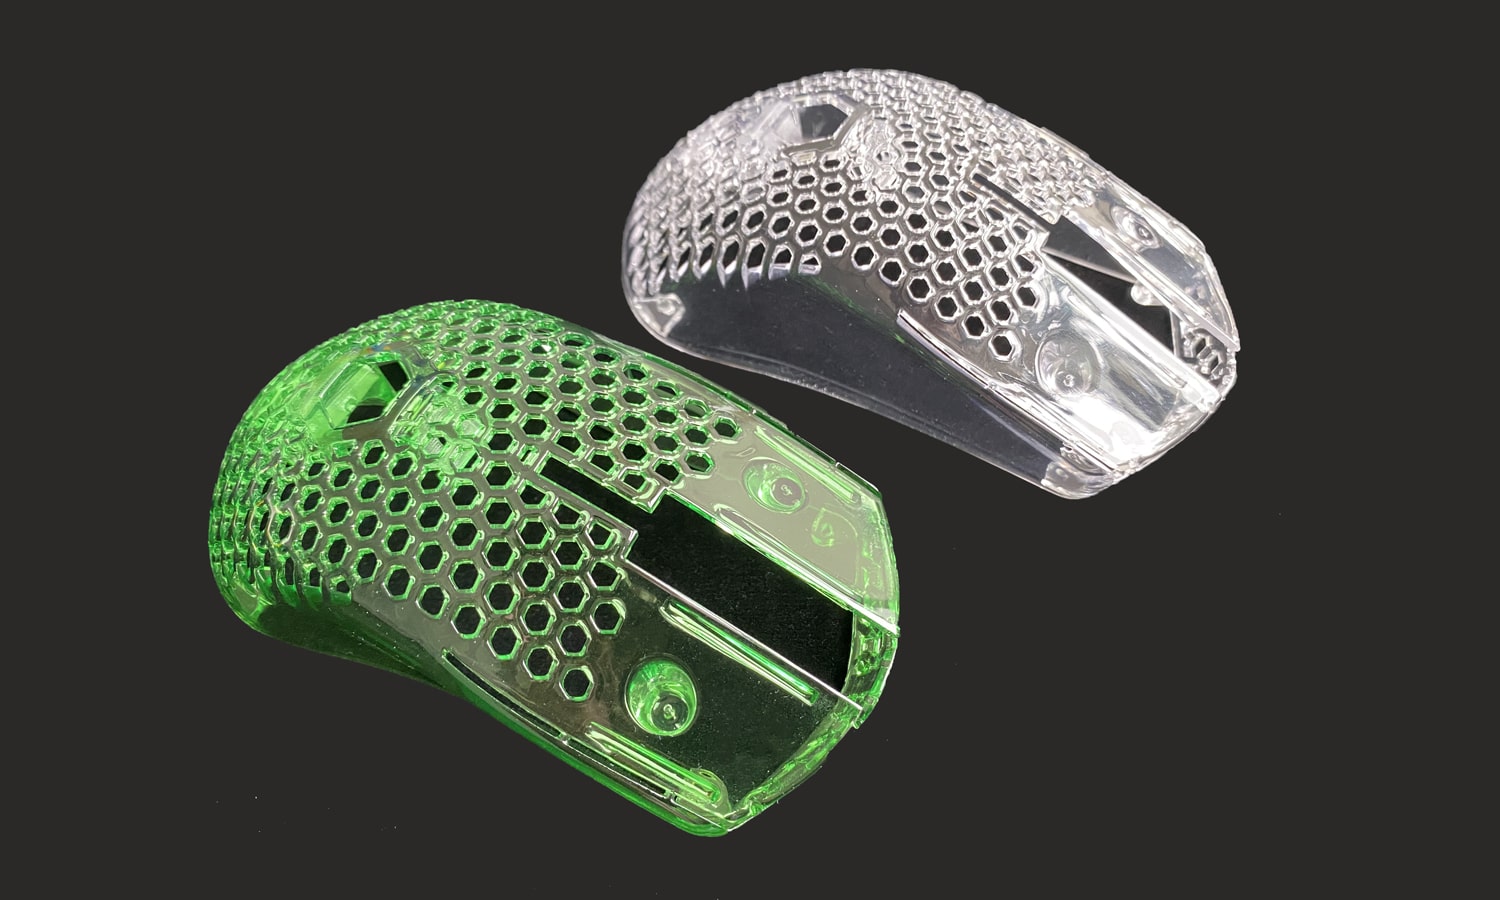
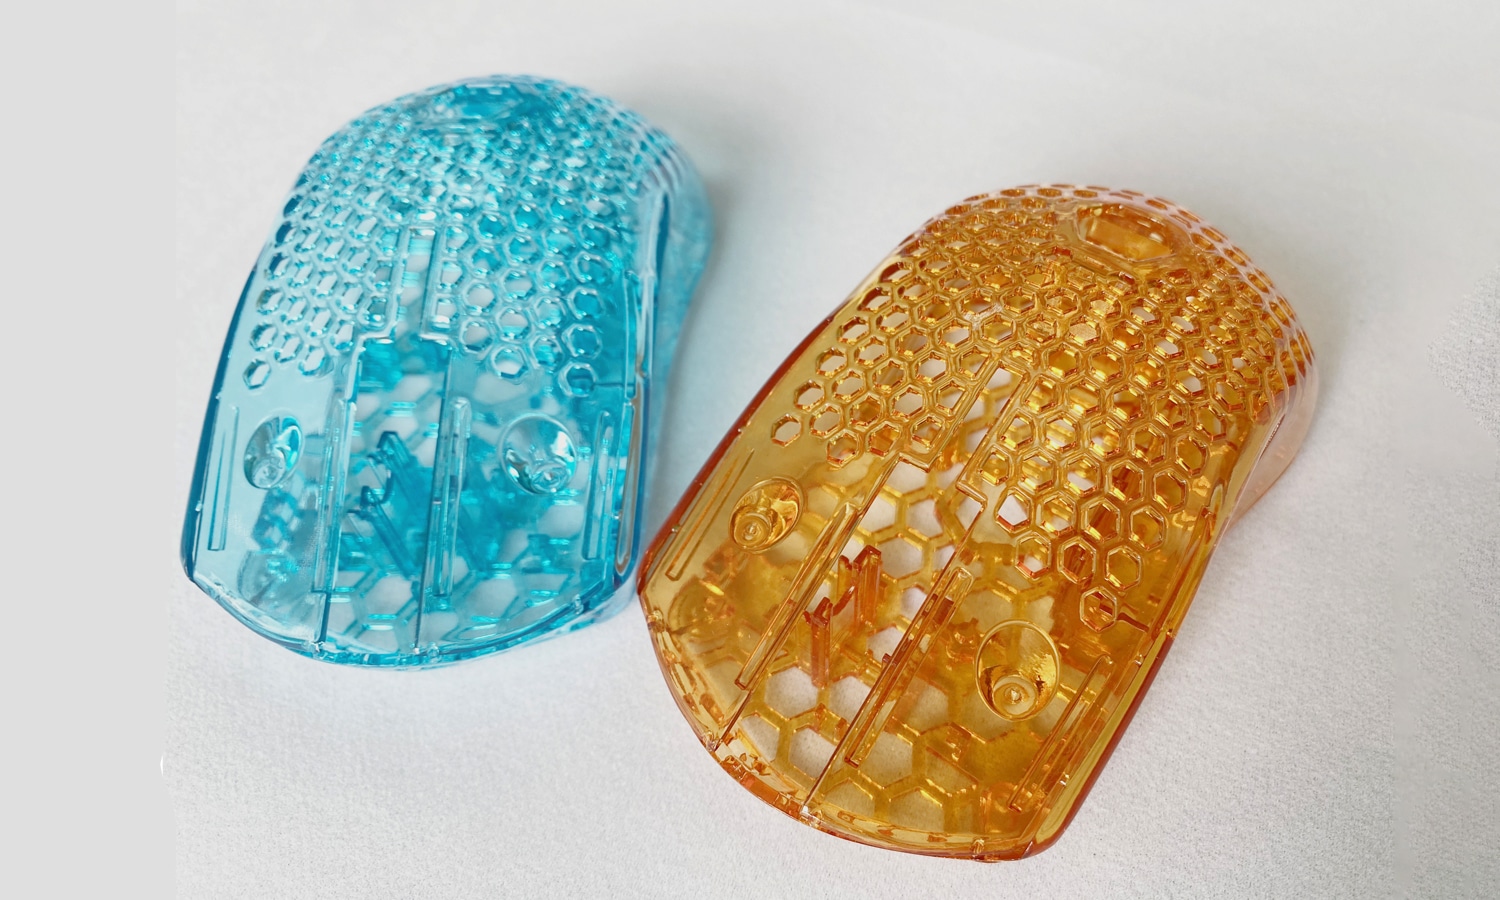
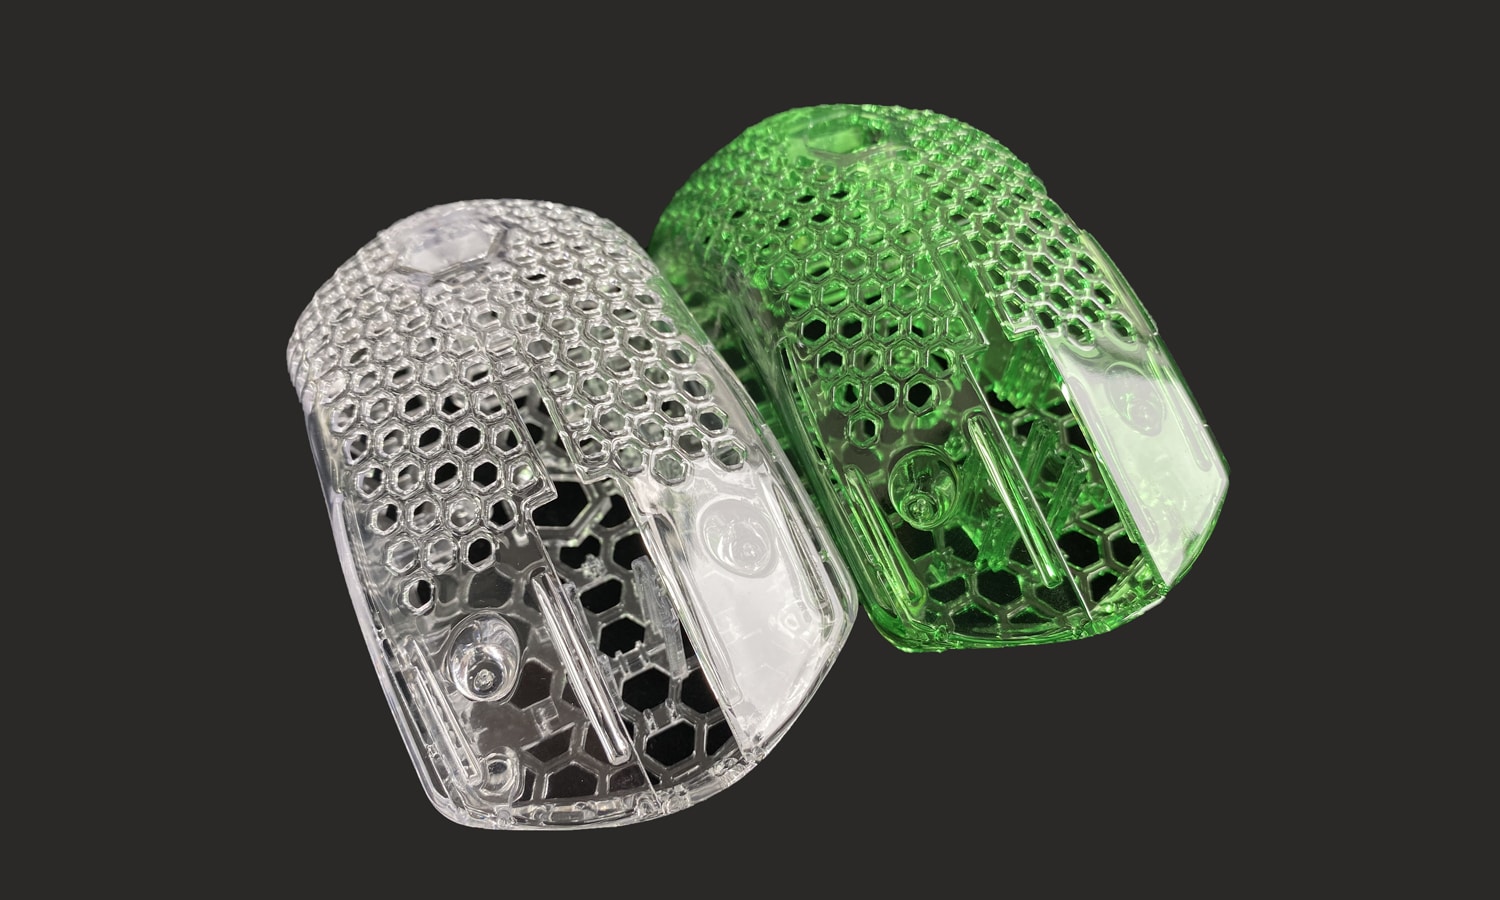
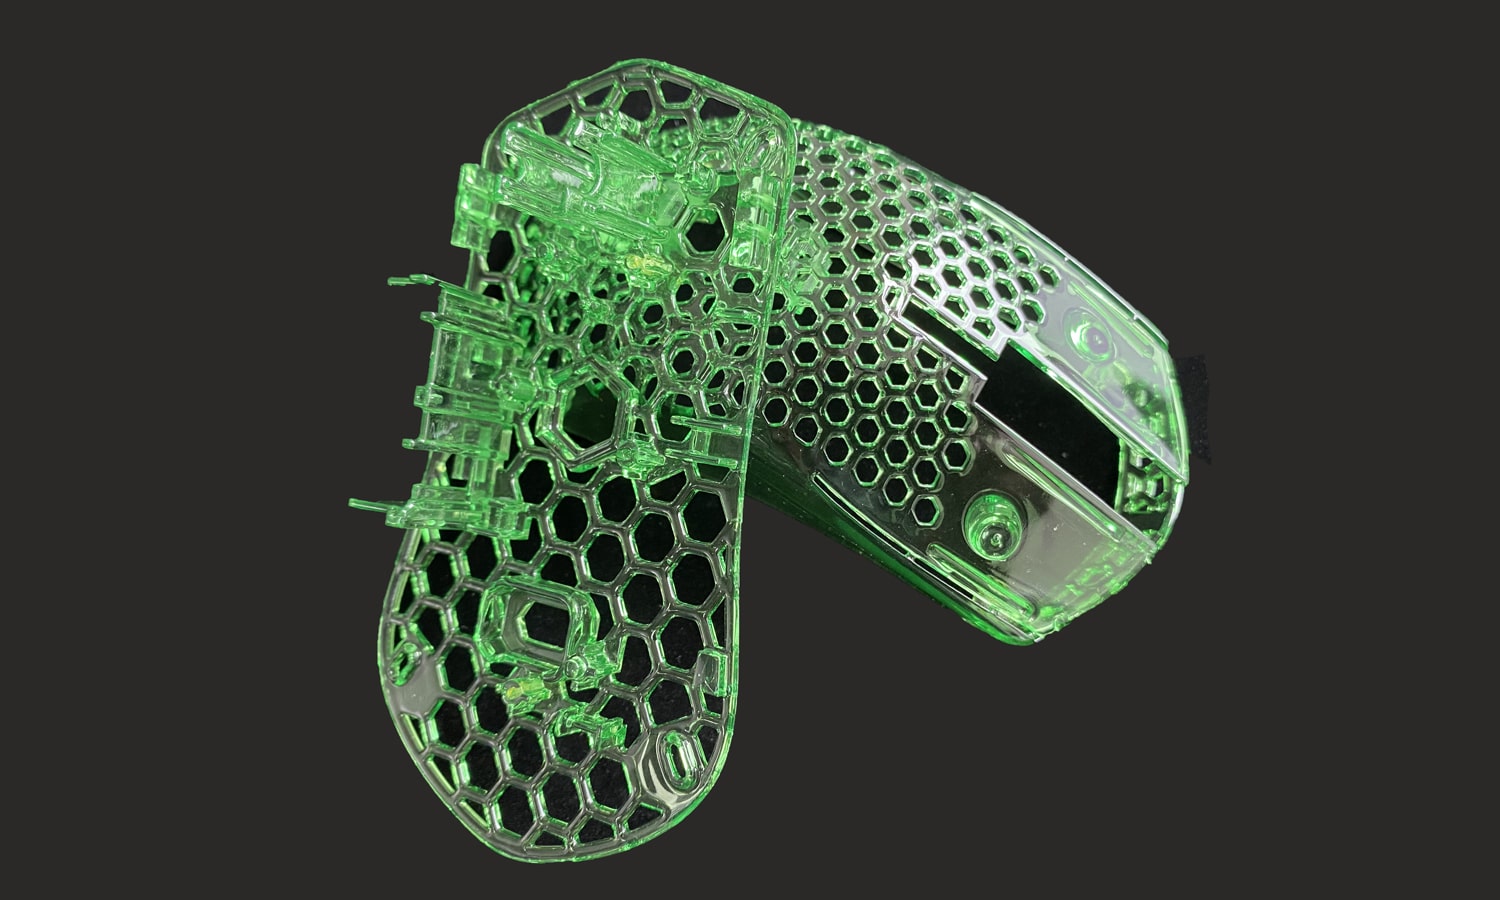
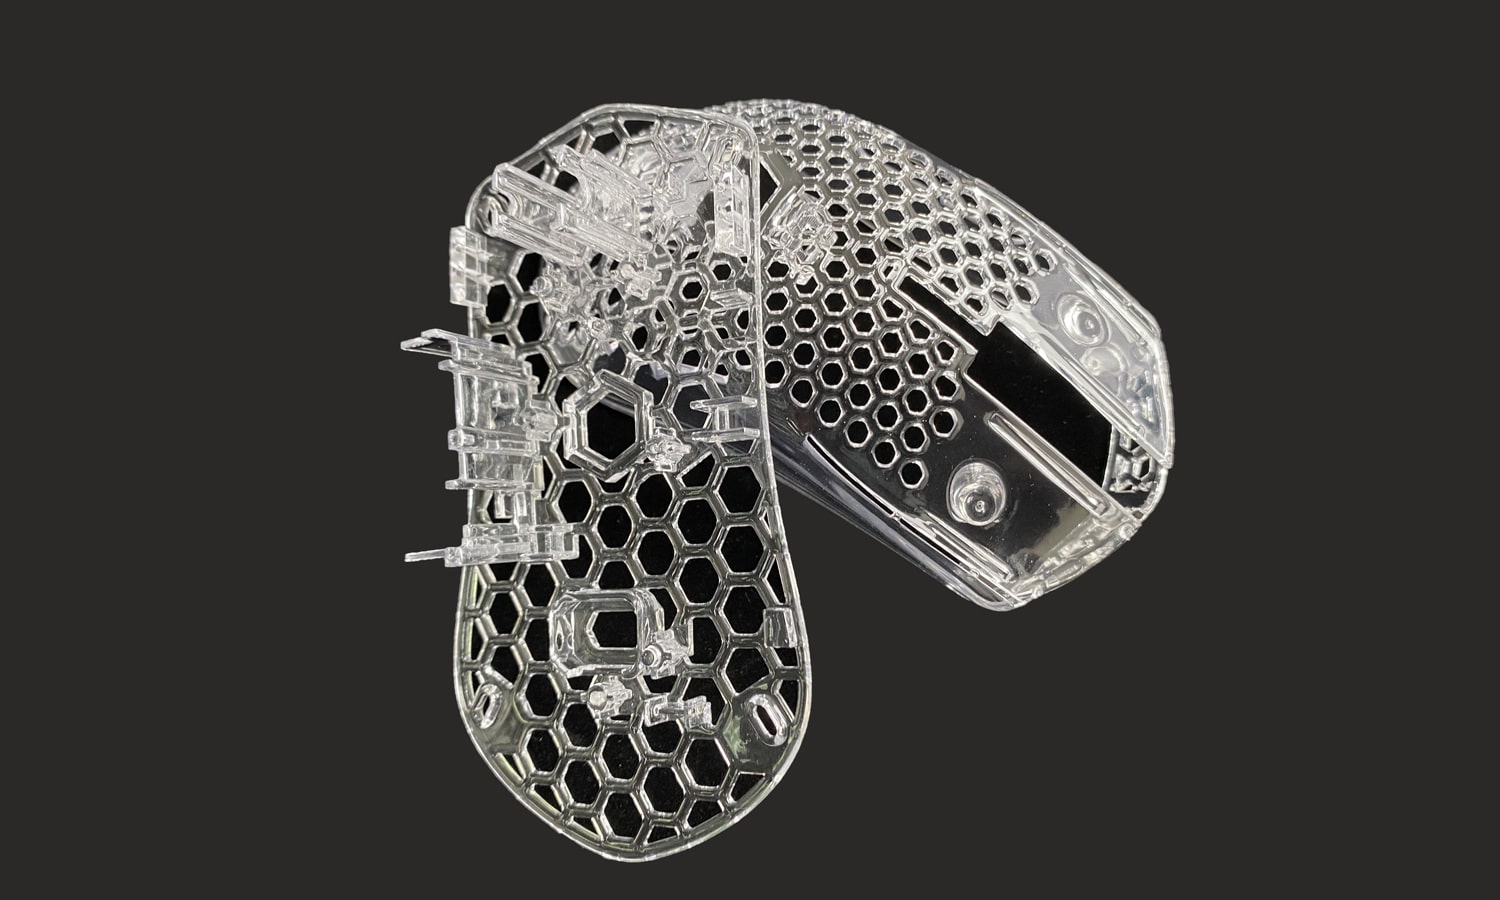
With our 3D printed Logitech Cover Model Kit, your mouse can be lighter than any mouse you’ve ever touched. The honeycomb structure of the cover ensures mechanical strength while reducing the weight. Switching out batteries is easy and build quality is excellent, you can feel it during DIY and daily use of the mouse.
The item is on sale and you can pick one in our Etsy shop.
As a professional 3D printing provider, we have over 50 material options, the recommended materials for this mouse cover include:
White SLA PP-like Resin with a smooth surface and excellent durability, but it can turn yellow after usage, we recommend DIY painting on the surface, we also offer paid painting service.
[Smooth-5, Durability-4, Toughness-4, Rigidity-4]
Grey SLA Tough Resin in grey color, ideal for DIY painting.
[Smooth-5, Durability-3, Toughness-3, Rigidity-4]
Transparent SLA Resin, offers you various dyeing options to make transparent colorful covers like green, orange, red, blue, etc. But it’s a bit soft.
[Smooth-5, Durability-2.5, Toughness-4, Rigidity-2.5]
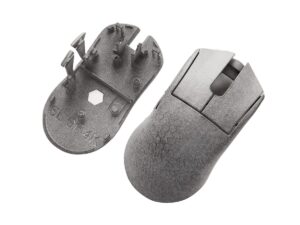
Whie/Black SLS nylon with excellent flexibility, durability, and impact resistance. The surface is matte and porous, not as smooth as resin.
[Smooth-3, Durability-5, Toughness-5, Rigidity-3]
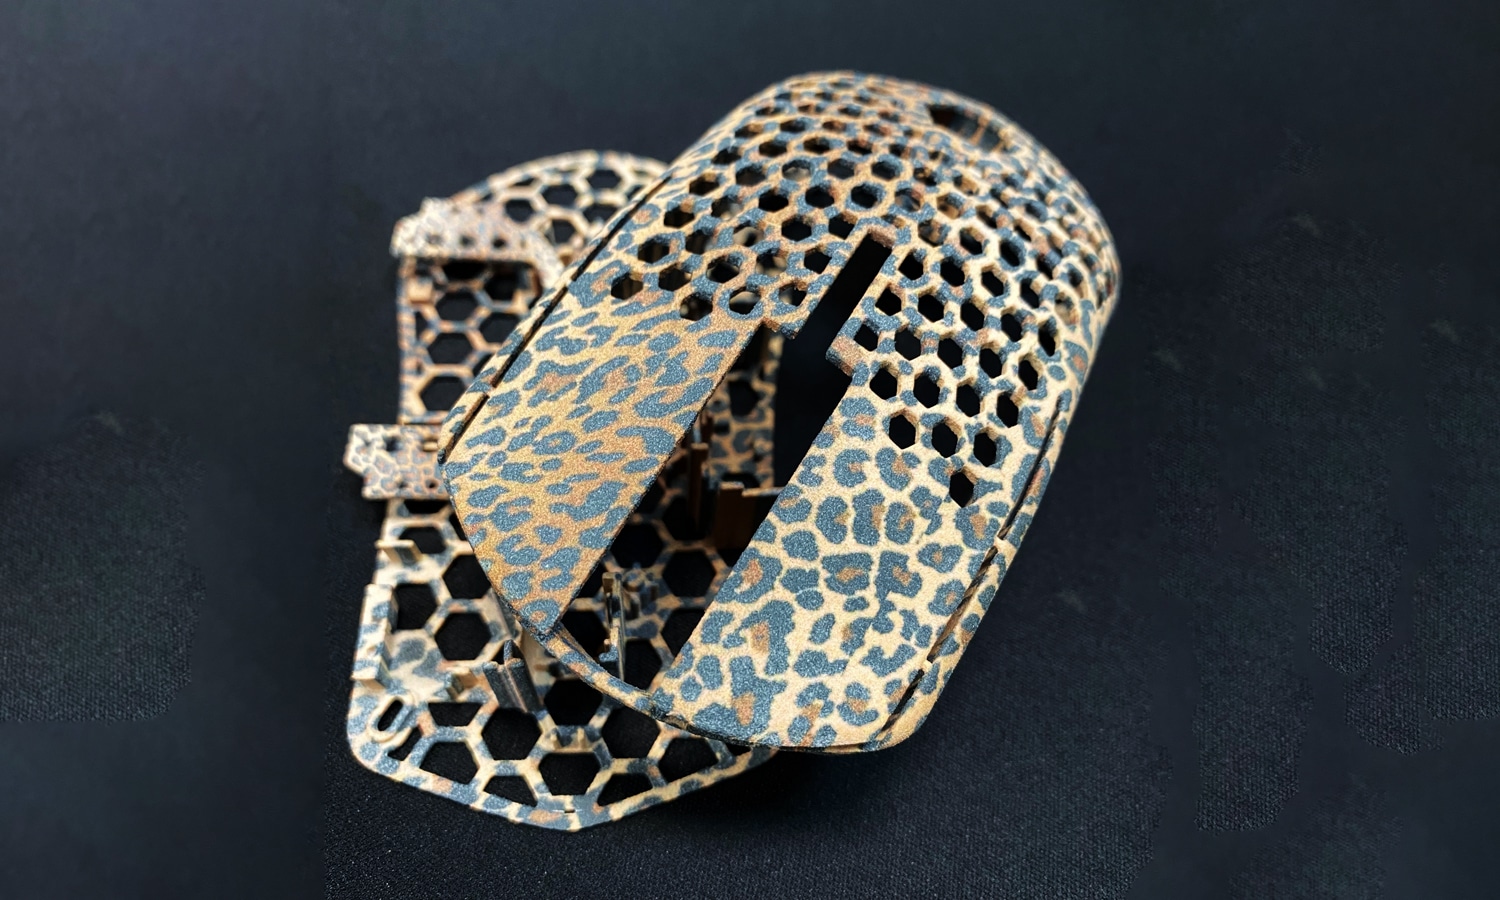
With HP MultiJet Fusion Full-color Nylon, you can customize any texture you want with full-color details! It enables excellent vibrant colors with outstanding flexibility, durability, and impact resistance, it’s also more smooth than white nylon.
[Smooth-3.5, Durability-5, Toughness-5, Rigidity-3]
Solution
- Step 1: It’s originally designed and upgraded by Piranha Mouse Mods. Our listing includes Logitech GPW Ultralight, S2 Ultralight, Model O and O-, FK2, EC2 and EC2 Ultralight, G502 Ultralight, UL2 Wireless, FK2 Ultralight, G703 Ultralight, and G305 Ultralight. You can choose your preferable kit version and material, and message us what color and pattern you pick.
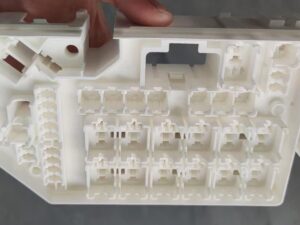
- Step 2: The STL file will be input into the SLA 3D printer after adding support structure in slicing software. When the process starts, the laser ŌĆ£drawsŌĆØ the first layer of the print into the photosensitive resin. Wherever the laser hits, the liquid solidifies. The laser is directed to the appropriate coordinates by a computer-controlled mirror.
- Step 3: After finishing the material polymerization, the platform rises out of the tank and the excess resin is drained. At the end of the process, the model is removed from the platform, washed of excess resin, and then placed in a UV oven for final curing. Then we soaked the prints in the dye solution to color it.
- Step 4: As for SLS 3D printing, the post-process is much simpler. Firstly, a layer of powder is spread across the bed. Then, the inkjet print heads sweep across the powder, depositing millions of drops of light-absorbing ink. These define which voxels to keep and which will fall away as powders. Additional inks help mark a crisp part boundary and can provide other properties, including color. An infrared heater sweeps across the bed. The ink-marked areas absorb enough of the IR energy to sinter to the underlying part, and the rest remains as full-color powder.


