Gallery

About Project
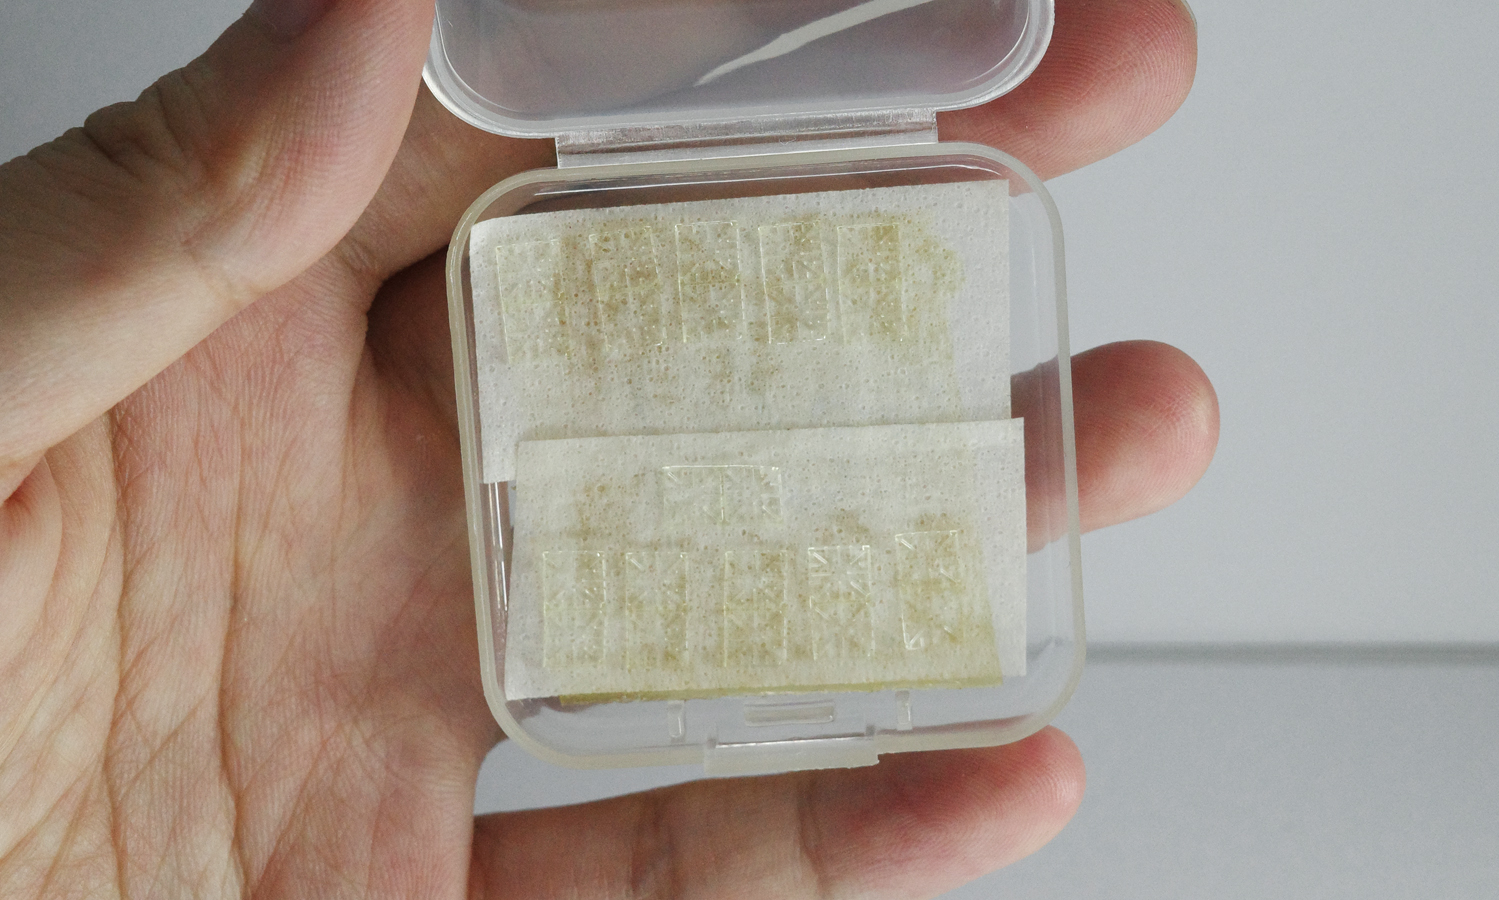
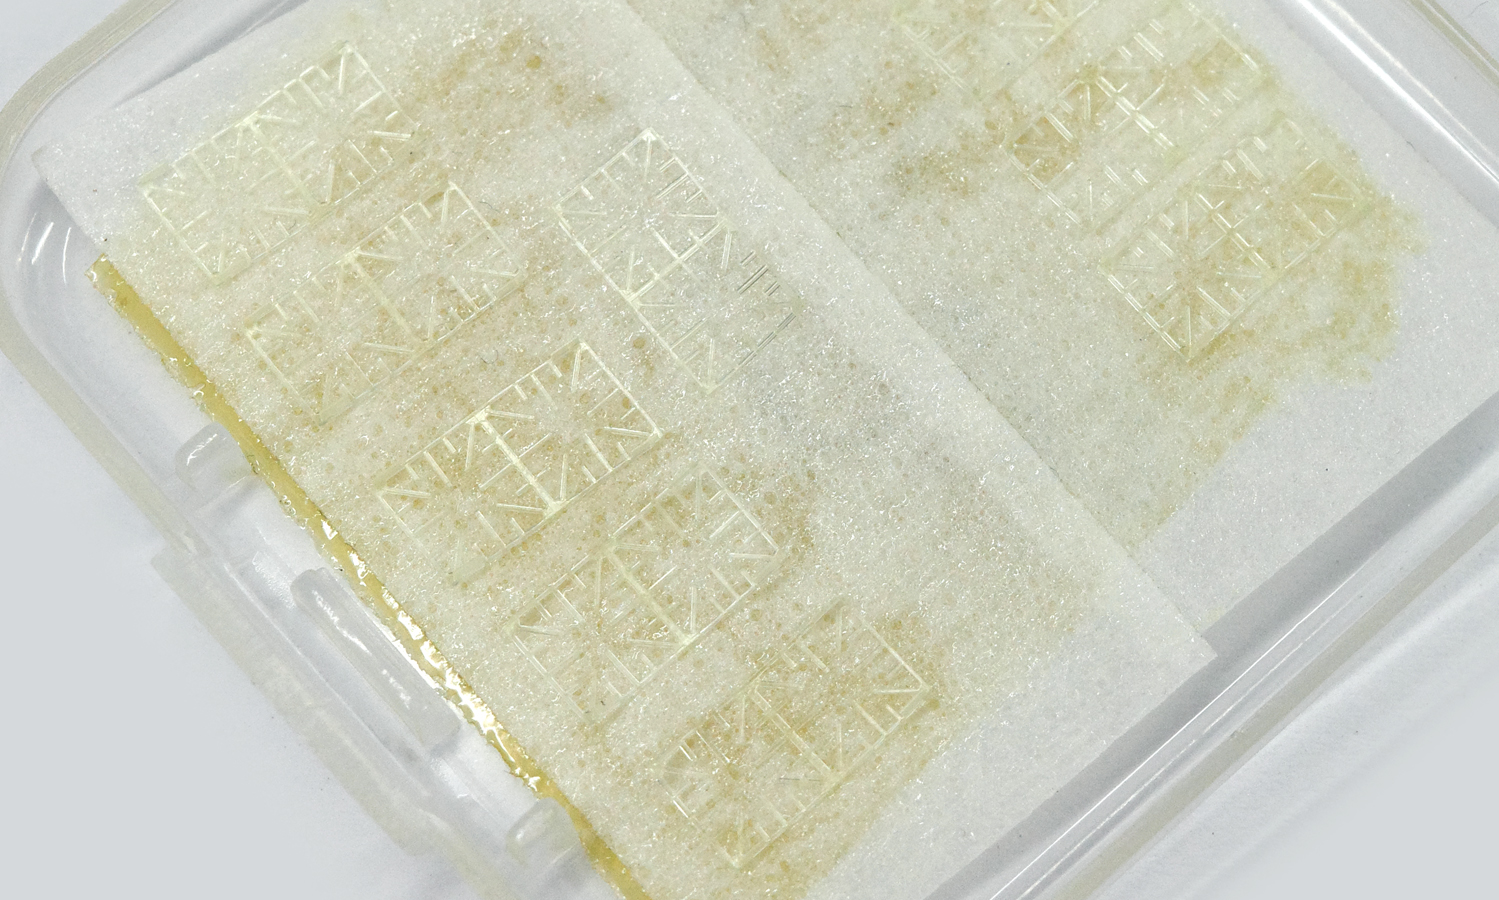
Micro-DLP 3D printing is revolutionizing the way we approach miniature components. One stunning example is the intricate resin lattice grid. This structure, composed of two interconnected squares, showcases the technology’s unparalleled precision and detail.
The grid pattern within each square is a testament to the process’s capability to create complex geometries. A hollowed-out center adds depth and visual interest, while sixteen rods extending towards the core demonstrate the potential for intricate internal structures. The contrast between longer and shorter rods adds a layer of complexity and design elegance.
These micro-DLP printed resin lattice grids offer endless possibilities for applications in various fields, from electronics and optics to medical devices and research. FacFox specializes in micro 3D printing services, providing top-tier solutions for your intricate design needs. Our advanced technology and experienced team ensure exceptional quality and precision in every print. Contact us today to bring your micro-scale visions to life.
Solution
- Step 1: Design Creation. The design of the lattice grids was created using CAD software. The model was sent to our specialists for evaluation and quotation.
- Step 2: Preparation of the Resin.┬ĀA photosensitive resin was prepared and poured into the resin tank of the Micro-DLP 3D printer.
- Step 3: Printer Setup.┬ĀThe Micro-DLP 3D printer was calibrated, and the design file was uploaded to the printer’s software.
- Step 4: Layer-by-Layer Printing.┬ĀThe printing process was initiated. The digital light projector cured the resin layer by layer, following the design specifications. Each layer was solidified by the projected light, building up the structure gradually.
- Step 5: Post-Processing.┬ĀOnce the printing was completed, the lattice grids were carefully removed from the build platform. Excess resin was cleaned off using isopropyl alcohol.
- Step 6: Curing.┬ĀThe printed lattice grids were placed in a UV curing chamber to ensure complete hardening of the resin.
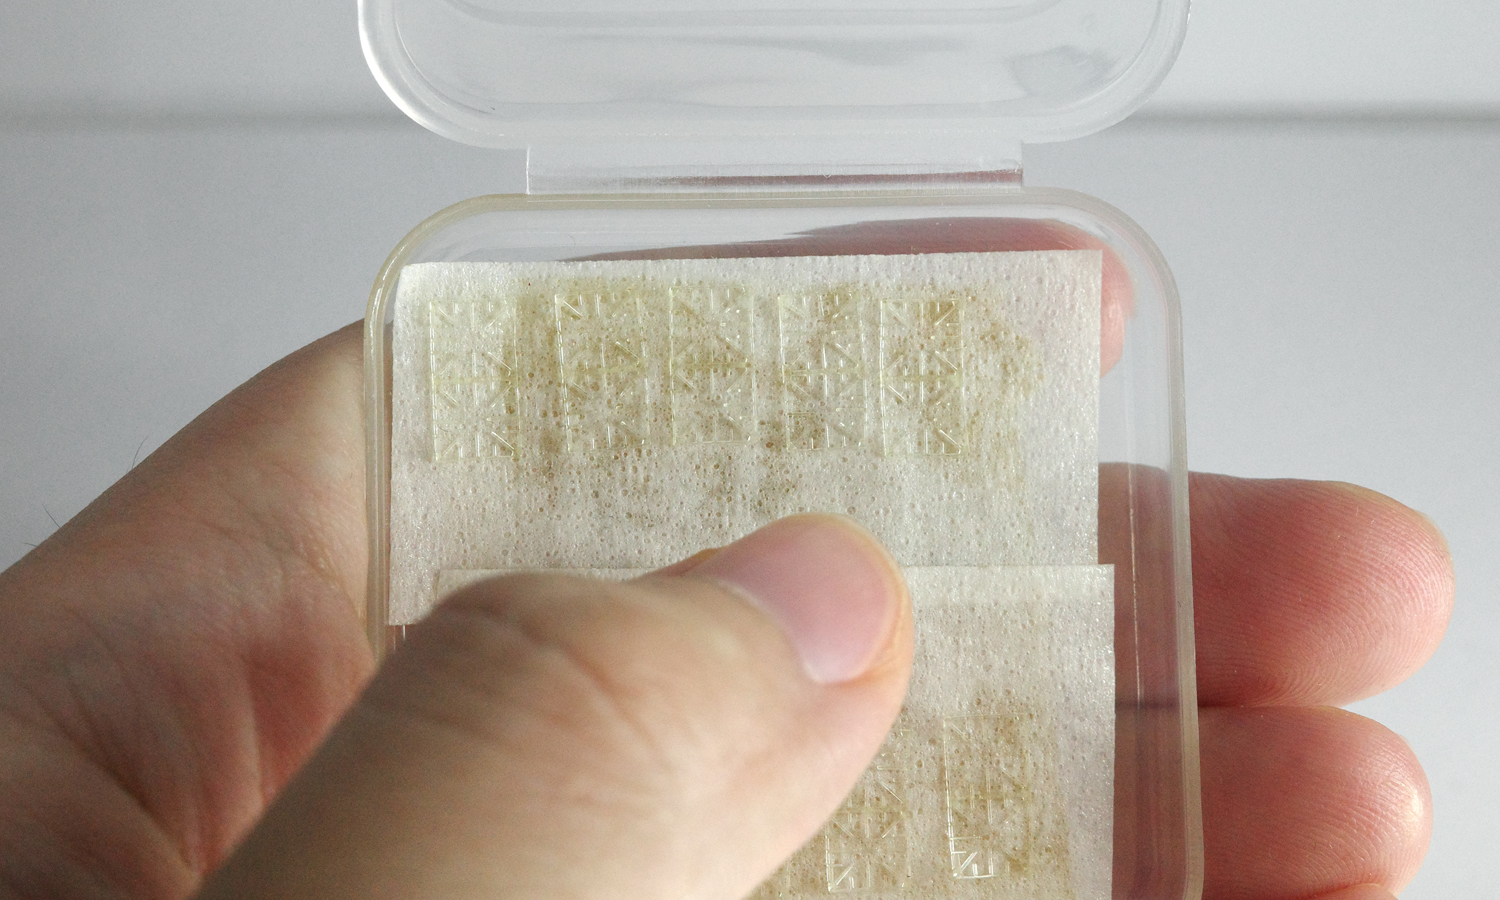
- Step 7: Inspection and Handling.┬ĀThe cured lattice grids were inspected for any defects or imperfections. Due to their small size and brittleness, they were handled with care.
- Step 8: Fixing in a Case. To prevent damage, the lattice grids were fixed into a small case using masking tape. This provided additional support and protection for the delicate structures.


